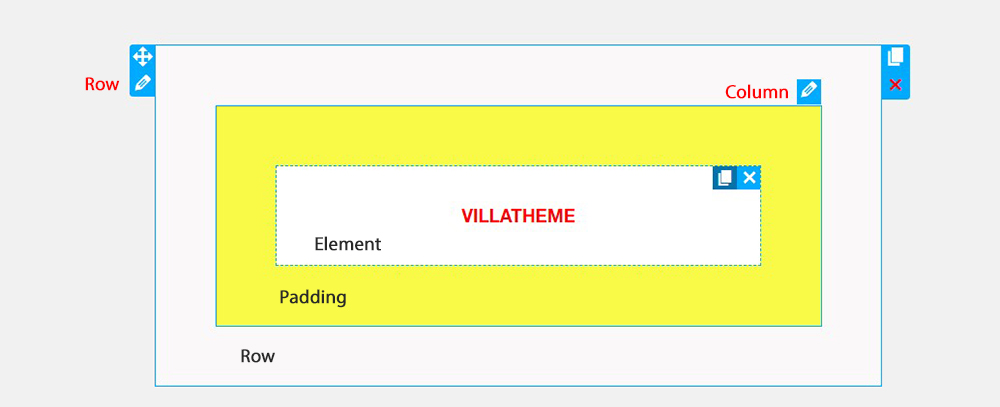
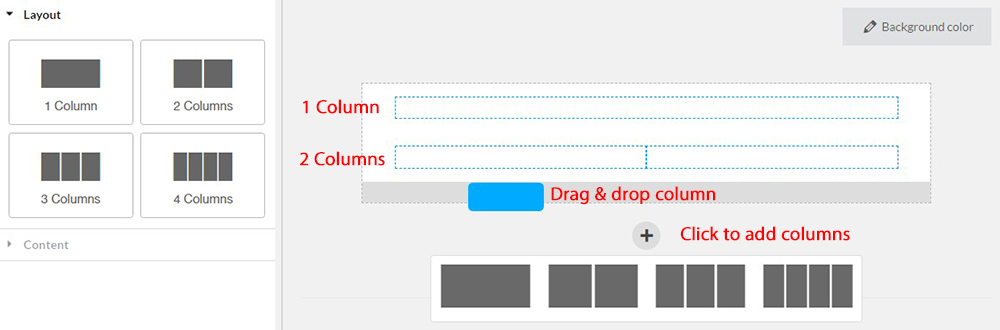
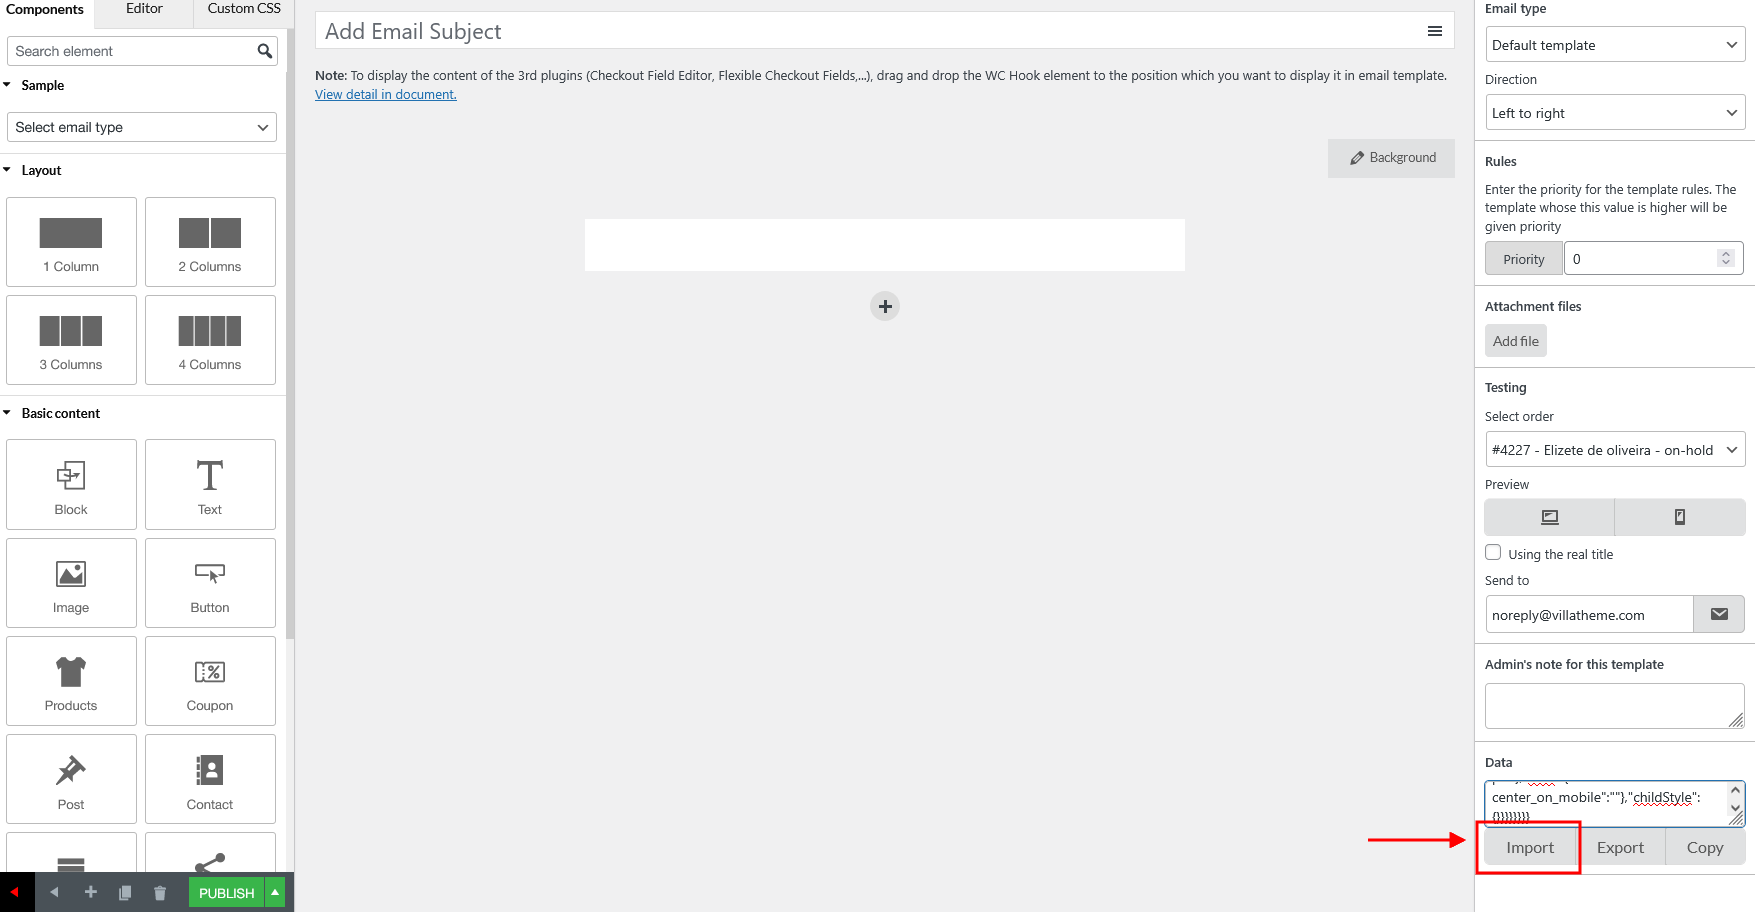
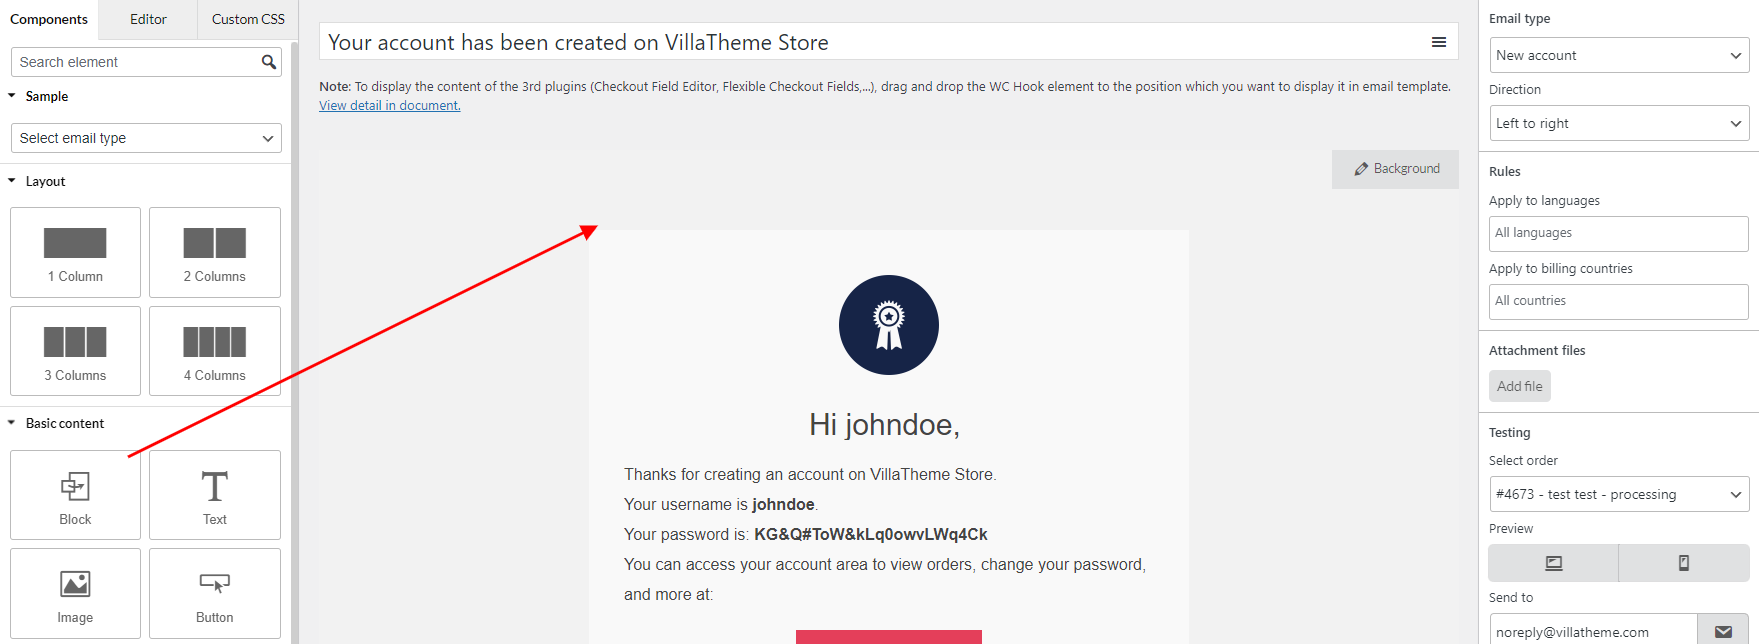
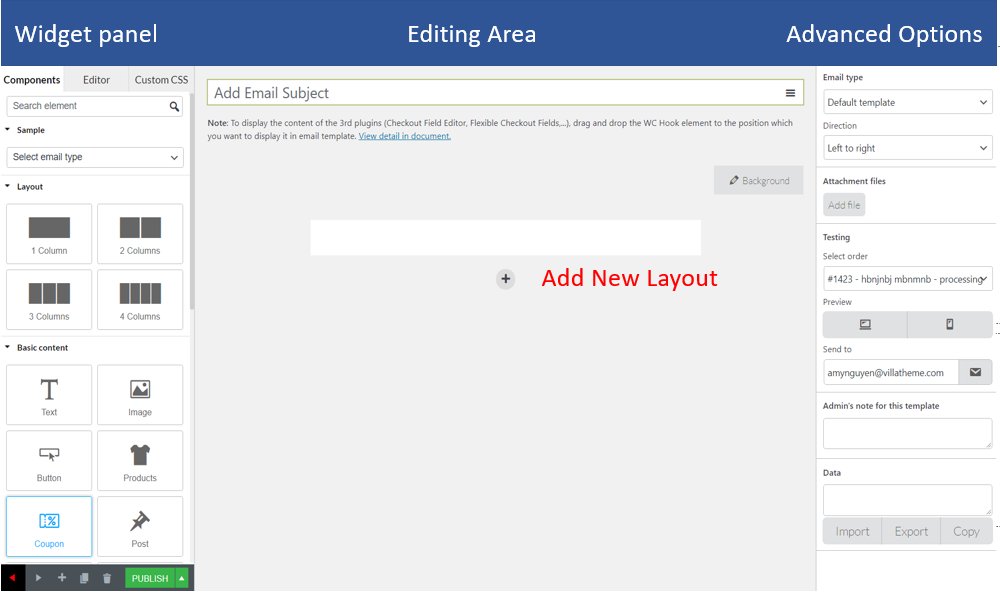
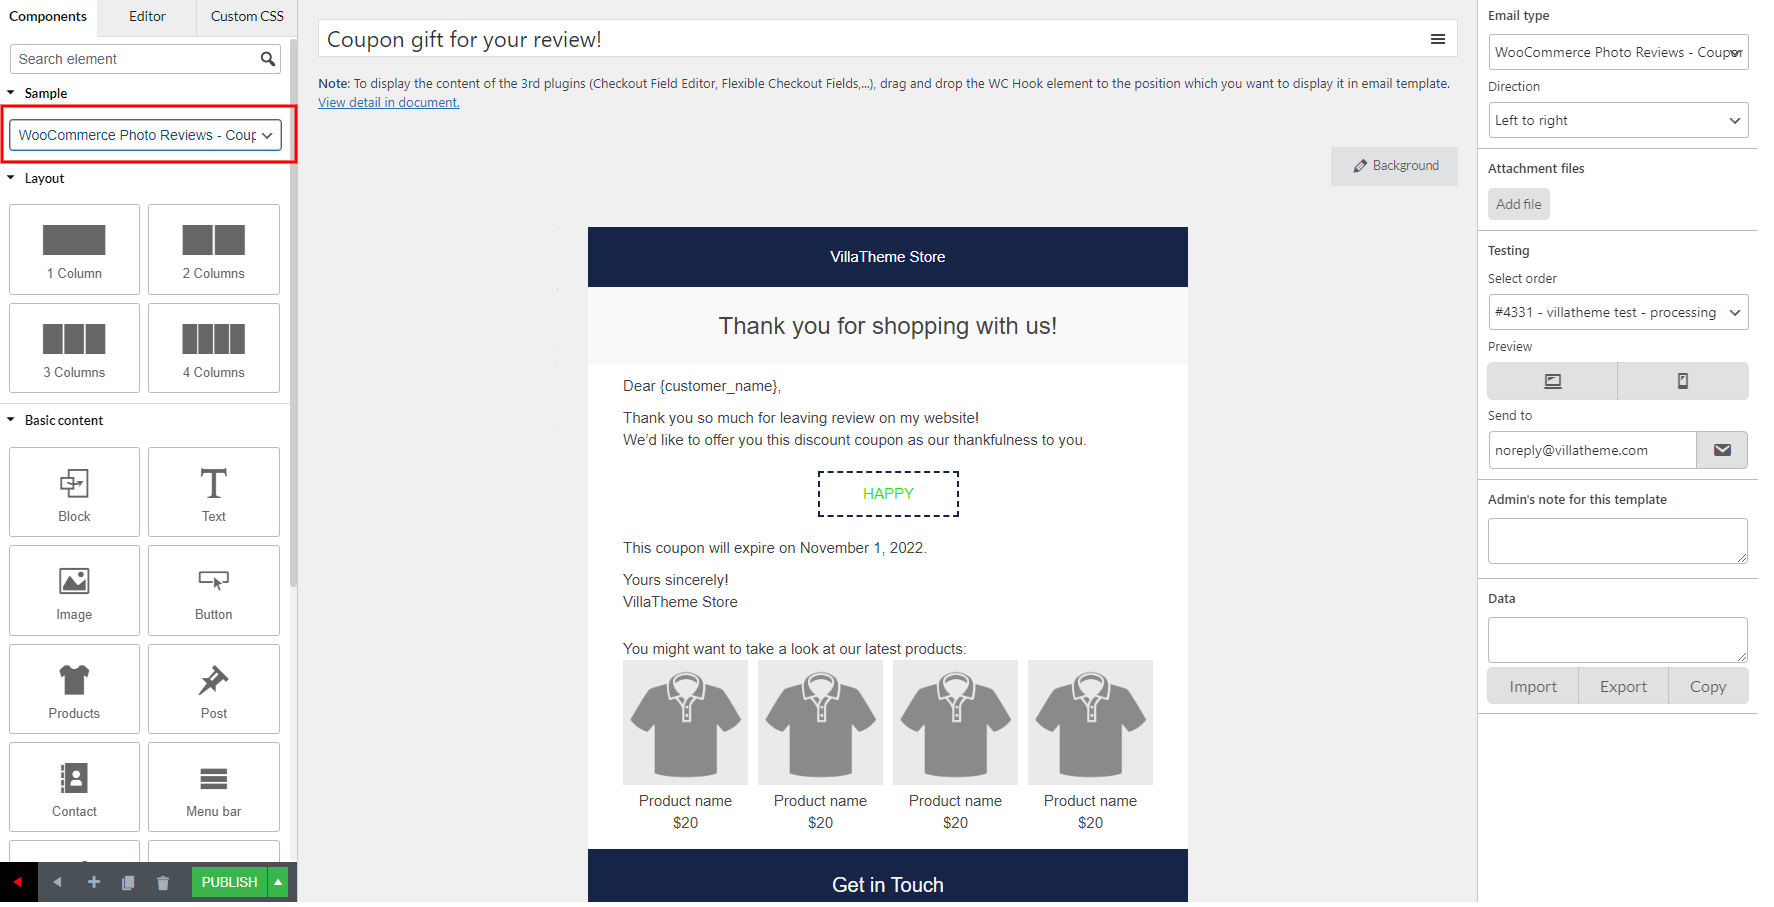
- Easily drag and drop elements to build and customize emails: – The user-friendly email template builder allows you to build professional and outstanding WooCommerce email templates.
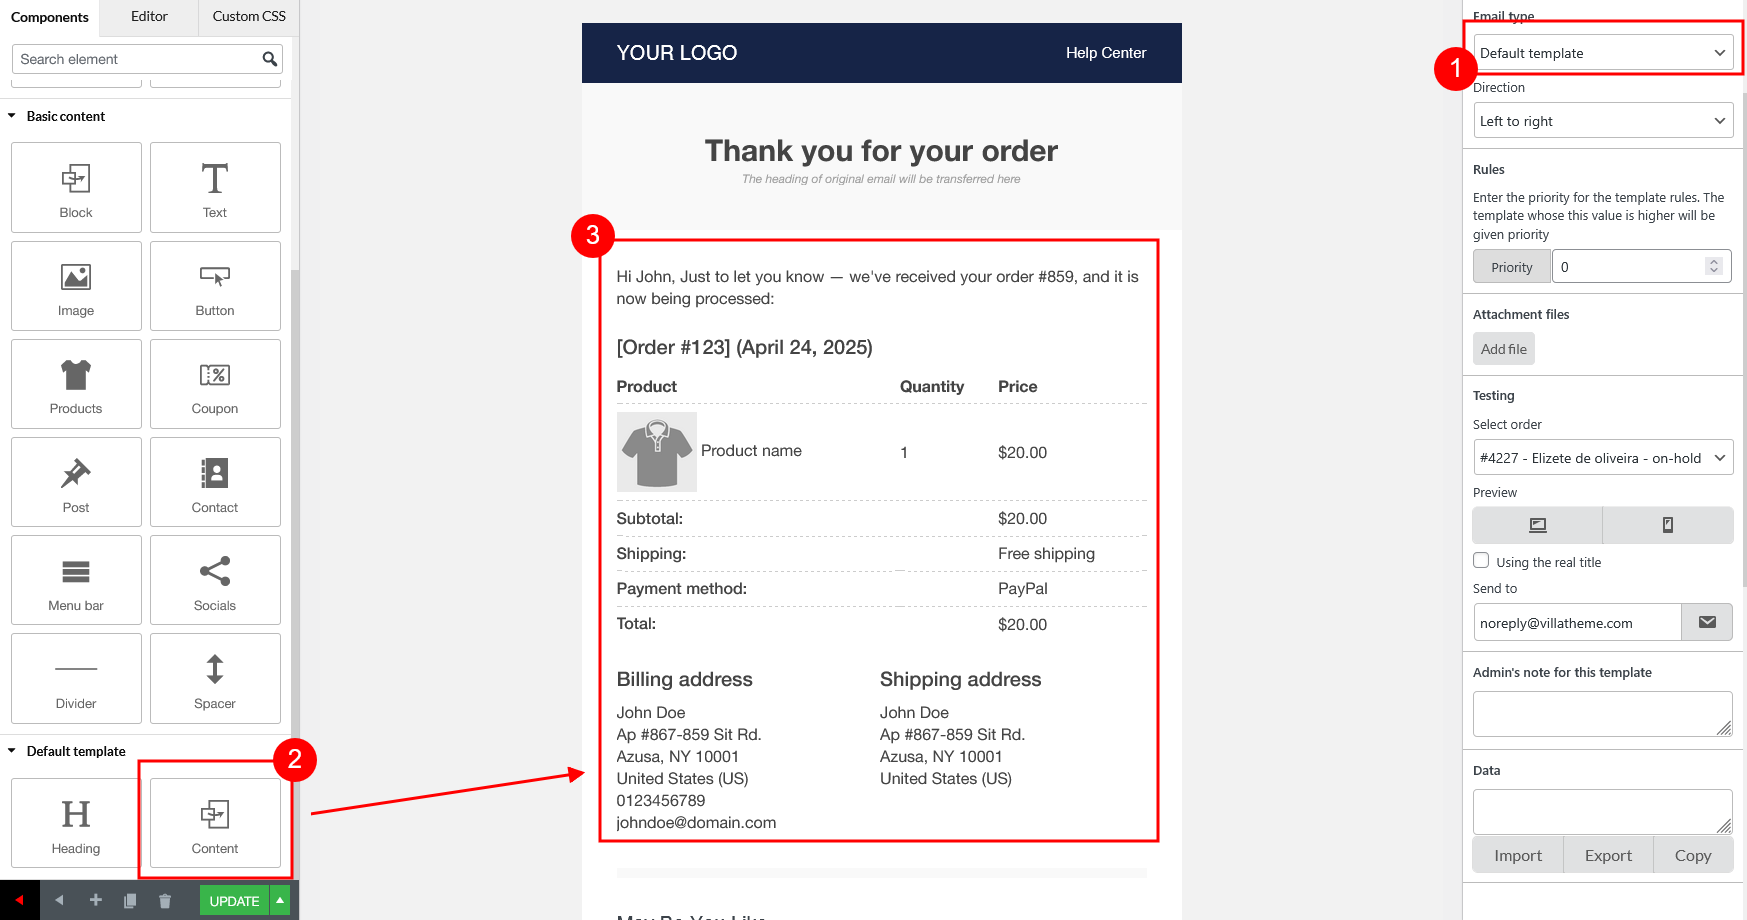
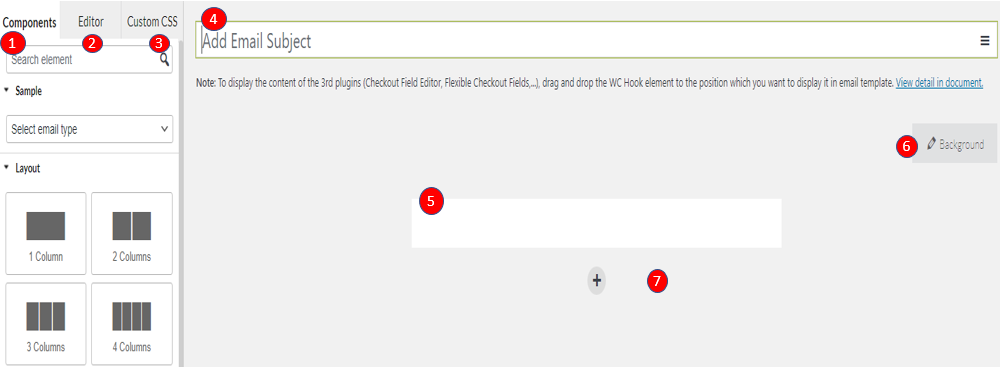
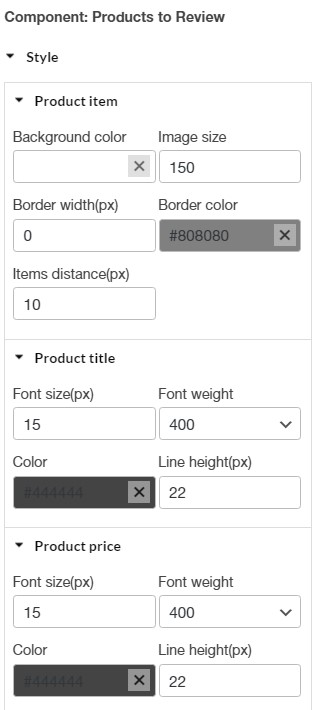
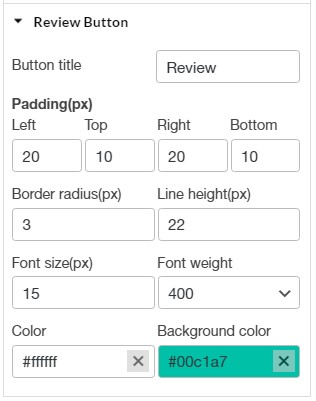
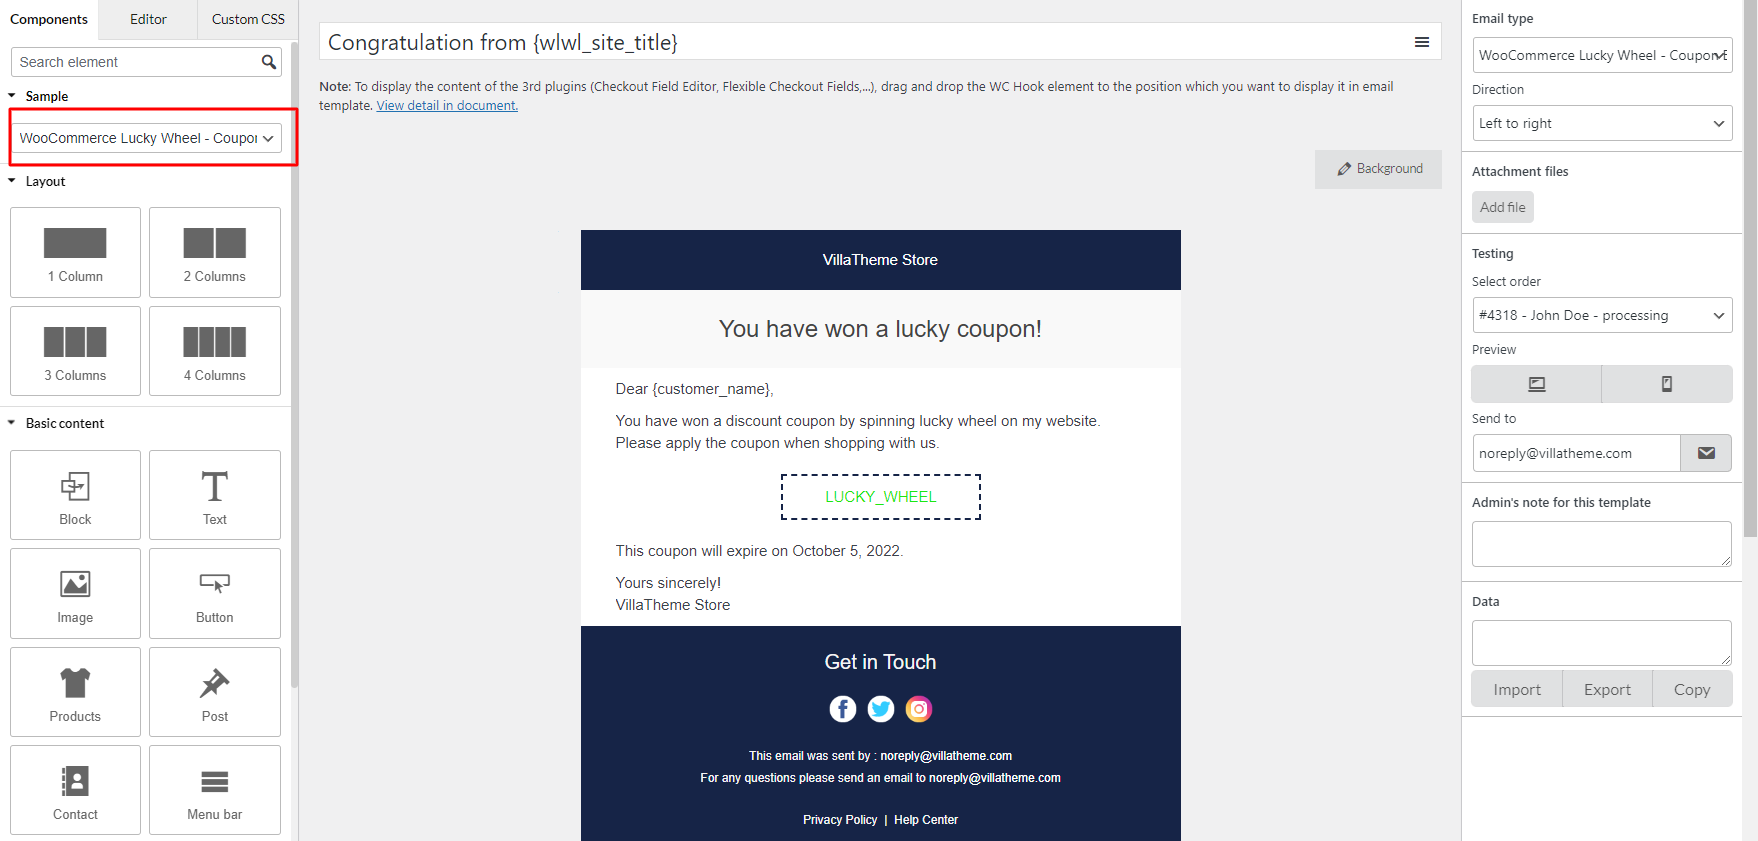
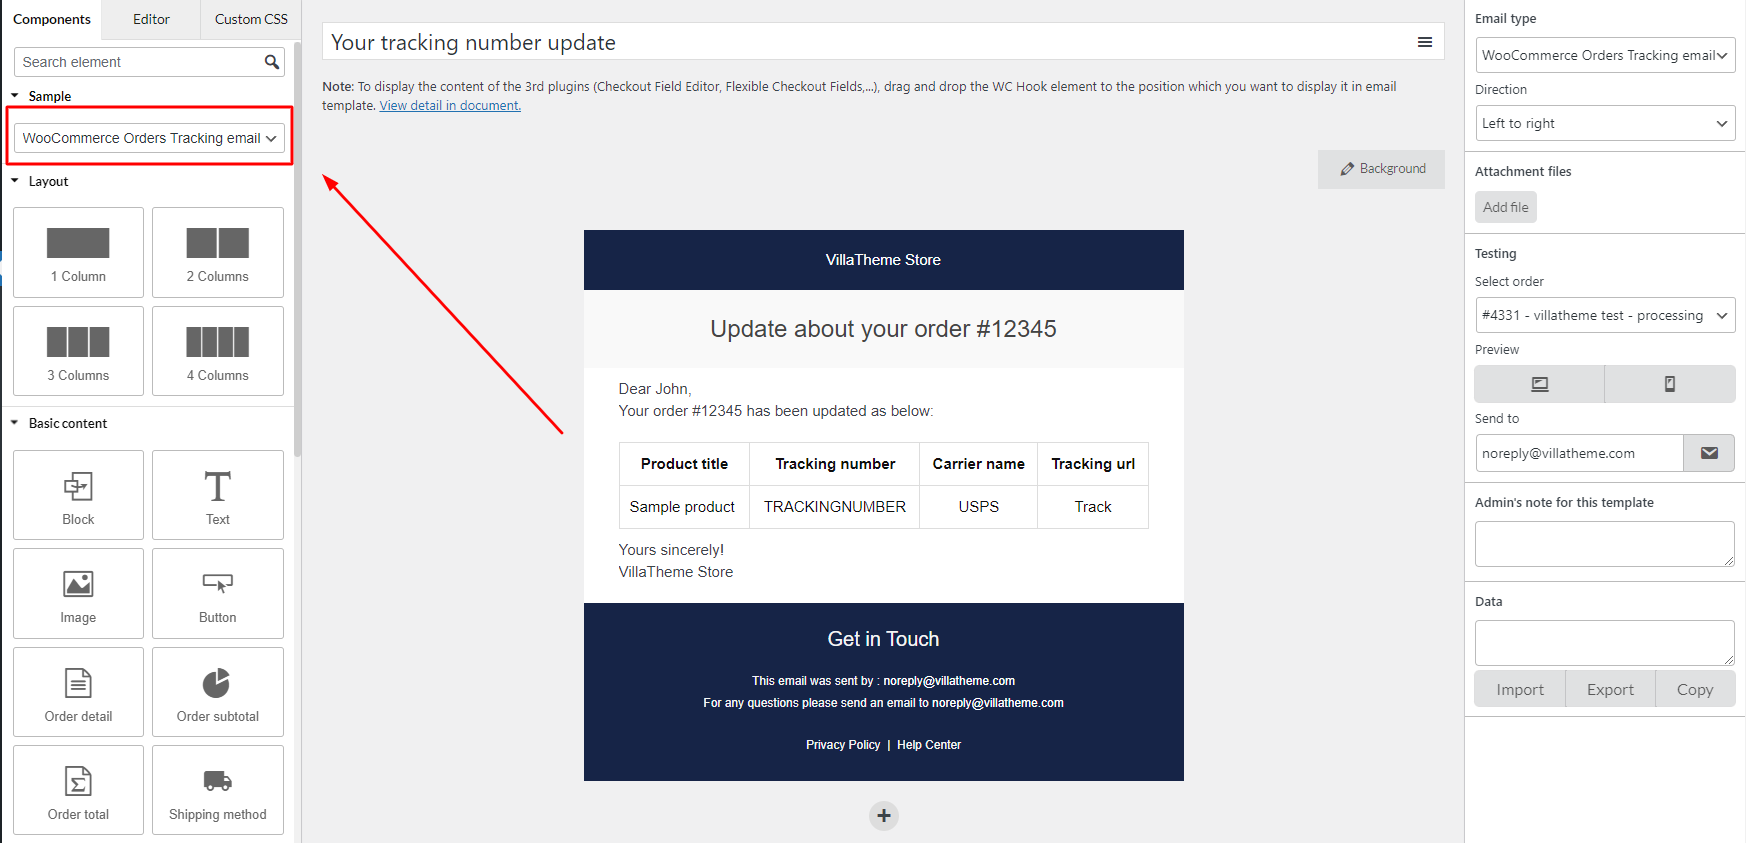
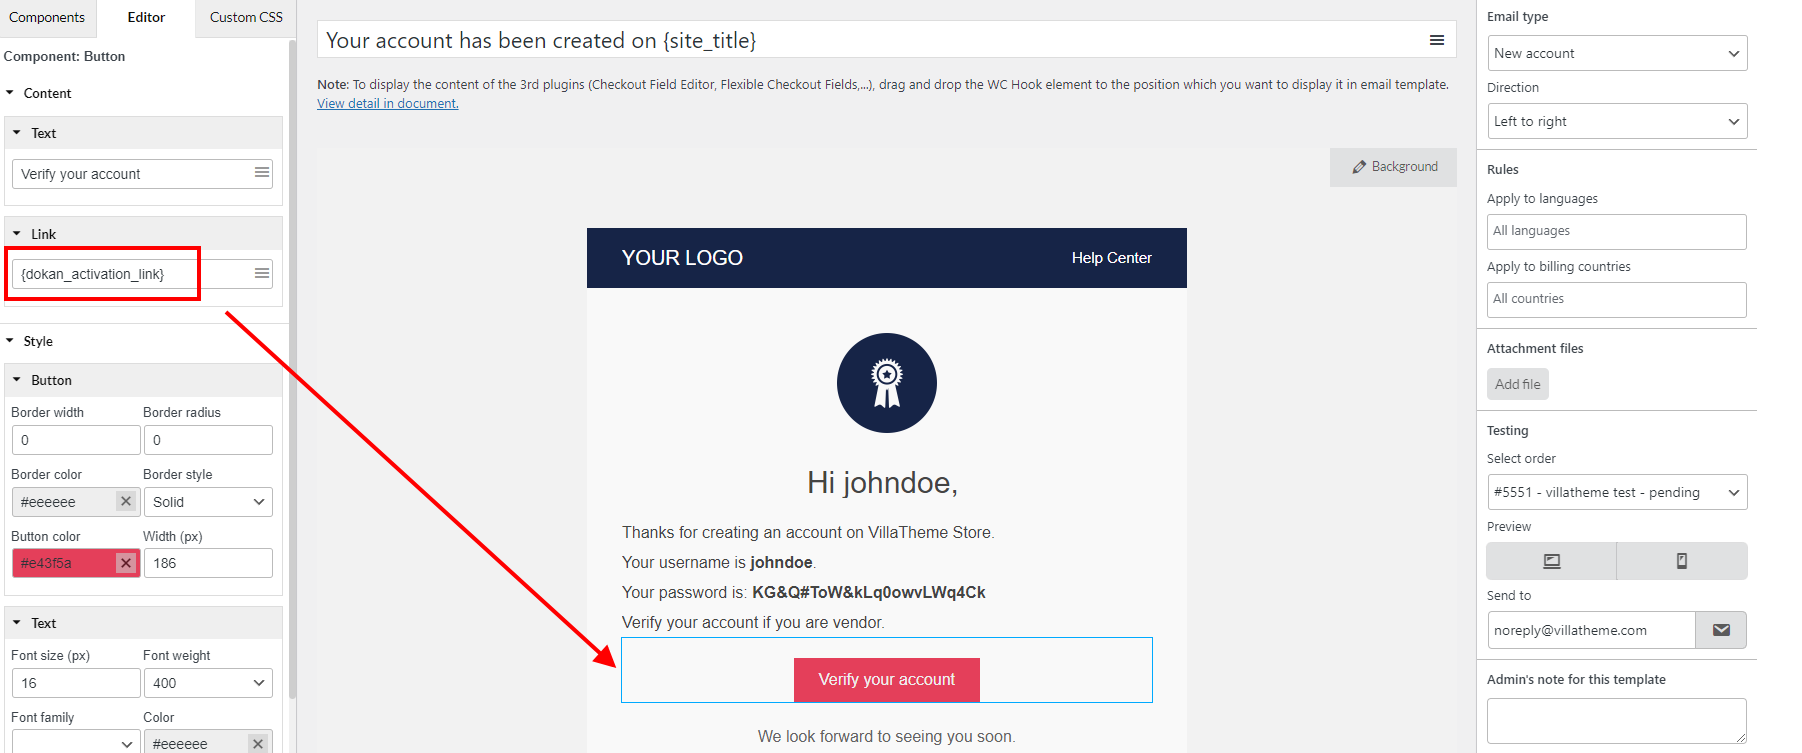
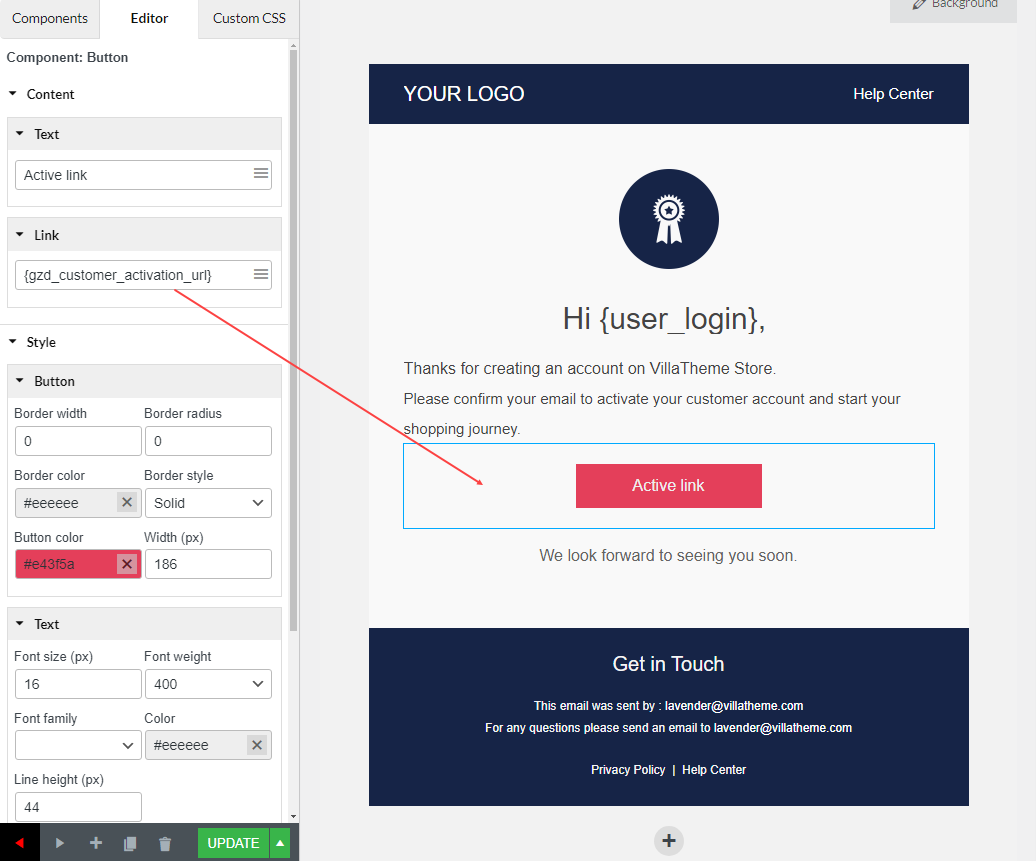
- Email Elements – Add different elements (Basic, Woocommerce and hooks) to your email template with full shopping information of WooCommerce and users’ information. The editing tab will show allow you to work directly on fast and effectively each element.
- Unlimited Number of Rows – unlimited rows can be added to the email template and include everything you need in the emails.
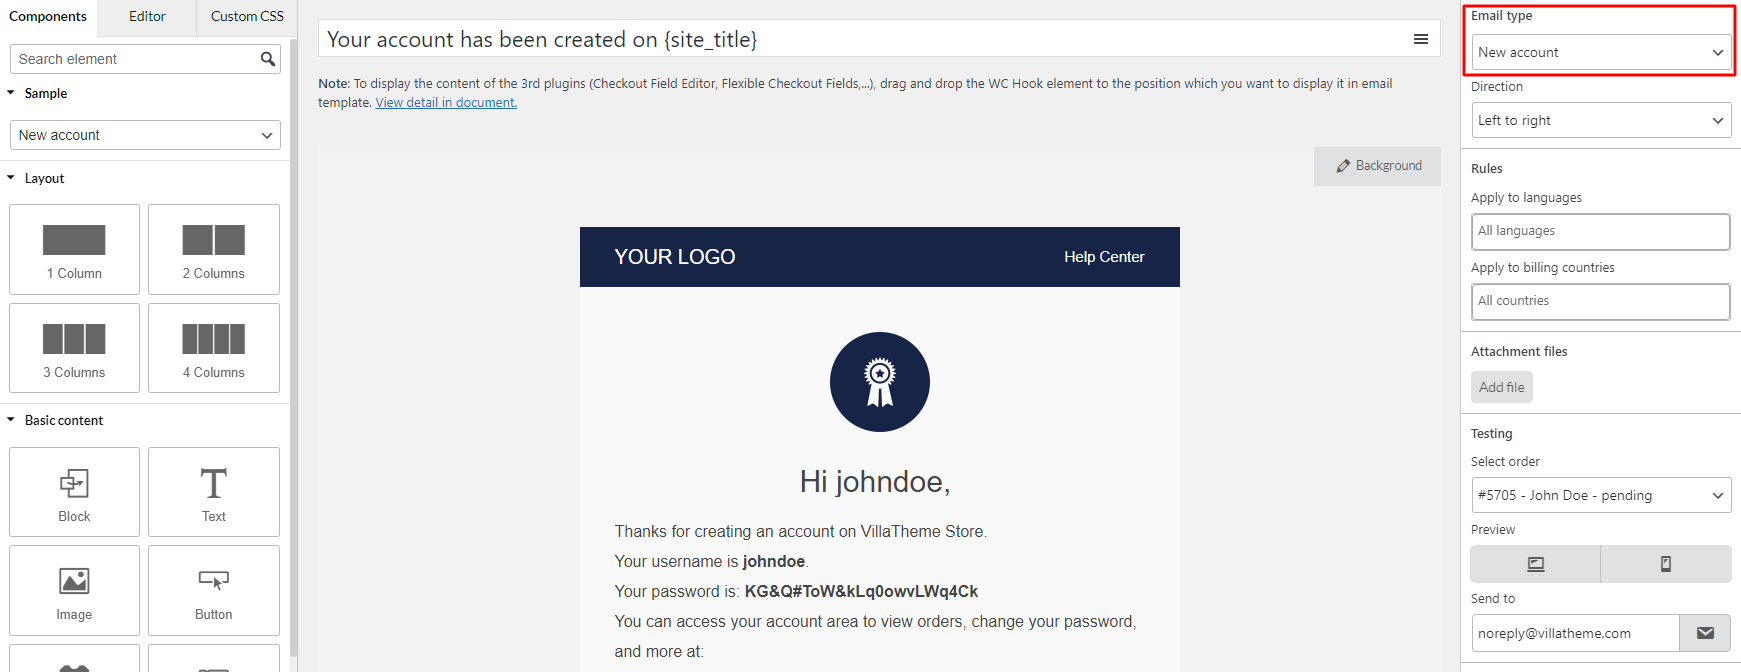
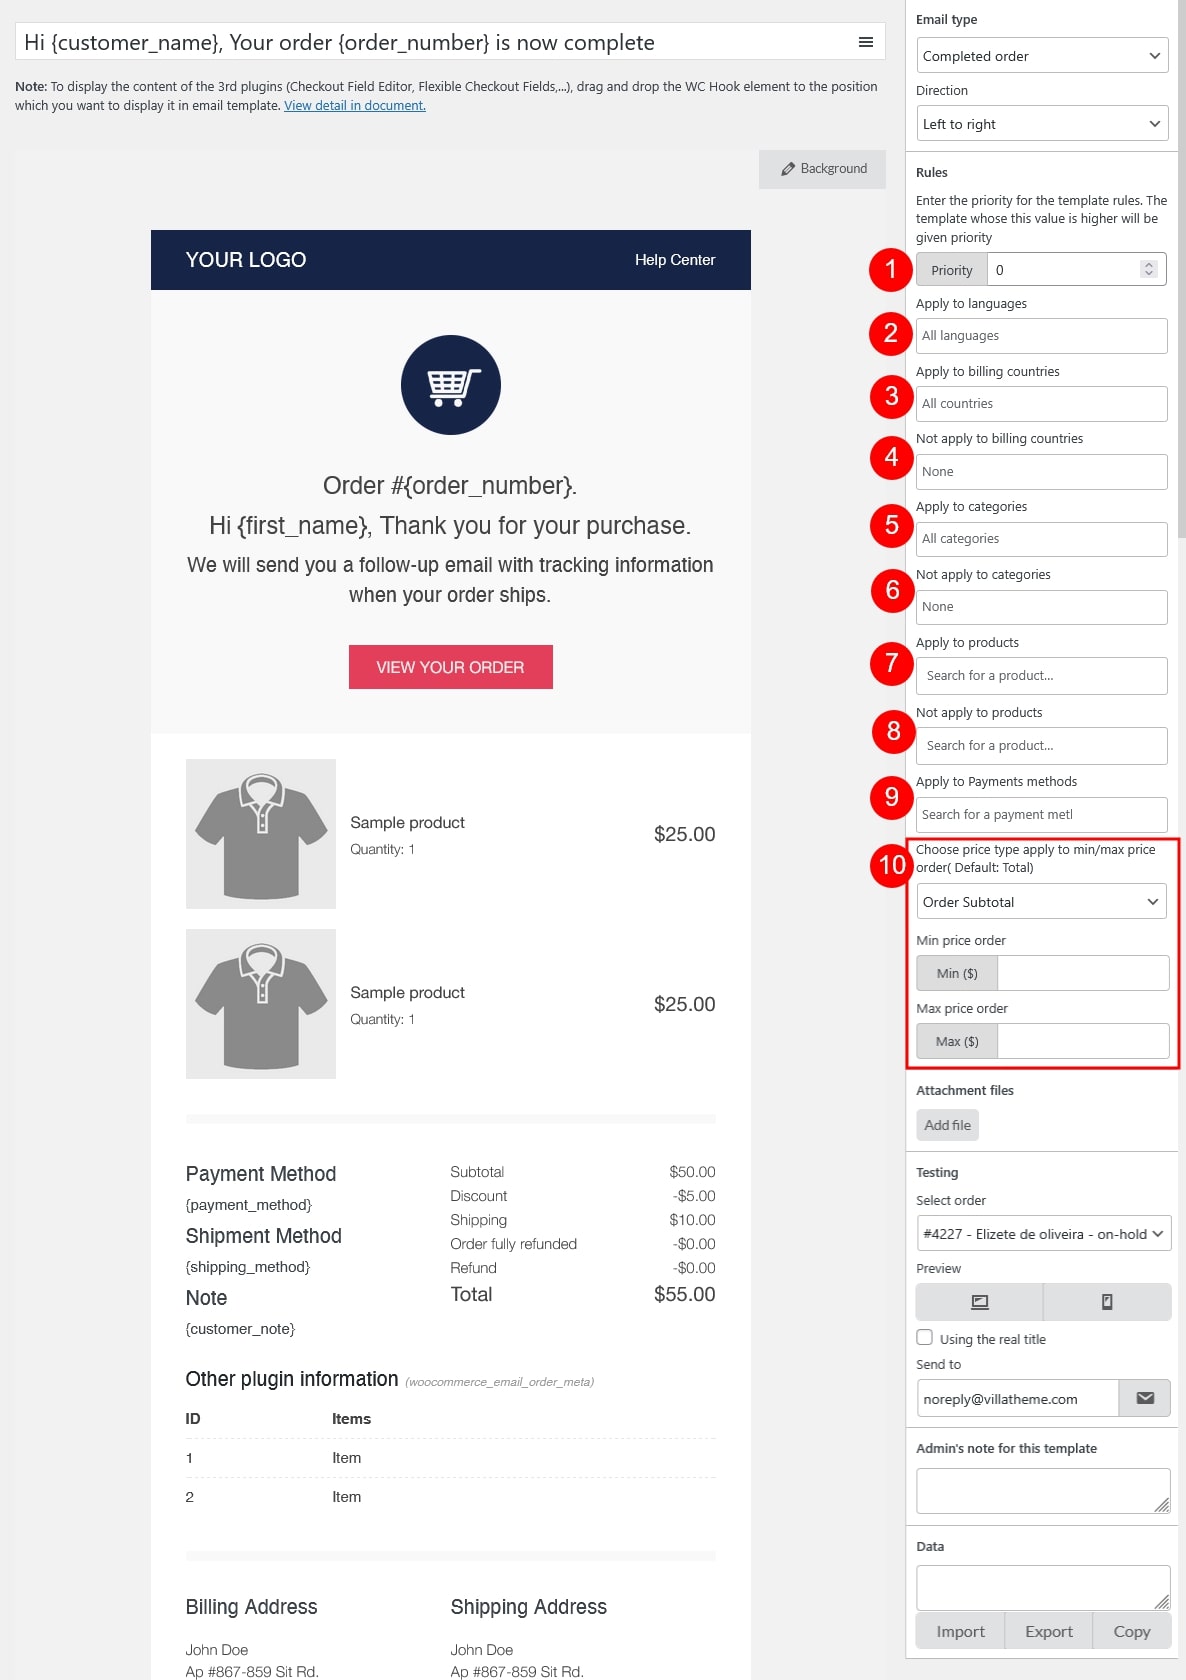
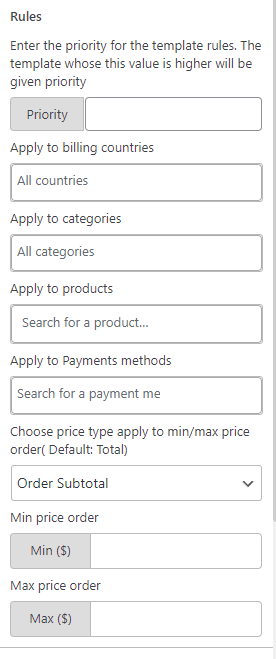
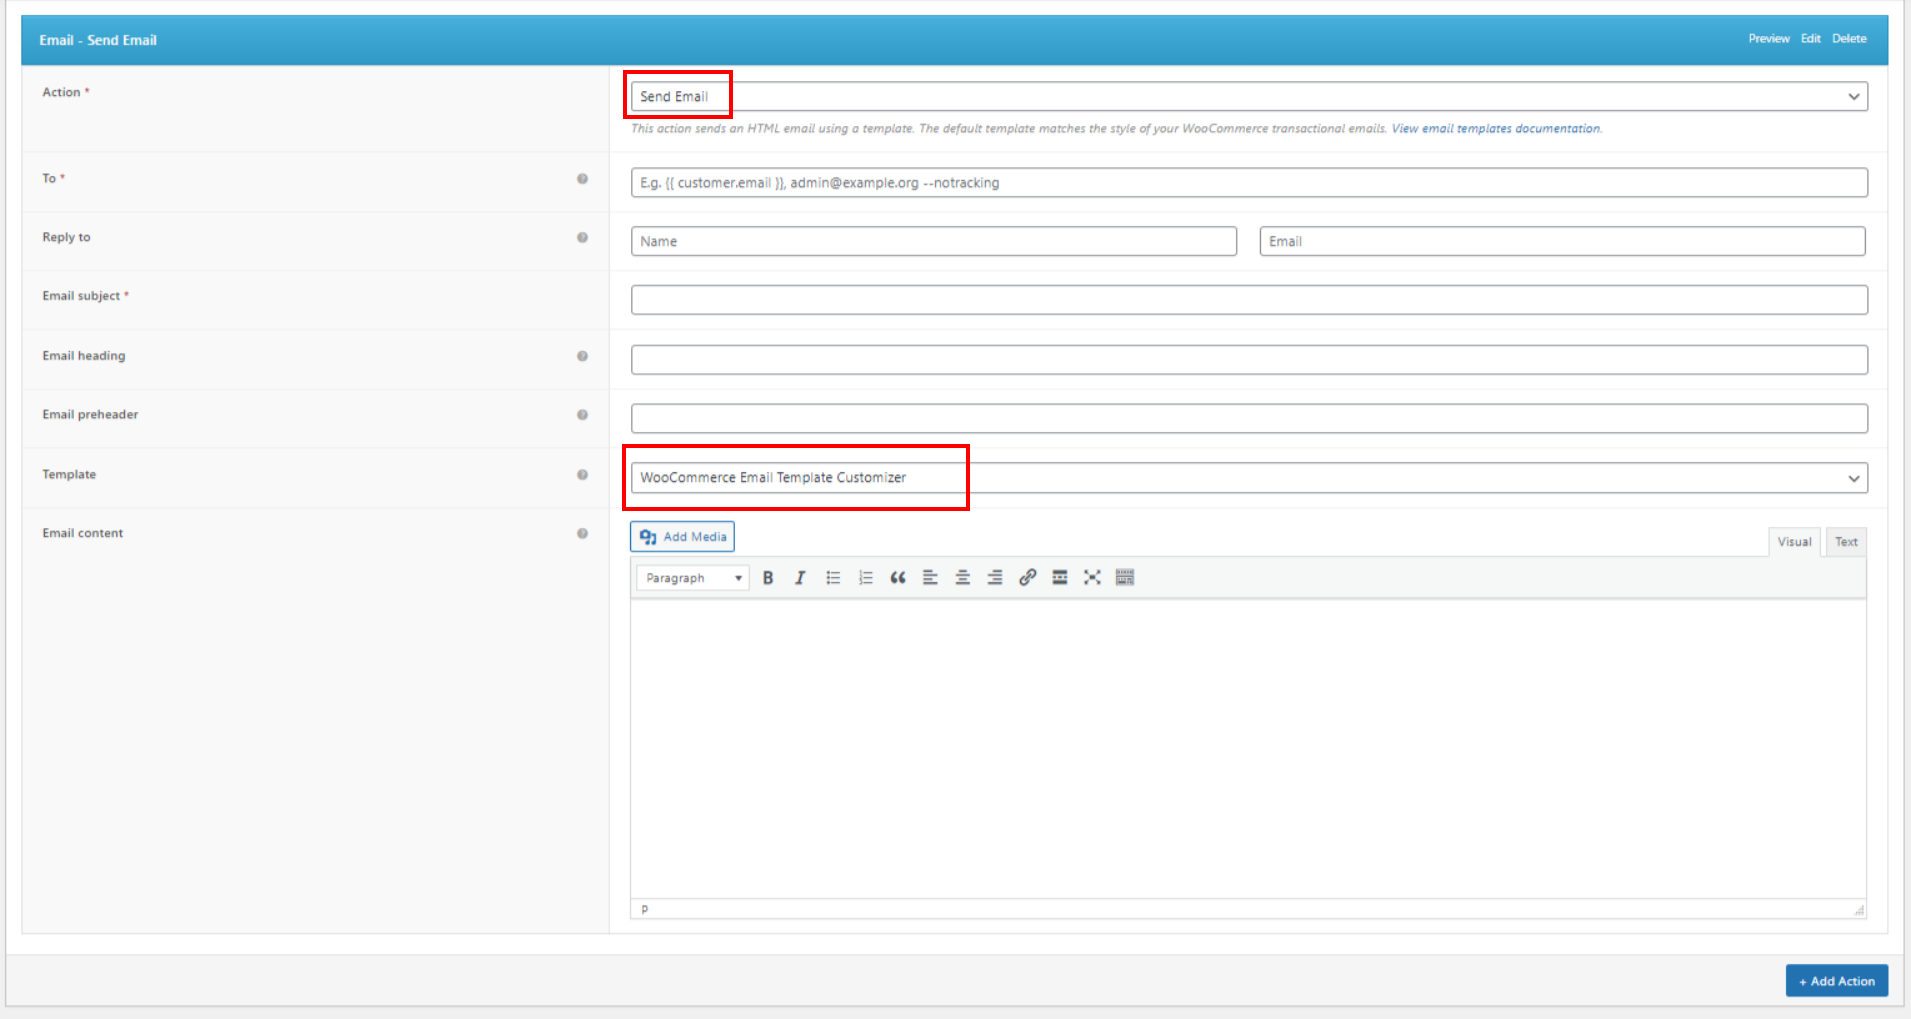
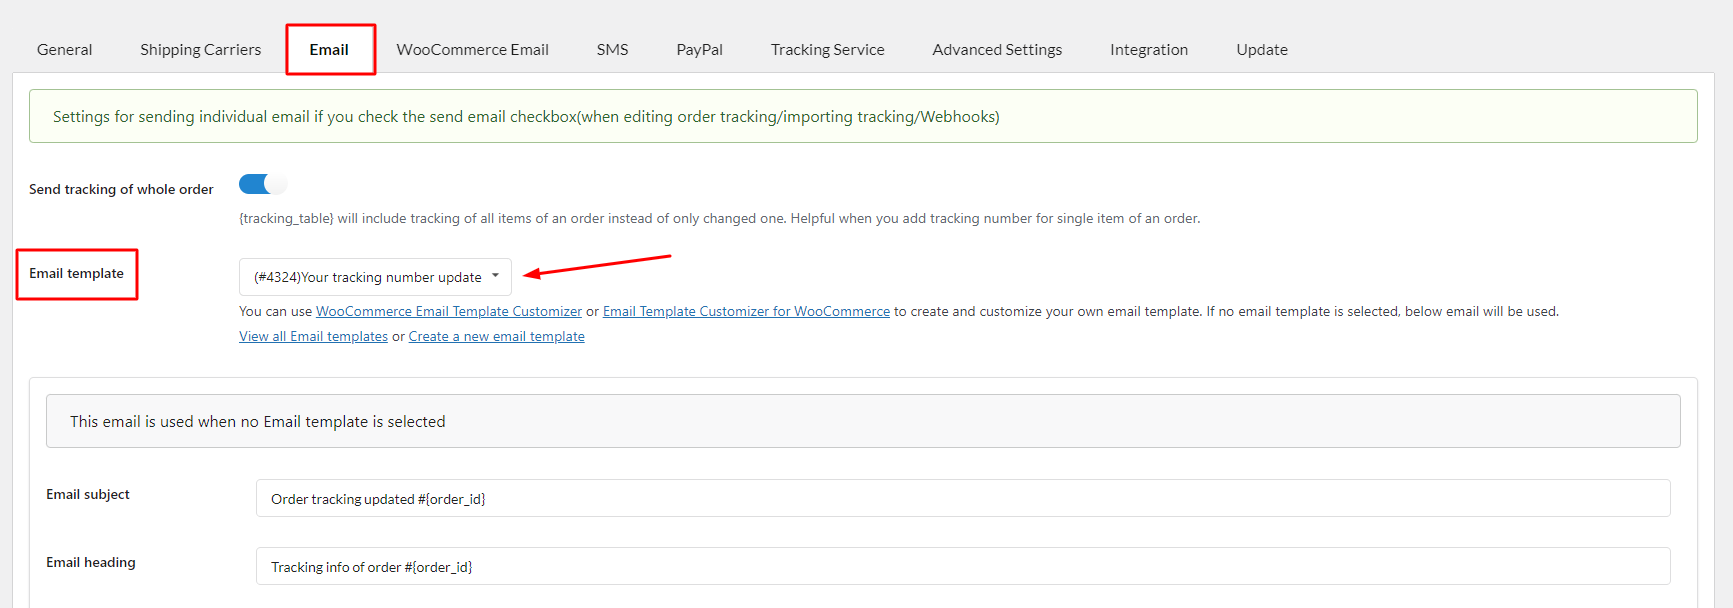
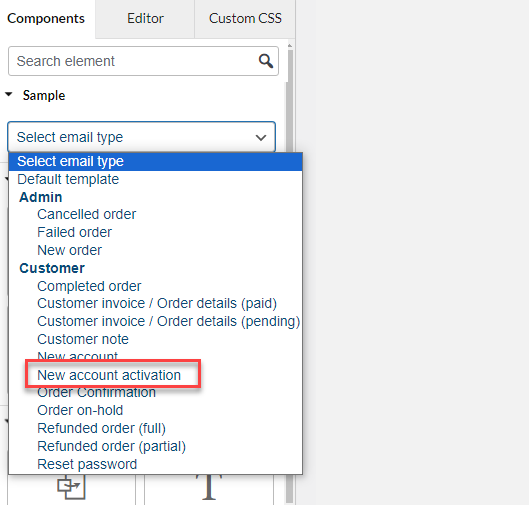
- Settings for email: Select to assign email type, billing country and/or category even in the email template.
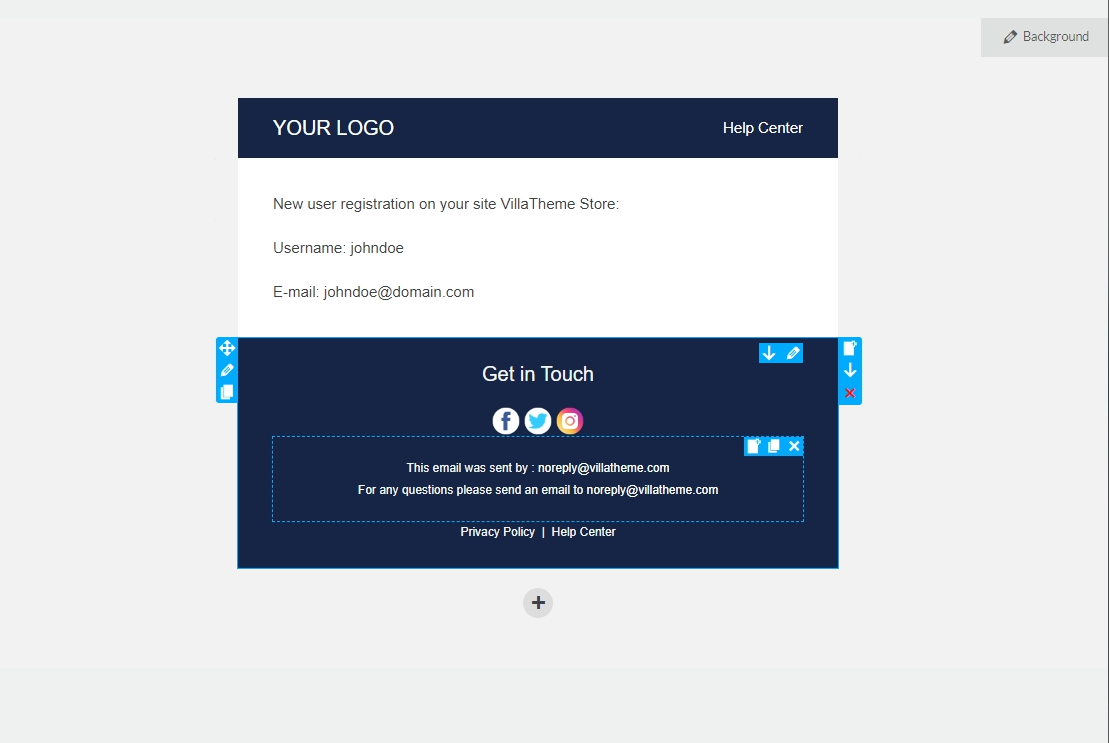
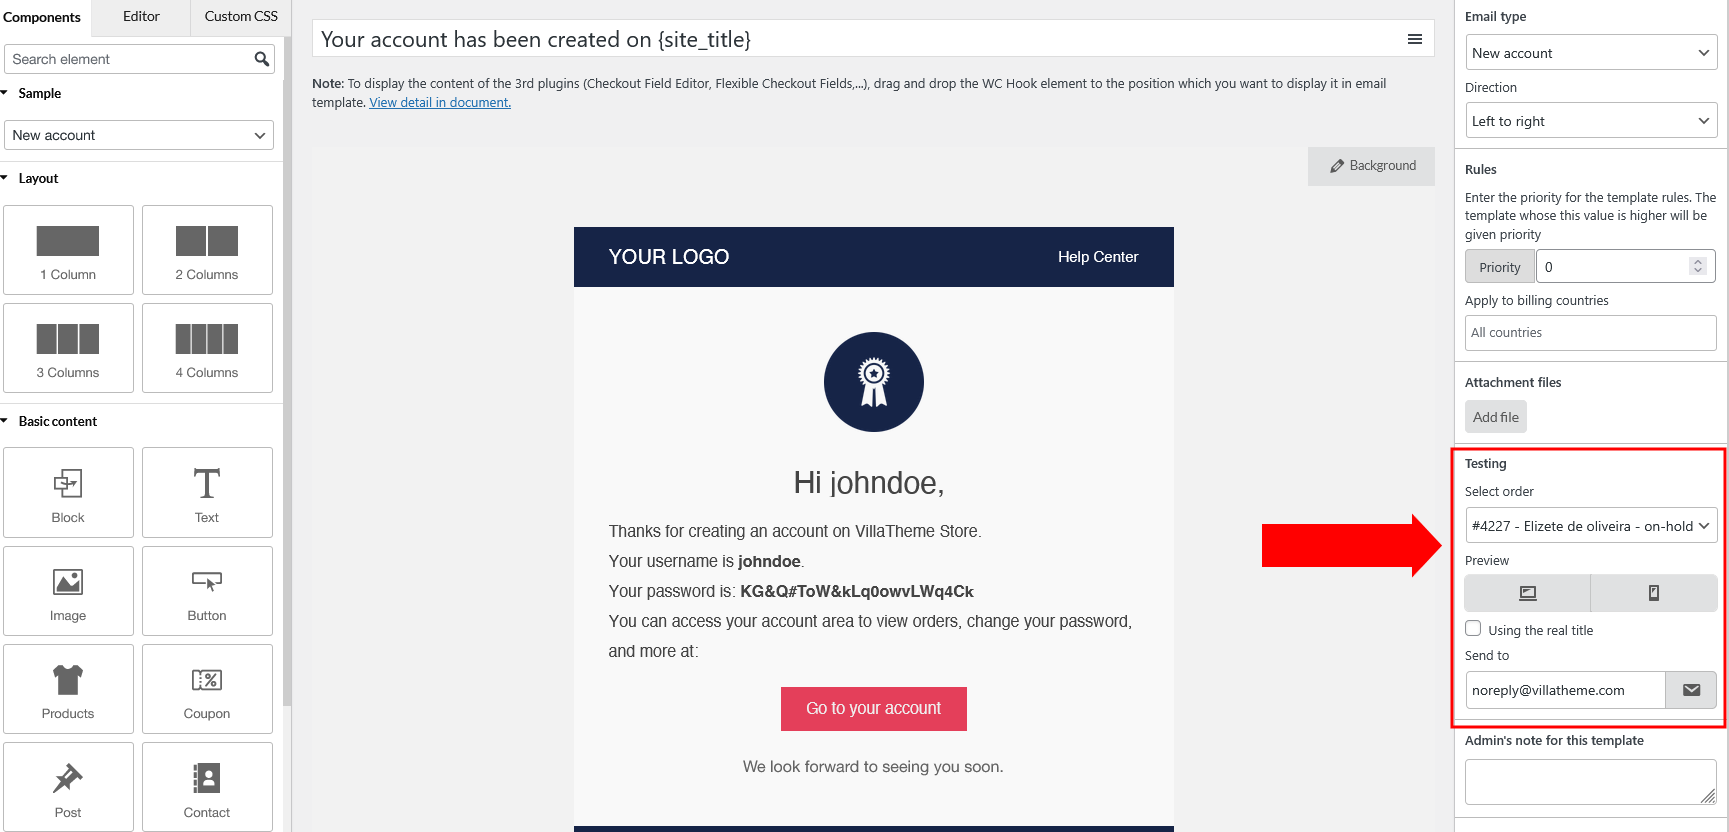
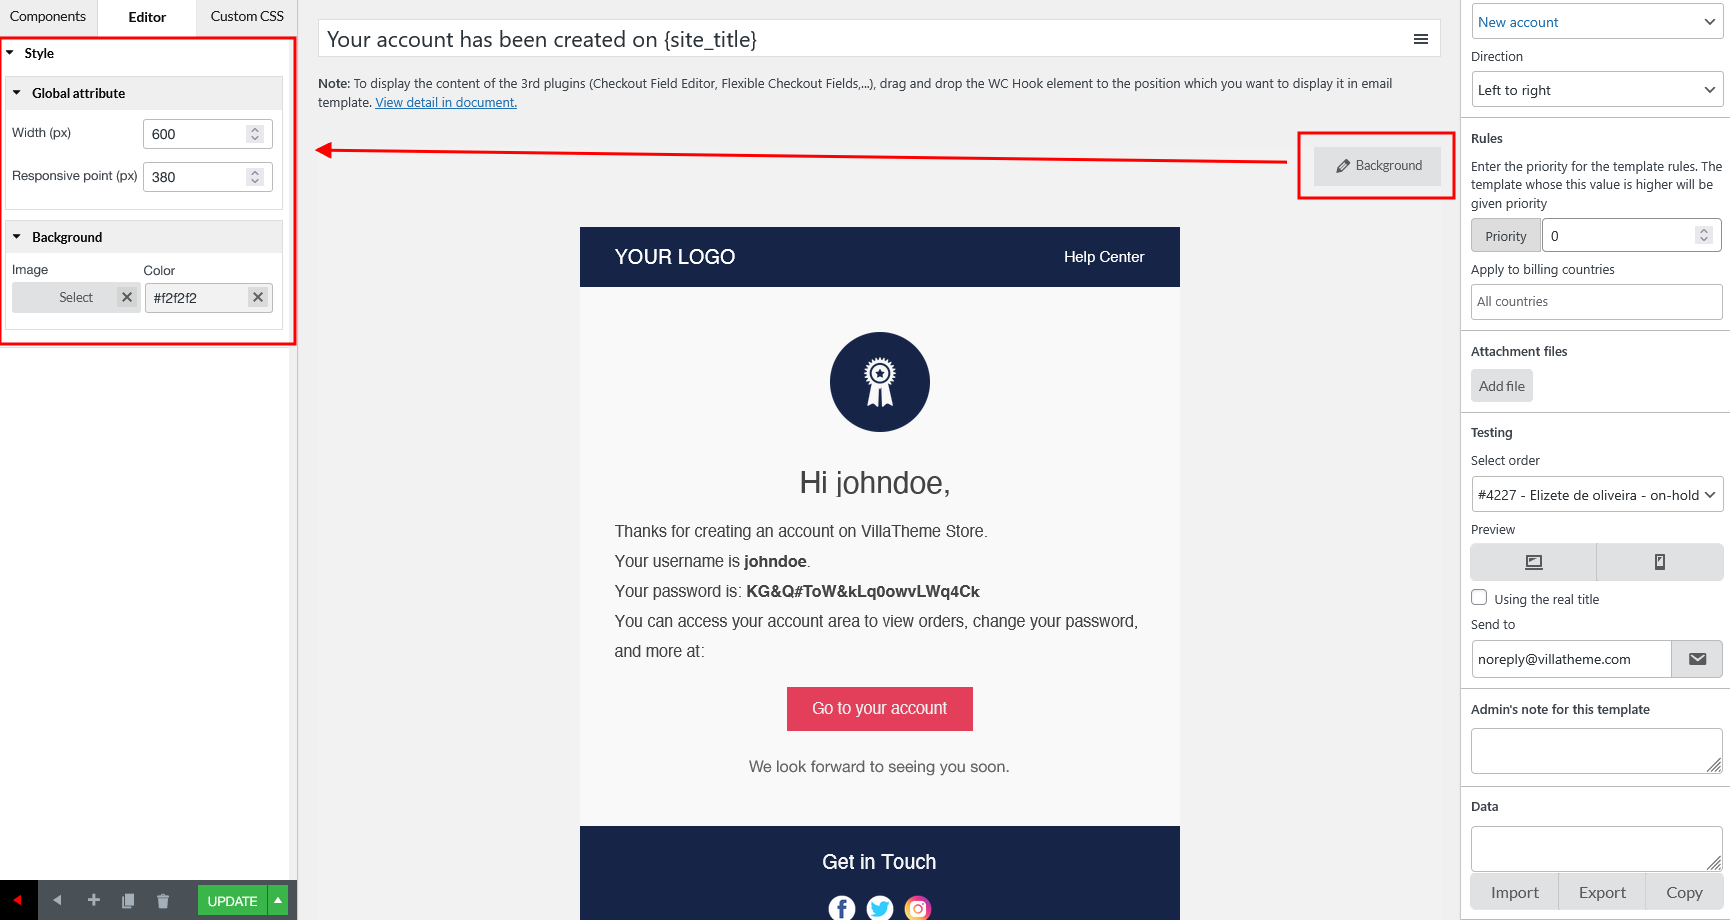
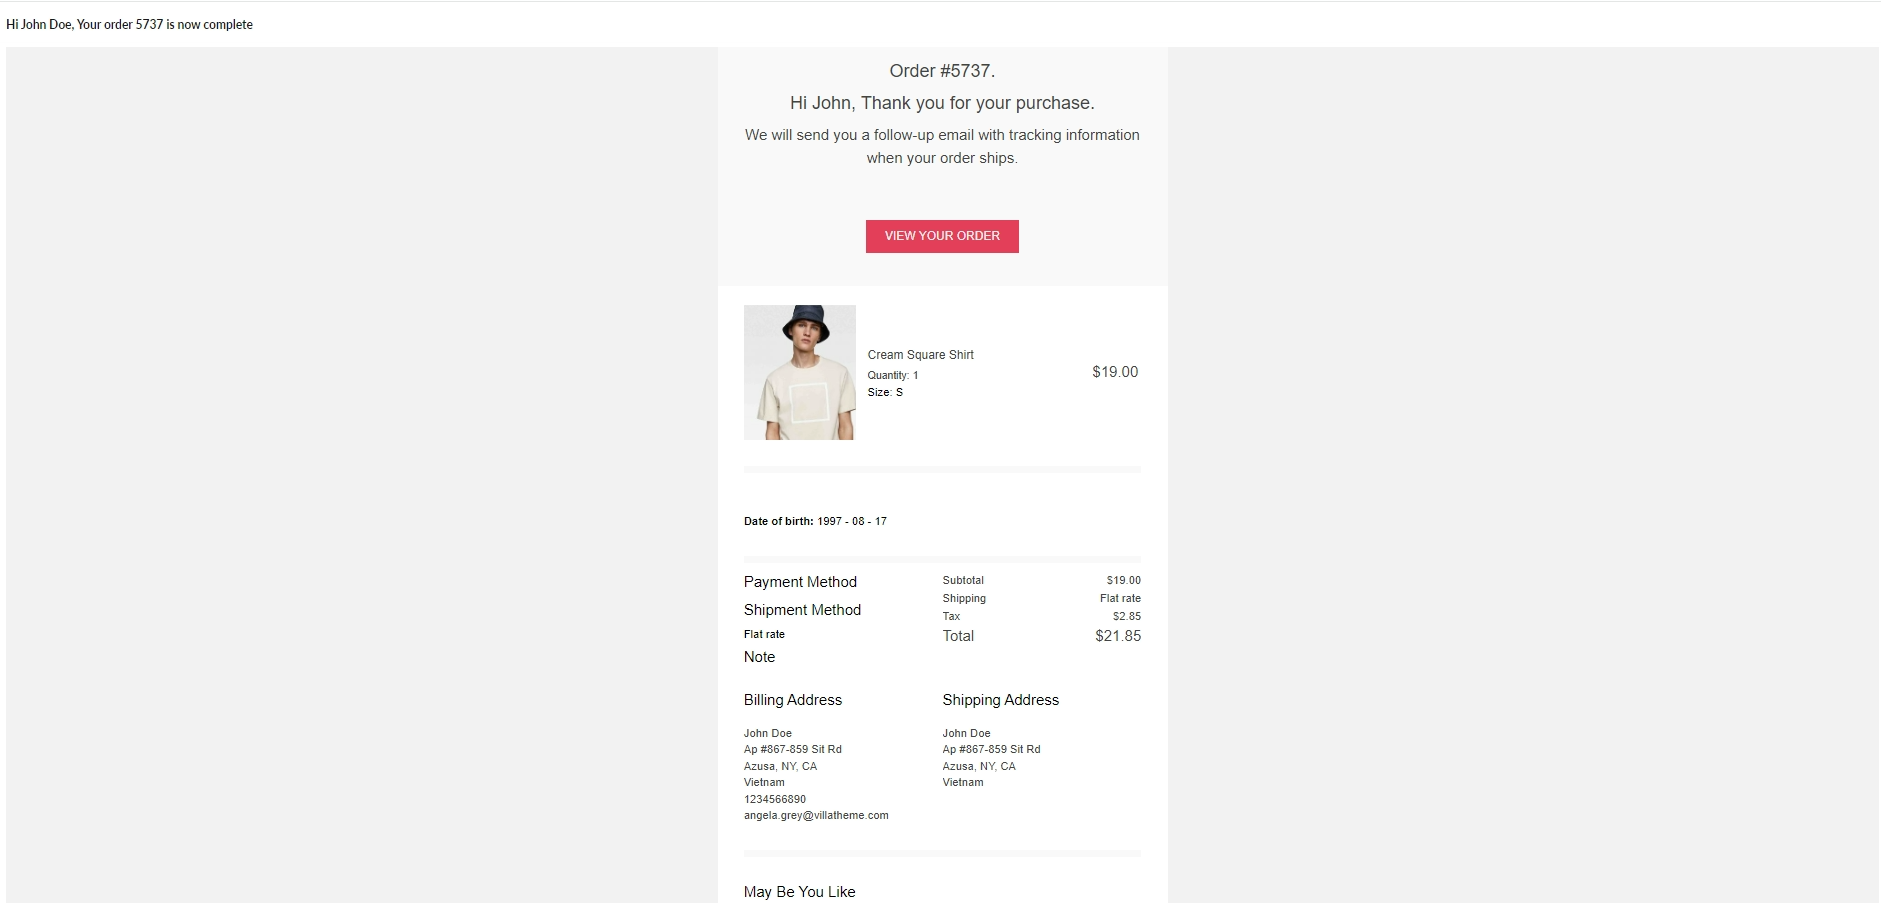
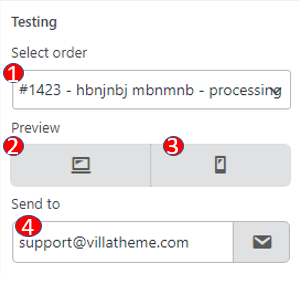
- Live Preview of Changes – visually observe emails by the preview, update any changes in the preview mode, integrate to see on the desktop, mobile.
- Send Test Emails – Check the email design before the real sending.
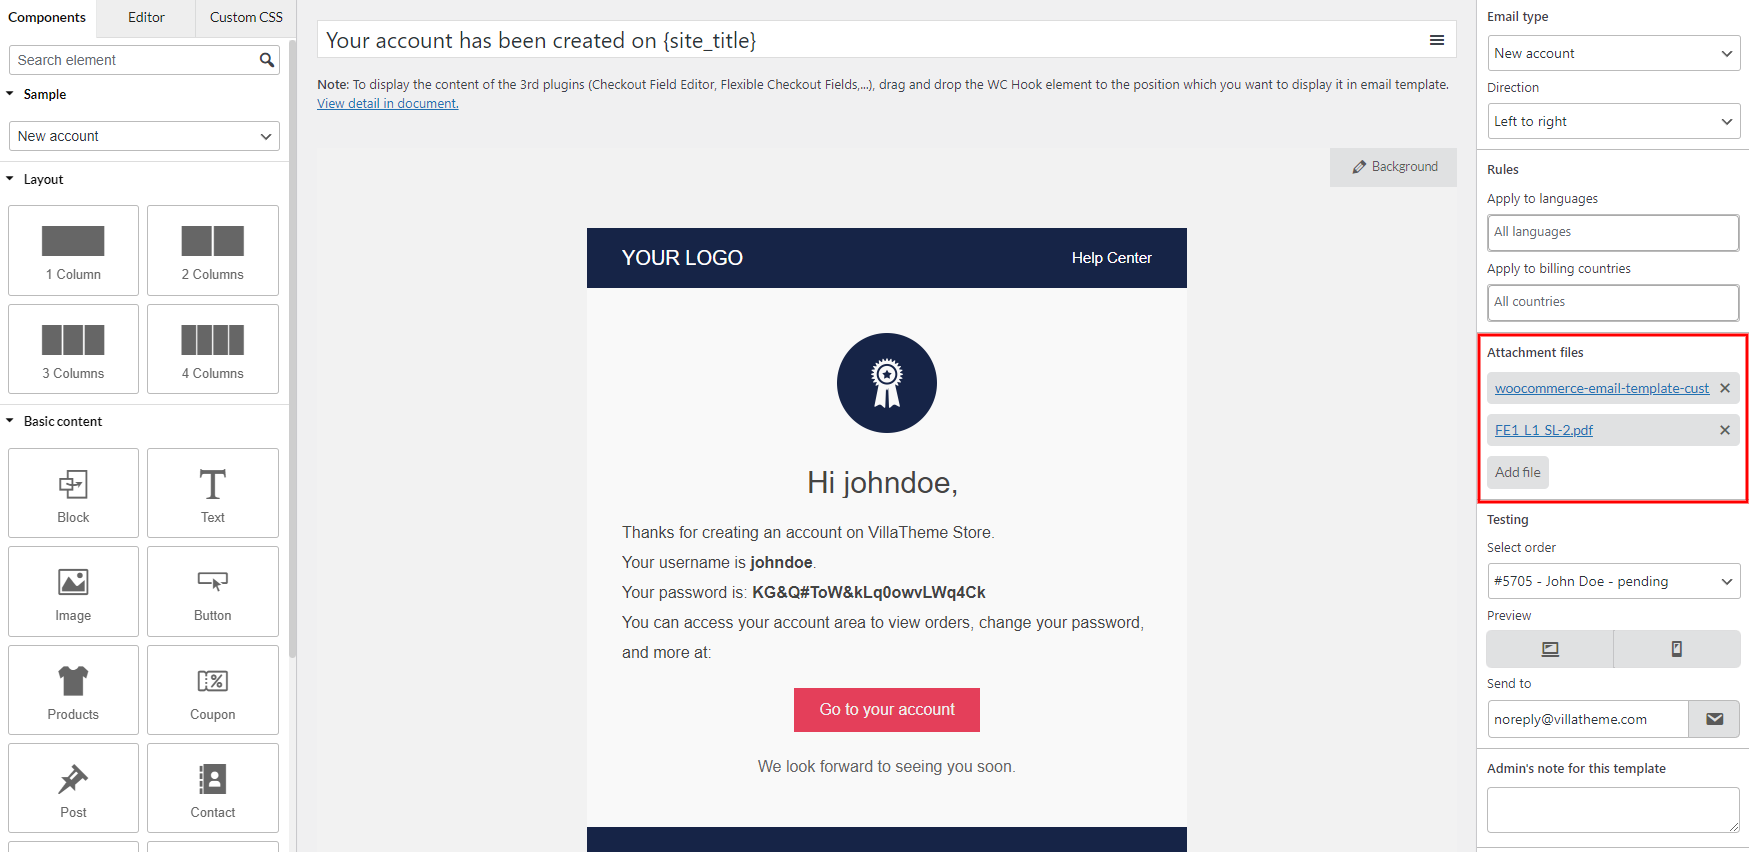
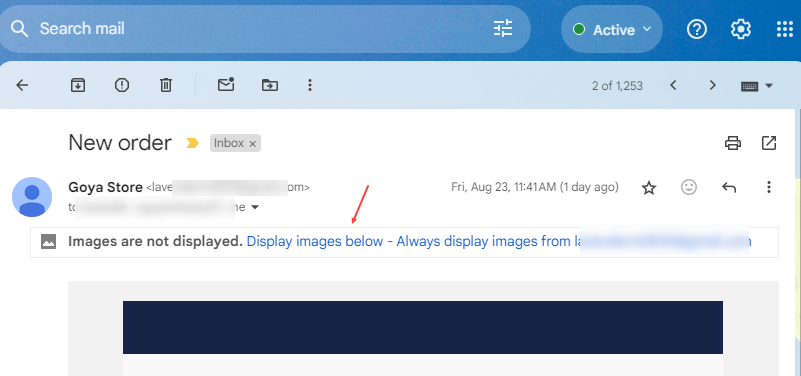
- Add Images to WooCommerce Emails – Add images in your email templates and make them attractive with banners, logos, featured images, etc.
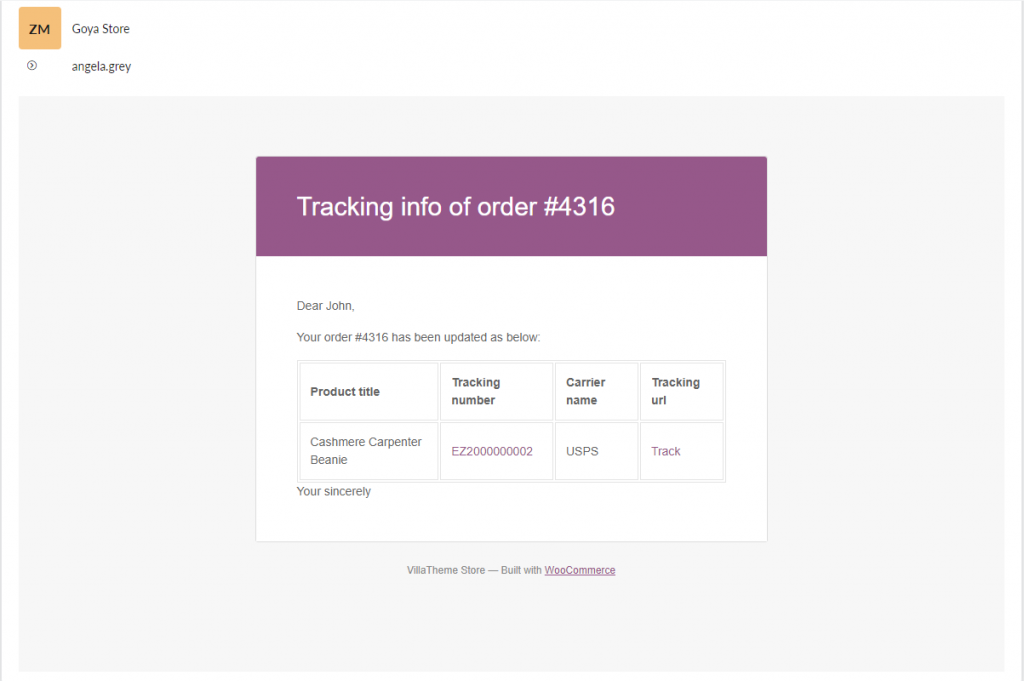
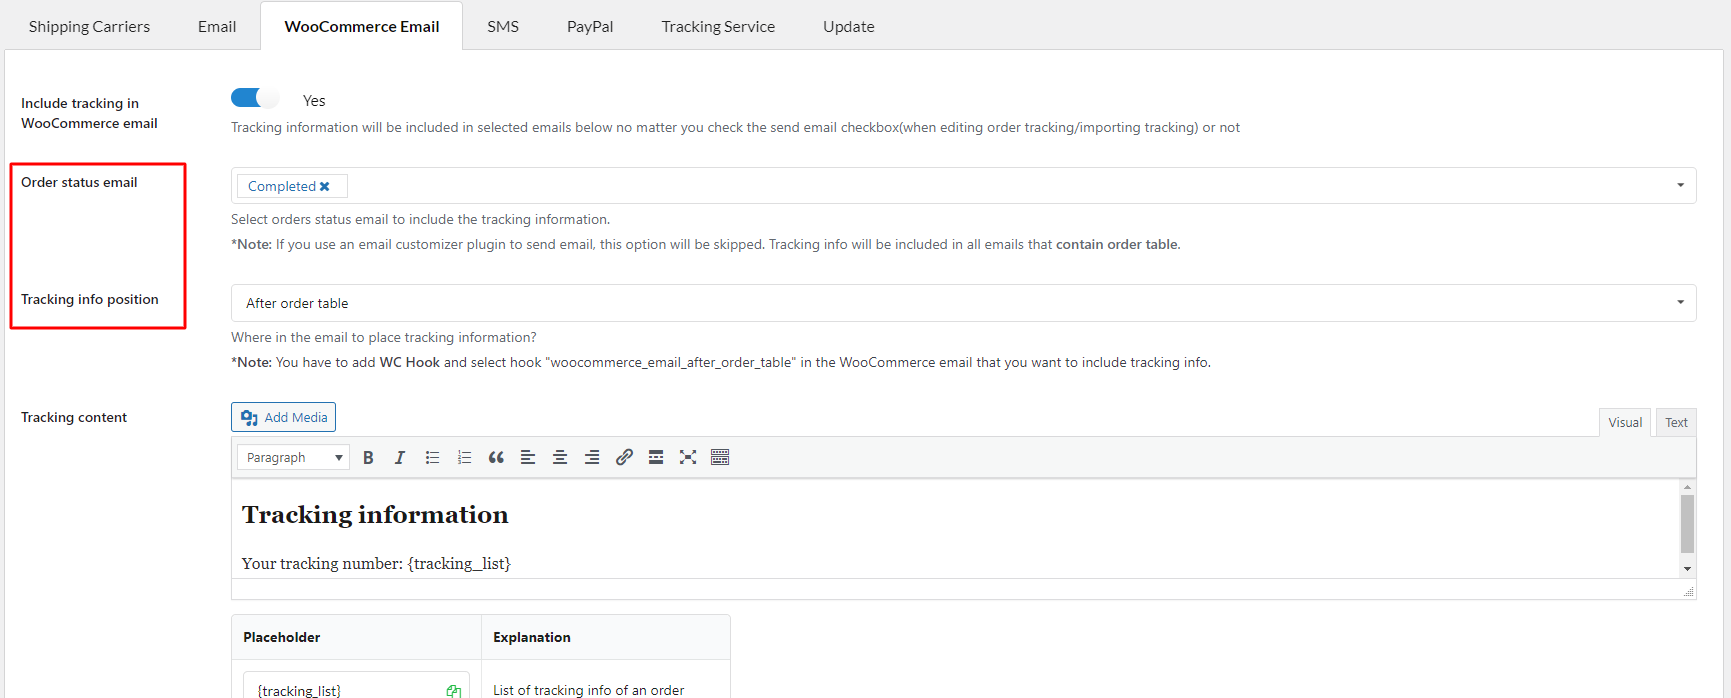
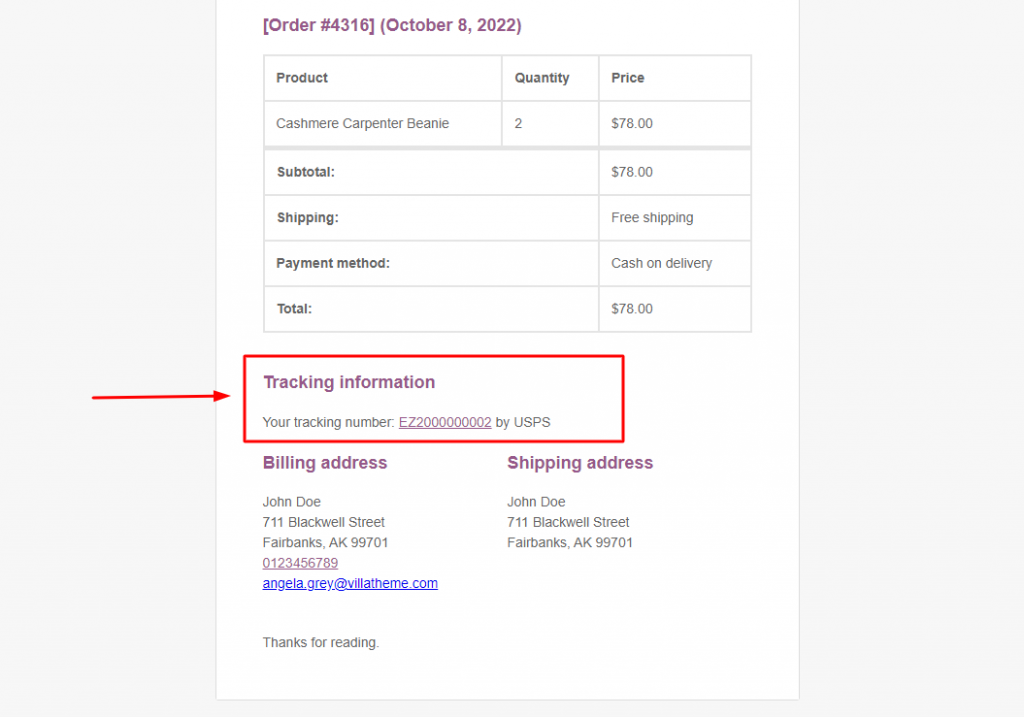
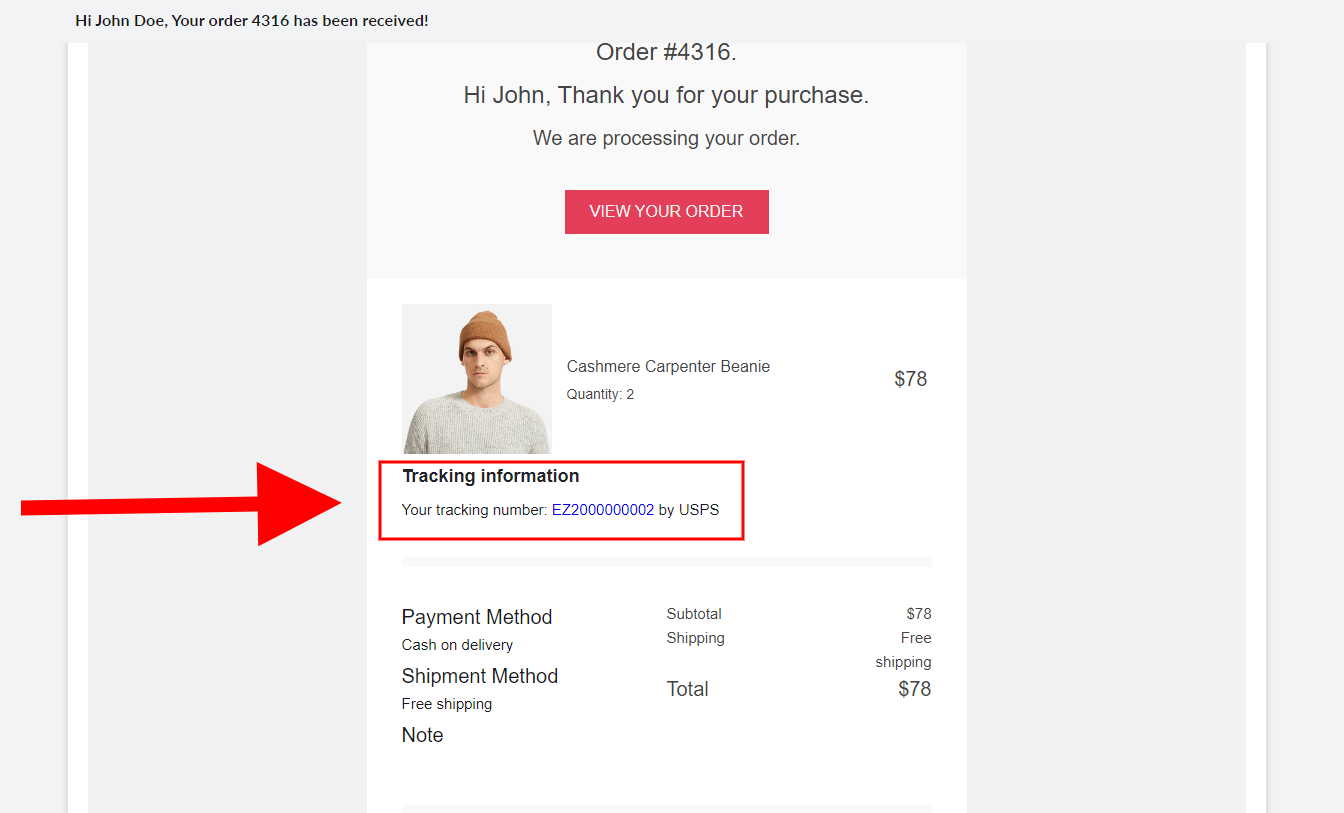
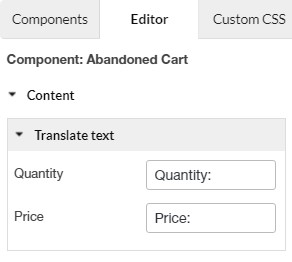
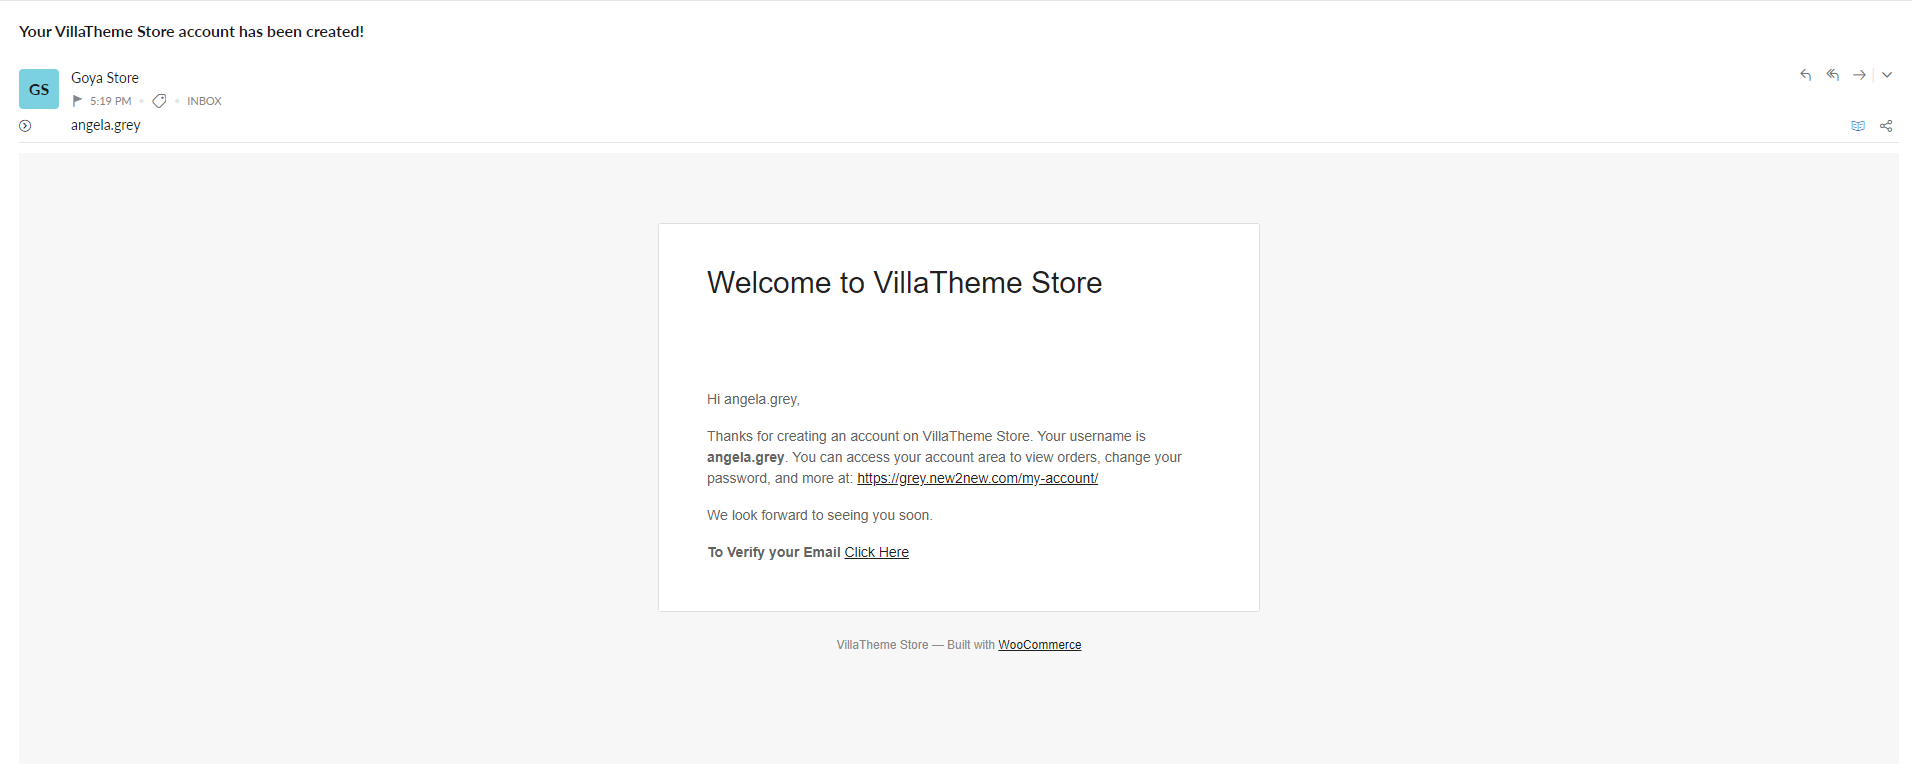
- Display Dynamic Data with Placeholders – Displaying placeholders makes it easy to design templates. Placeholders such as customer name, site name, User name, Password, My account URL which will be replaced by real user/order data while sending the WooCommerce emails.
- Compatibility with Most VillaTheme’s plugins – That helps you customize and send emails of VillaTheme’s plugins.
- Responsive and work perfectly on any devices.
- Start
- FILE INCLUDES
- INSTRUCTION
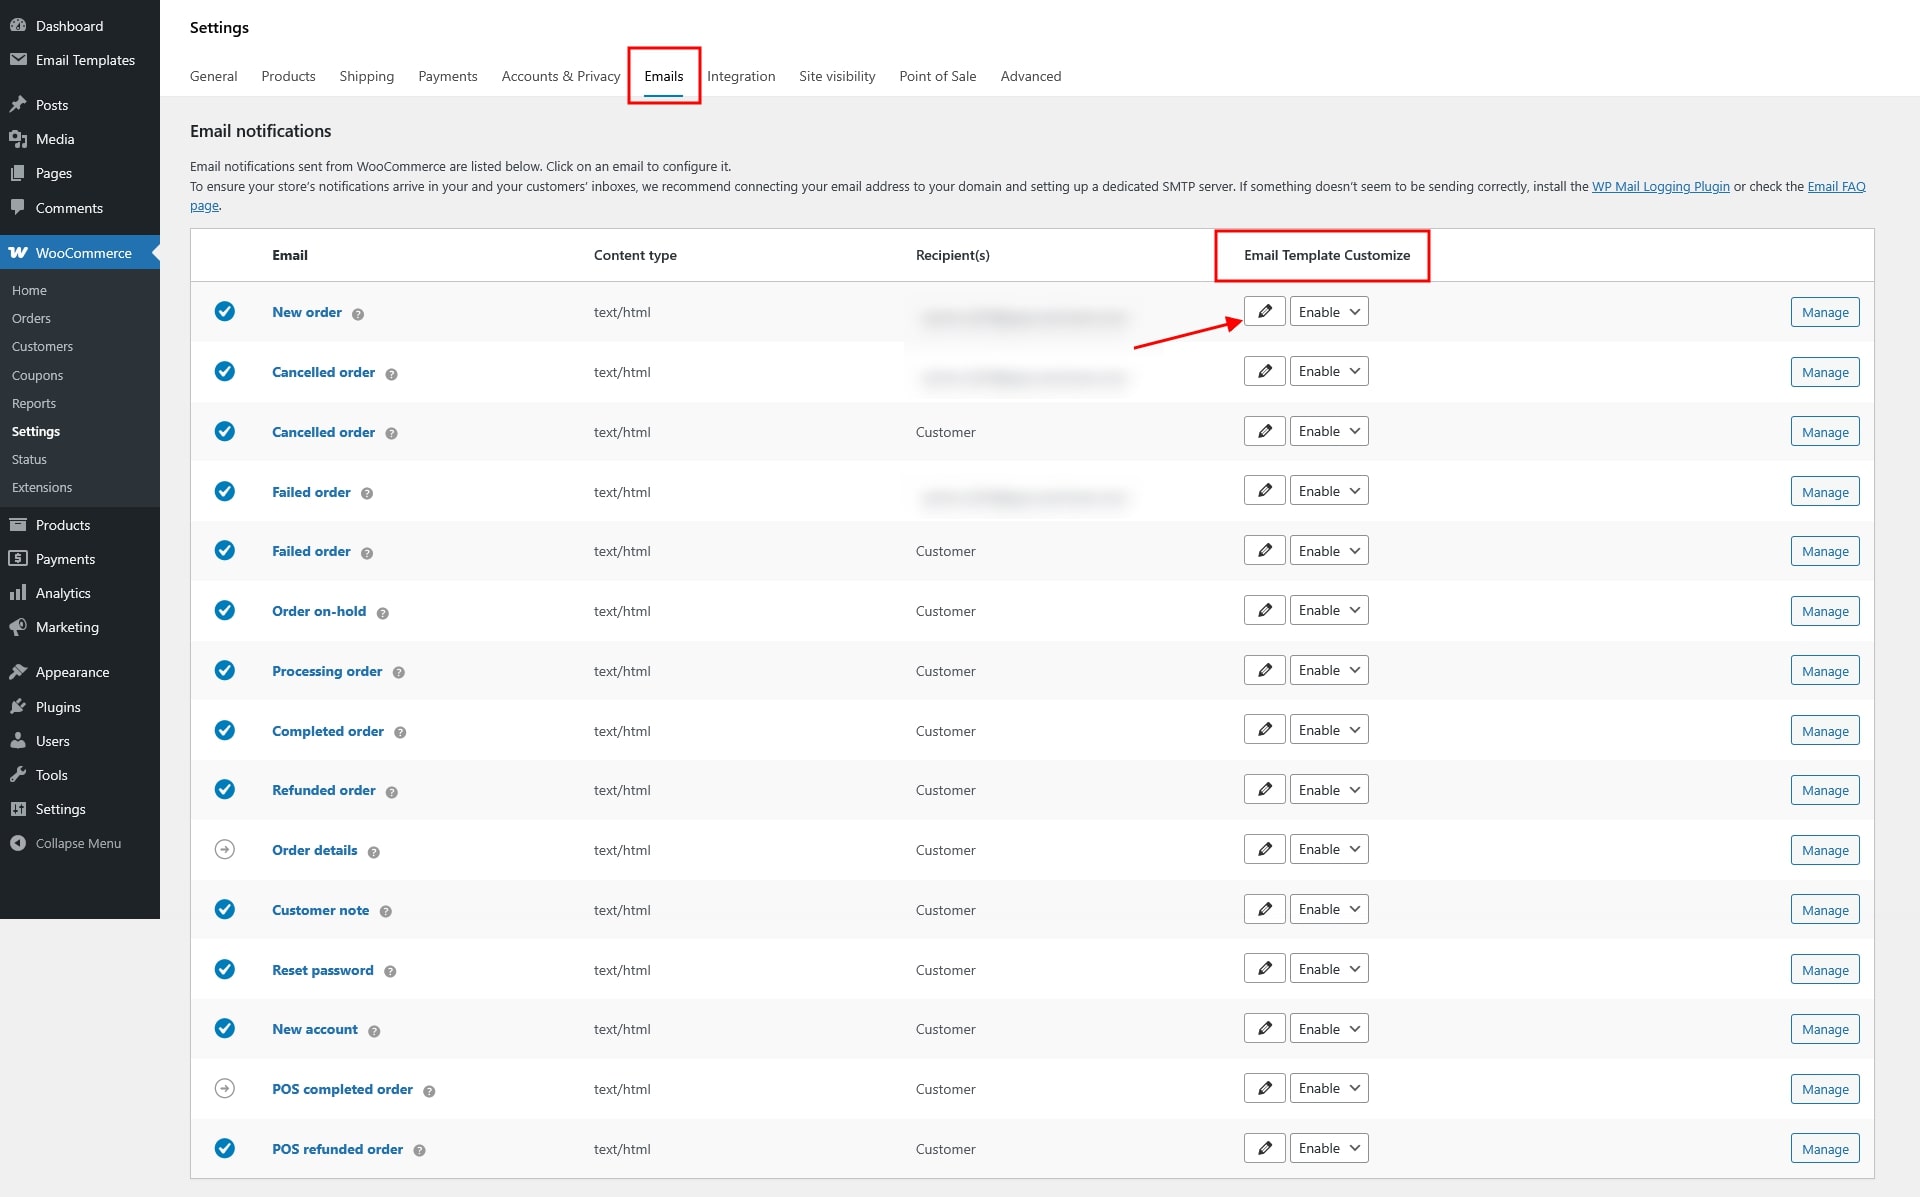
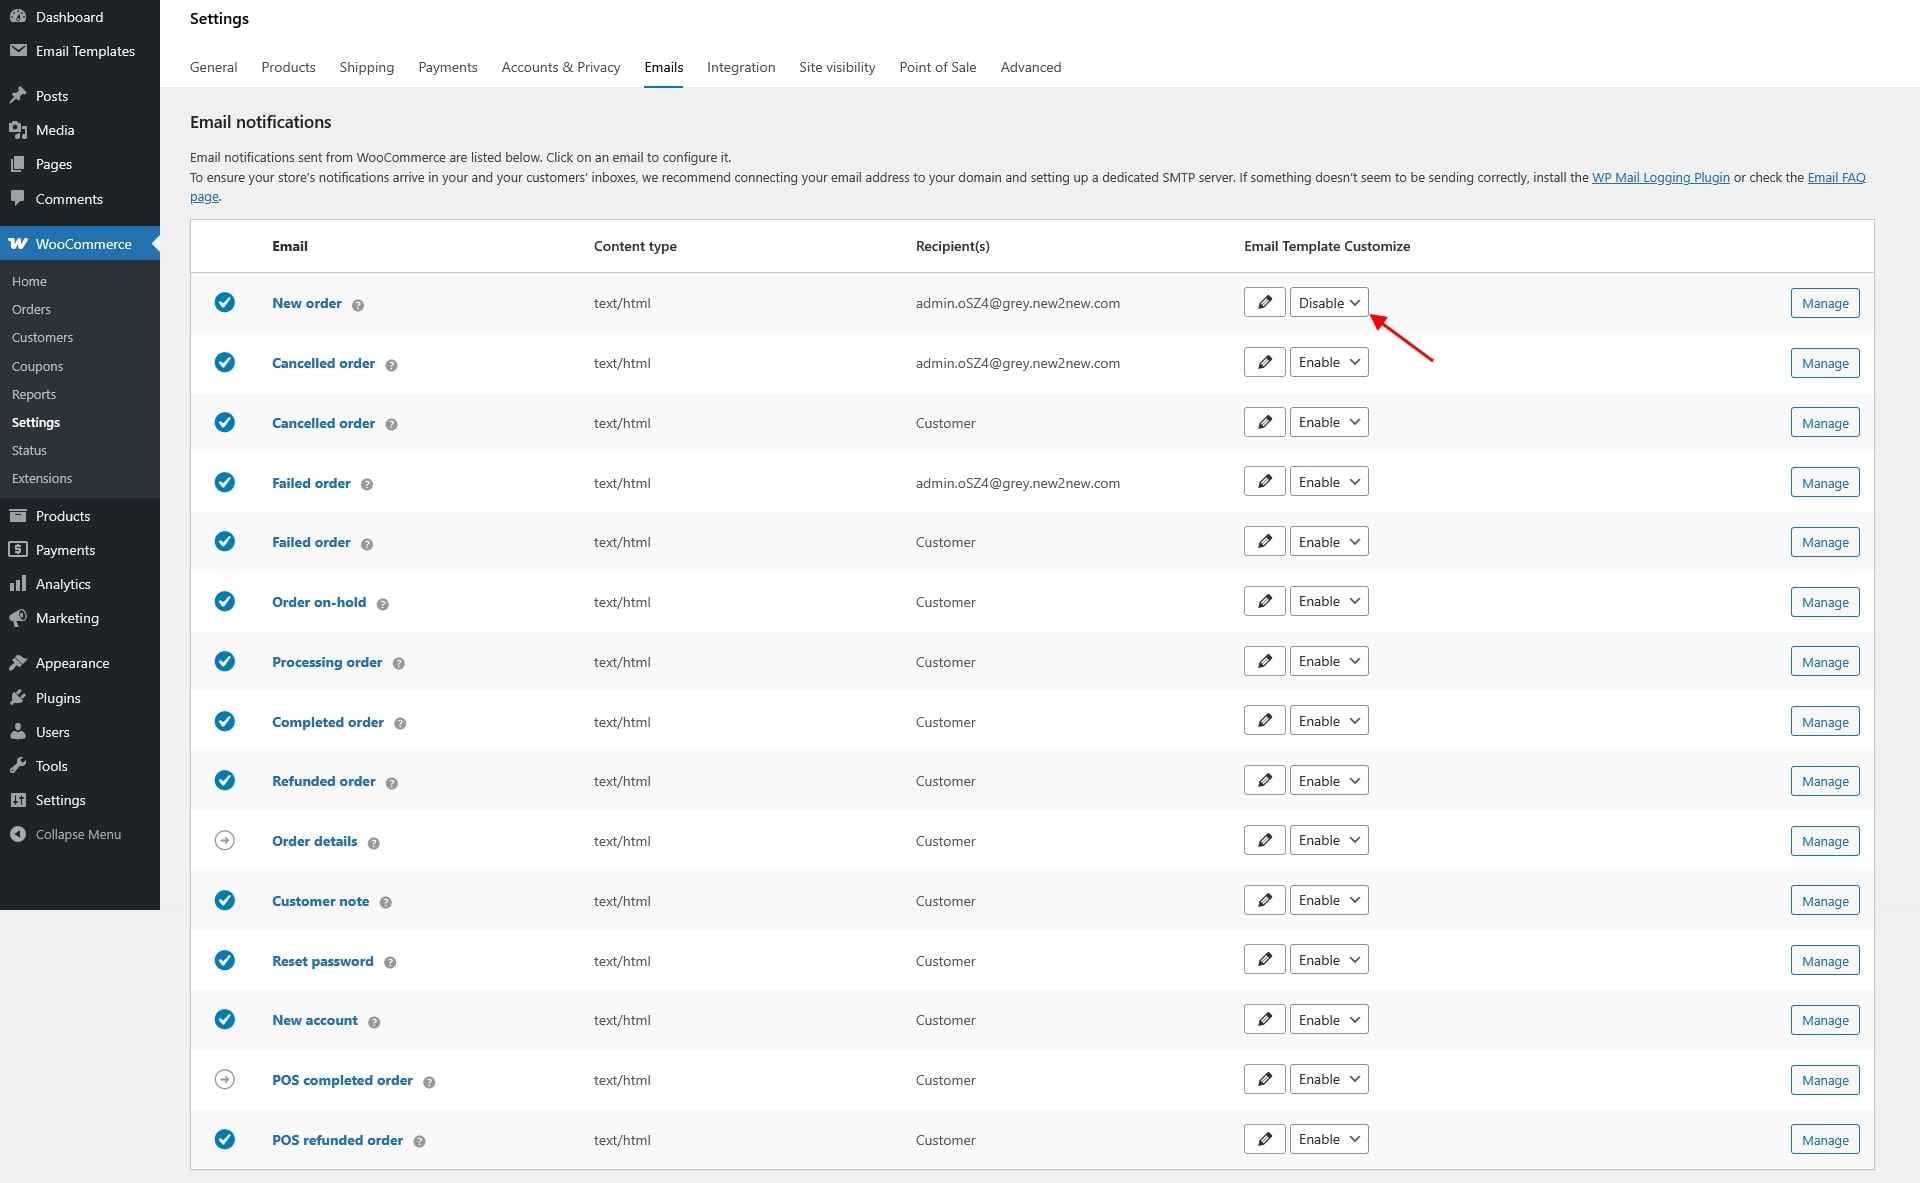
- INSTALLATION
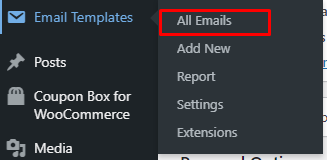
- HOW TO USE
- How does it work
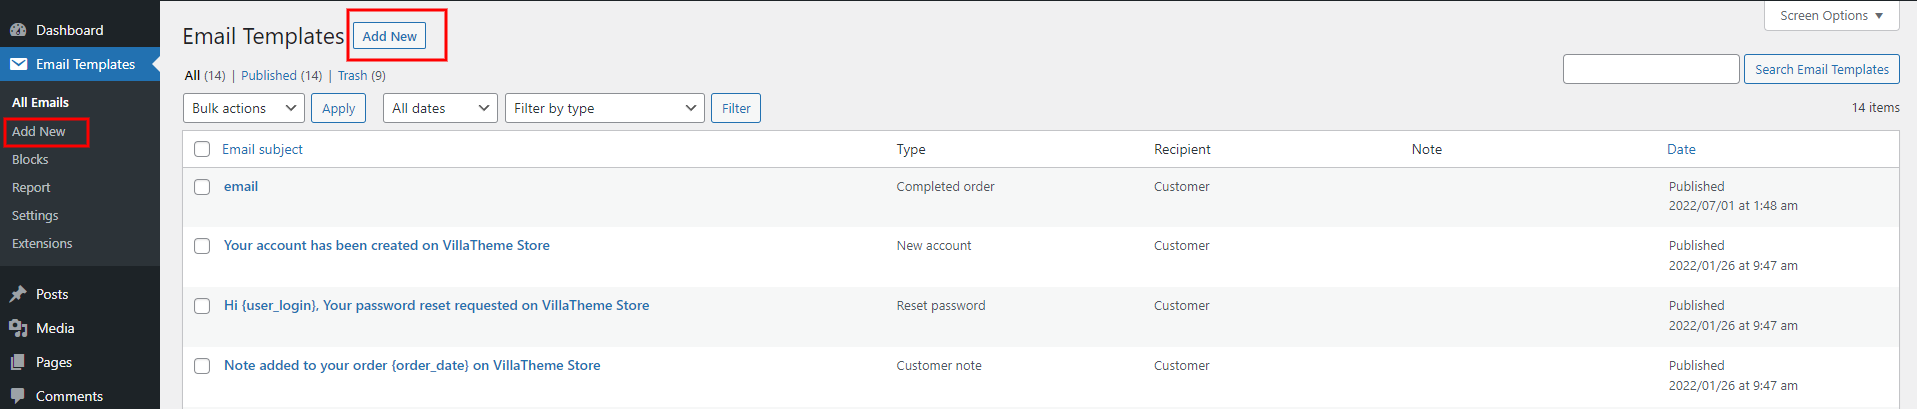
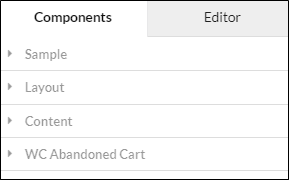
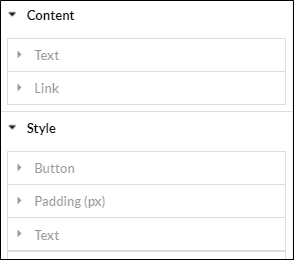
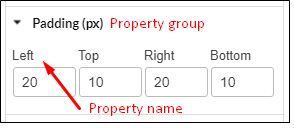
- EMAIL PANELS OVERVIEW
- CUSTOMIZE AVAILABLE TEMPLATES
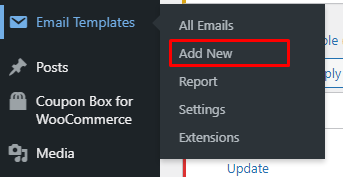
- BUILD YOUR NEW EMAIL TEMPLATE
- BASIC ELEMENTS
- Text
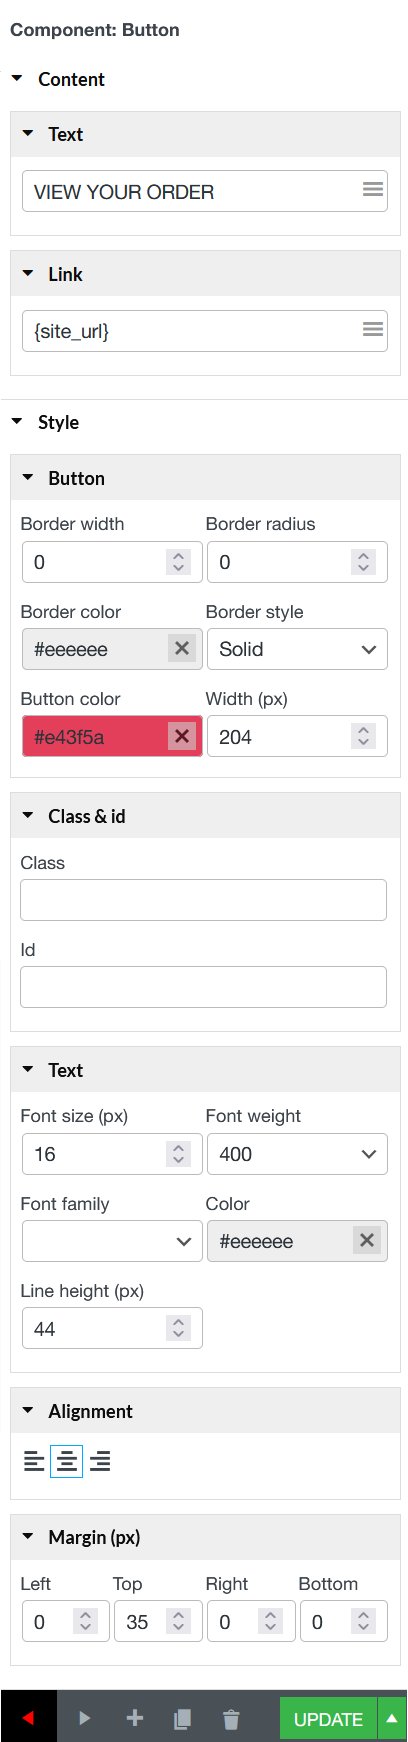
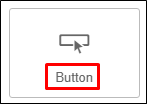
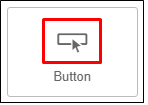
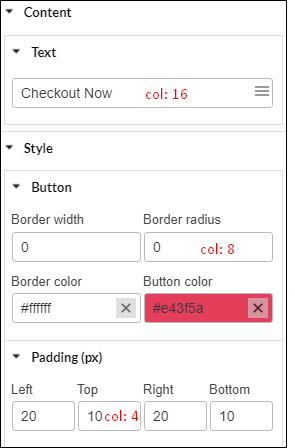
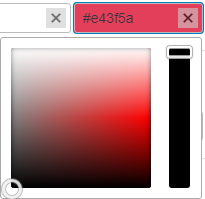
- Button
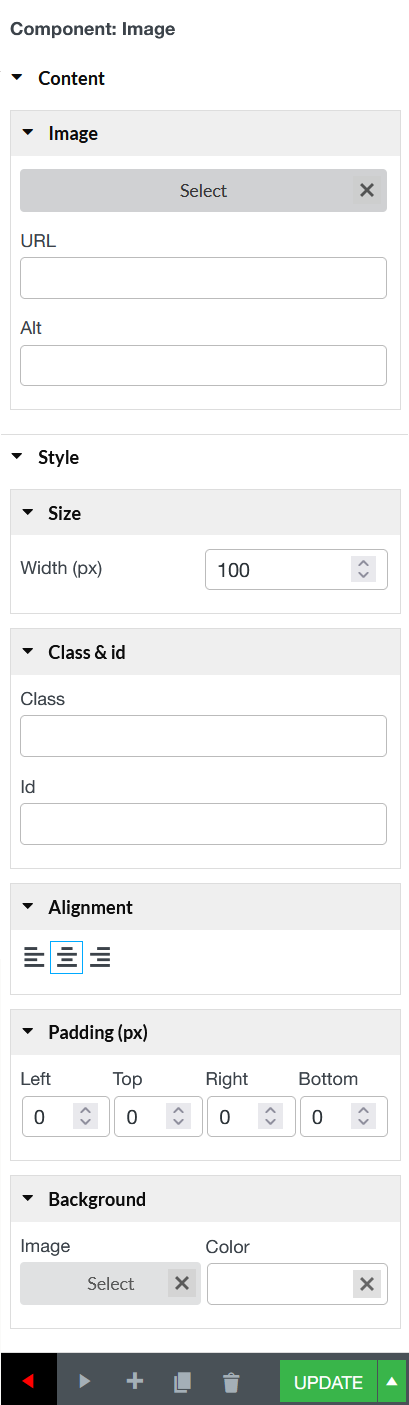
- Image
- Menu Bar
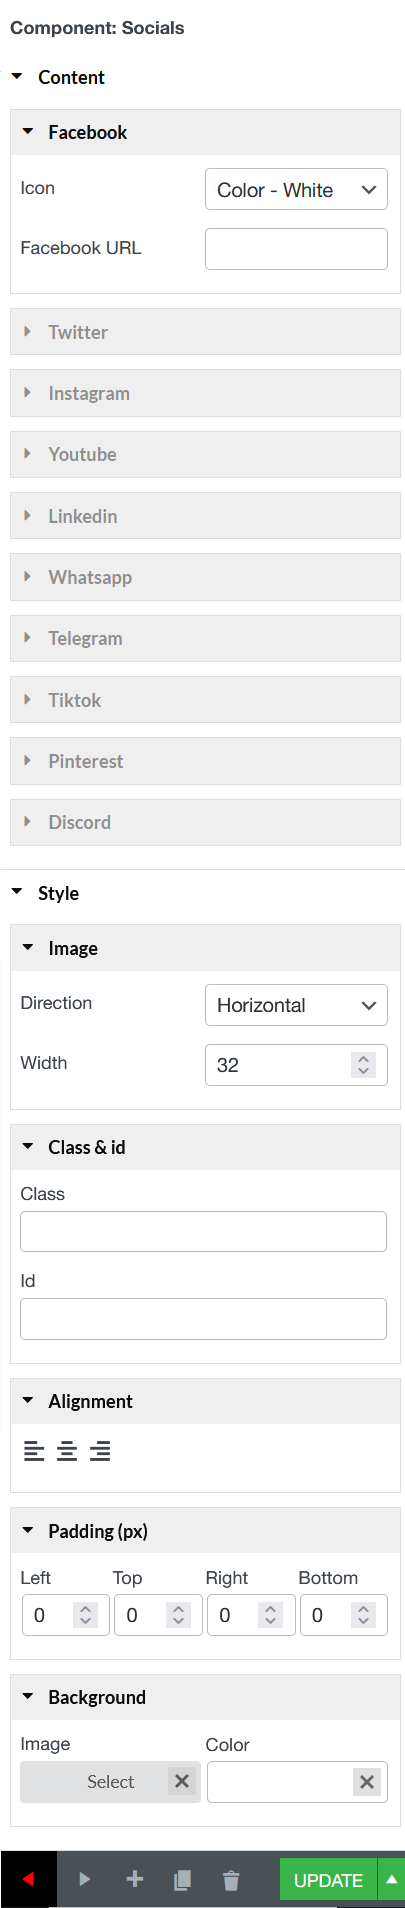
- Socials
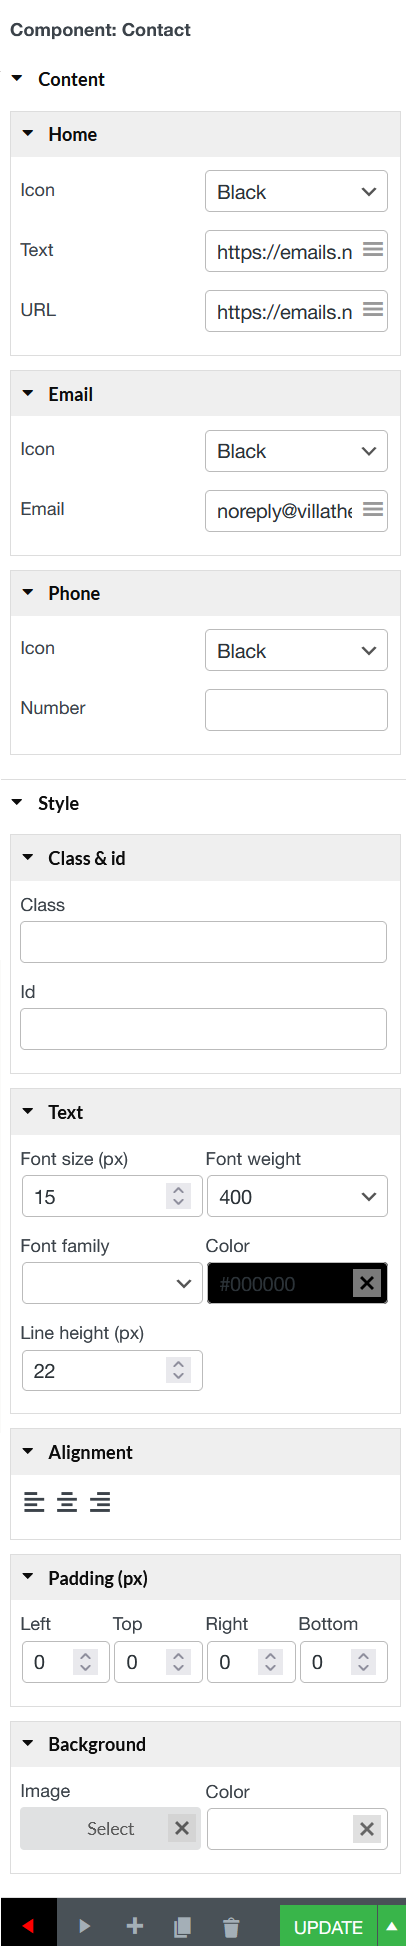
- Contact
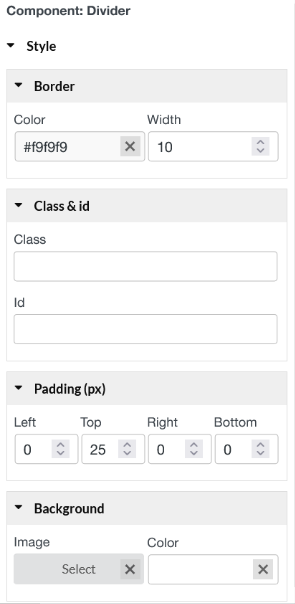
- Divider
- Spacer
- WOOCOMMERCE ELEMENTS
- Order detail
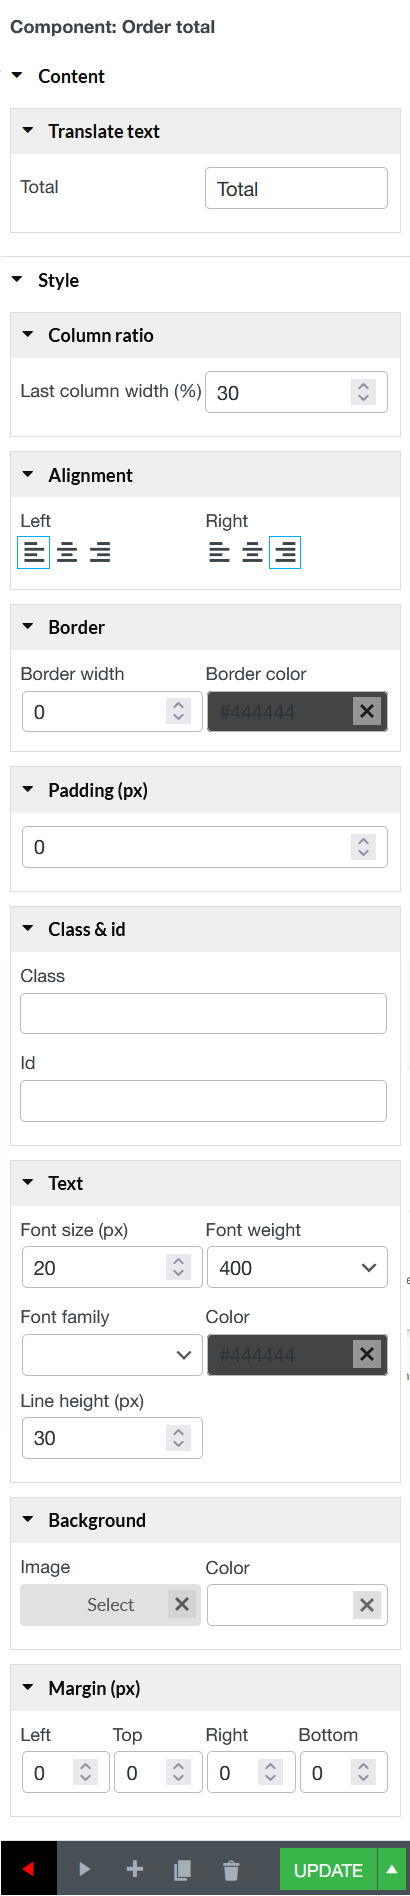
- Order total
- Order Subtotal
- Shipping method
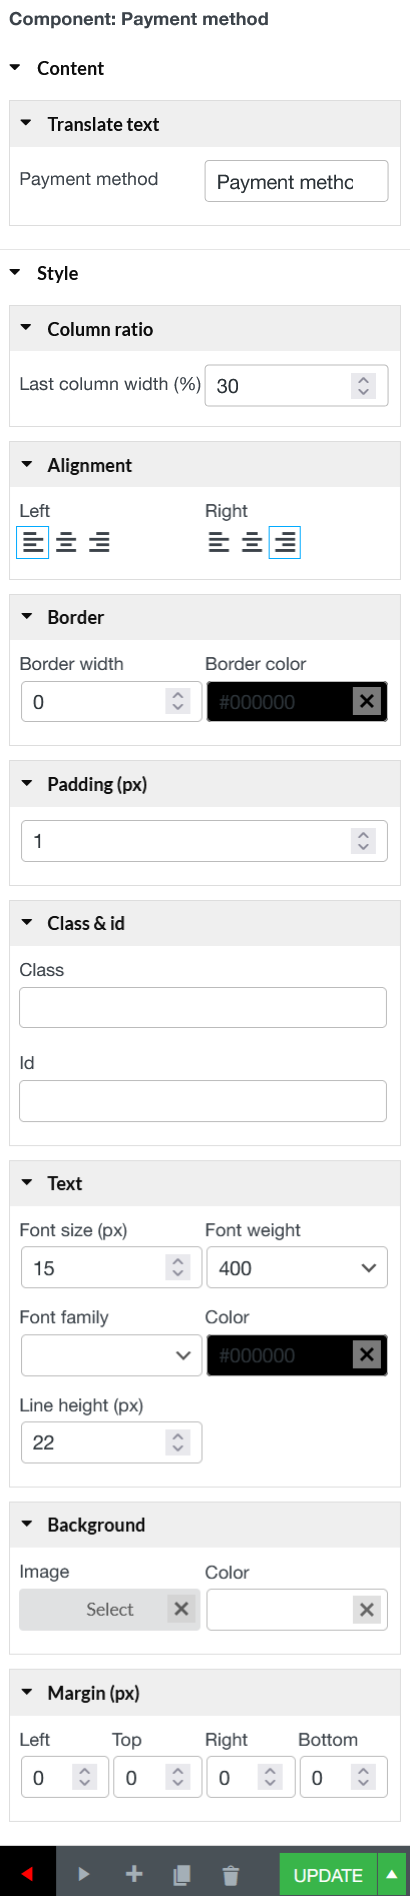
- Payment method
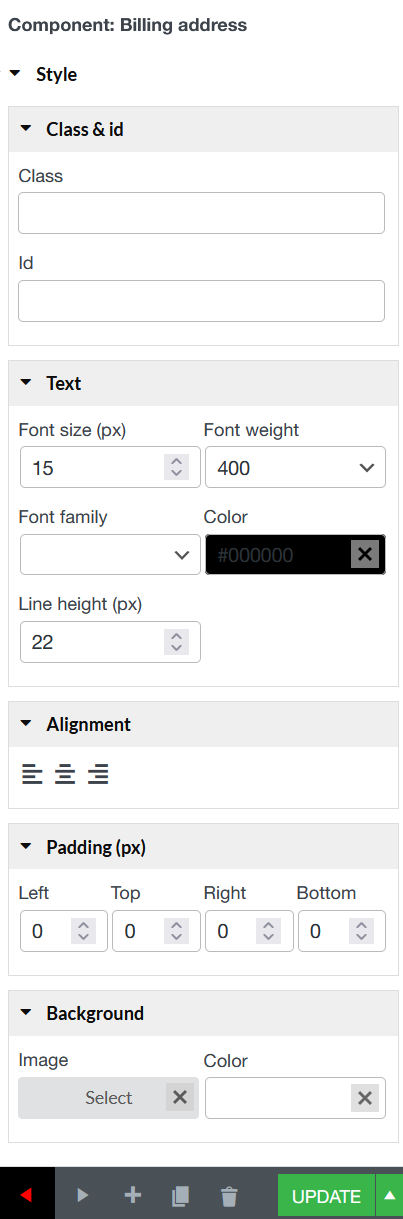
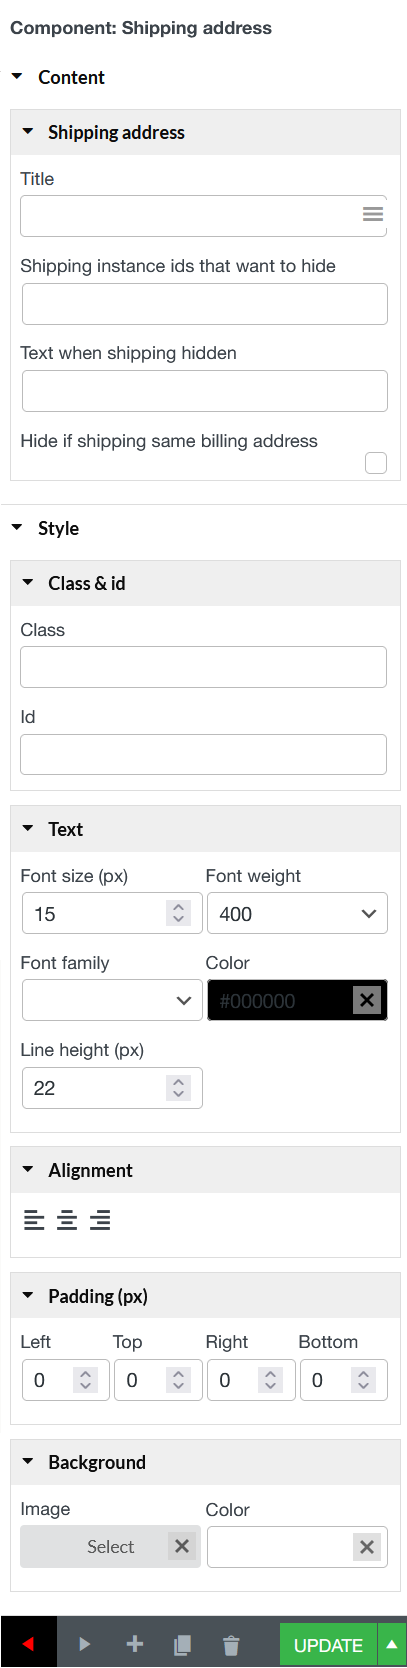
- Billing Address and Shipping Address
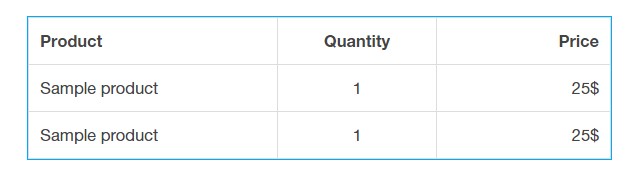
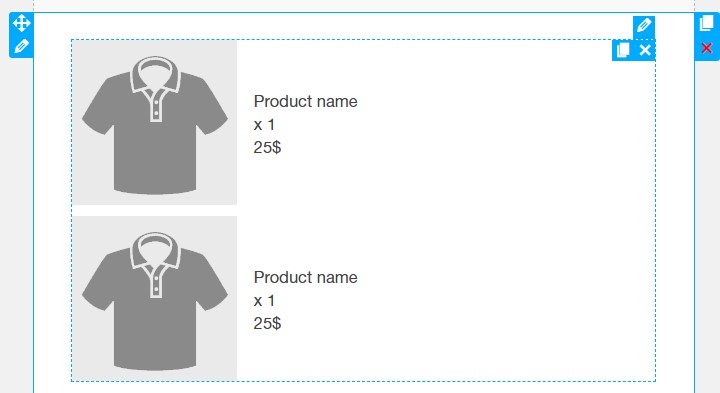
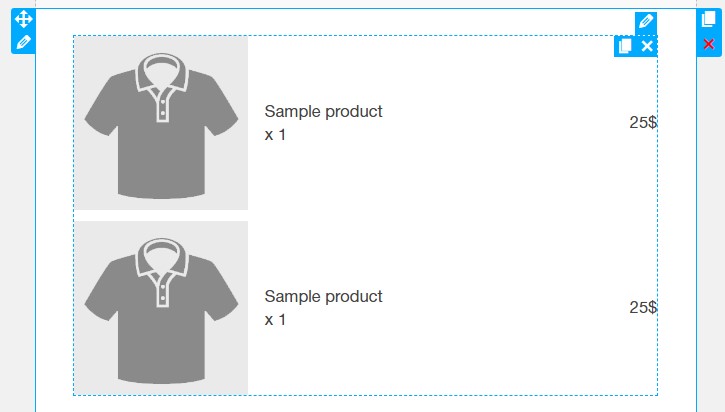
- Products
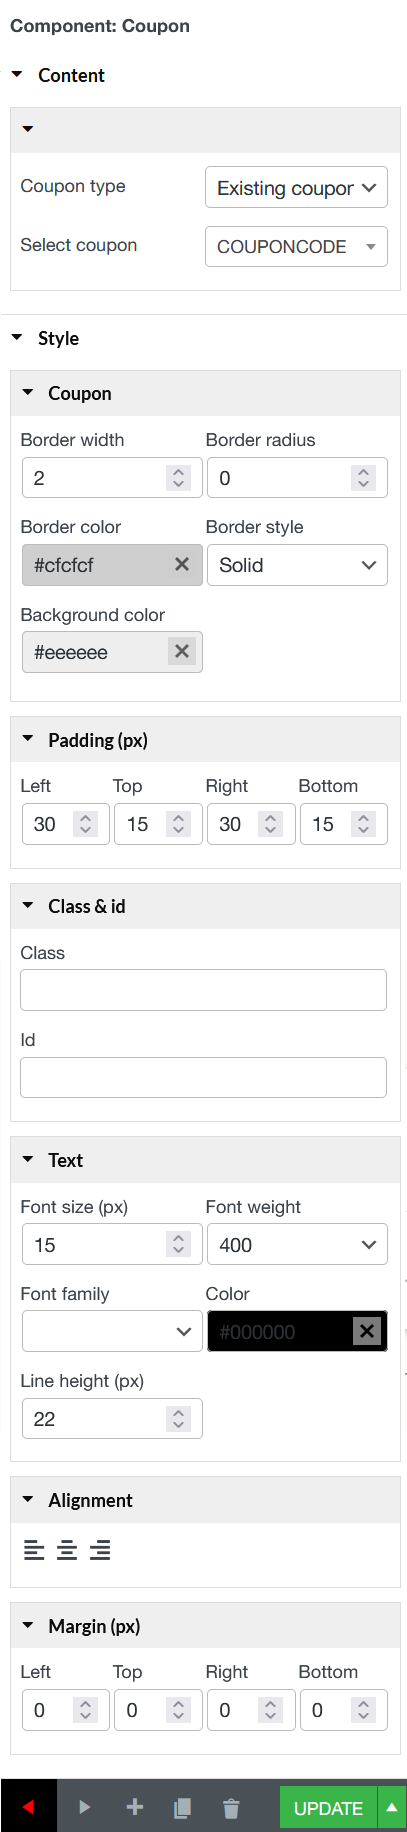
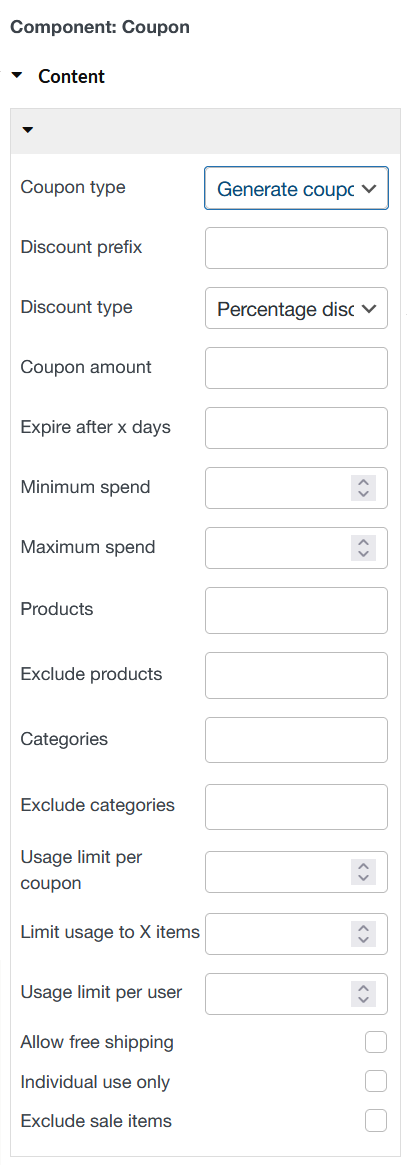
- Coupons
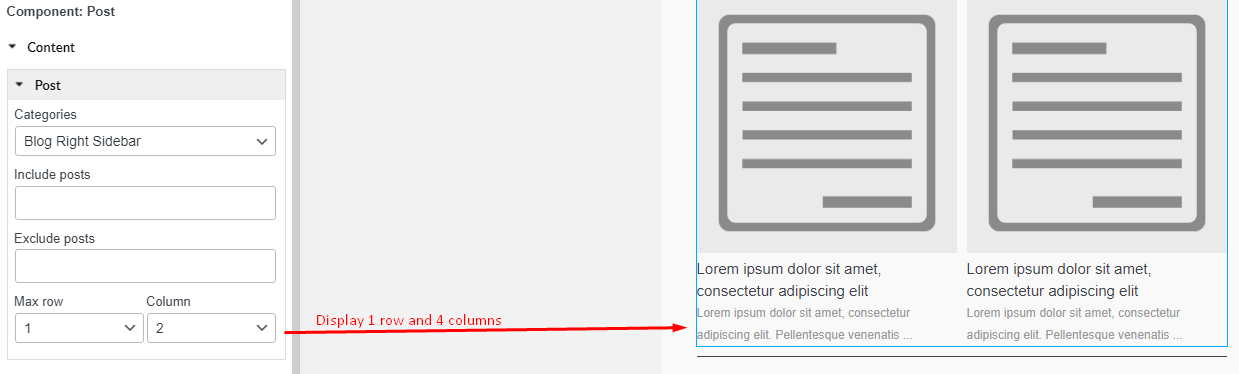
- Post
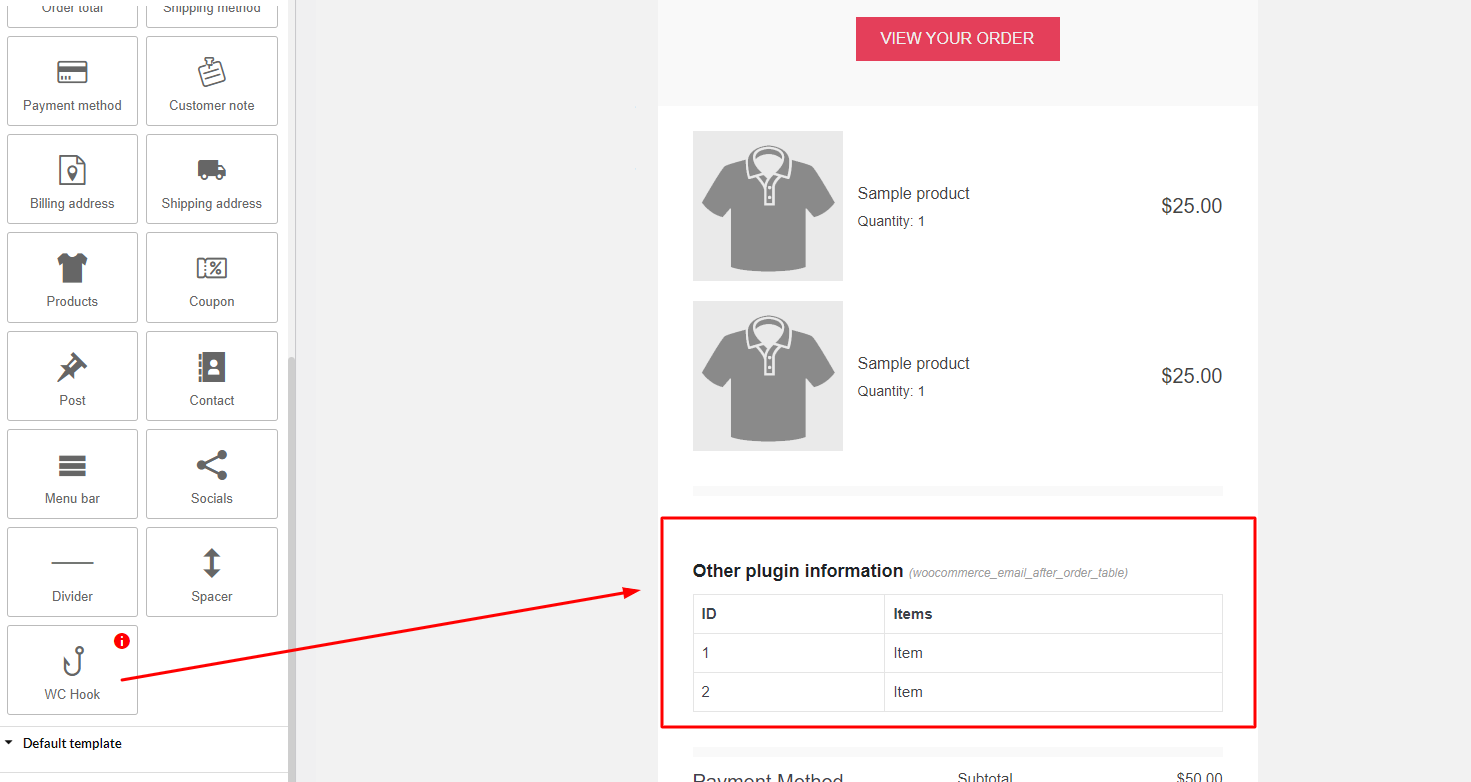
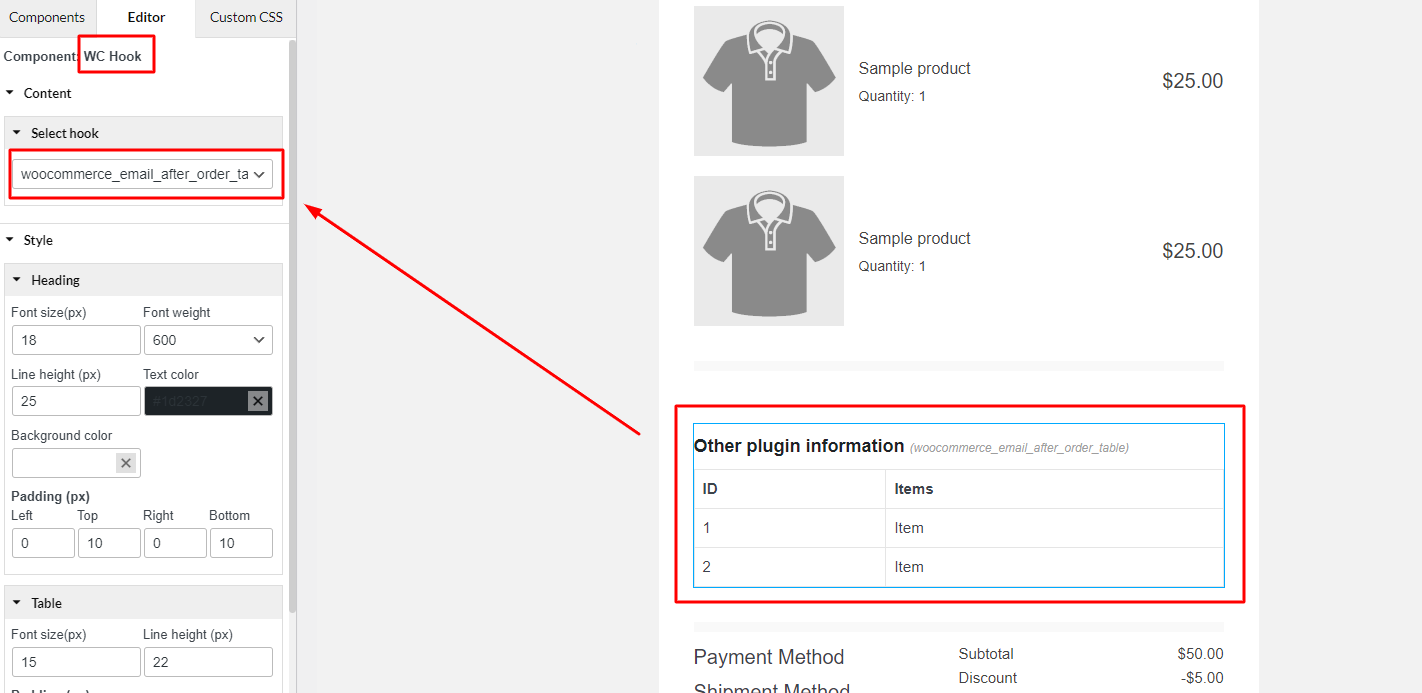
- WC hook
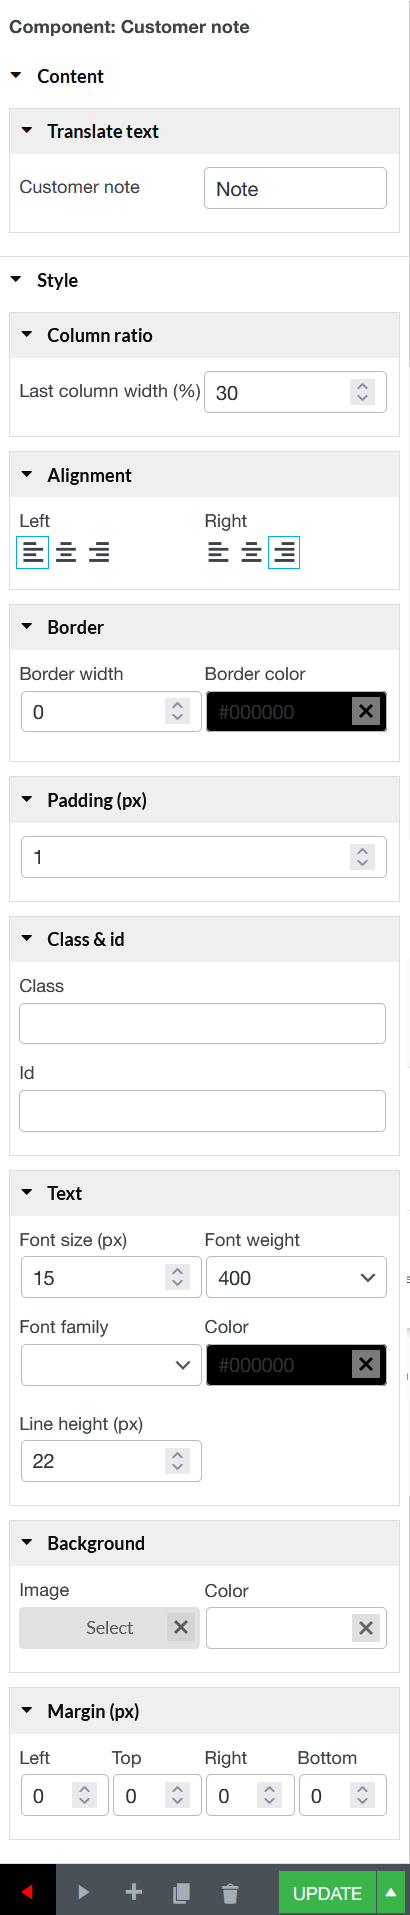
- Customer note
- Default template
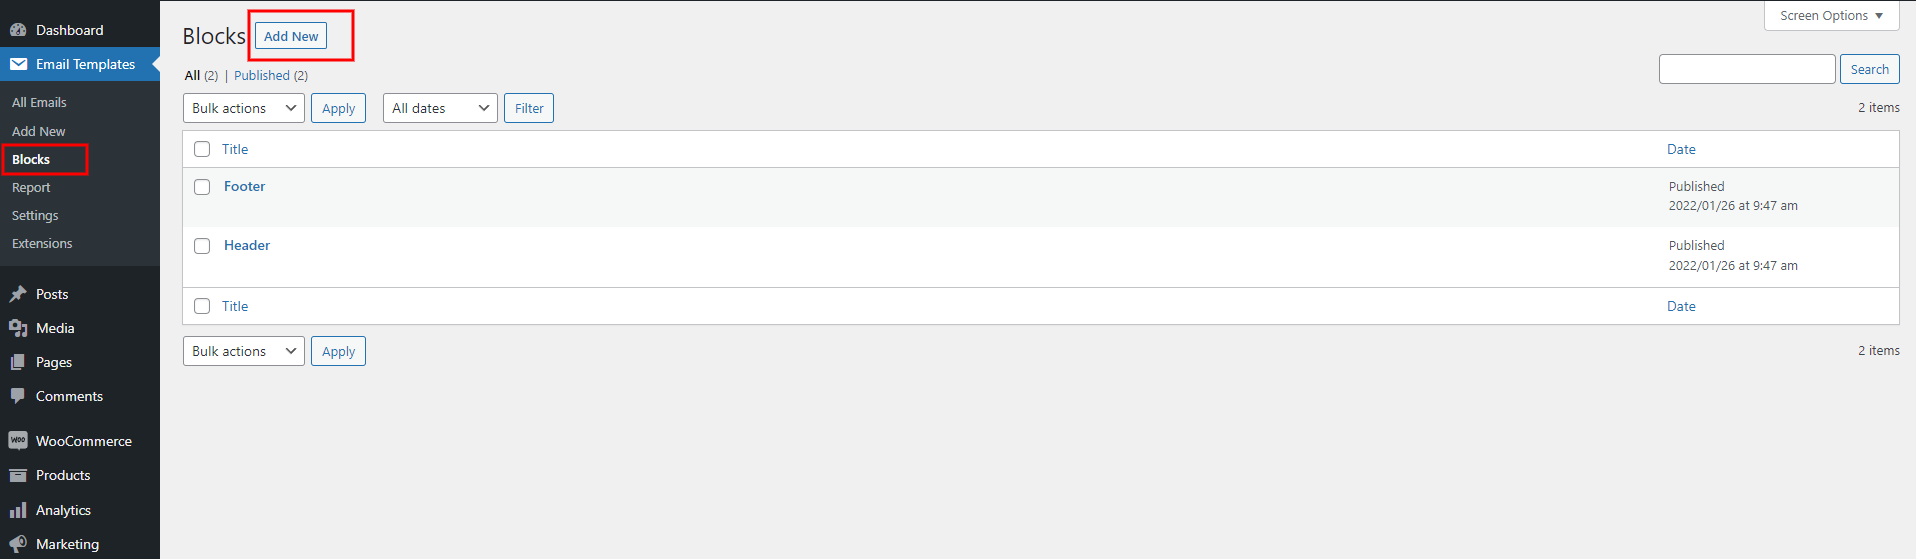
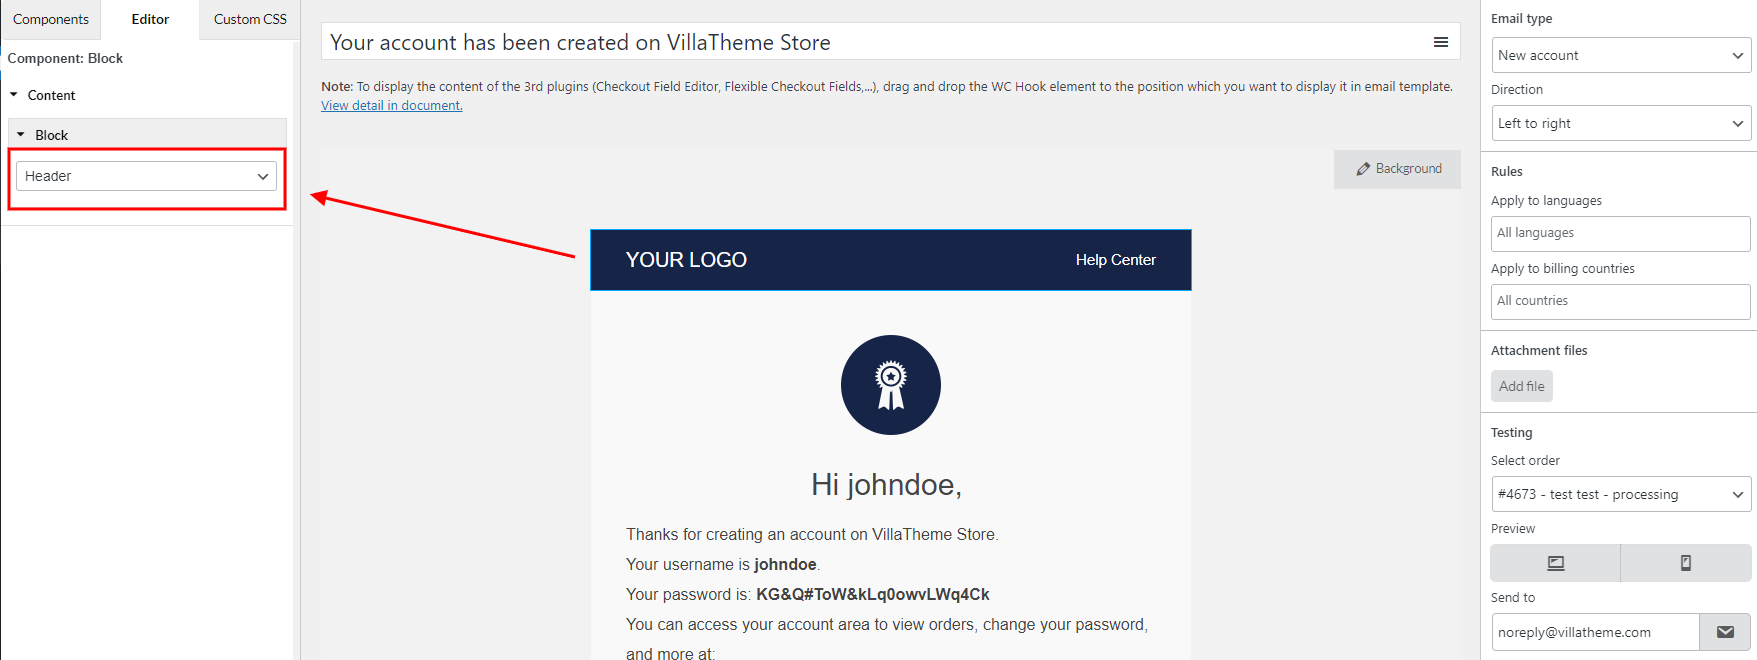
- BLOCKS
- SHORTCODE
- COMPATIBILITY
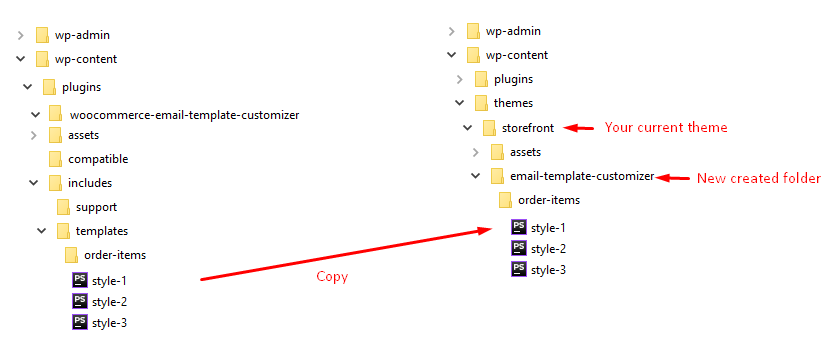
- OVERWRITE TEMPLATE
- DEVELOPER DOCUMENTATION
- EXTRA INFORMATION
Copyright Villatheme 2015-2026