- Start
- FILE INCLUDES
- Introduction
- Getting Started
- WOOCOMMERCE
- ELEMENTOR
- MENU
- PAGES
- THEME OPTIONS
- Translation
- Extra Information
Copyright Villatheme 2015-2026
Created date:
Updated date – Updated version
By: VillaTheme
Thank you for purchasing our theme. 🎉
If you have any questions that are beyond the scope of this documentation, please feel free to request support at our Support Forum. We’re always happy to help!
From WordPress Dashboard:
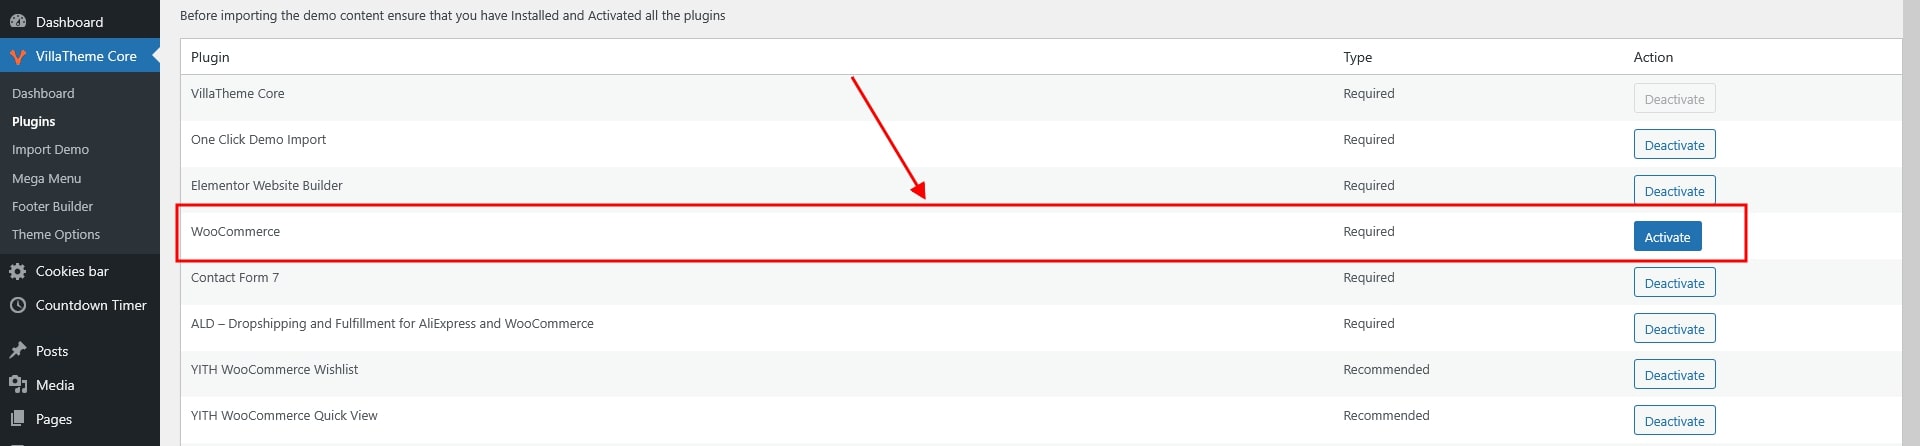
After installing and activating the theme, you’ll need to install the required (and optionally recommended) plugins for full functionality. Make sure all required plugins are activated before importing demo content to ensure everything works correctly.
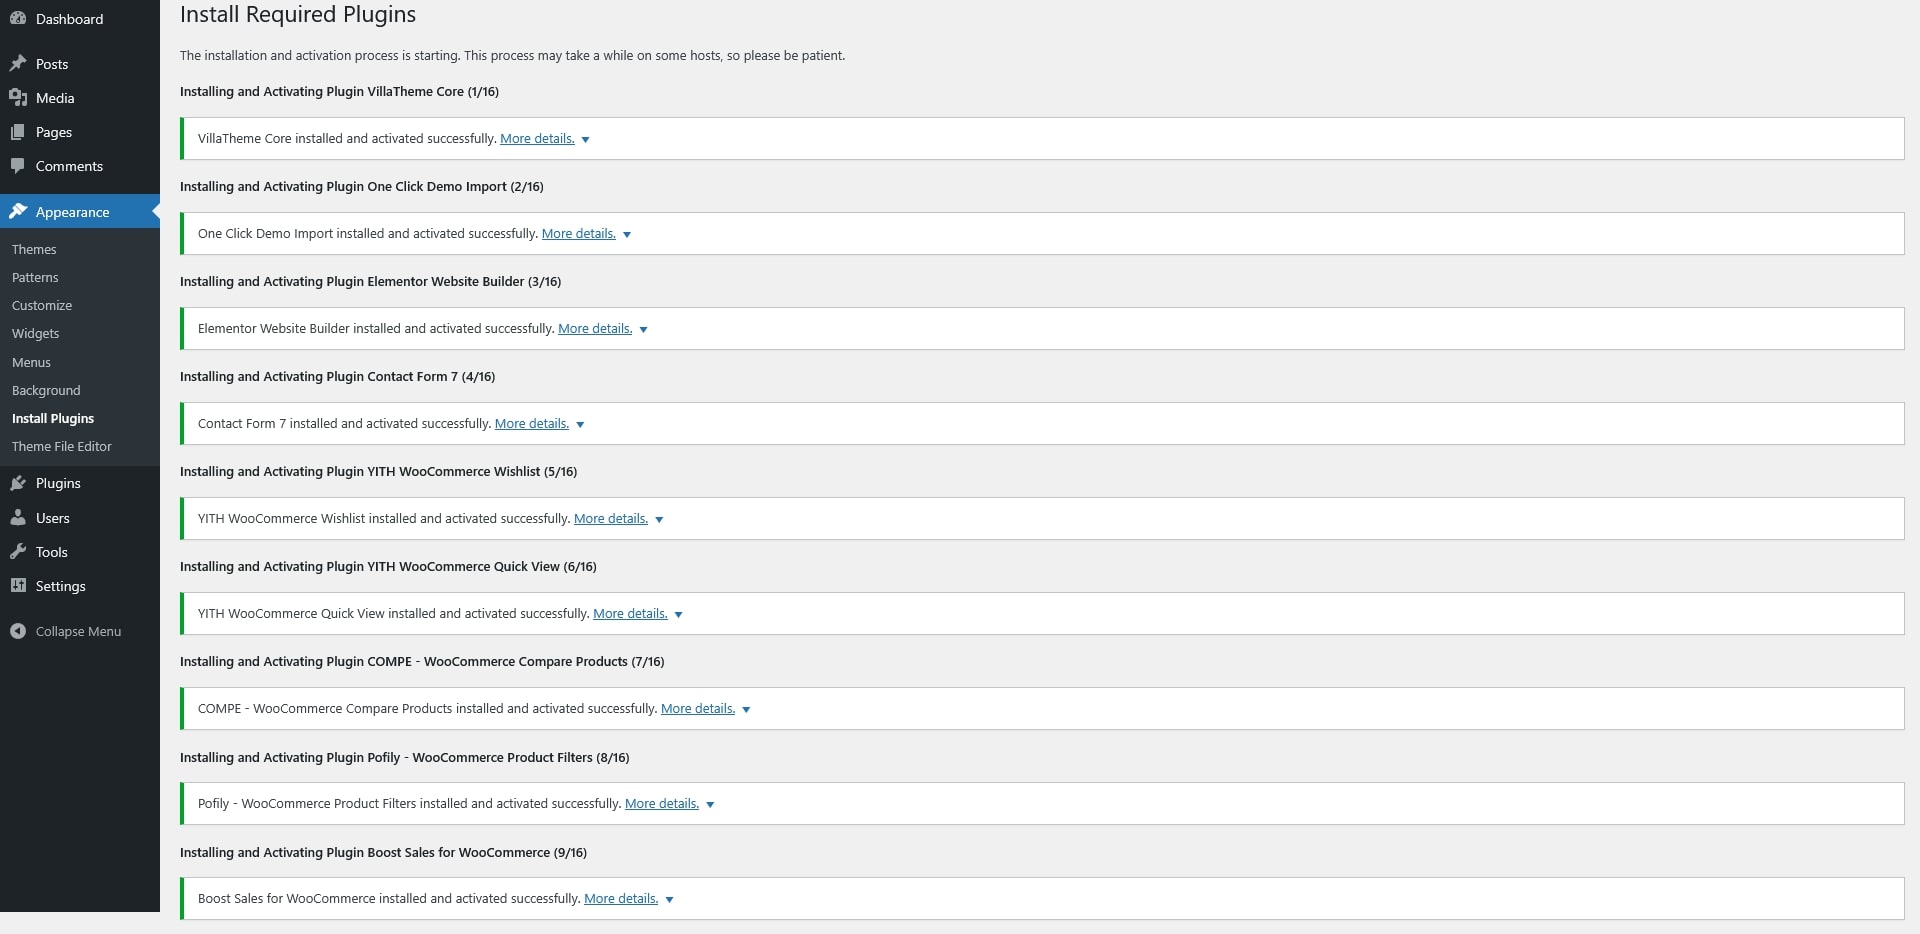
Go to Appearance > Install Plugins in your WordPress dashboard.
Select all the required plugins (and any recommended ones you wish to use).
From the Bulk Actions dropdown, choose Install and click Apply.

Once installed, use the same Bulk Actions menu to Activate the plugins.
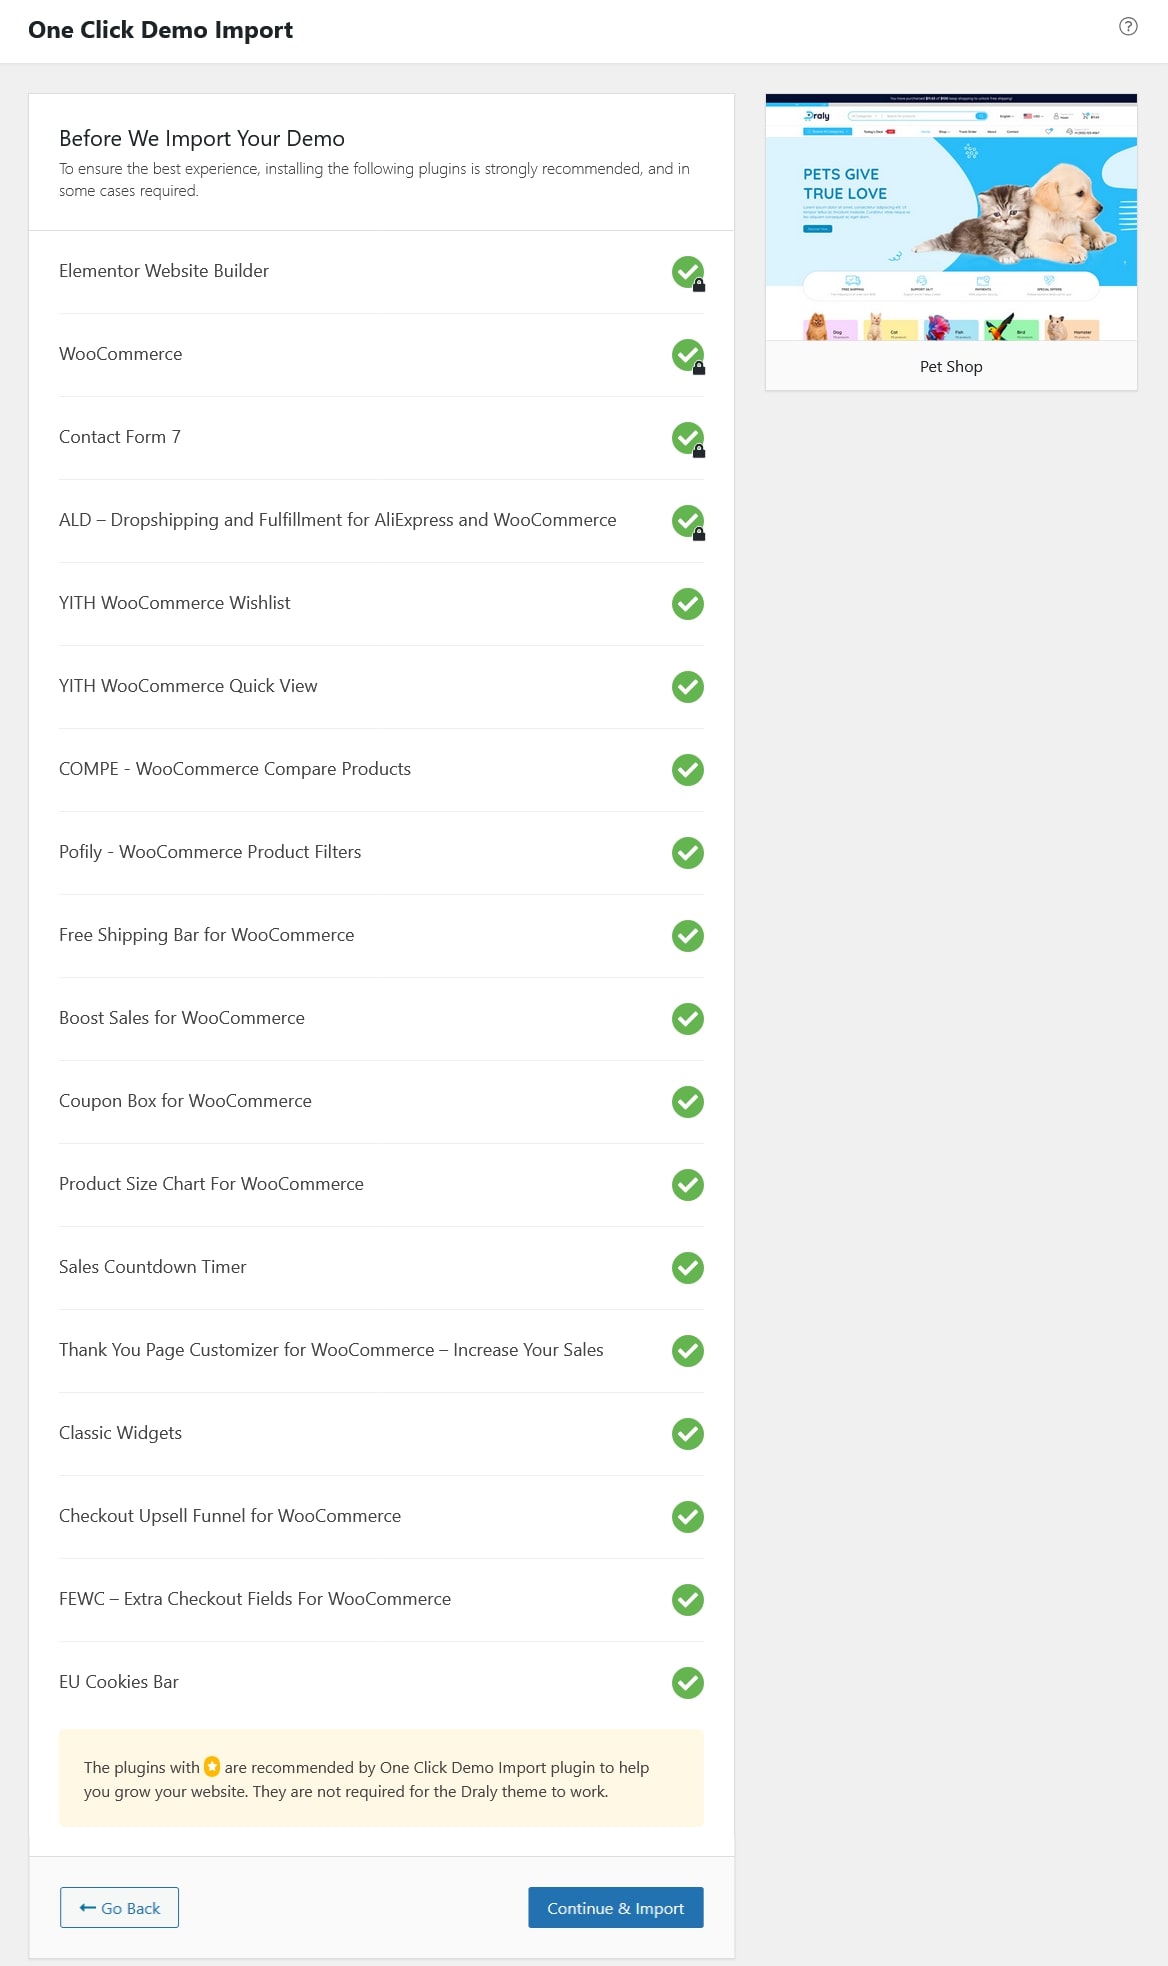
After installing all the required and recommended plugins:
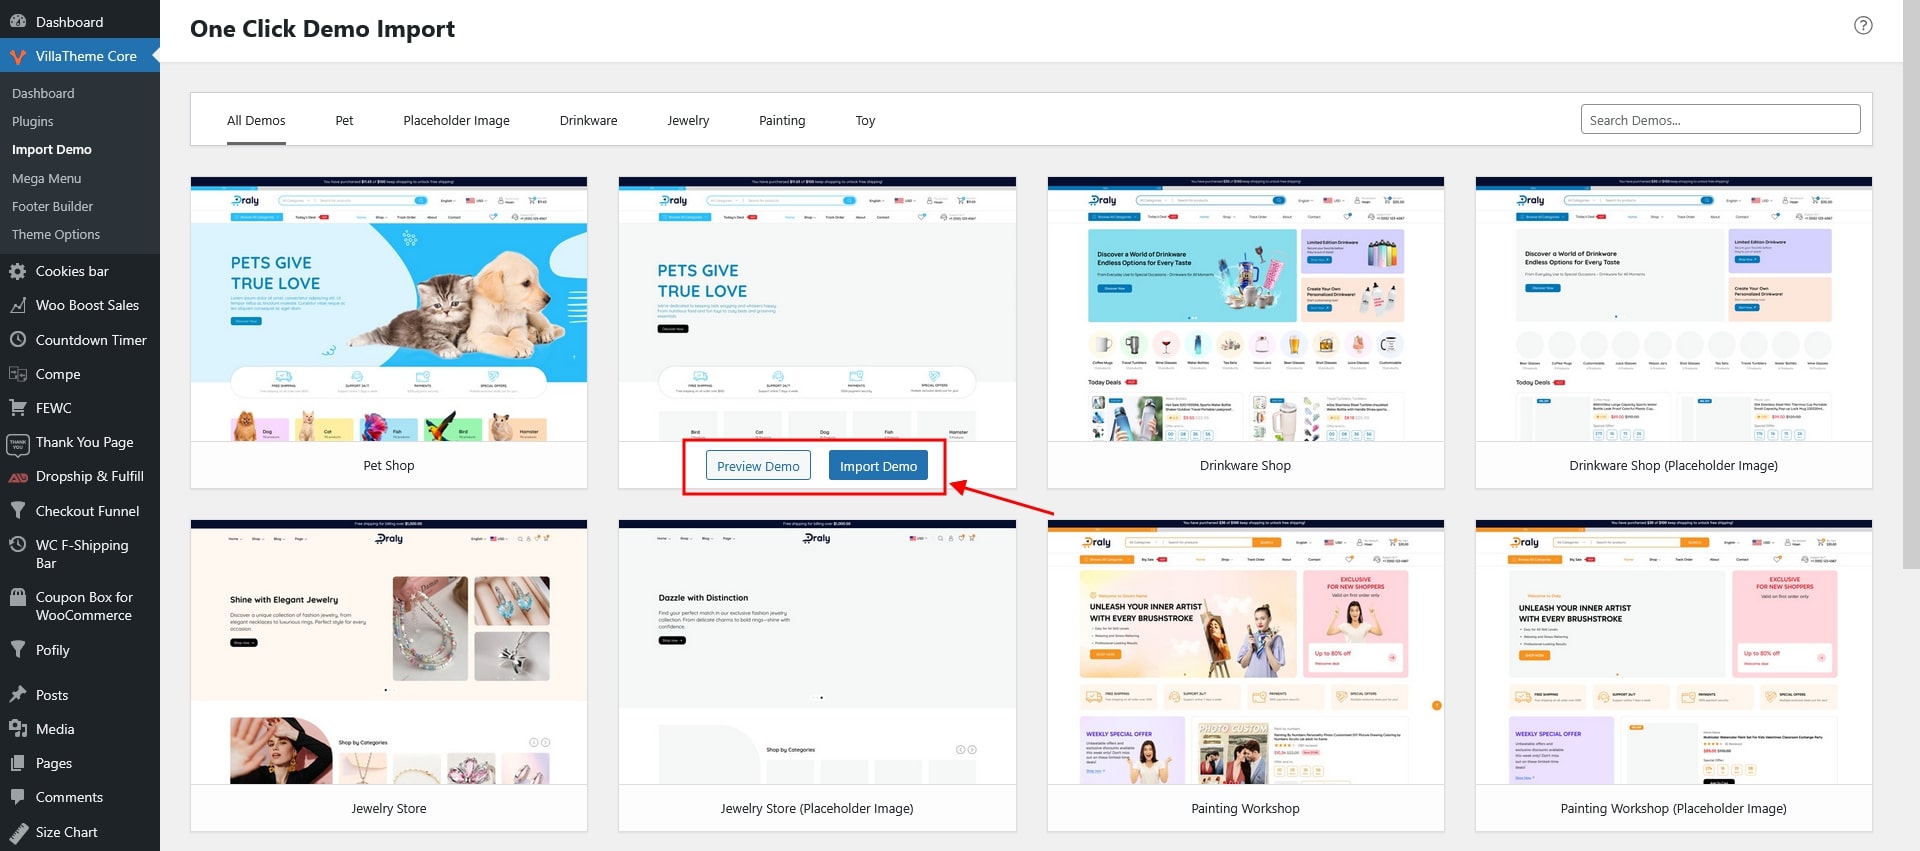
Go to your WordPress Dashboard > VillaTheme Core > Import Demo. Choose a demo you want to import. Hover over the demo preview and click Import (or Preview Demo if you want to see it first).
Ensure all needed plugins are in use
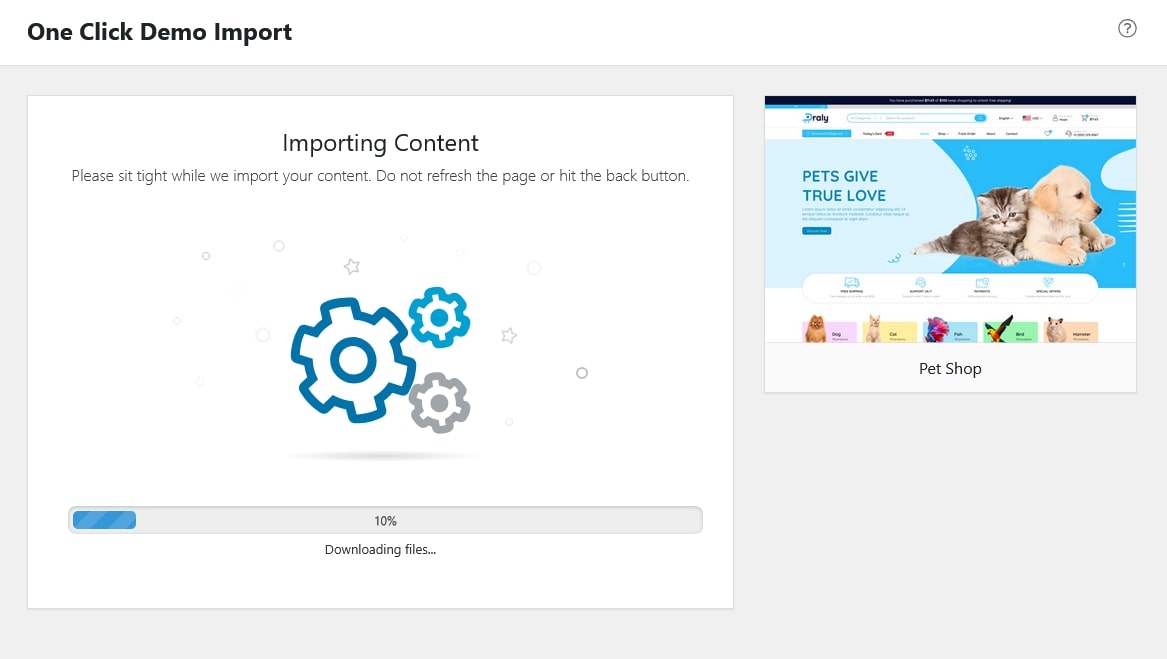
Wait for the import process to finish.

After importing the demo:
The theme is fully compatible with WooCommerce, allowing you to build an online store with ease.
From Theme
From WordPress Dashboard
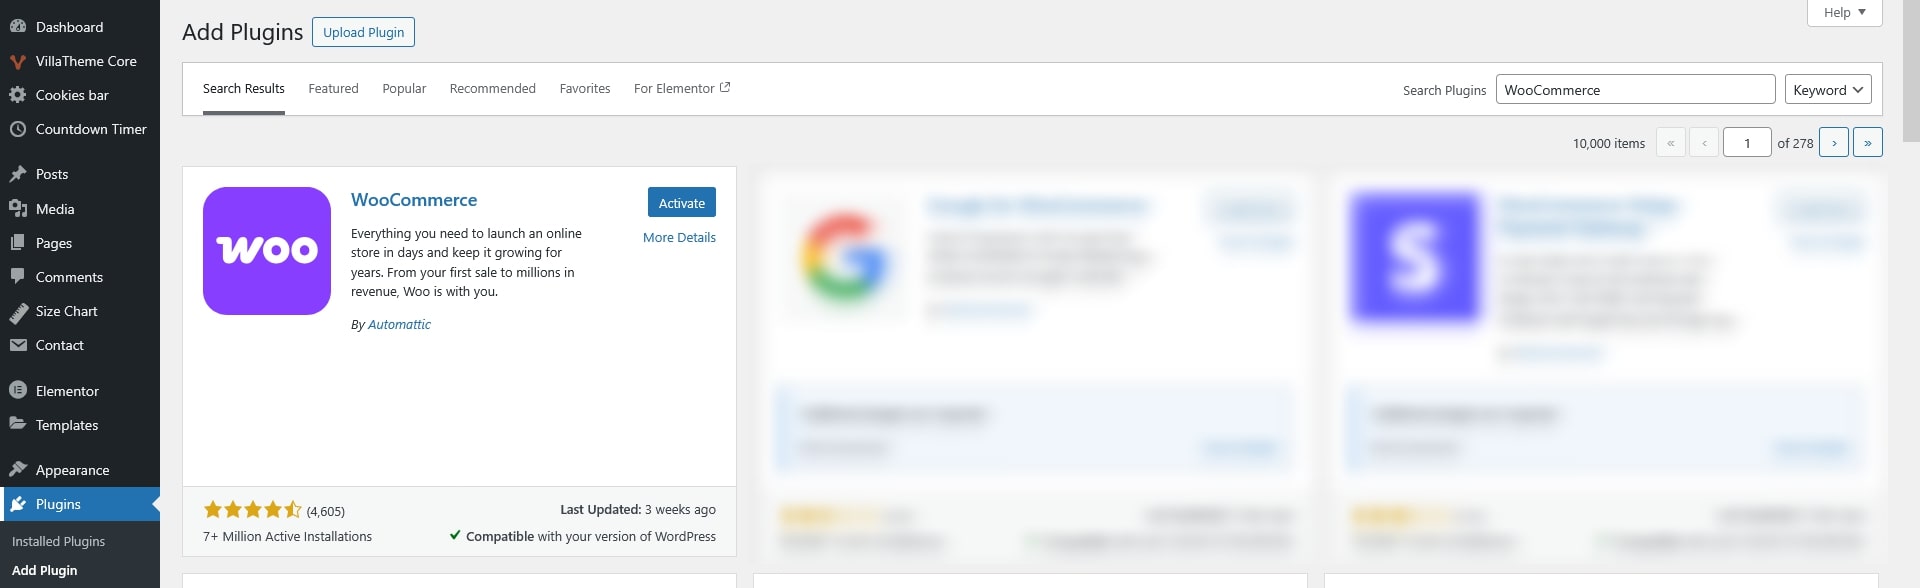
After activating the WooCommerce plugin, the default WooCommerce pages will be created automatically. You can recreate them manually by adding the appropriate WooCommerce shortcodes or block.
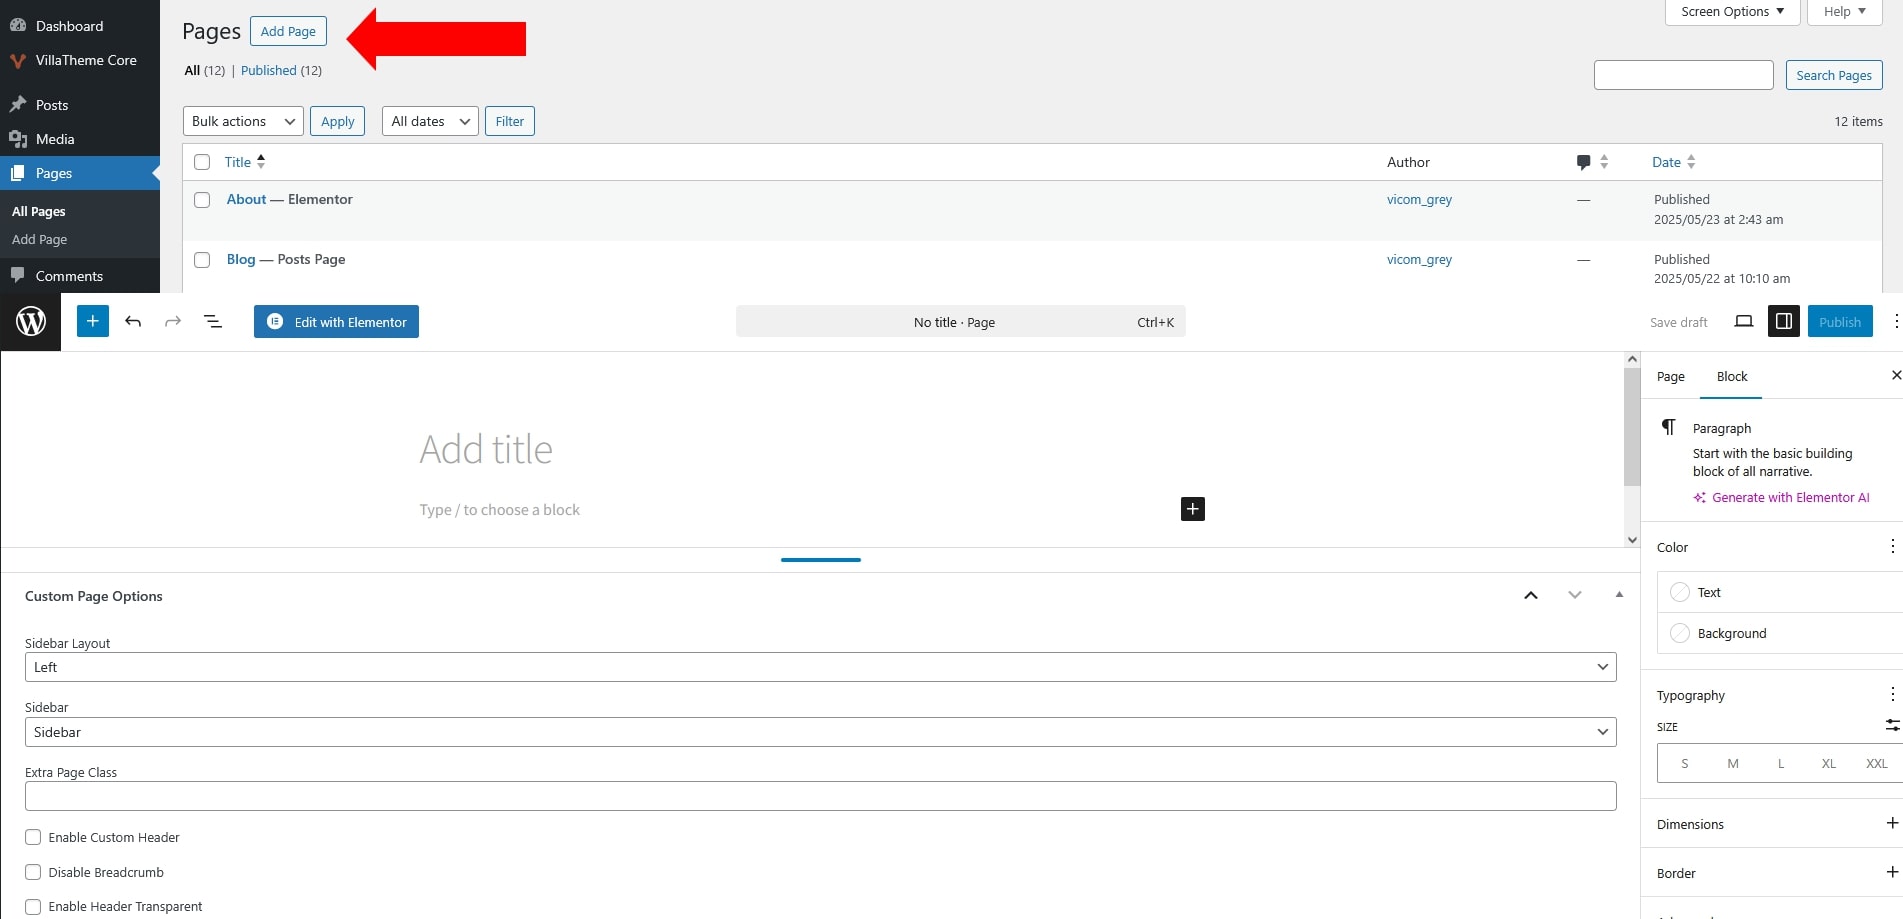
You can build and customize pages using Elementor, a drag-and-drop page builder fully supported by the theme.
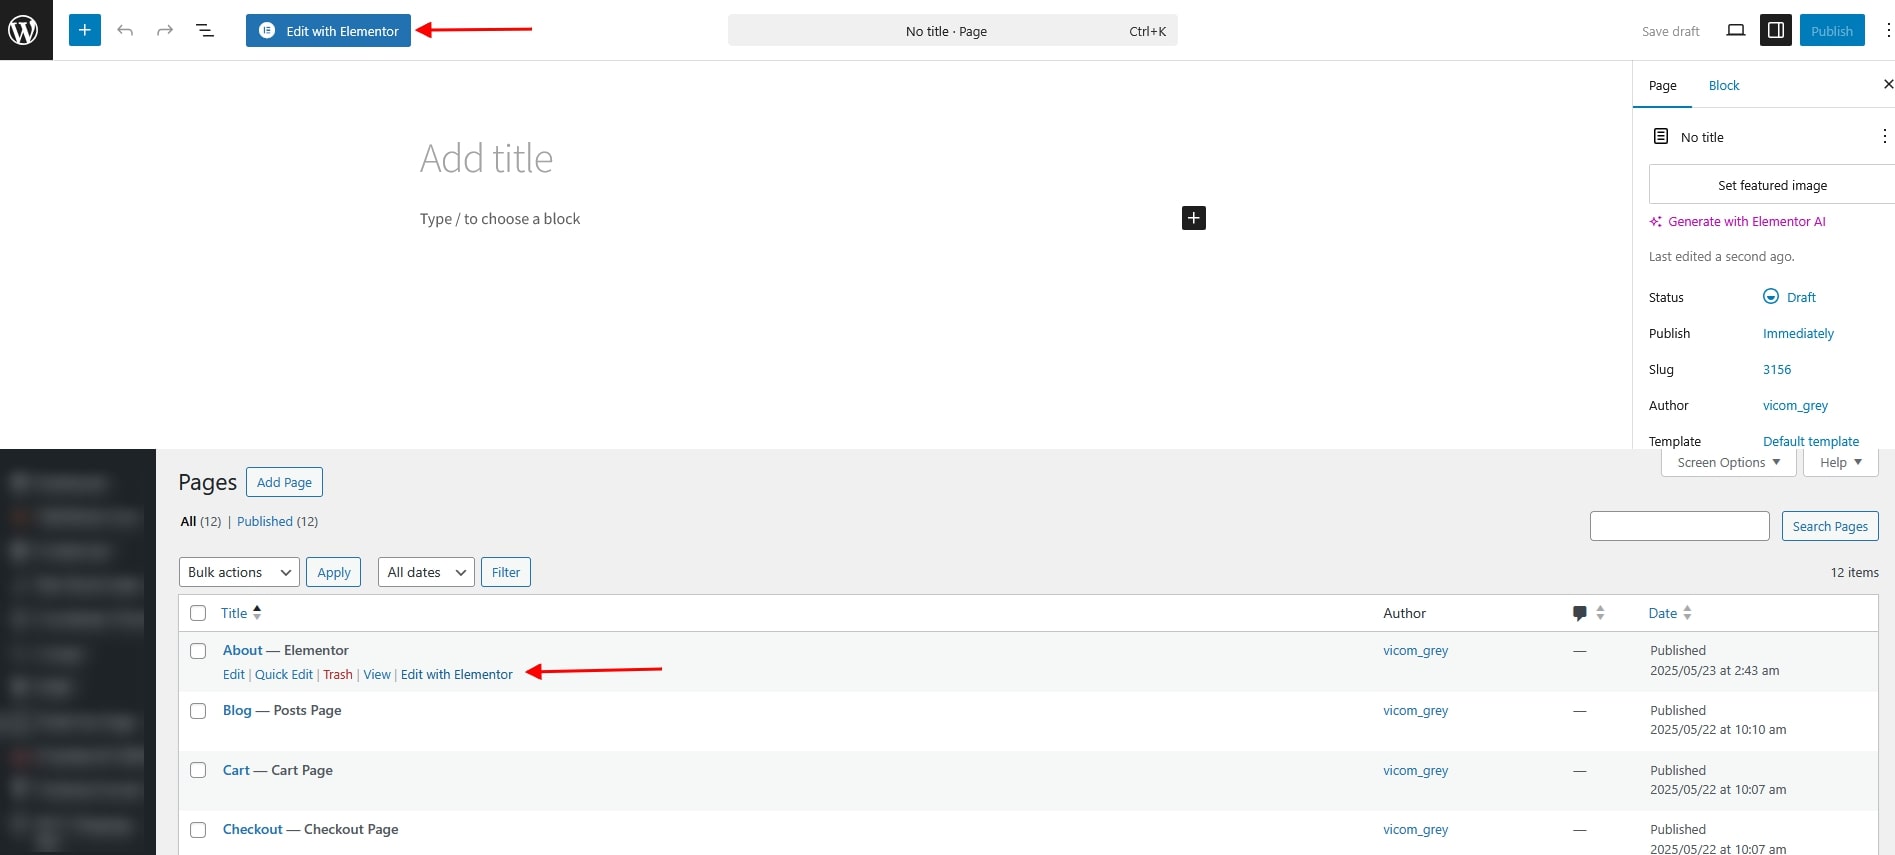
You can also edit existing pages (such as Home, About, or Contact) by opening them and selecting Edit with Elementor.
Elementor allows you to build layouts by inserting pre-designed blocks and widgets.
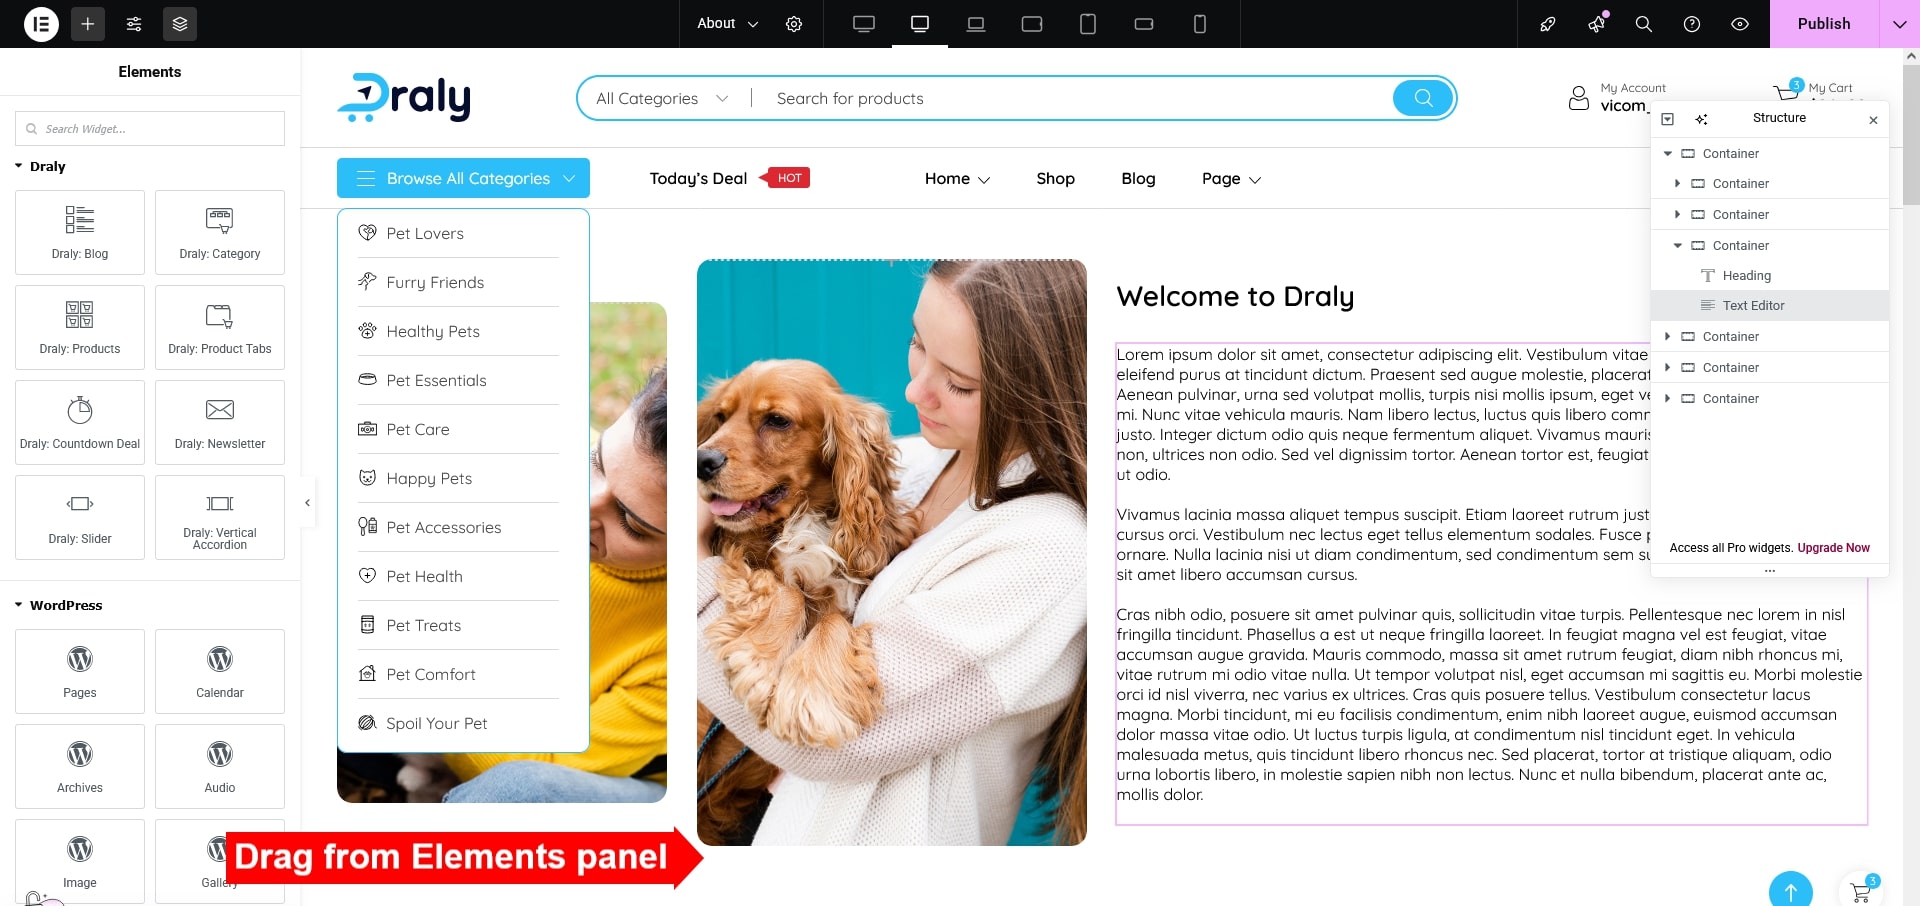
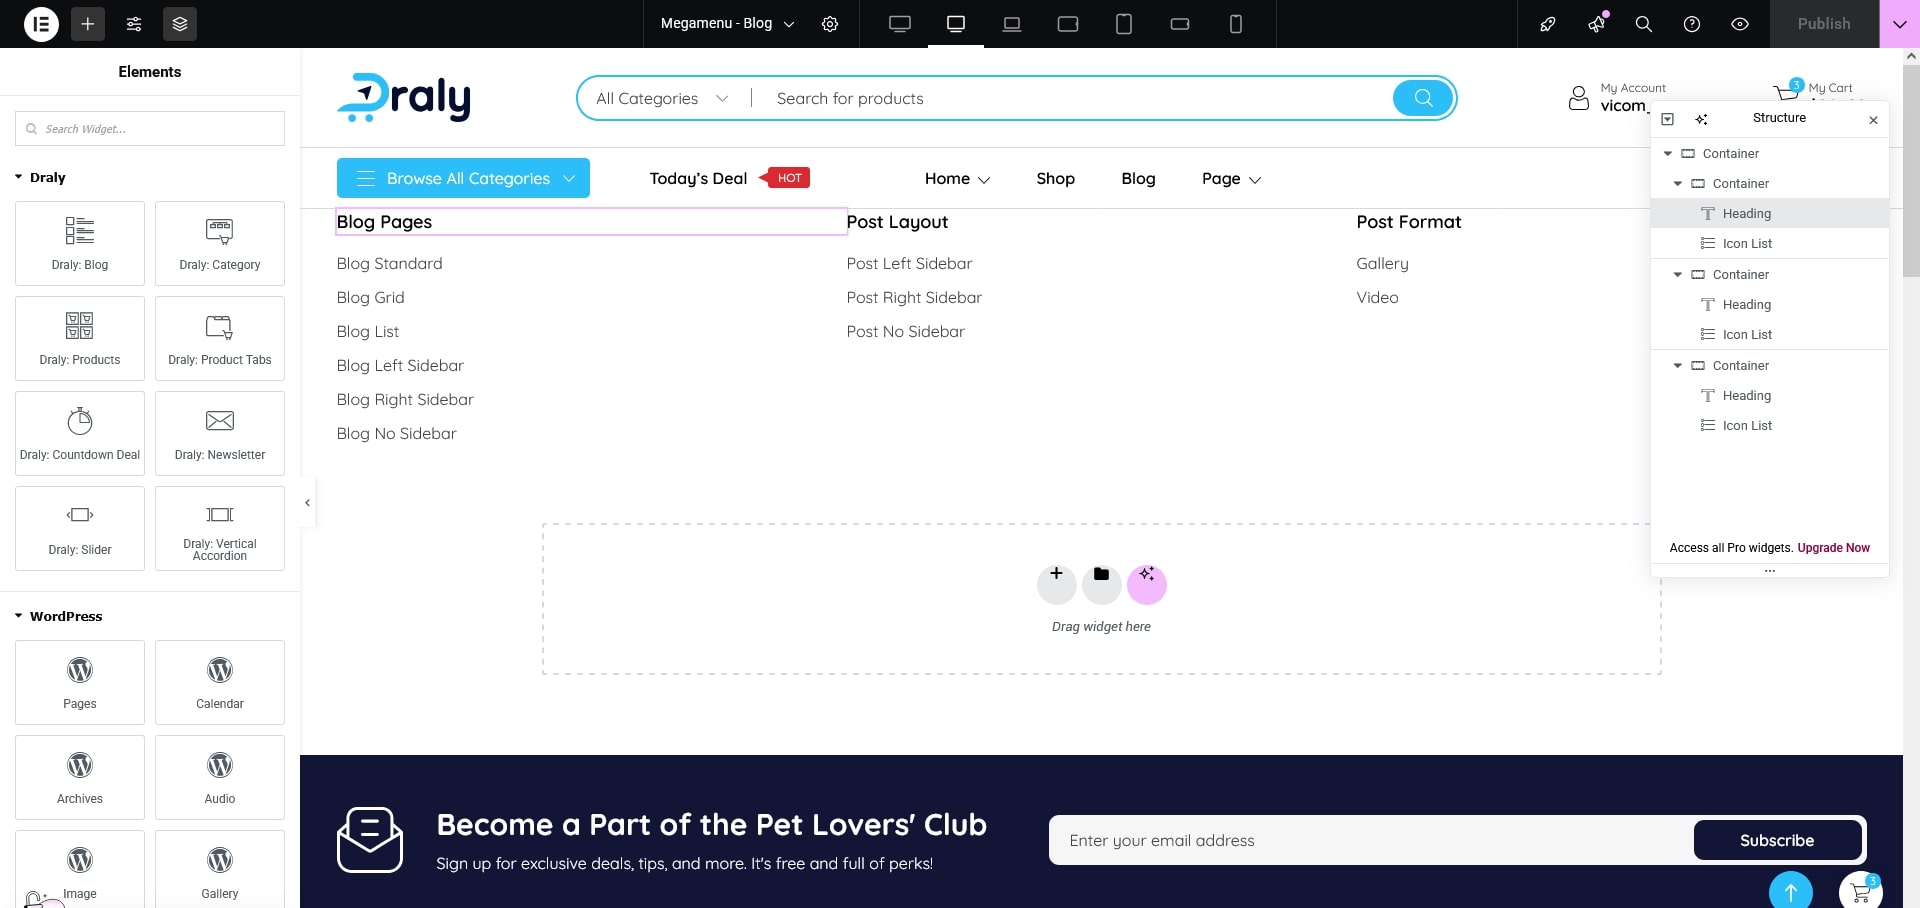
The theme includes support for Draly Elements, a set of custom widgets designed to work with Elementor. Under Elements panel, search “Draly” and you’ll find them.
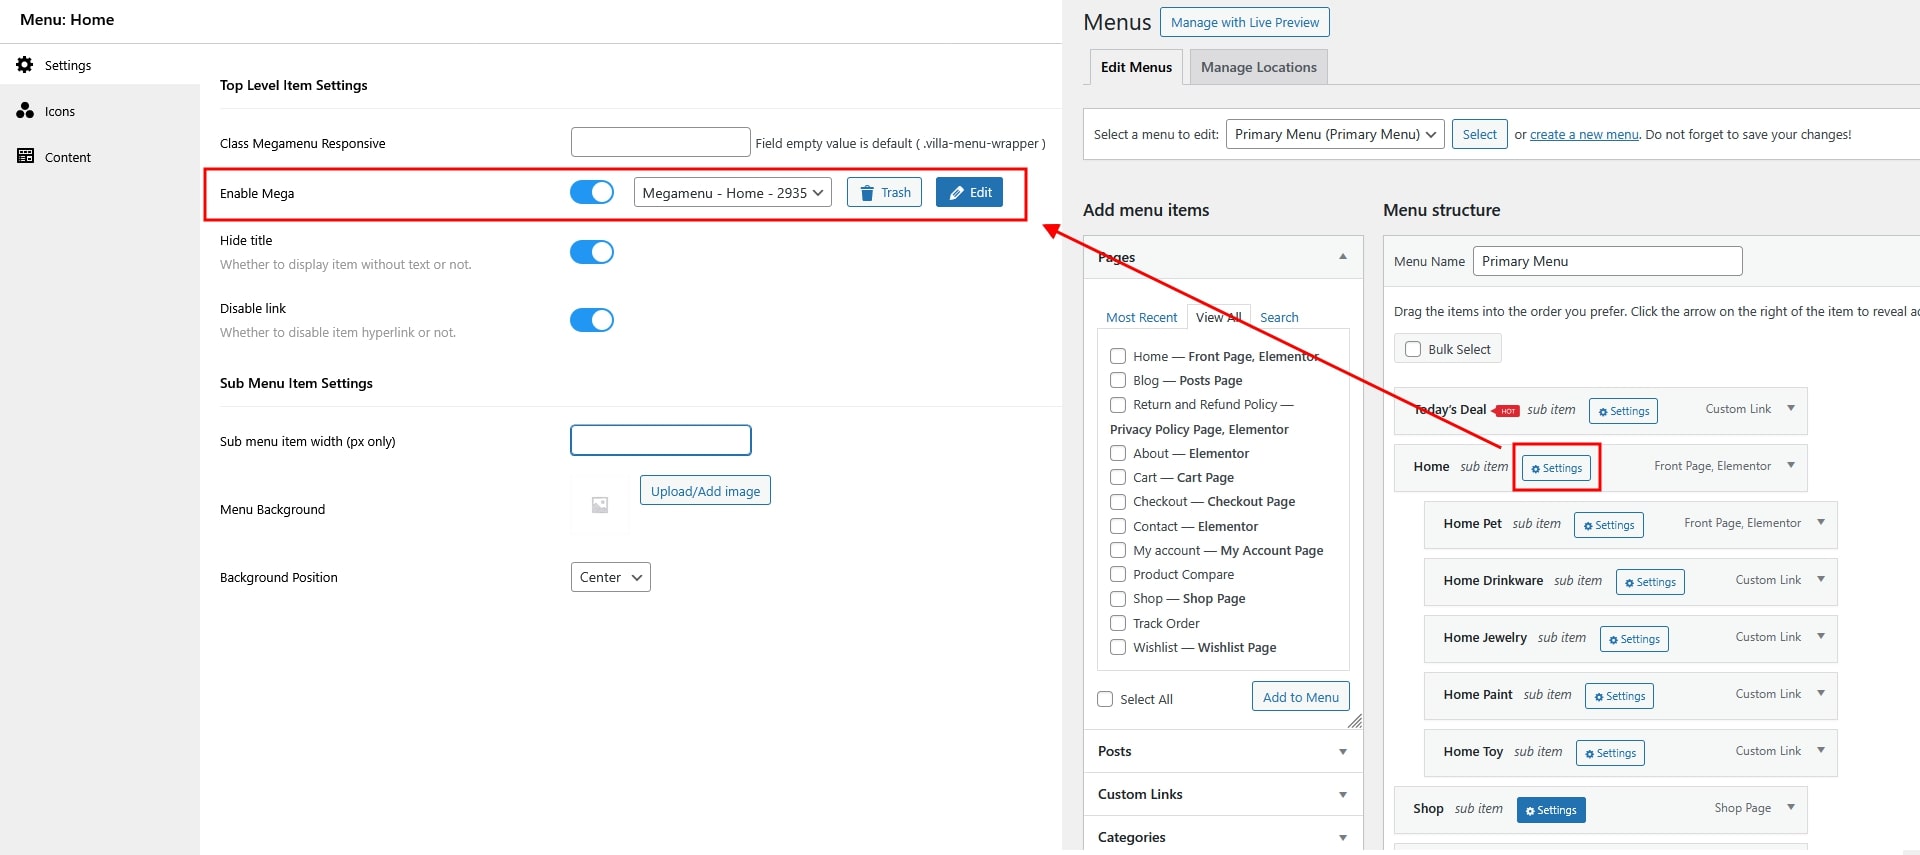
The theme supports Mega Menus, which allow you to display advanced navigation layouts with multiple columns, images, and custom content.
In the WordPress admin panel, go to Mega Menus.
Click Add New to create a mega menu.

Add content as you would when creating a page (using Elementor or the editor).
Go to Appearance > Menus and create a new menu or edit an existing one.
Check the Enable Mega Menu option on your chosen item.
Additional Notes
When you enable a mega menu, it will display the content of the mega menu, not submenu items added directly to the menu.
After configuring your menu, scroll down and assign it to a location:

Creating Inner Pages (About, Contact, etc.)
Setting the Home Page
By default, WordPress displays your latest posts on the homepage. To use a static homepage instead:
At the top right/bottom right of the settings page, you’ll find control buttons:
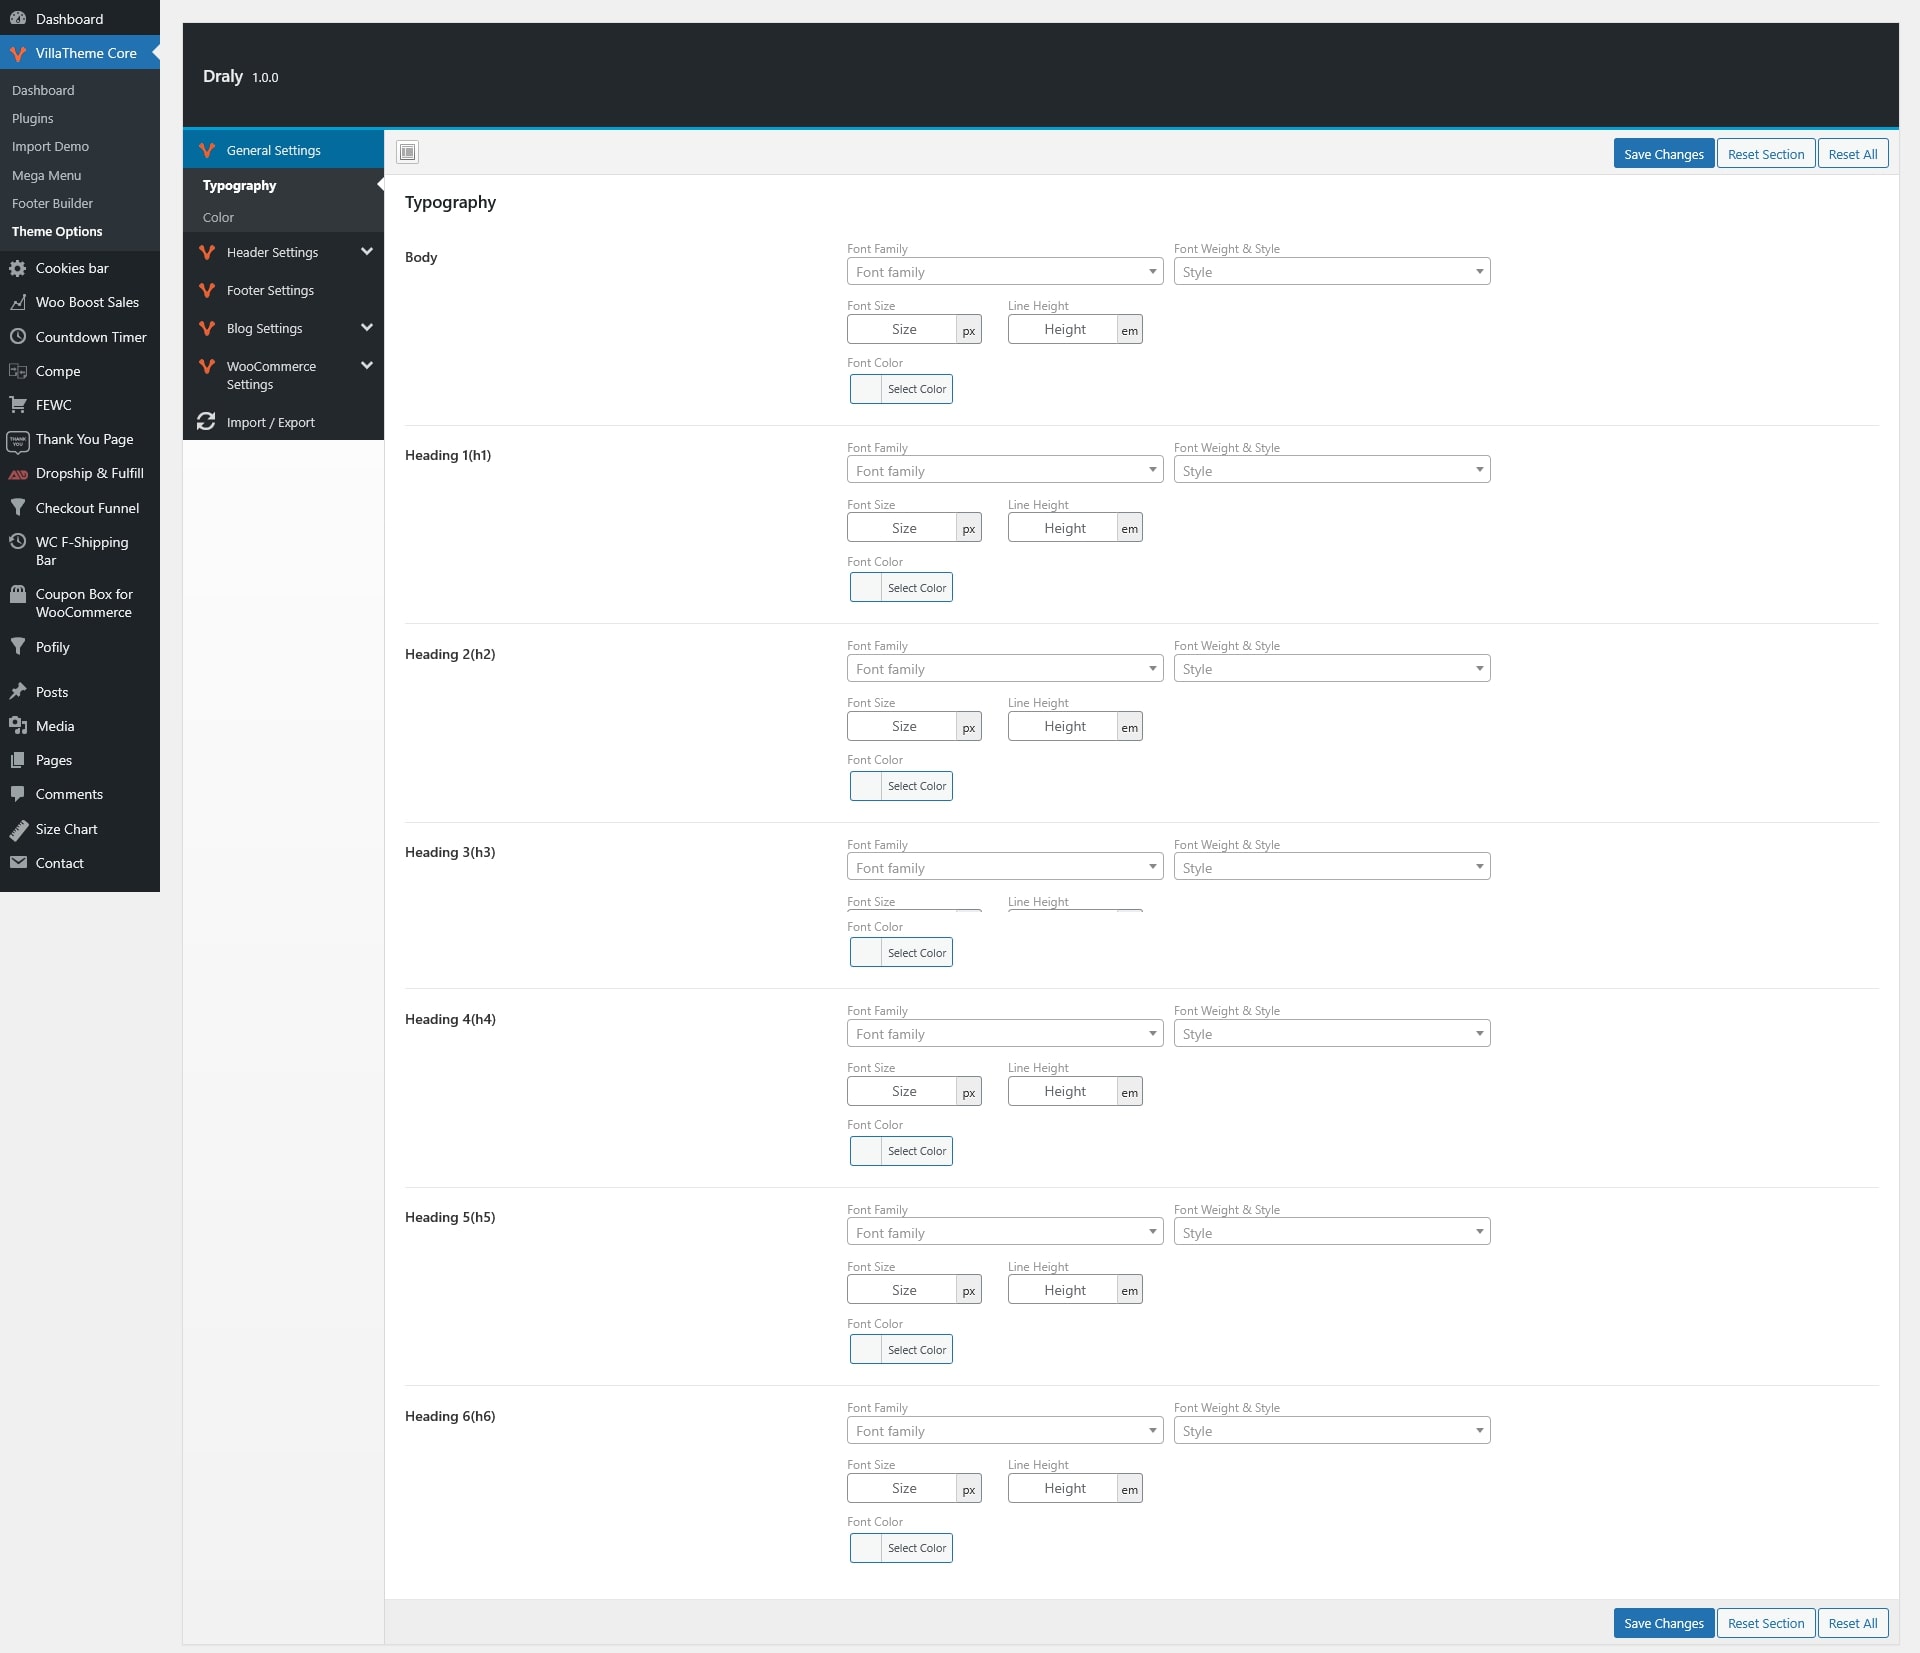
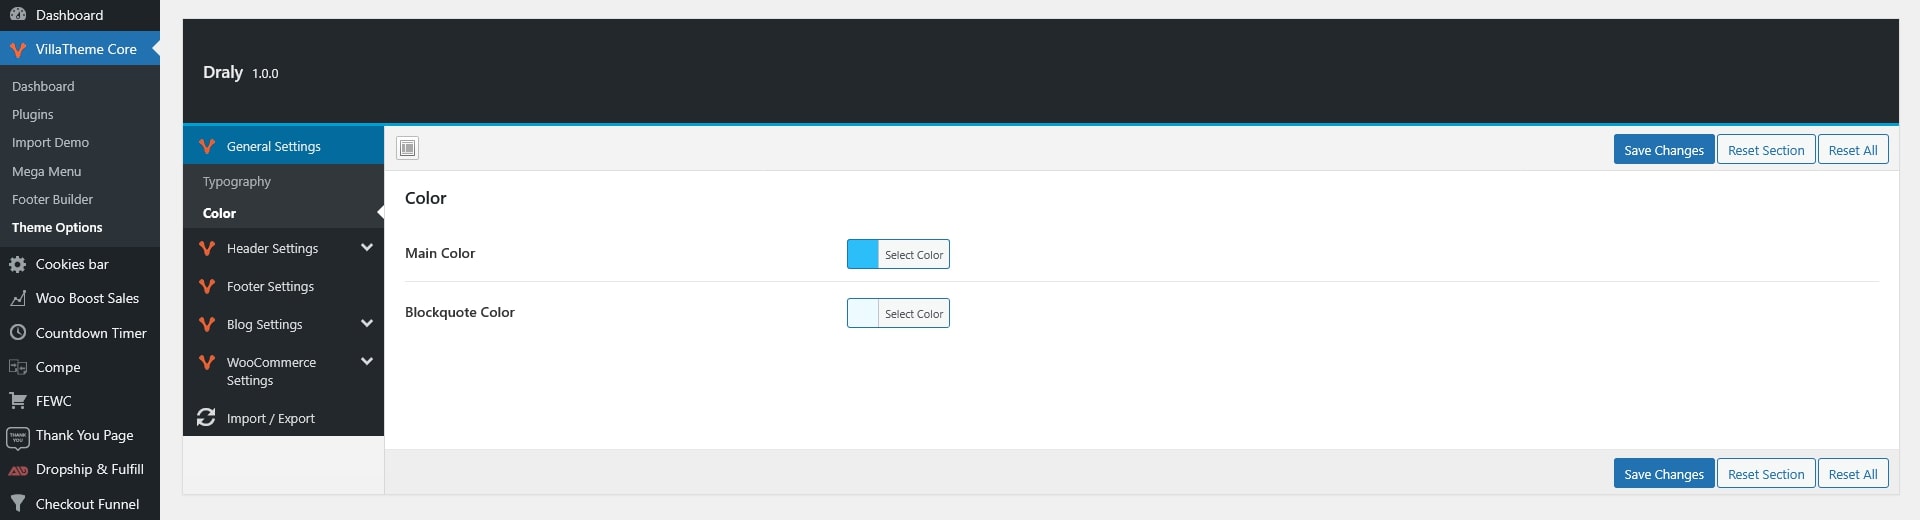
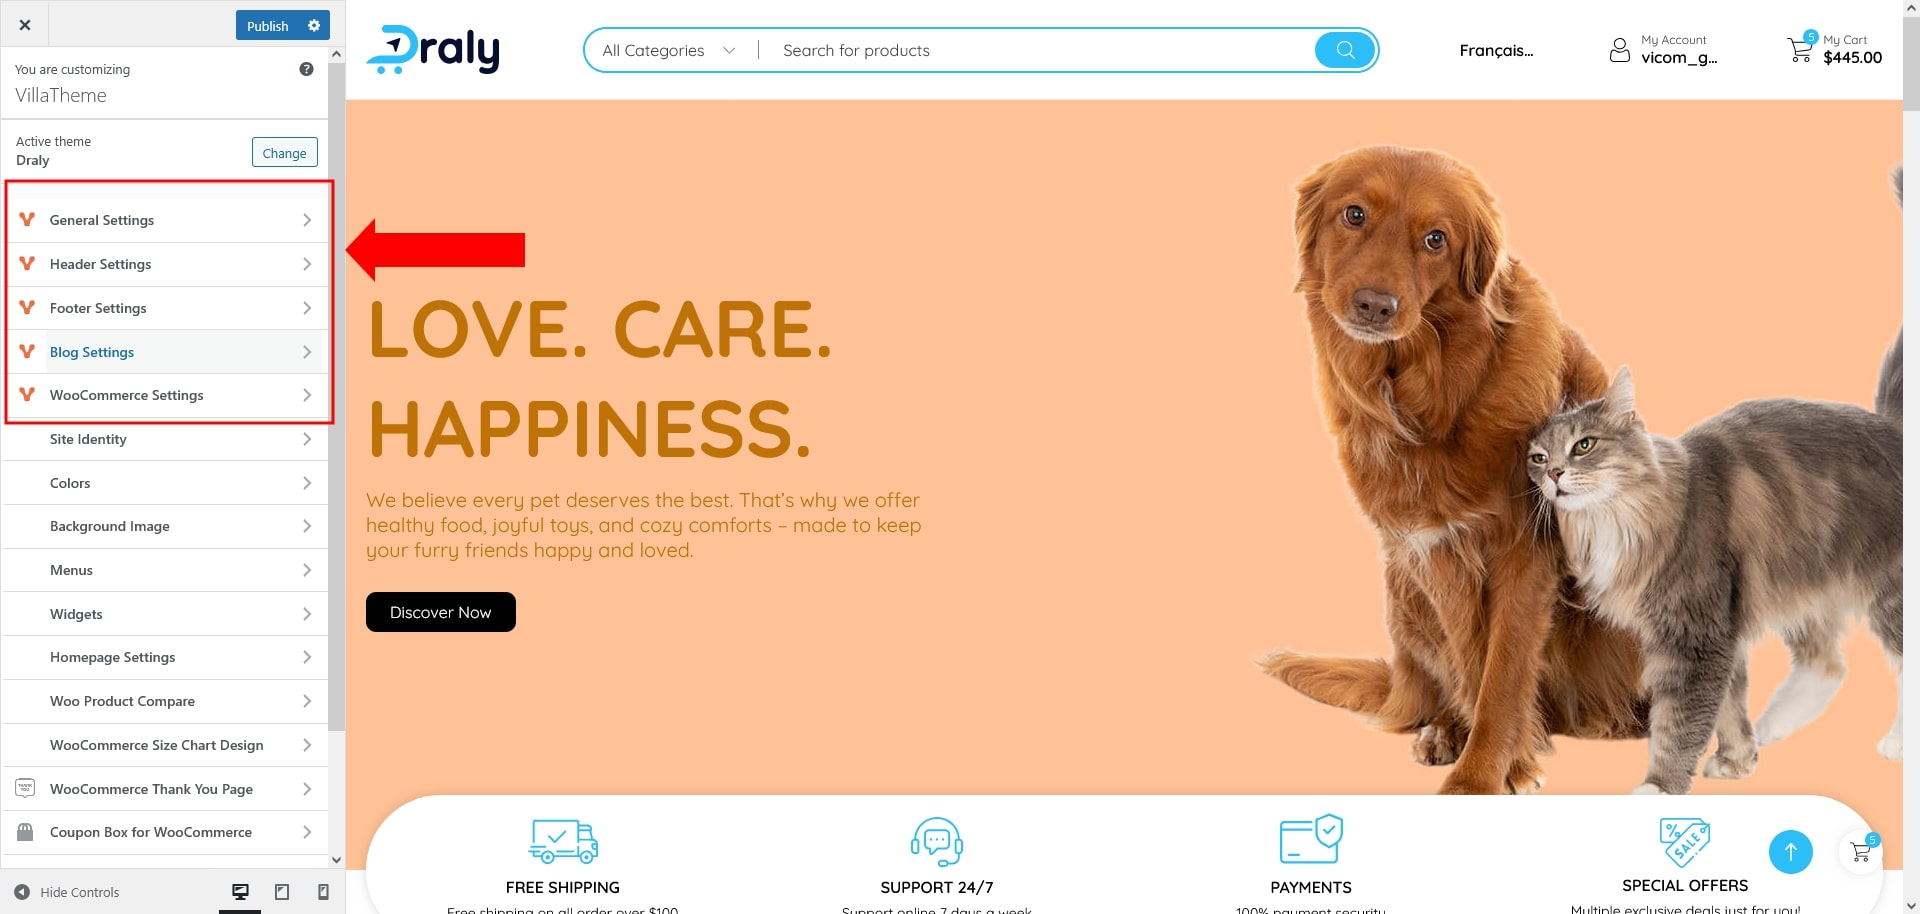
To configure your theme’s general appearance, go to Dashboard > VillaTheme Core > Theme Options > General Settings. You will find options for Typography, Colors, and Buttons.
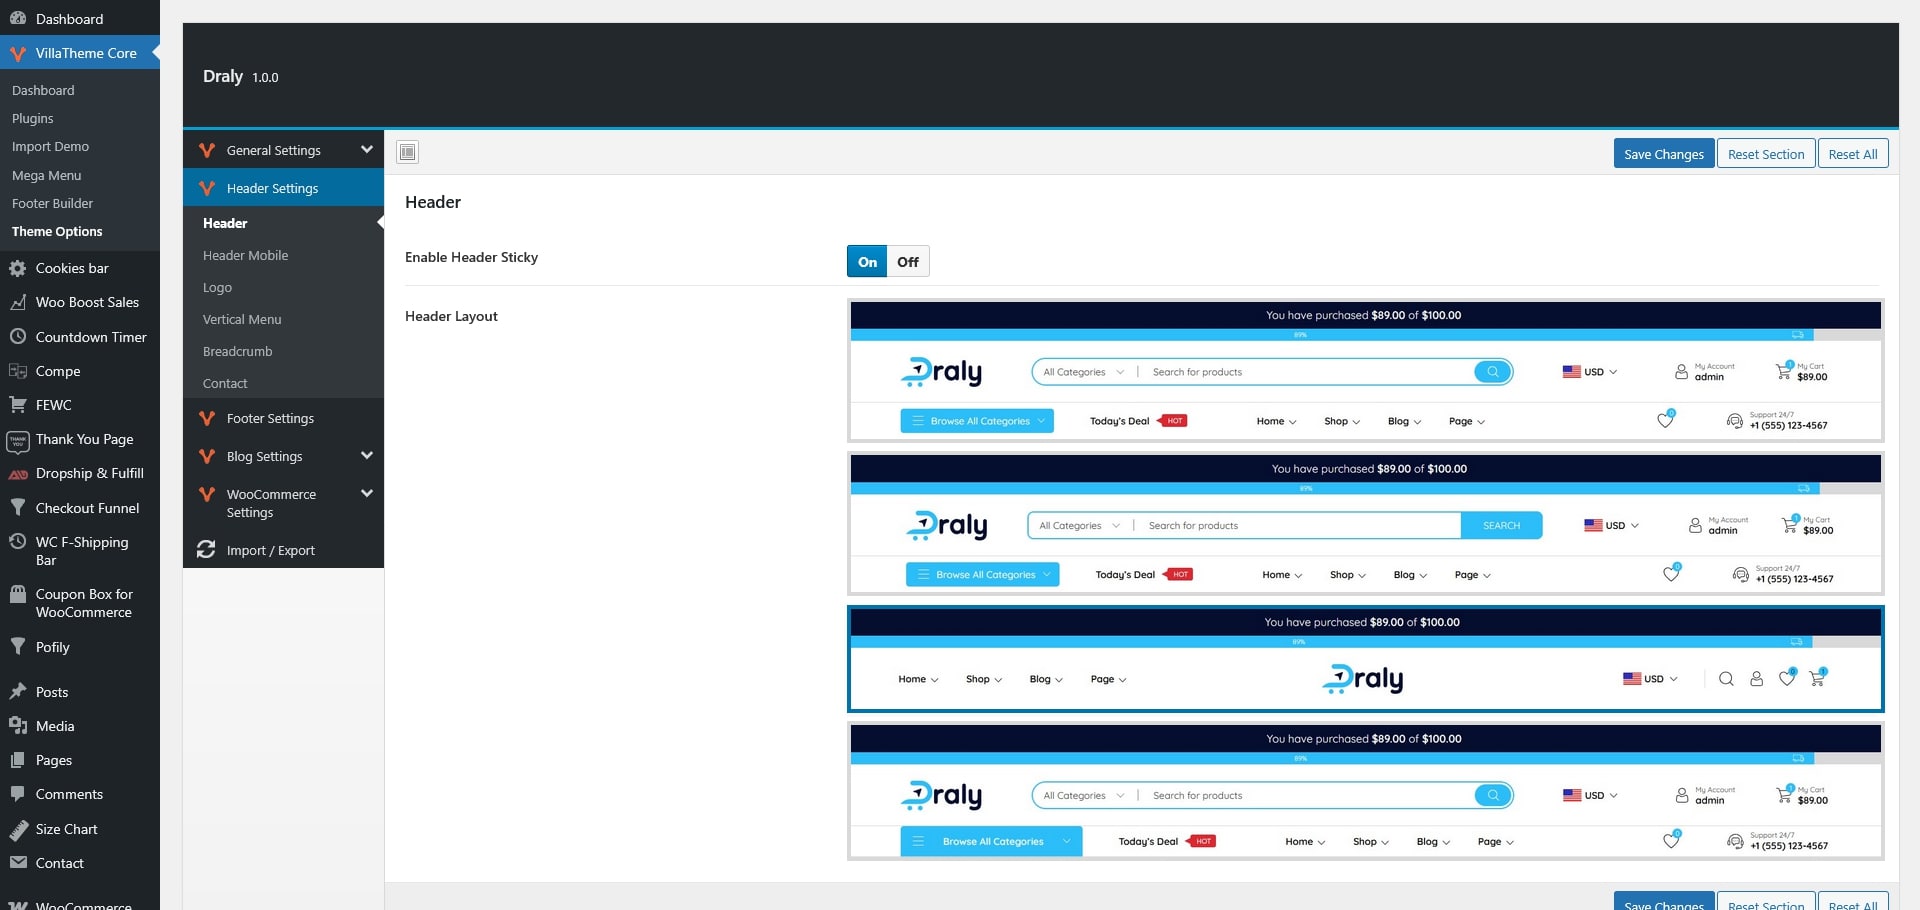
Configure the layout and style of the site header
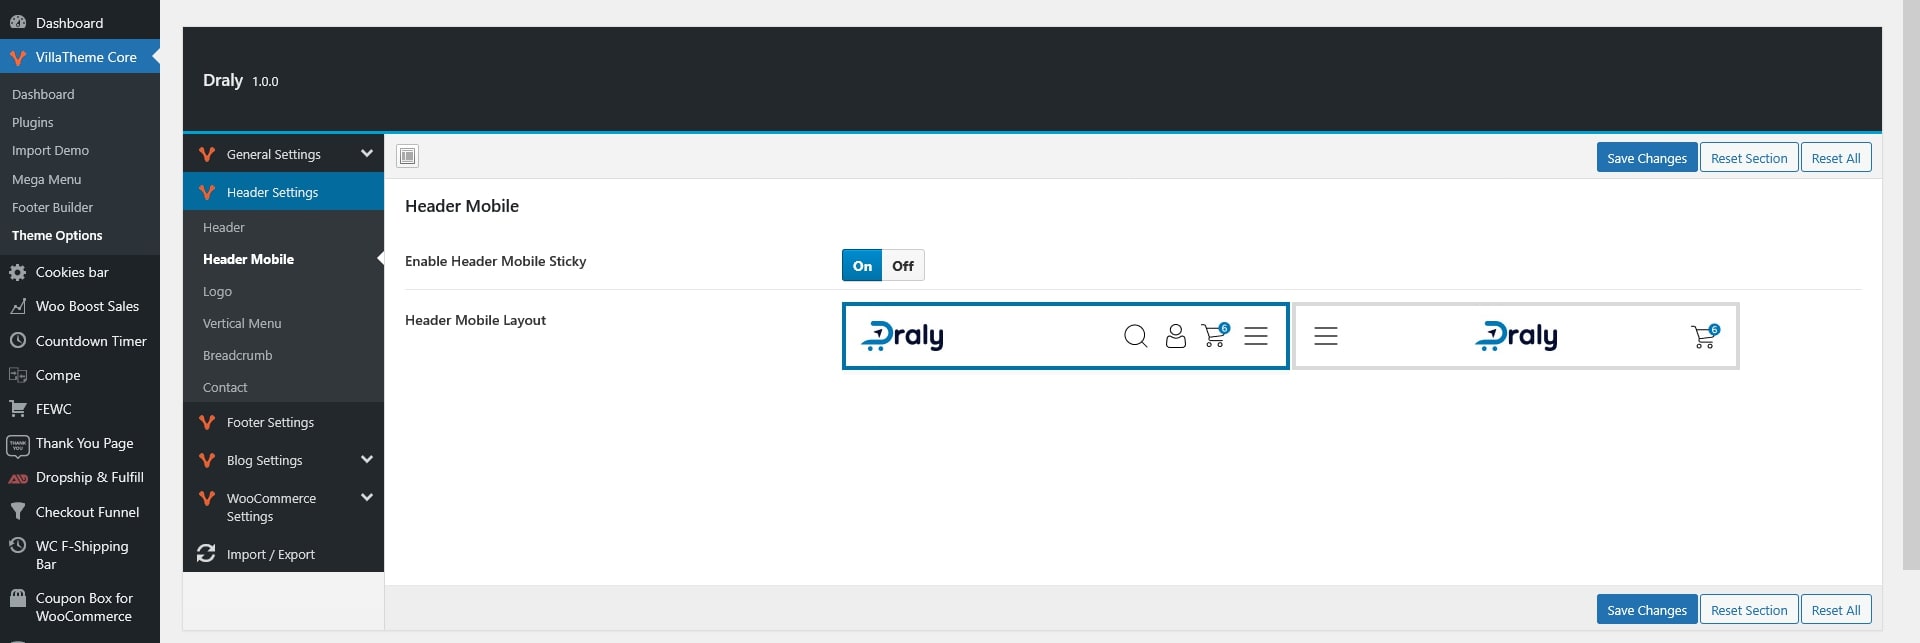
Enable header for mobile devices and select the header style
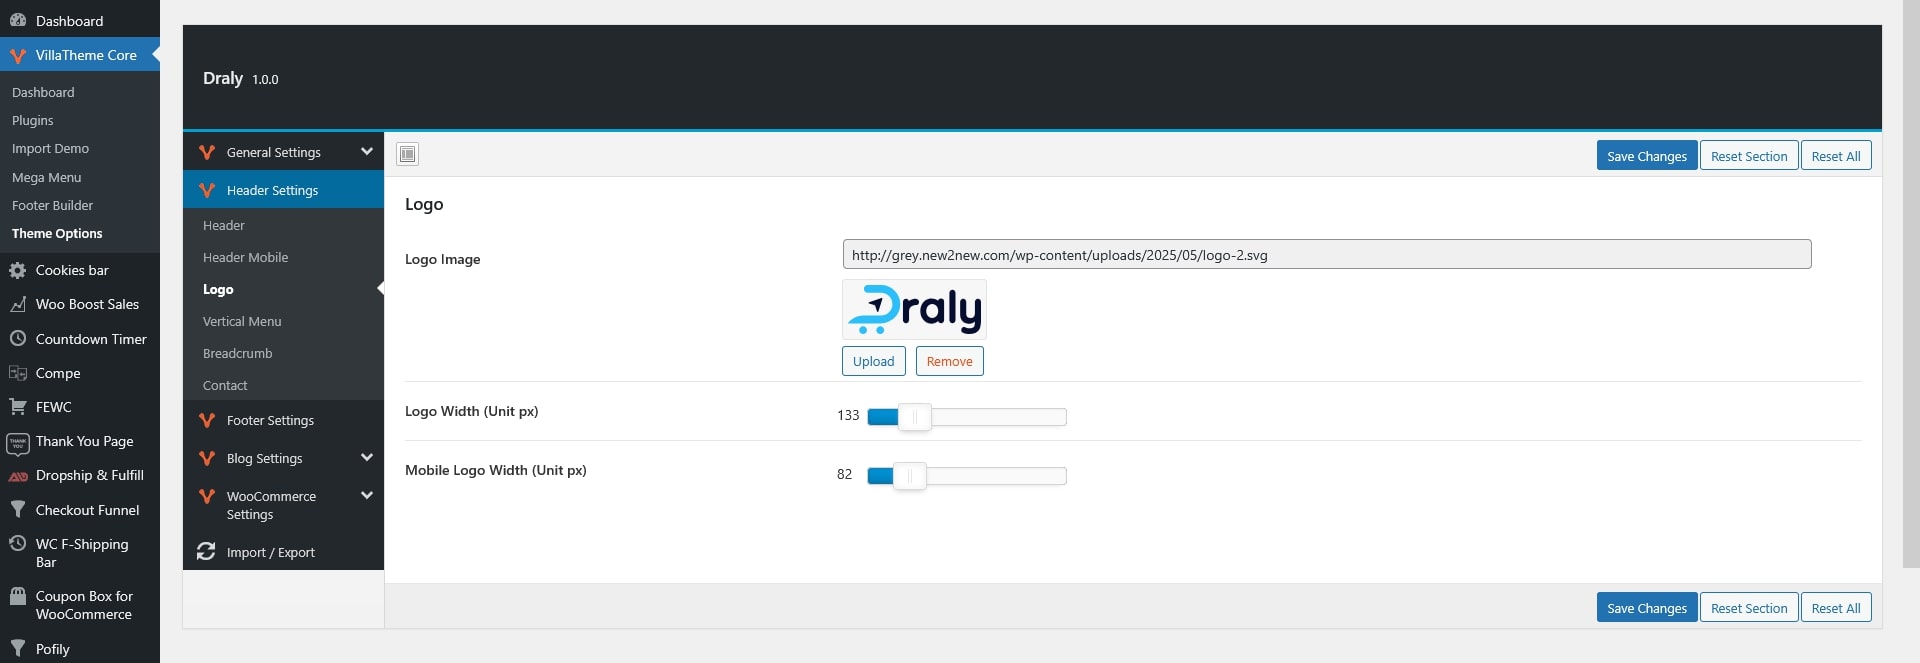
Upload and configure your site logo. Options include logo width and alternate width for mobile devices
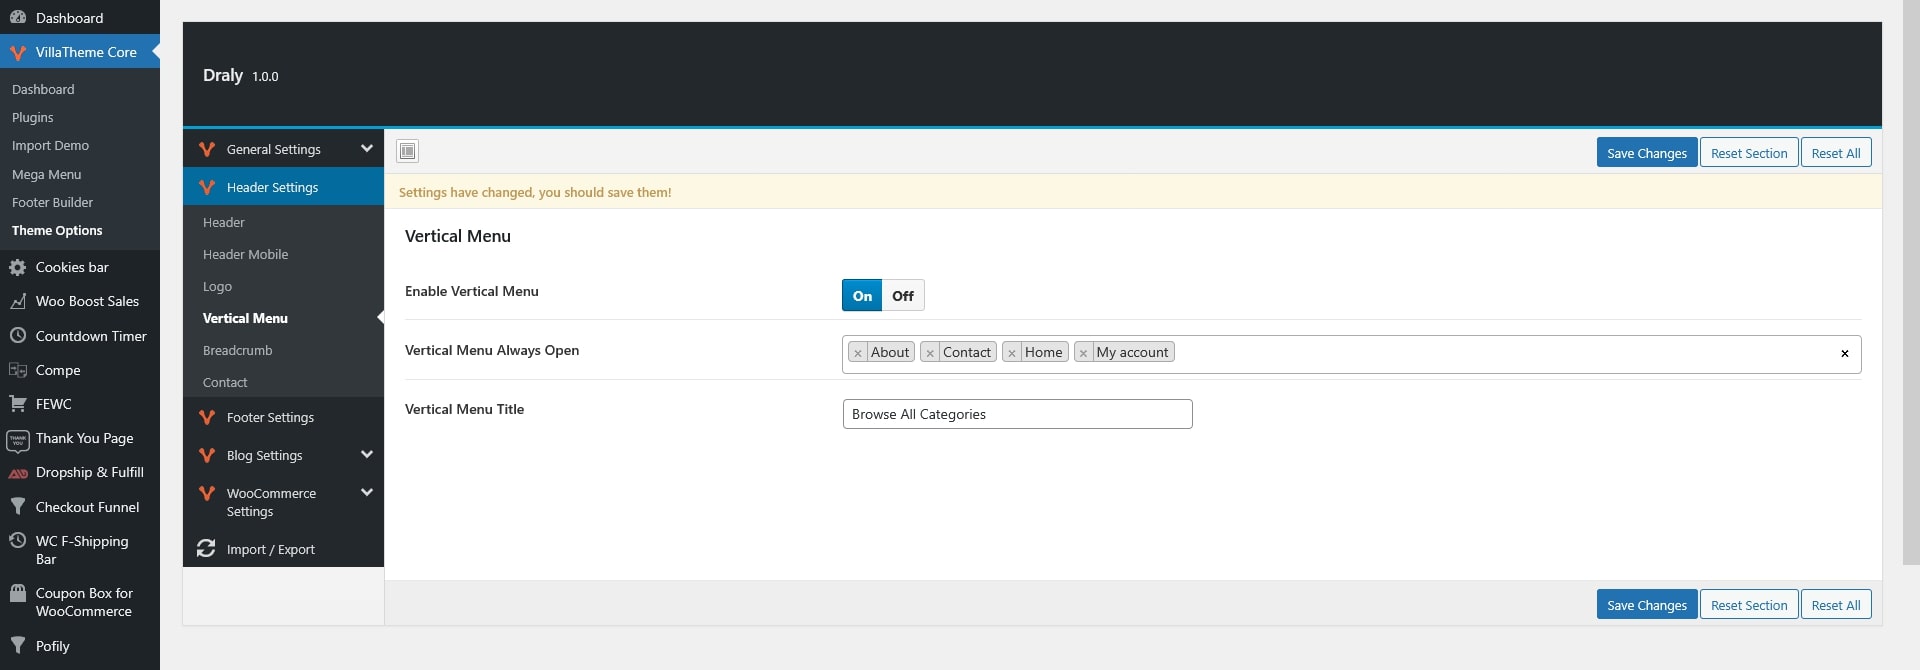
Enable a vertical navigation menu on specific pages and edit the menu title, if supported by your demo
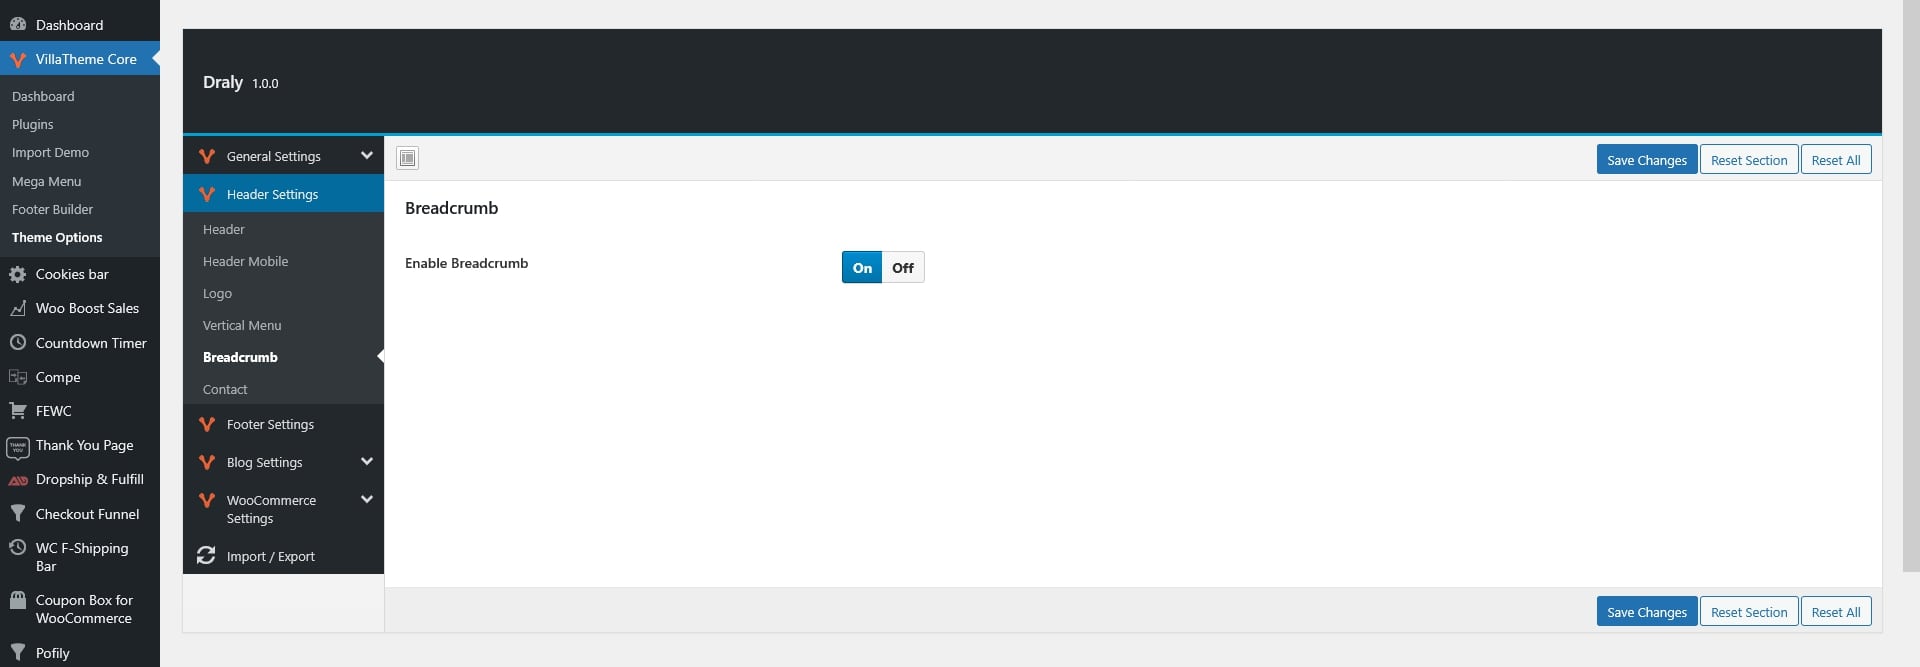
Enable or disable breadcrumbs for site navigation.
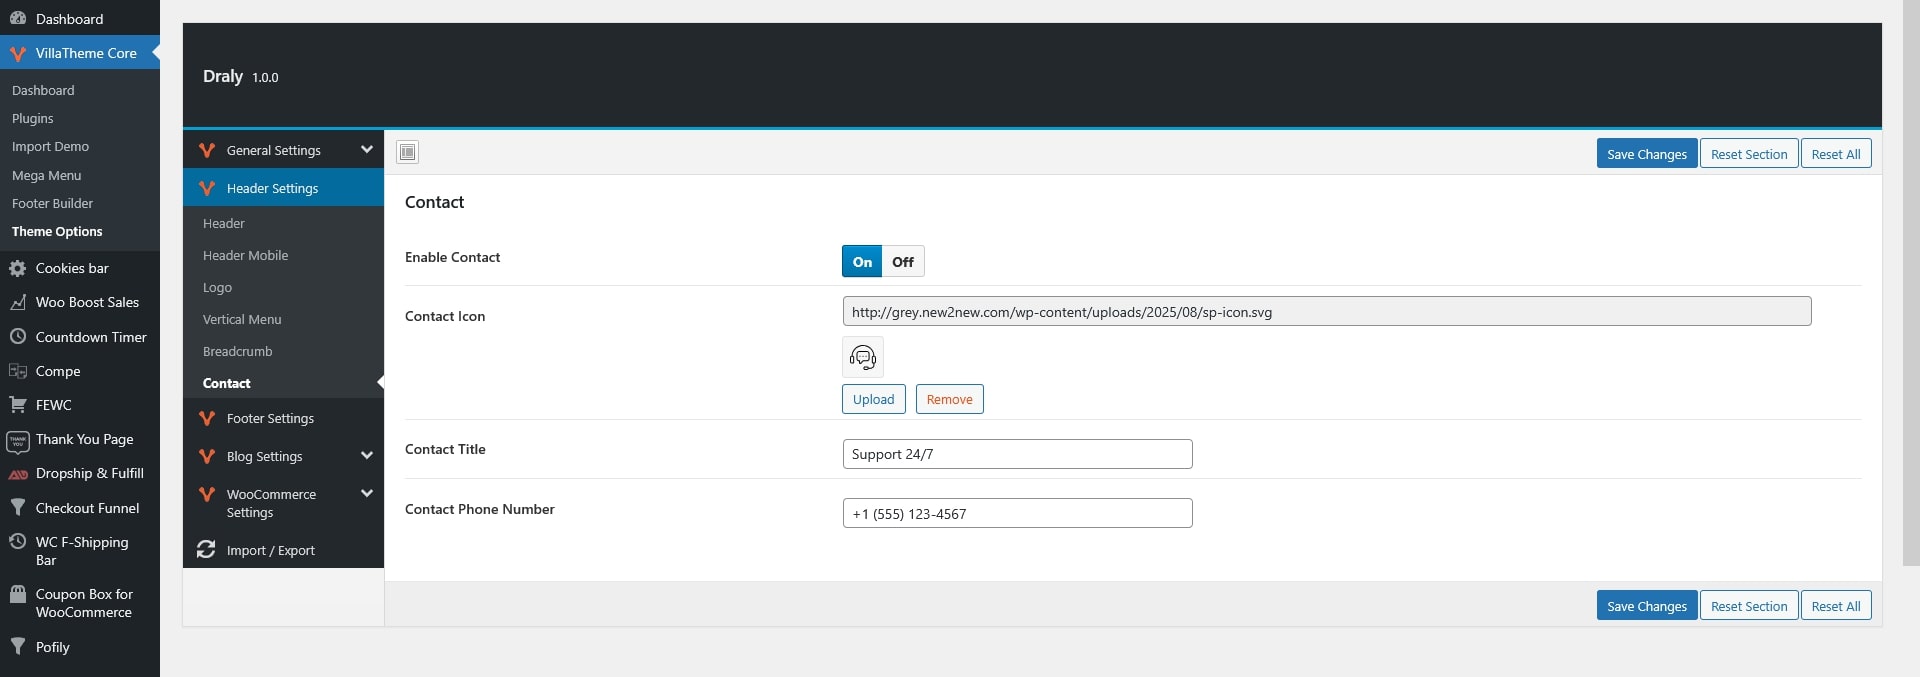
Configure header contact information such as phone number, email, or icons if the demo supports it
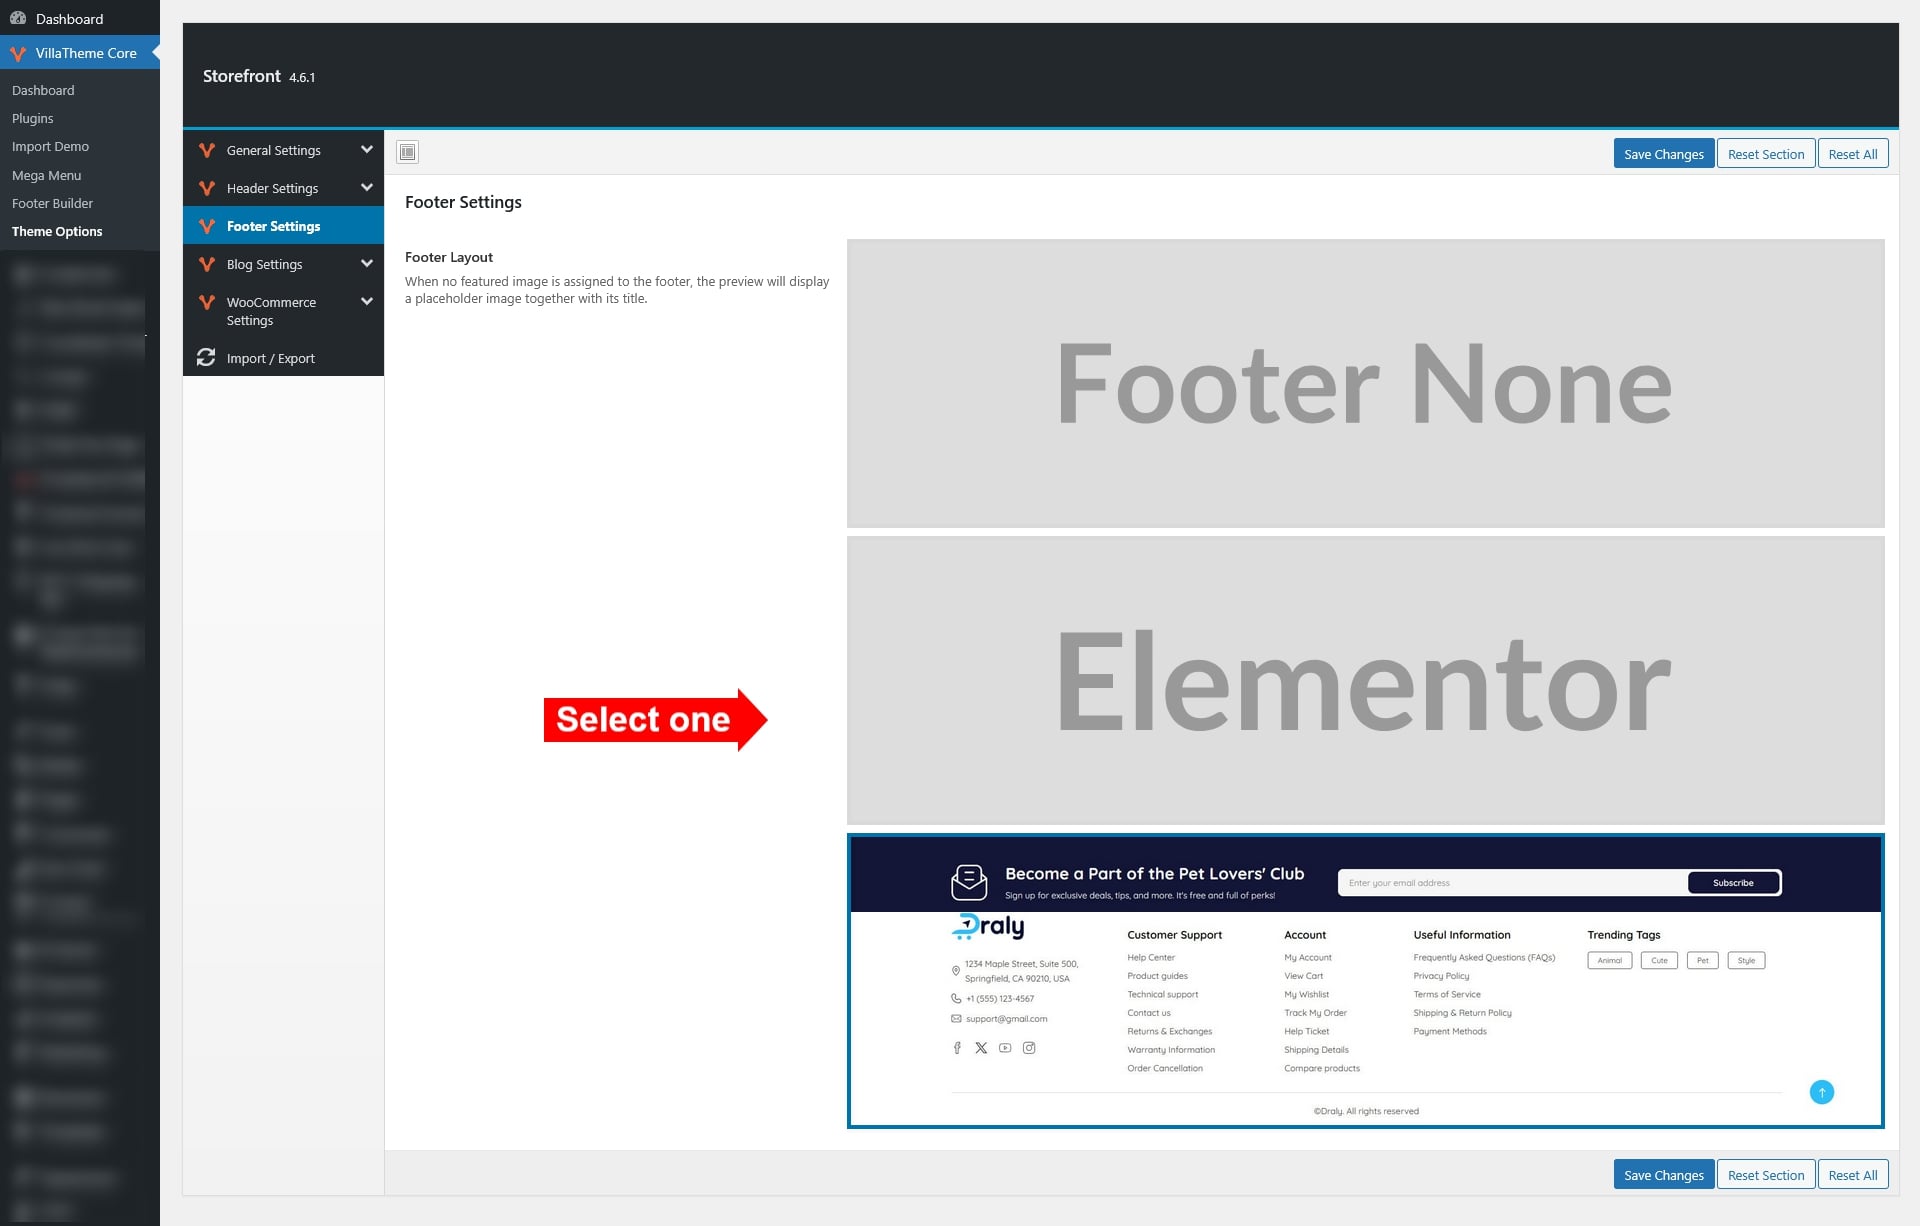
You would need to create your own footer in this section first.

Once created, return to this page and select the footer you wish to apply
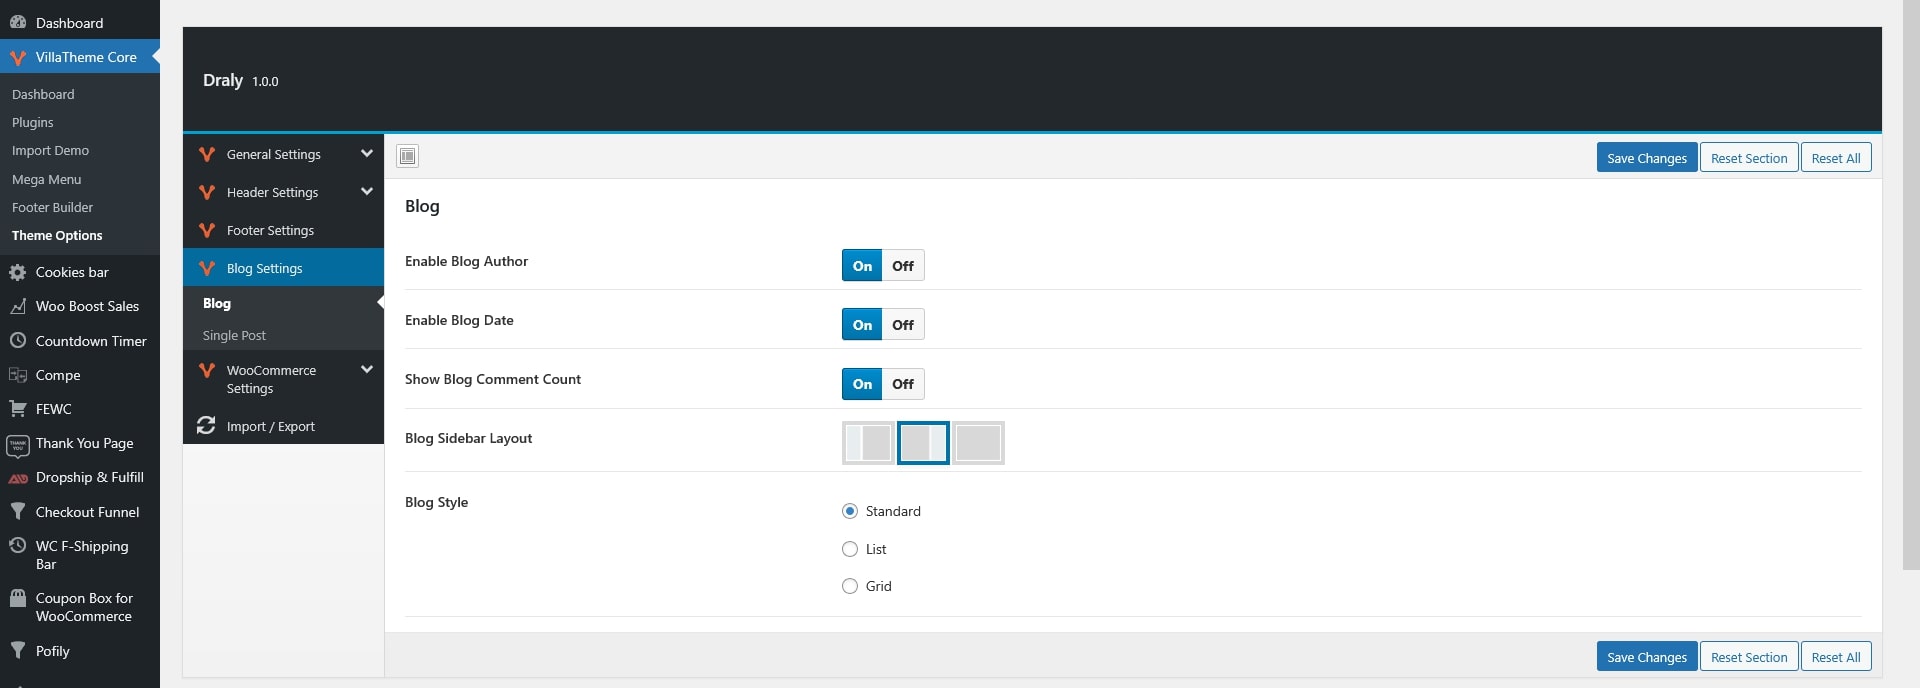
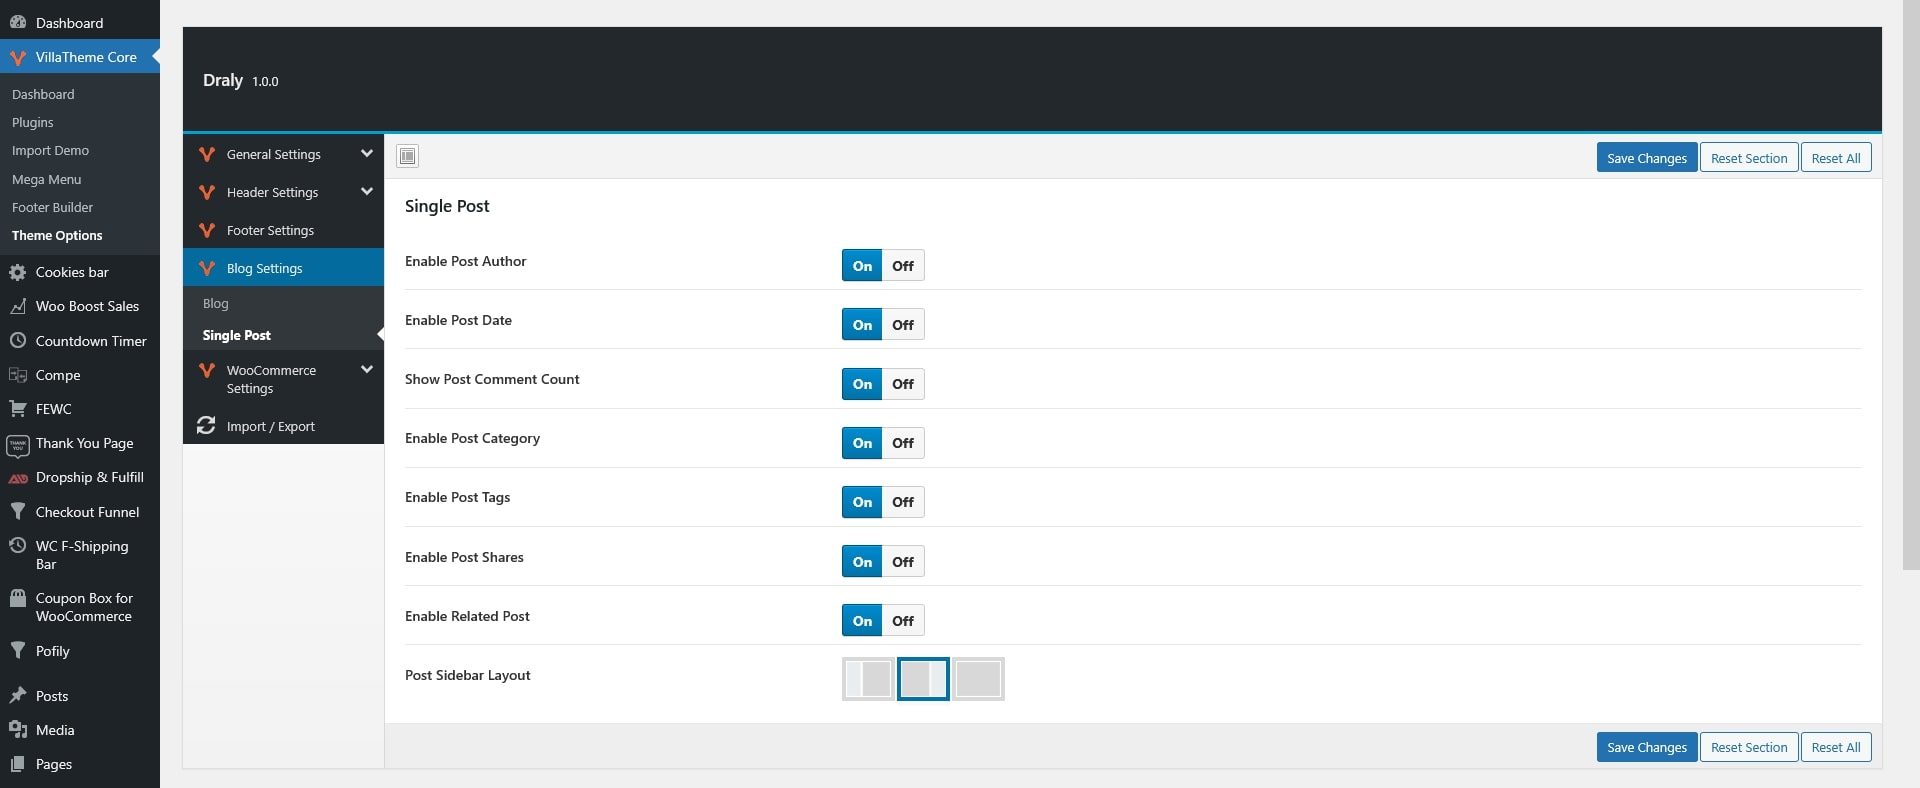
Go to Dashboard > VillaTheme Core > Theme Options > Blog Settings to configure blog and single post options.
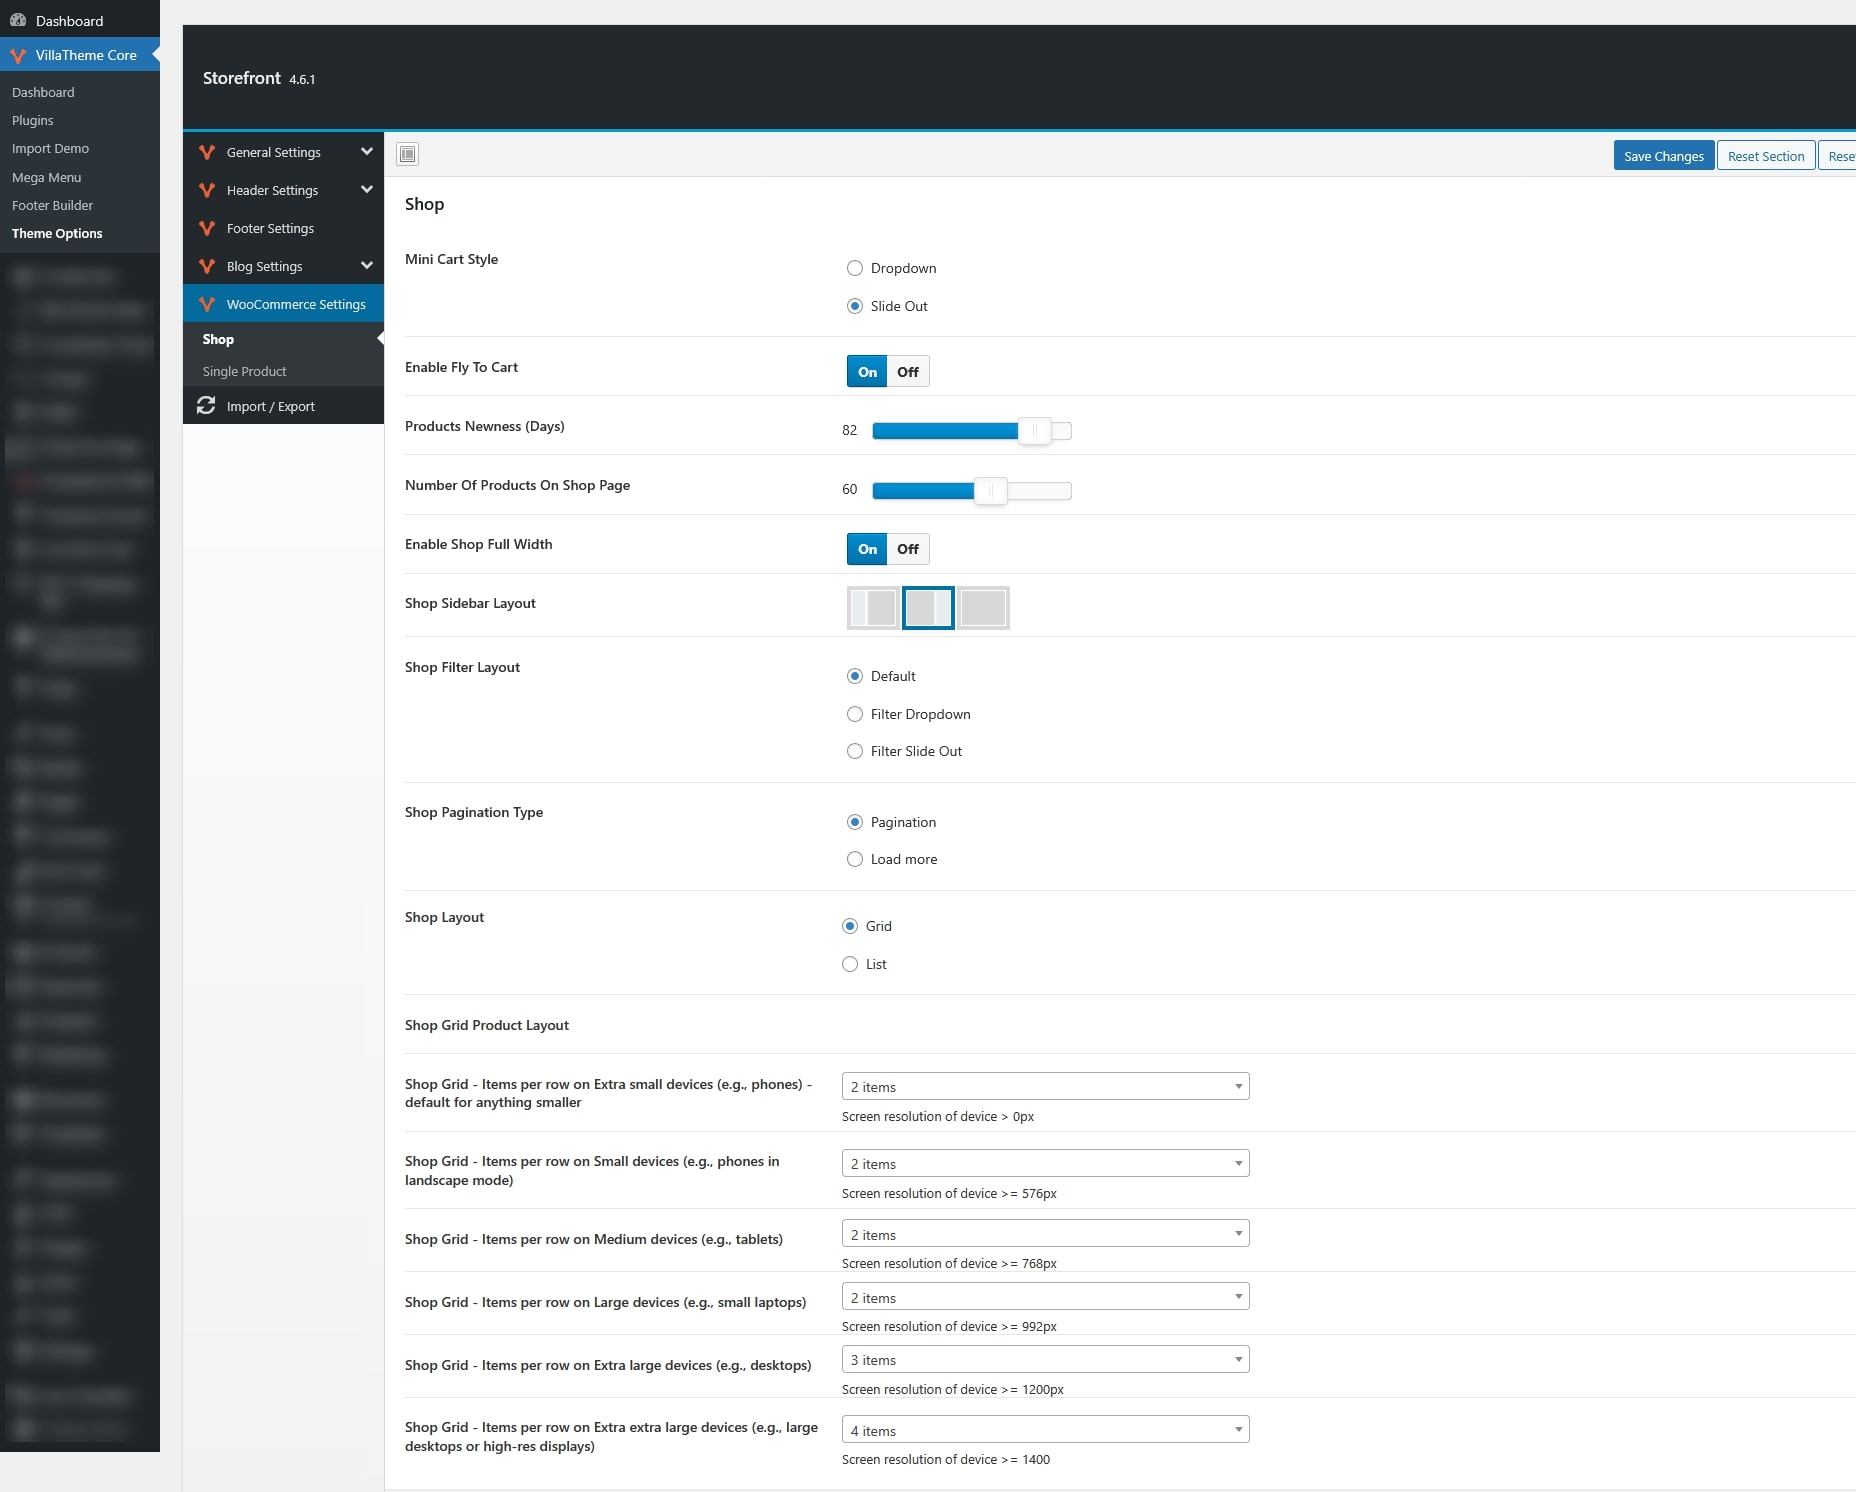
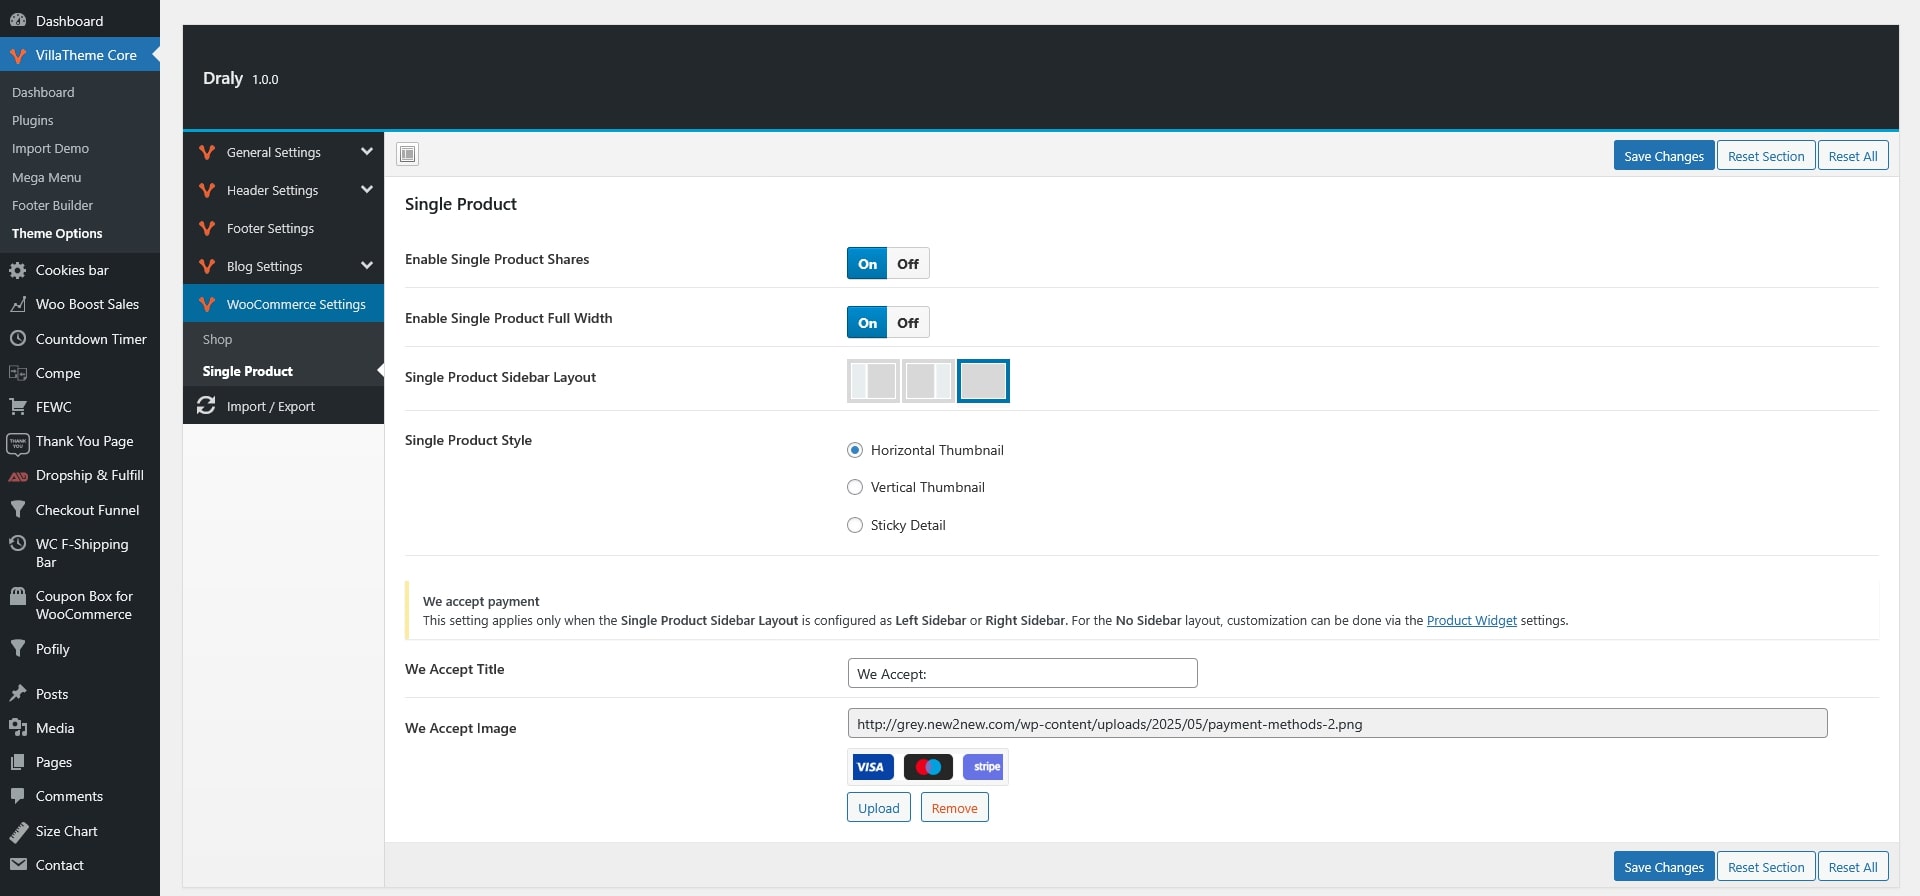
You can customize your shop and single product pages through Dashboard > VillaTheme Core > Theme Options > WooCommerce
The WordPress Customizer provides a live preview of your site while you adjust theme options.
Go to Dashboard > Appearance > Customize. In this section, you will find most of the settings described earlier (General Settings, Header, Footer, Blog, WooCommerce, etc.)
Widgets allow you to add content and features to specific areas of your site such as sidebars and footers.
Adding Widgets
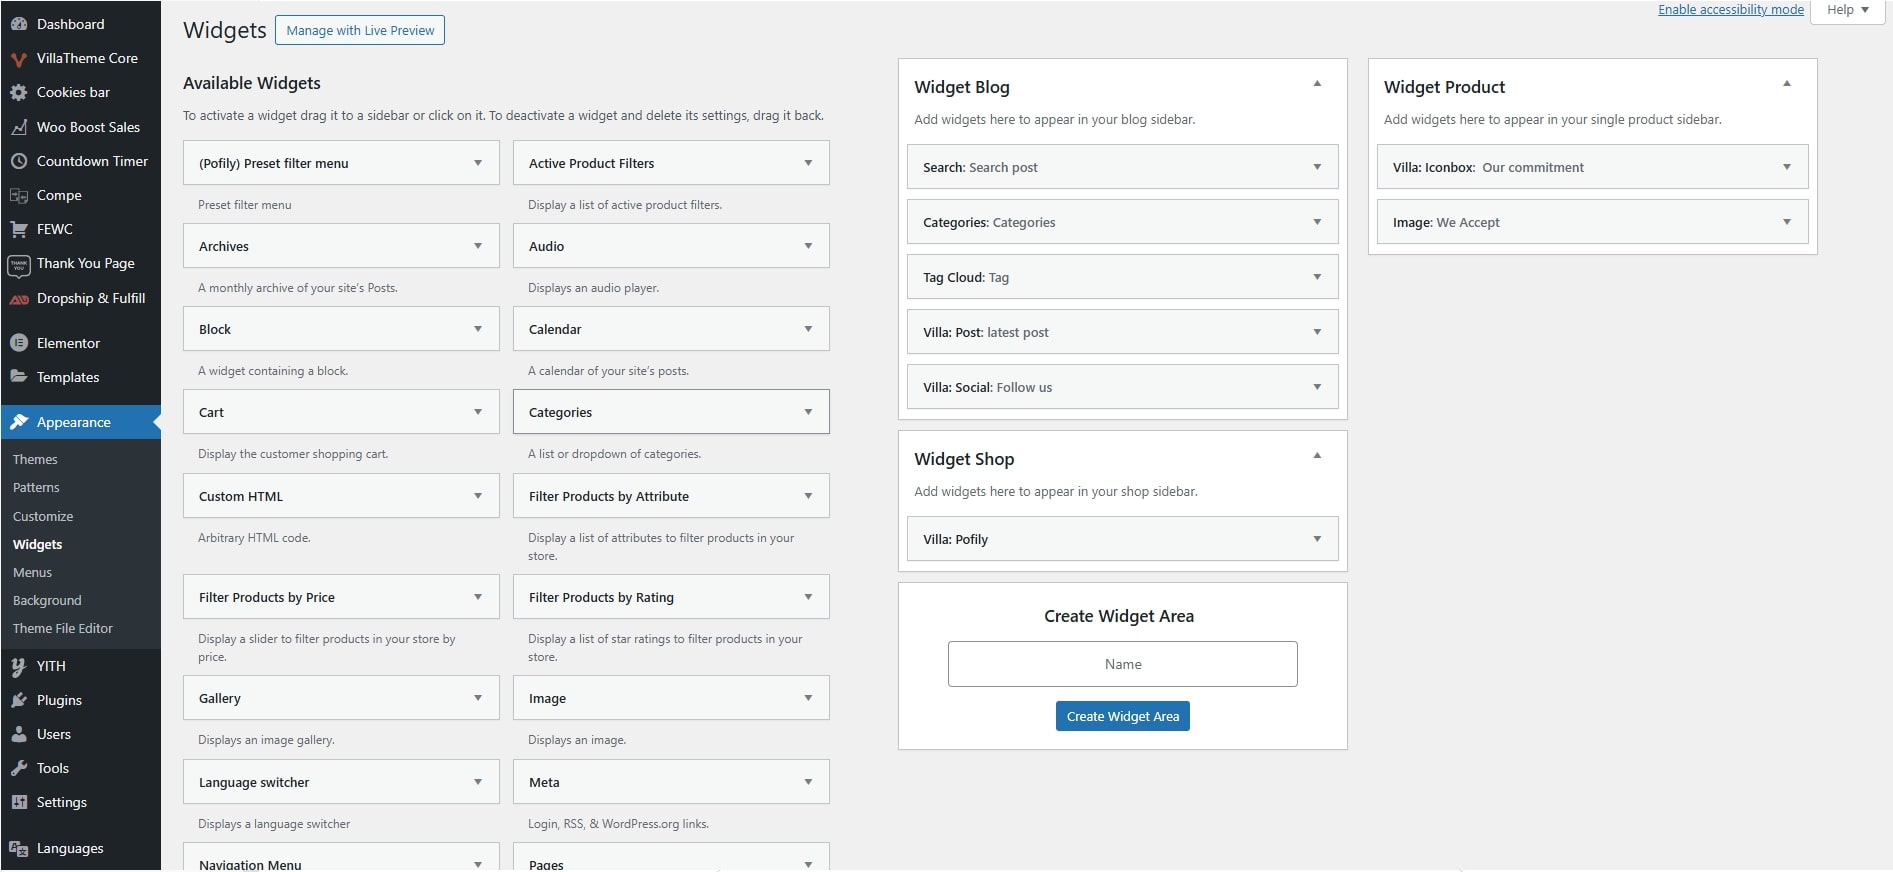
Custom Widget Areas
Select the widget position for Blog Sidebar, Shop Sidebar and Single Product Sidebar using the “Sidebar Layout” option
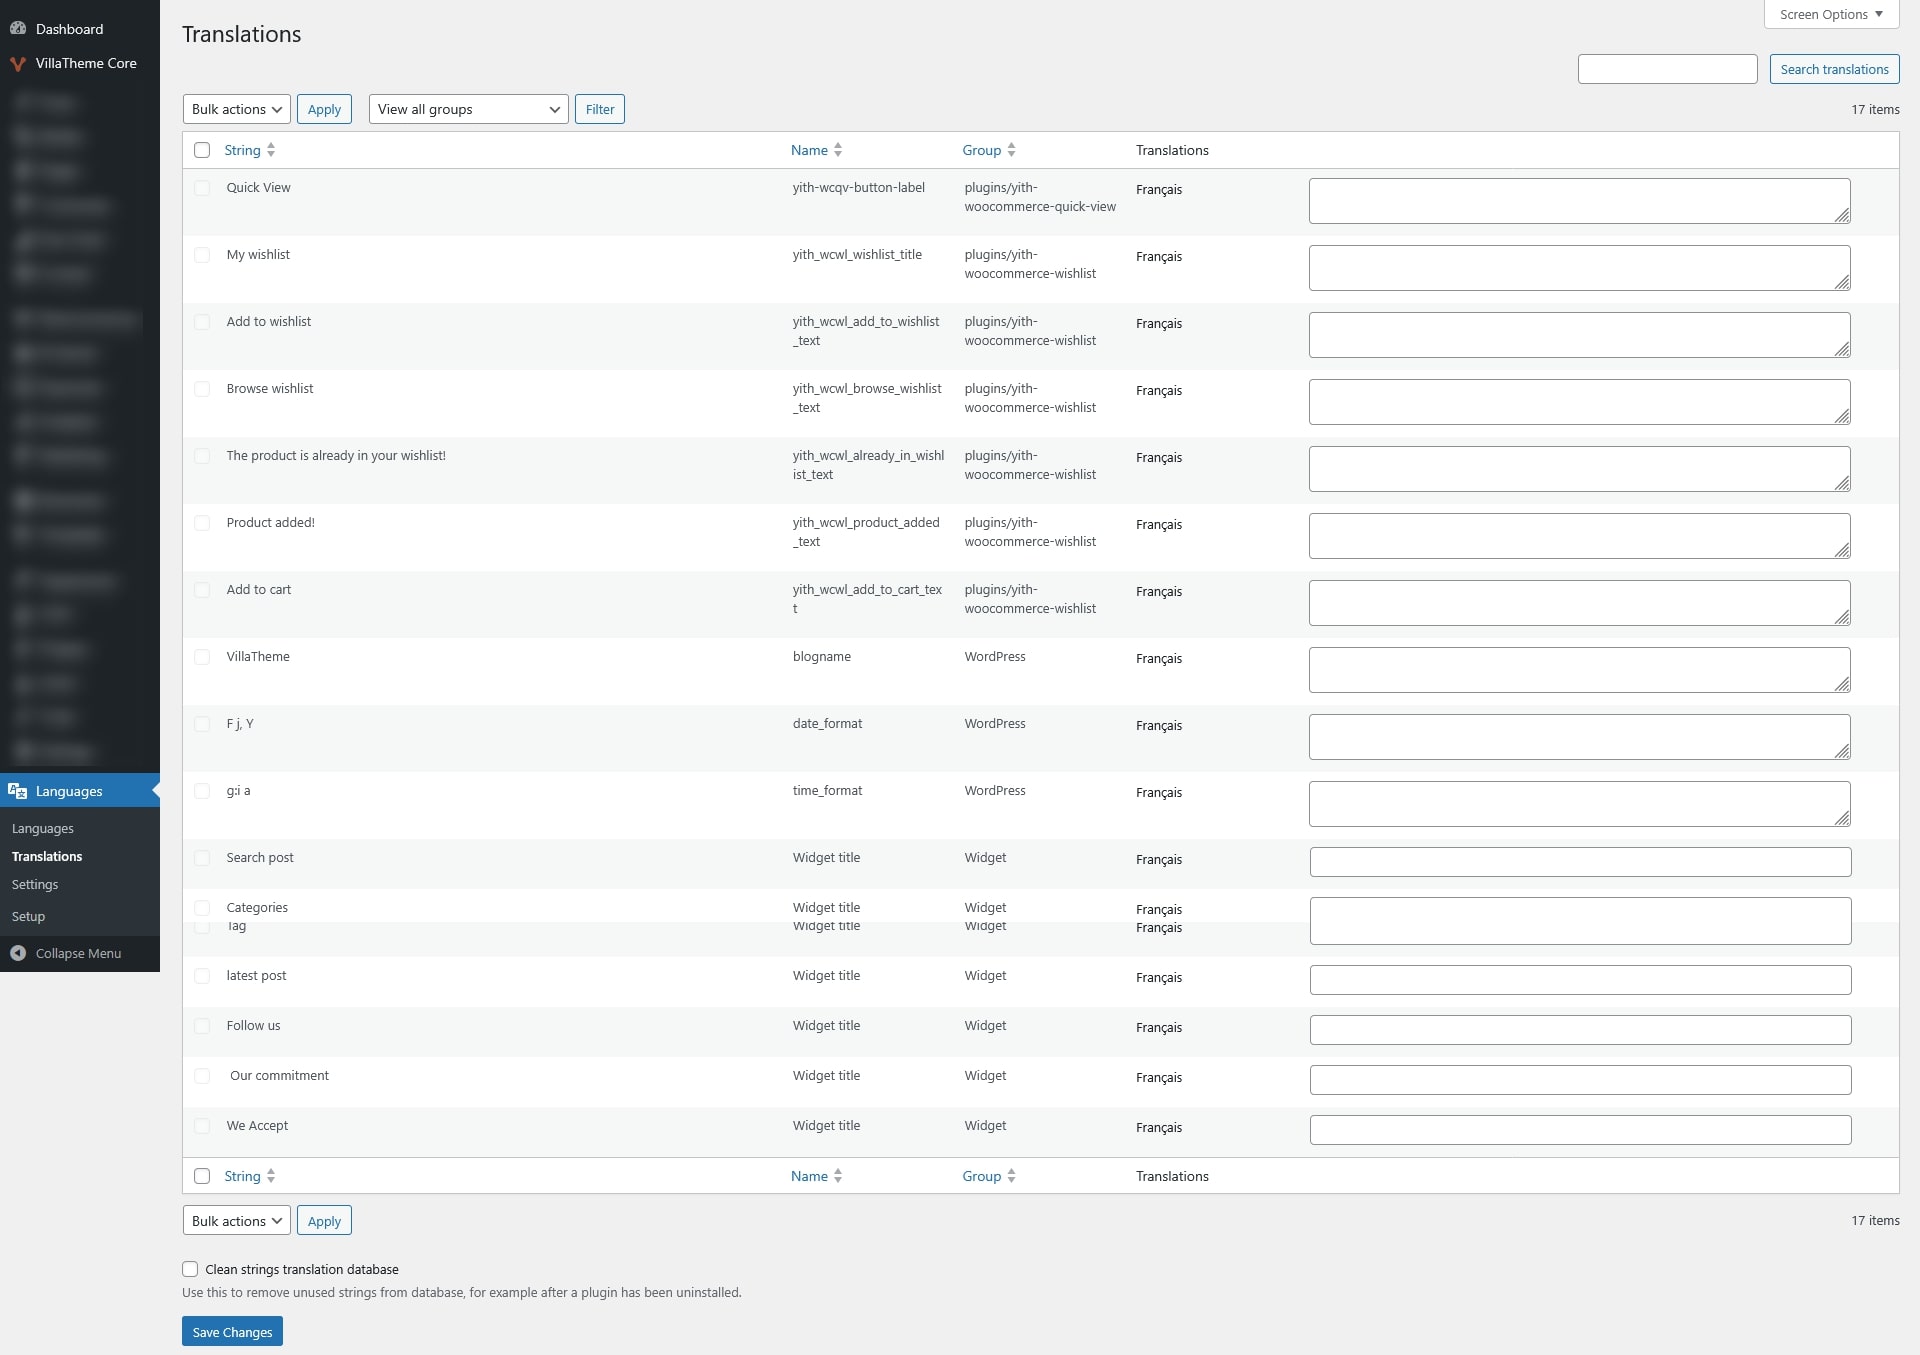
The theme supports multilingual websites and can be translated using popular plugins such as Loco Translate and Polylang.
Install and activate the Loco Translate plugin.
Go to Dashboard > Loco Translate > Themes.
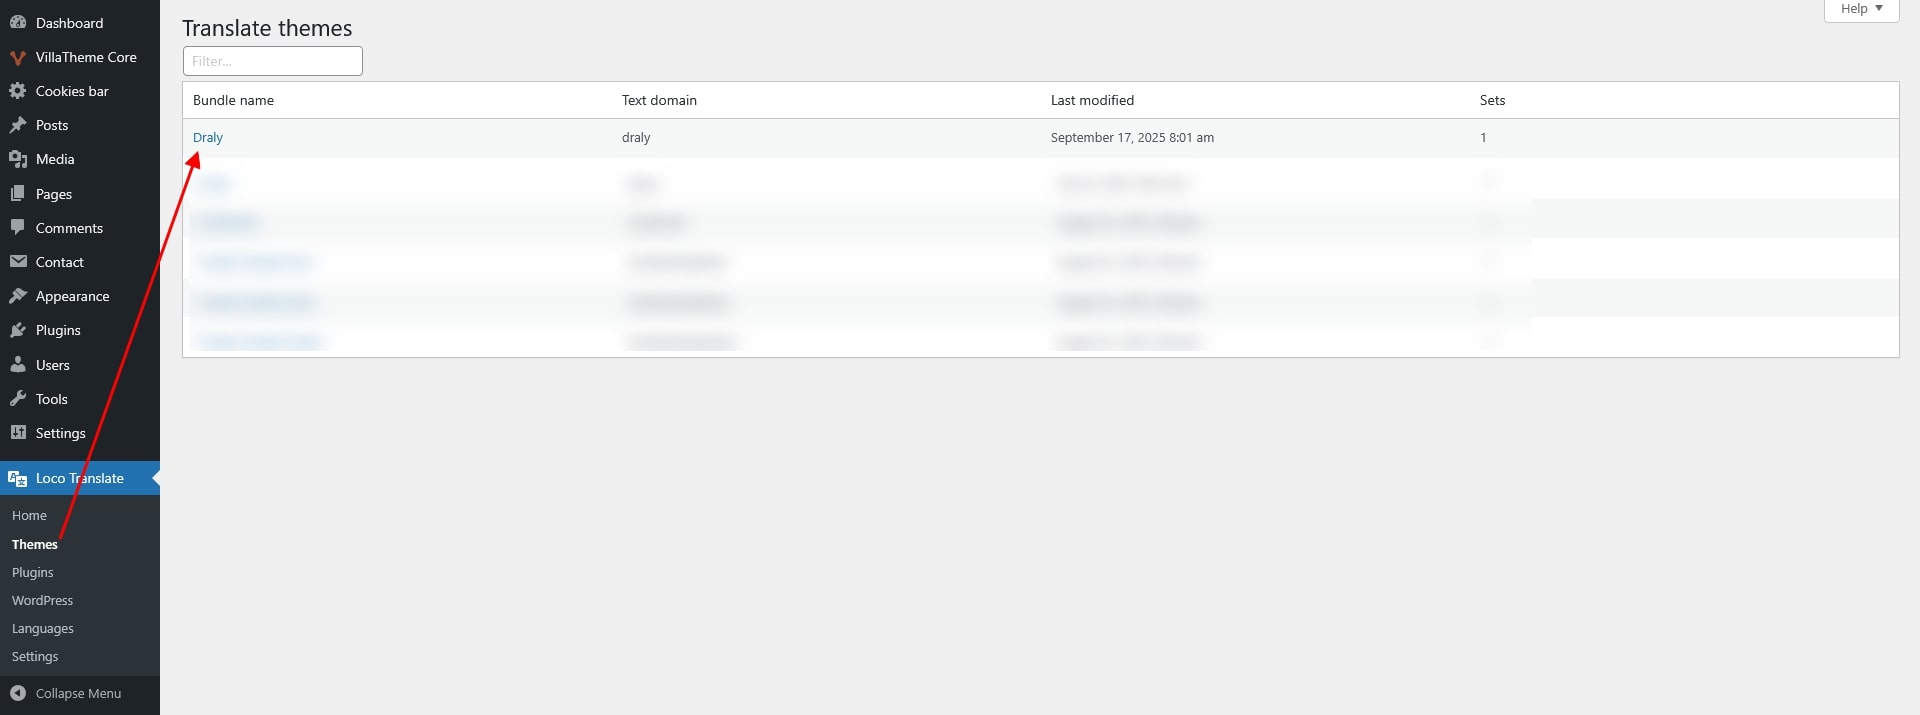
Create a new translation or upload your .pot file if you already have one.

Install and activate the Polylang plugin.
Configure your site languages under Dashboard > Languages > Translations.
Add translations for pages, posts, menus, and widgets directly within Polylang.