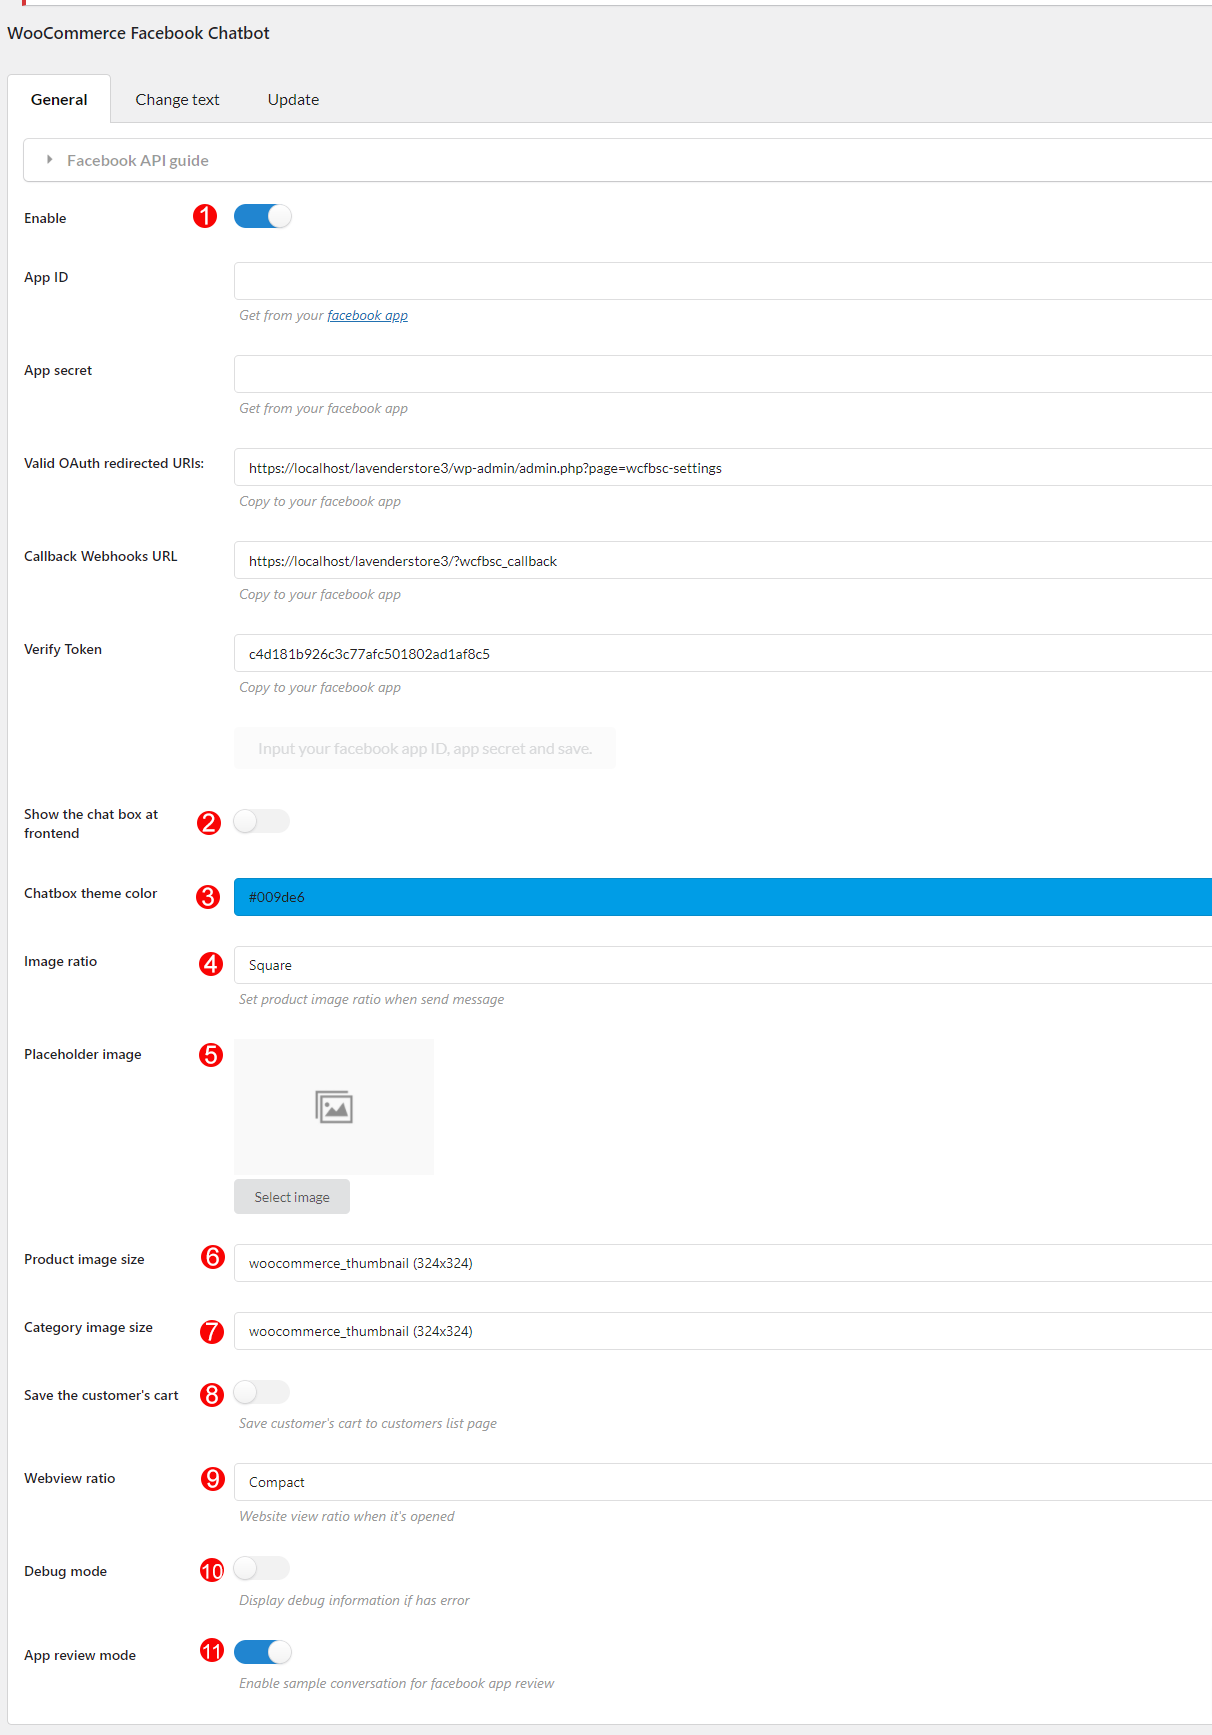
The Settings is the first step the user have to do to enable the plugin and connect it to the Facebook Messenger.
A. General settings.
1. Enable connect Facebook and your site through the plugin, click the Facebook API guide and follow the guide step by step.
2. Show the chat box at frontend: Enable to display chatbot on the front end of your site.
3. Chatbox theme color: set color for chatbot theme.
4. Image ratio: Set product image ratio when send message.
5. Placeholder image.
6. Product image size: Select the size of product image displayed on messenger.
7. Category image size: Select the size of category image displayed on messenger.
8. Save the customer’s cart: Save customer’s cart to customers list page. Go to Customer section.
9. Webview ratio: Select style of webview: Compact, tall or full.
10. Debug mode: Display debug information if has error.
11. App review mode: Enable to activate the sampe conversation for reviewing the app by Facebook moderators during the Review process. After the app is reviewed successfully, you can disable this option to keep using your own chatbot conversation.
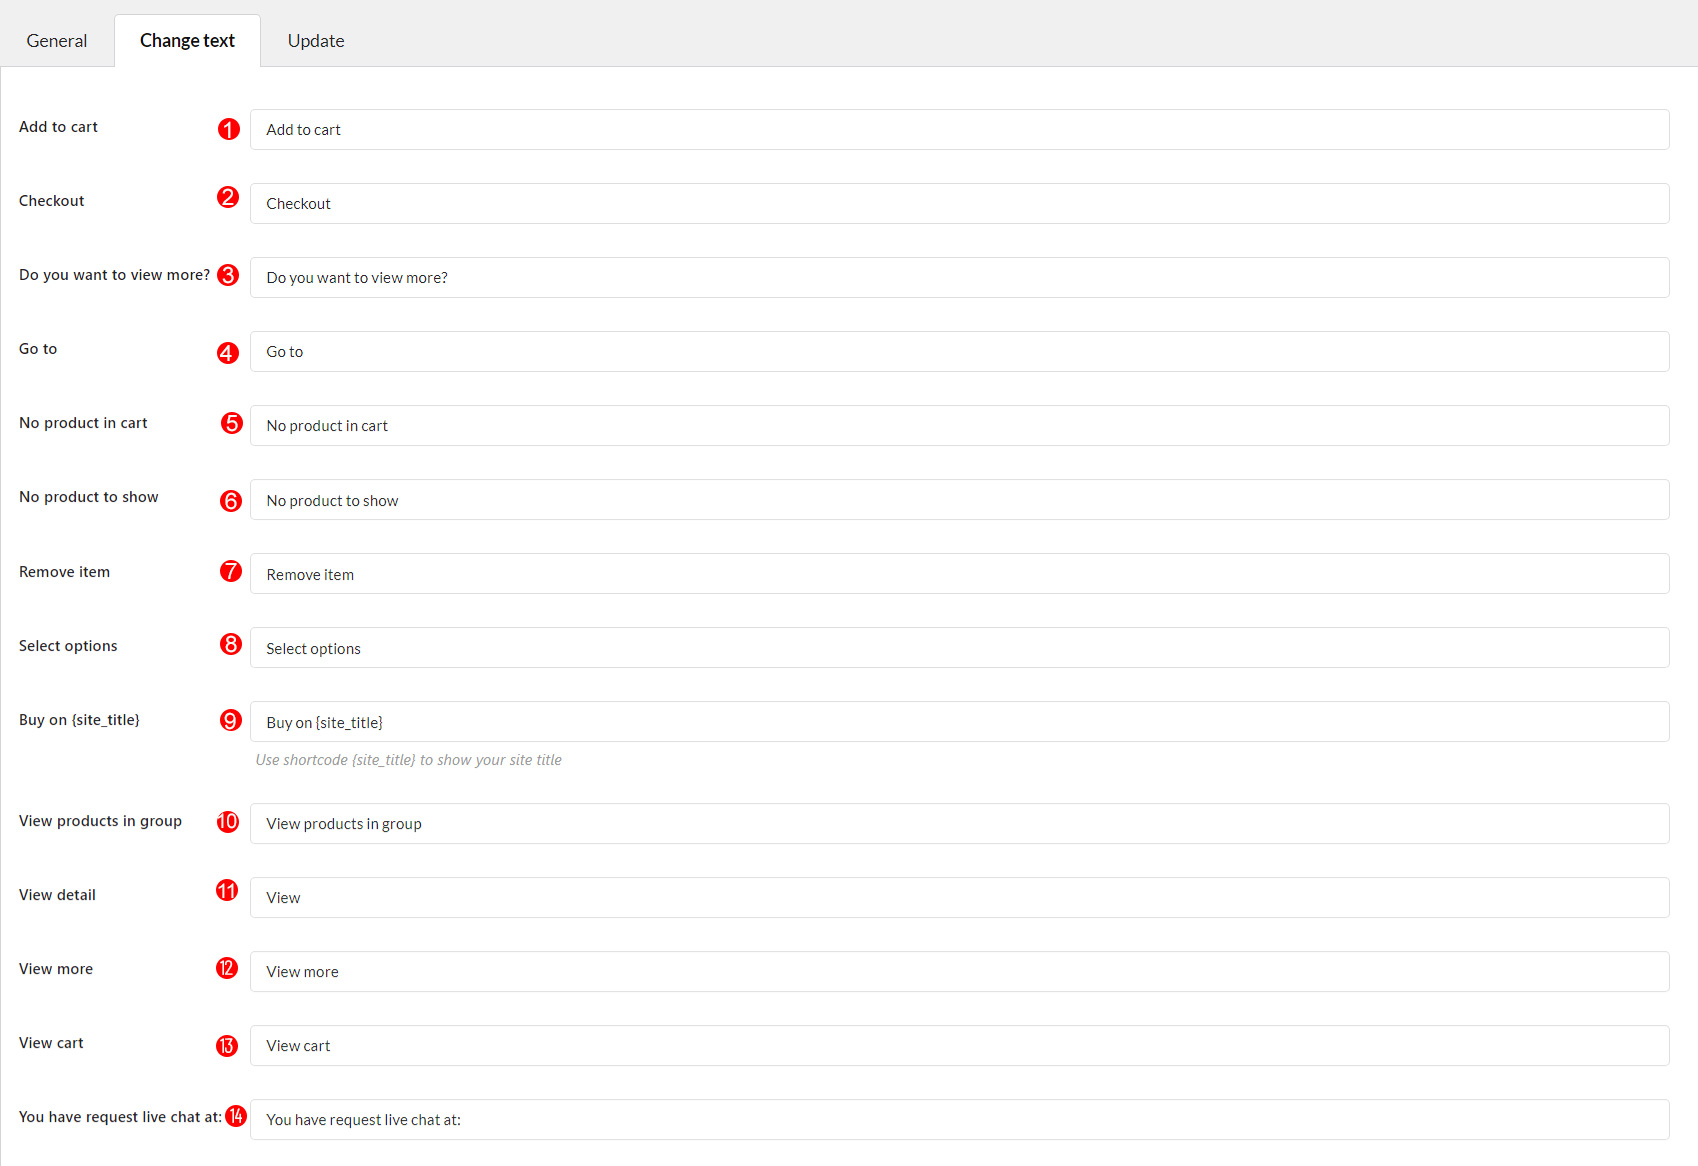
B. Change text
In this section, you can edit text for buttons on Facebook messenger.

