Copyright Villatheme 2015-2026
Created: 2016.06
Latest update: 2026.03 – Updated version 1.2.5
By: VillaTheme
Thank you for purchasing our plugin. If you have any questions that are beyond the scope of this documentation, please feel free to request support at our Support Forum. Thanks so much!
Make sure that those limits to a minimum as follows in order for free-trouble while installing:
Go to Plugin/Add New/Upload Plugin/Choose file/ select the ecommerce-notification.zip file/click “Install Now”/click “Active plugin”.
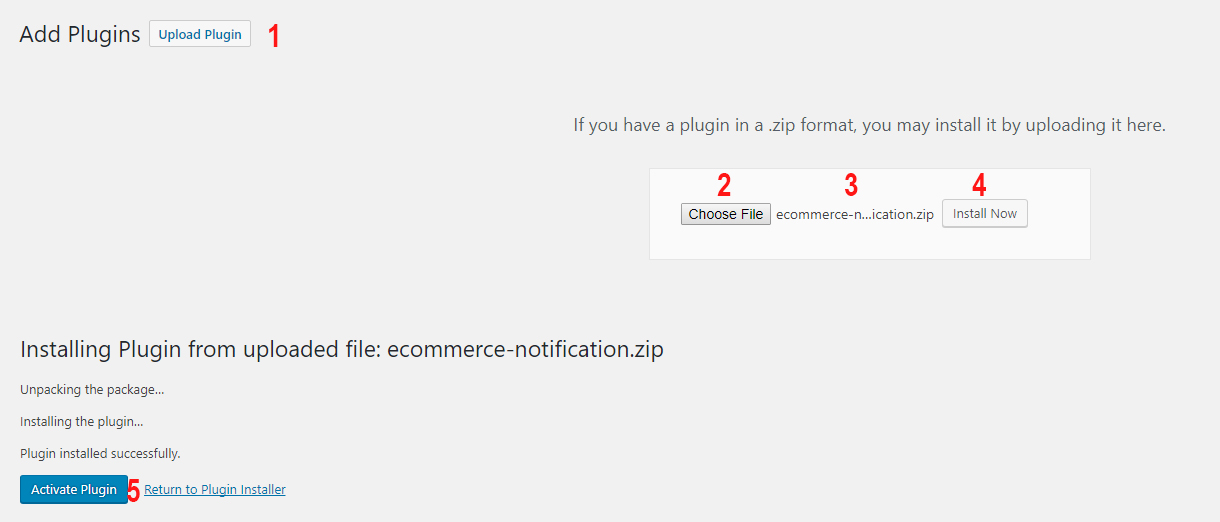
Done! Let’s start using the plugin.
After installing and activating the plugin, you need to configure to show notification:
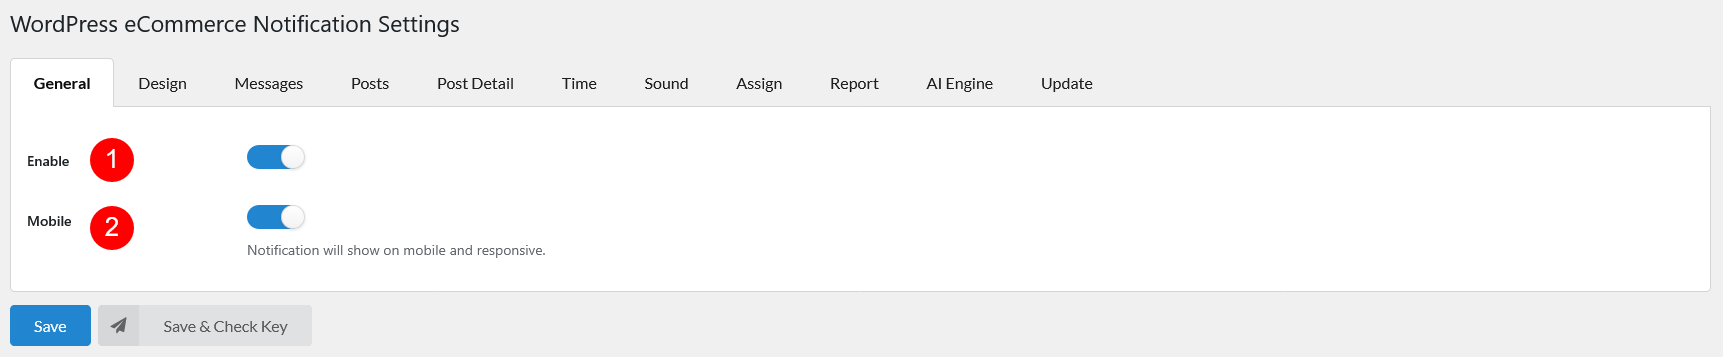
Go to Dashboard/eCommerce Notification/General tab/Turn on plugin either on desktop or mobile of both of them
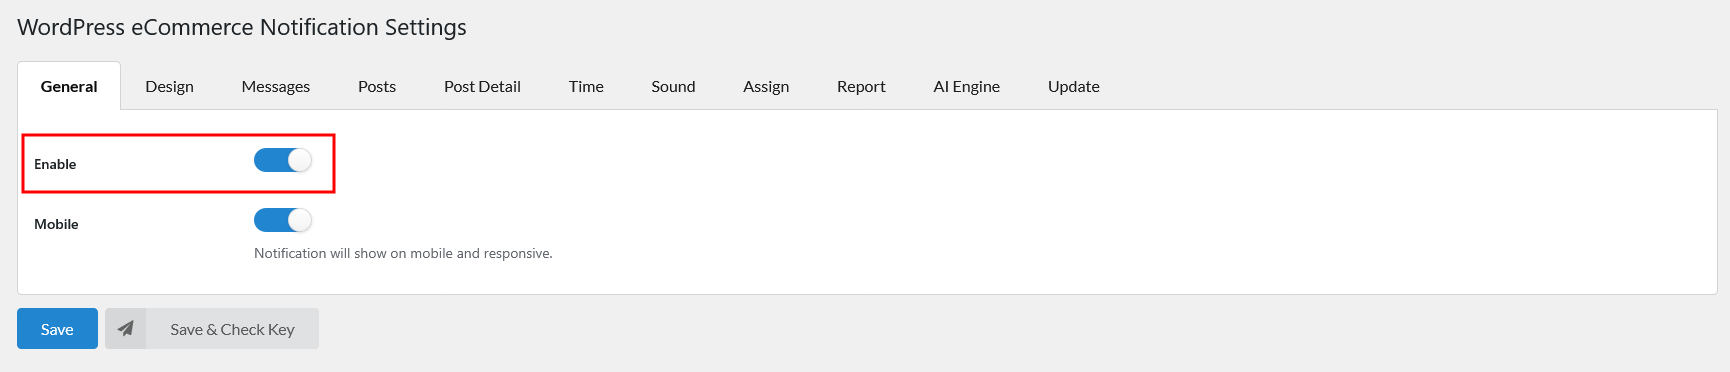
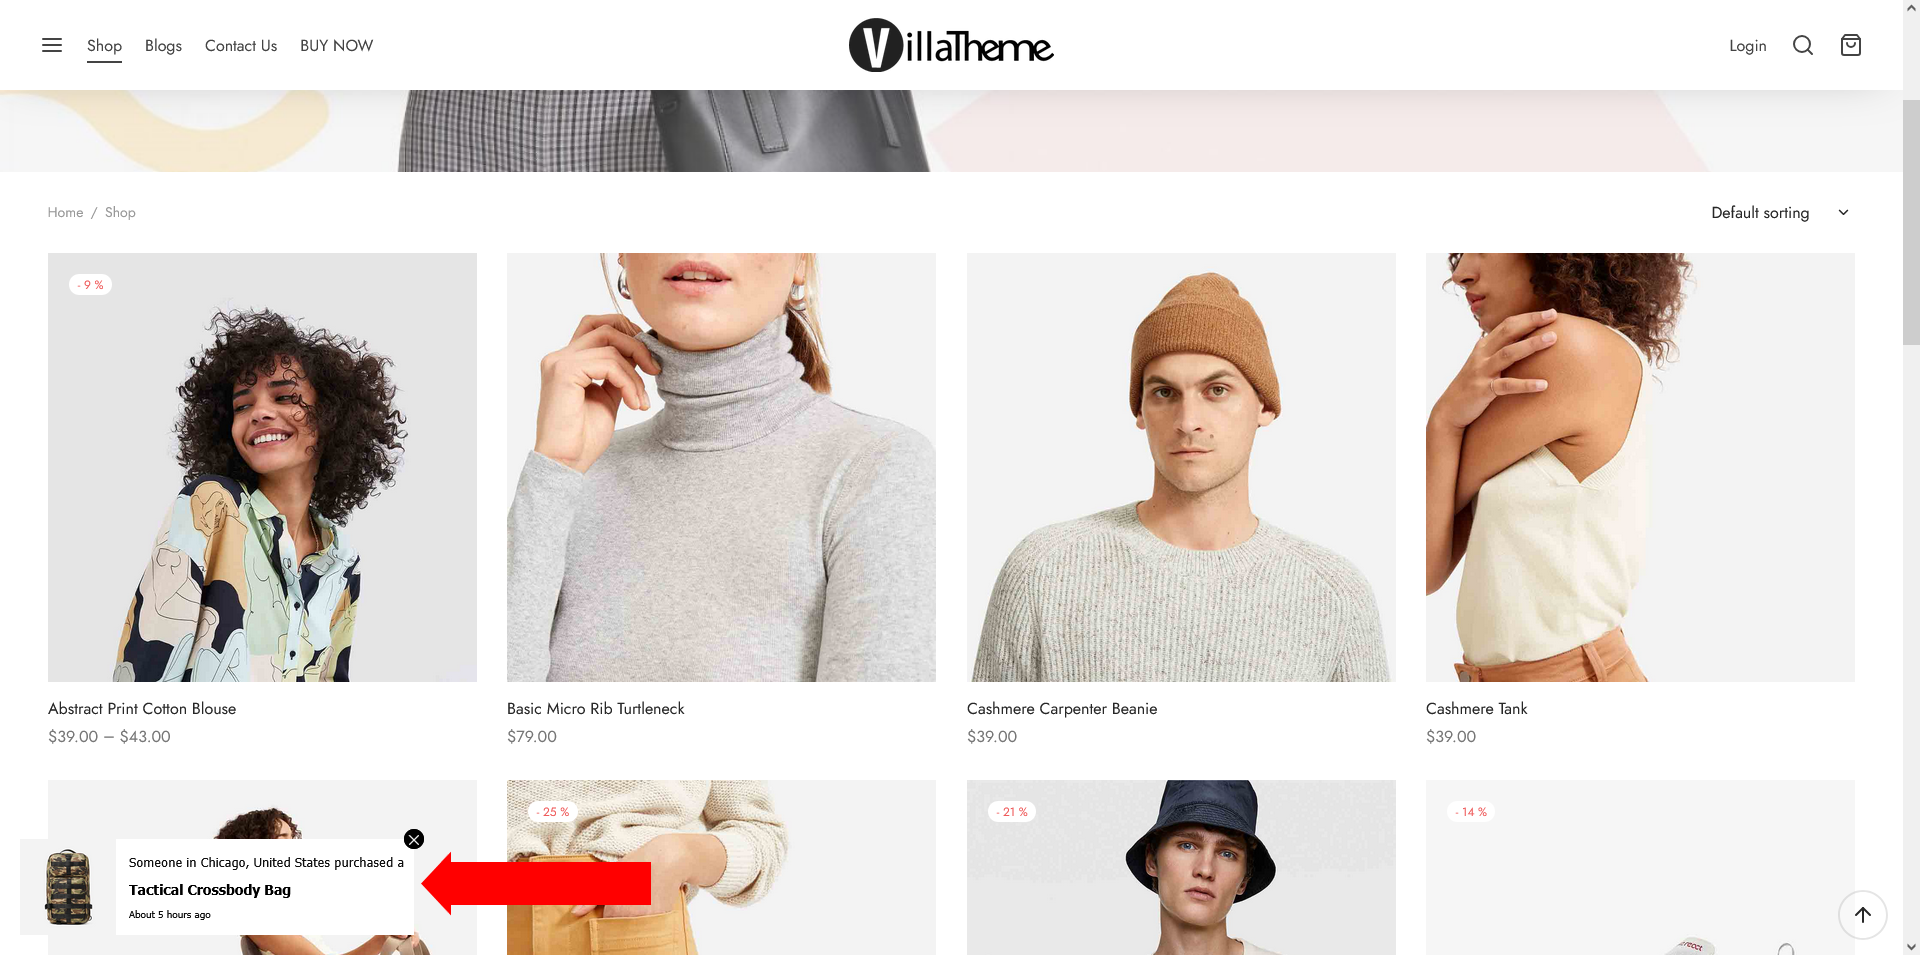
Click “Save” to get the changes. And that should be it. You can adjust settings in other setting pages if you need, and watch the notifications show up on front end.
Go to Dashboard/eCommerce Notification/Design to design the notification pop-up
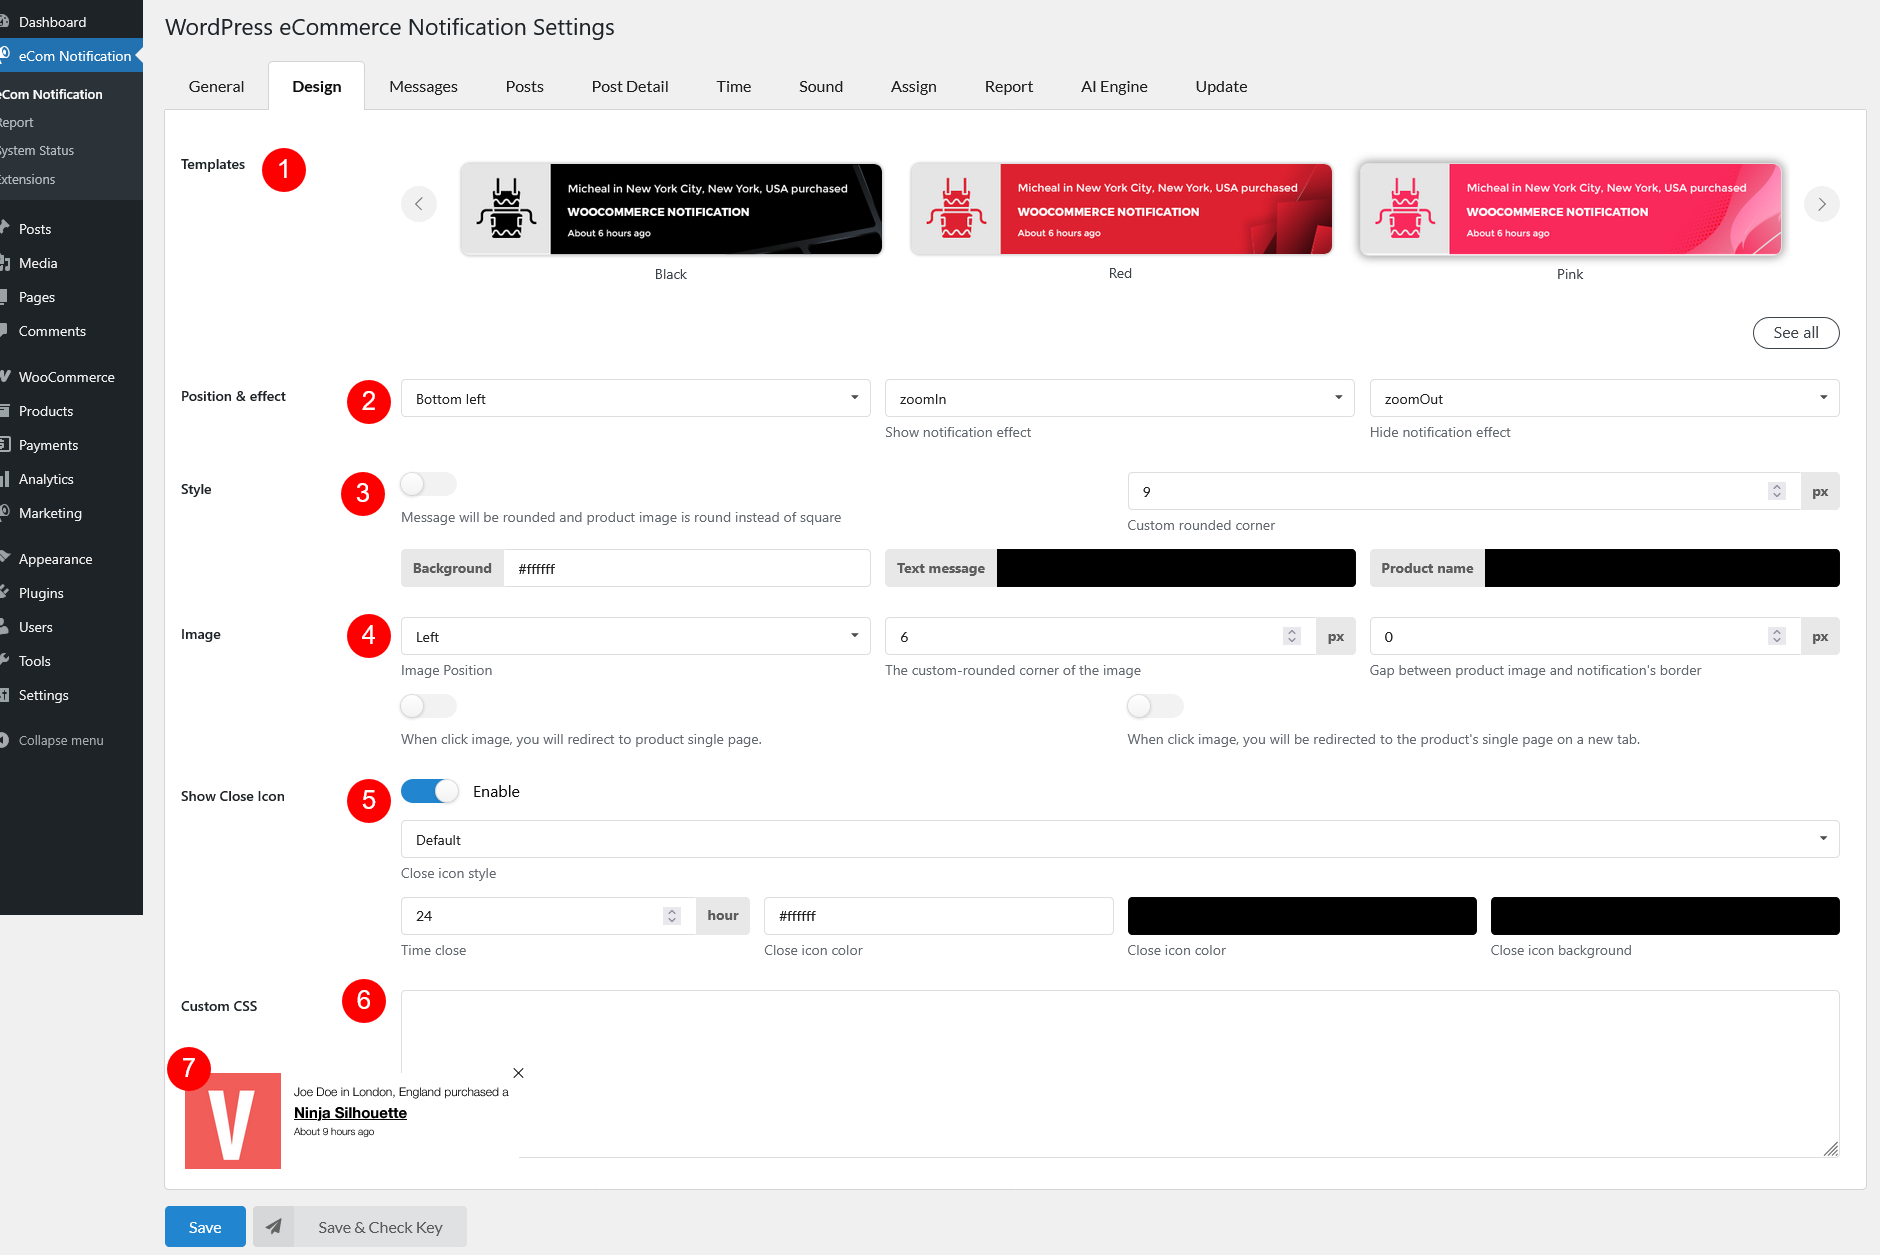
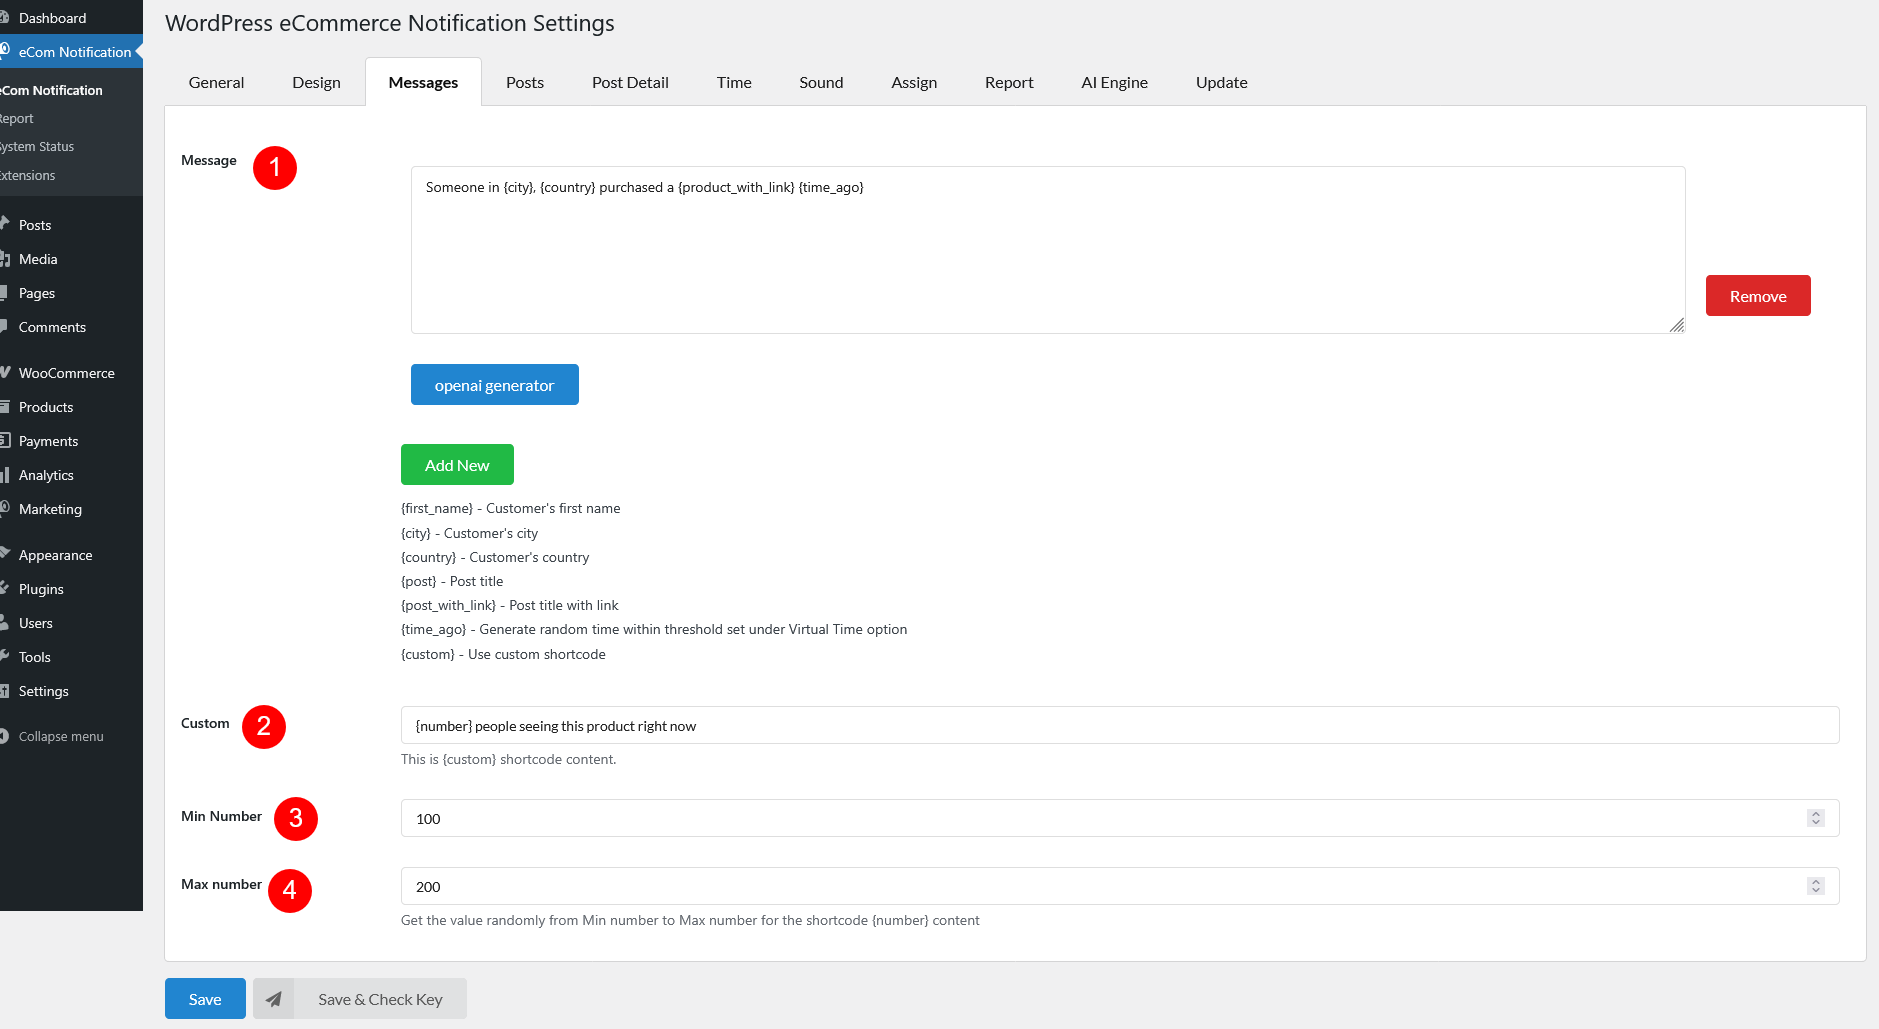
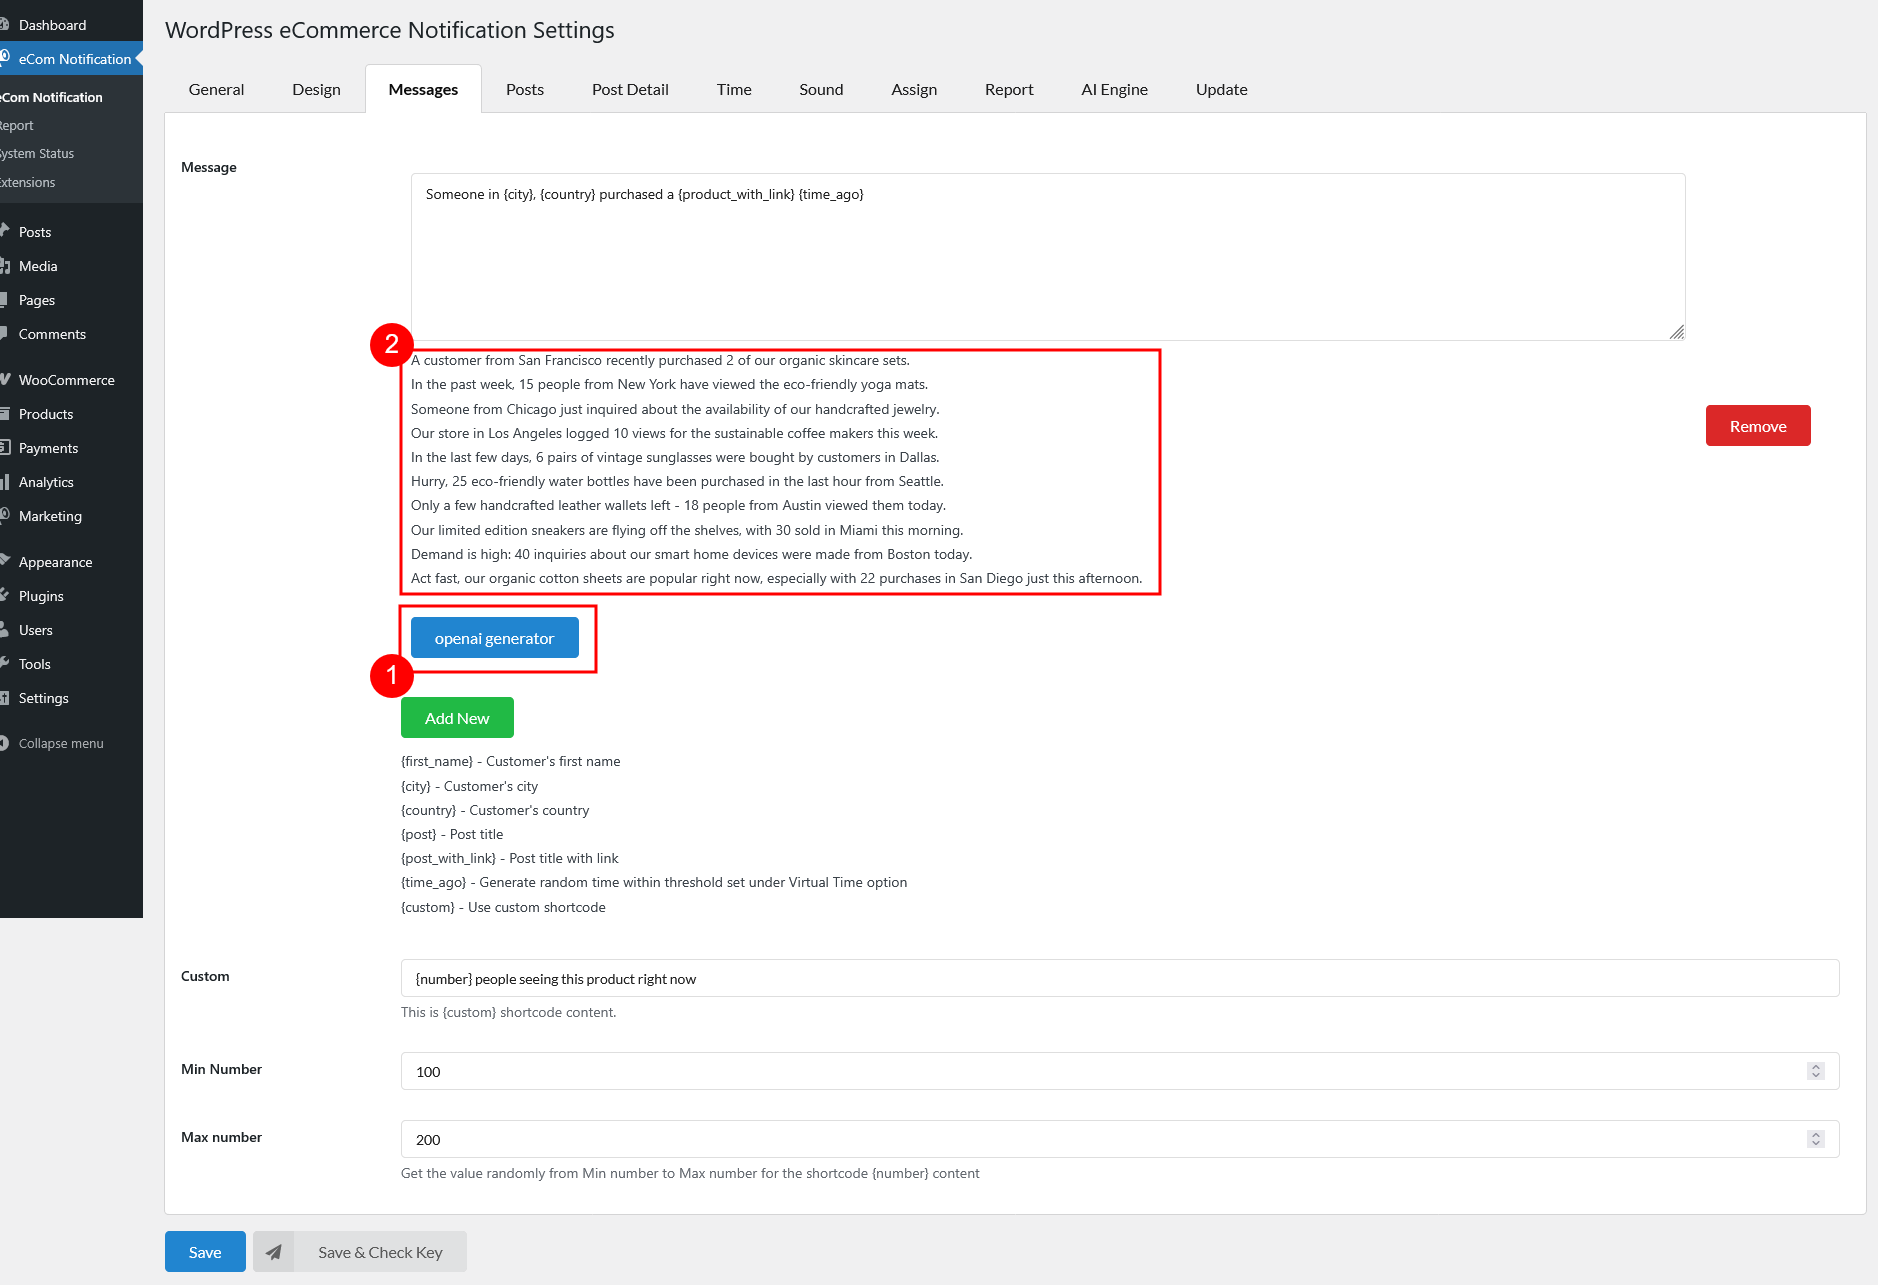
In this section, you can customize the message displayed in the notification popup. You can use dynamic placeholders to personalize the message with real-time data.

Run single post: When the customer in the single post page, a notification will show the relevant posts (in the same categories) on notification popups
If enable sound, you can choose available audio by clicking the arrow drop-down, so that the notification will be appeared along with audio in the front-end. There are 3 sounds to select.

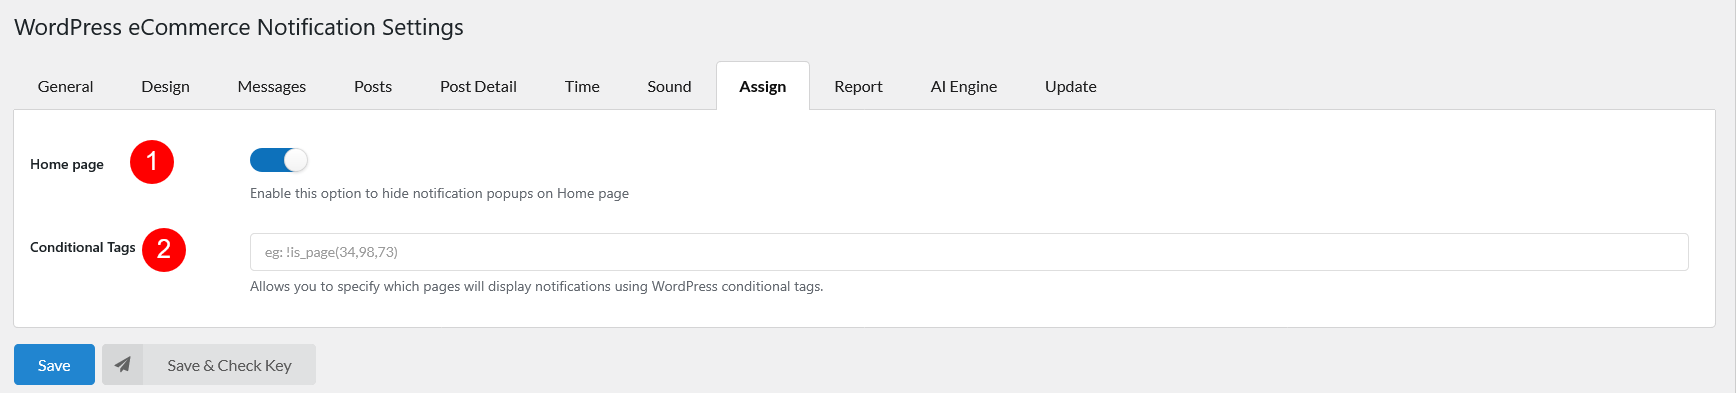
Homepage: Turn on this option to hide notifications on Homepage
Conditional Tags: to specify which pages to show a notification. You can use the Page’s ID, Title or Slug.
Important note:
To handle WP’s Conditional Tags, this plugin uses eval() which is very dangerous because it allows the execution of arbitrary PHP code. Therefore, please only fill this field with proper conditional tags which are validated and/or provided by trusted developers.
Example:
is_page(‘About’)
is_page(50)
is_page( array(‘About’, ‘Contact’) )

is_page( array(50, 75) )
If you enable Save Logs, then Logs will be saved at directory placed ecommerce notification plugin: wp-content\cache\ecommerce -notification\caches\ in time.
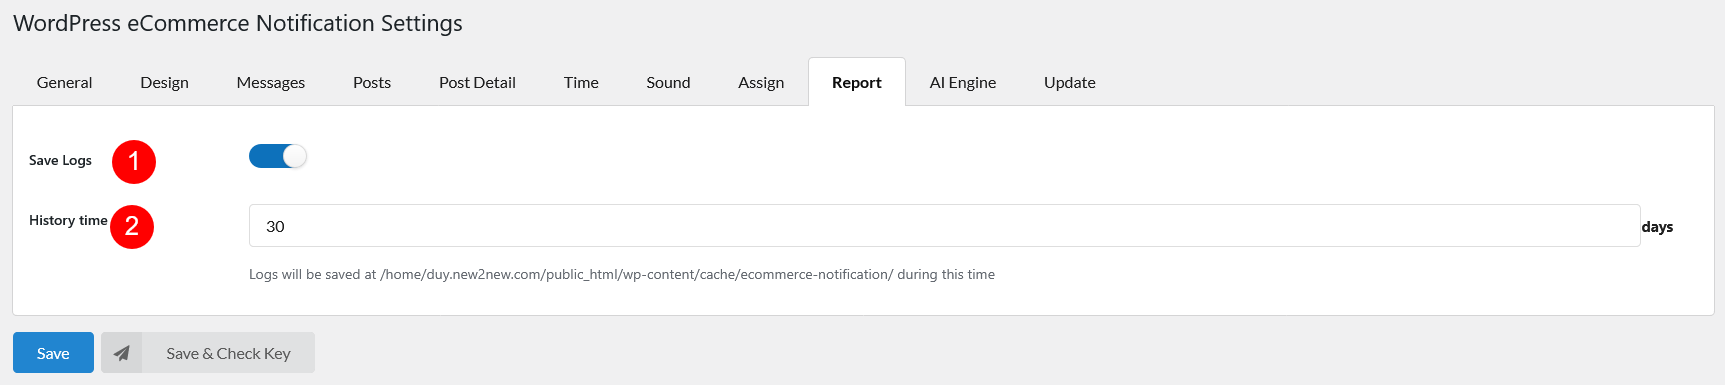
History time: is time to save logs.
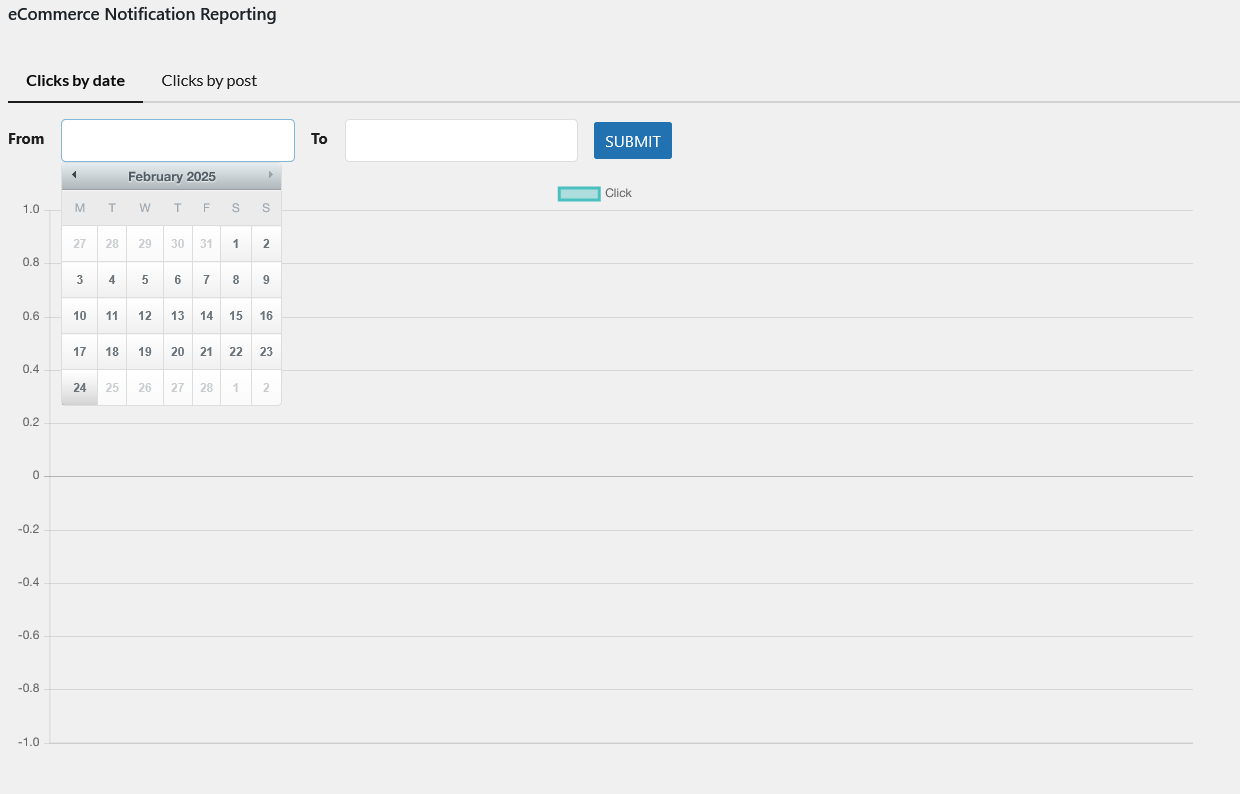
Save logs helps system stores information when visitors click on the notification. Then admin site could be the statistic of number clicks and analysis fluctuation sales. Report system allows to statistic number clicks by date or by post.
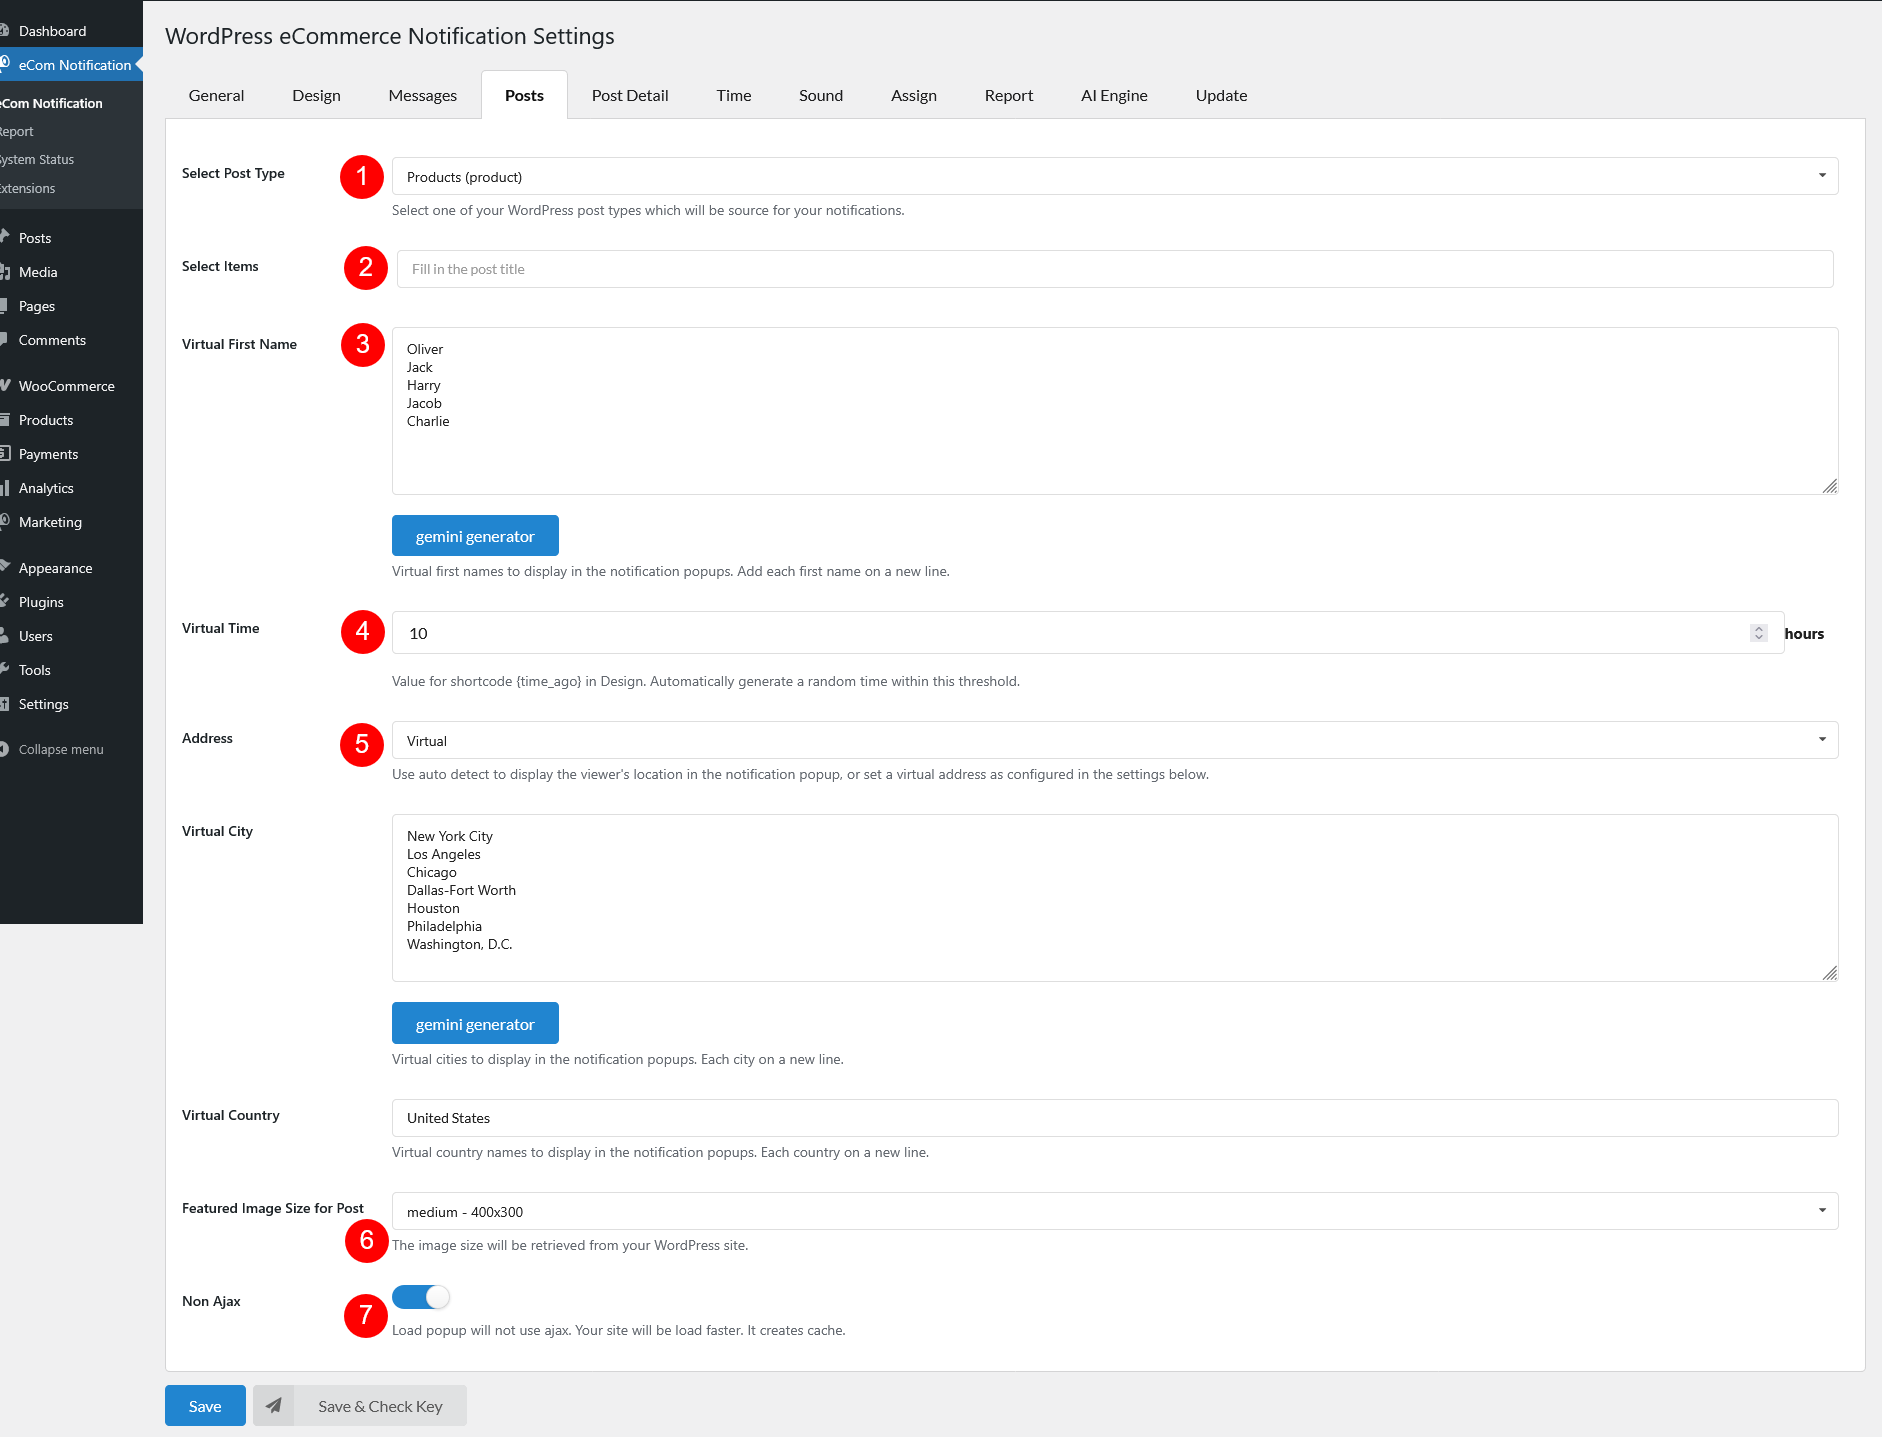
This settings help with automating the generation of personalized messages and virtual details like customers’ names and cities. Scroll down below to read more of each option and how to set up.

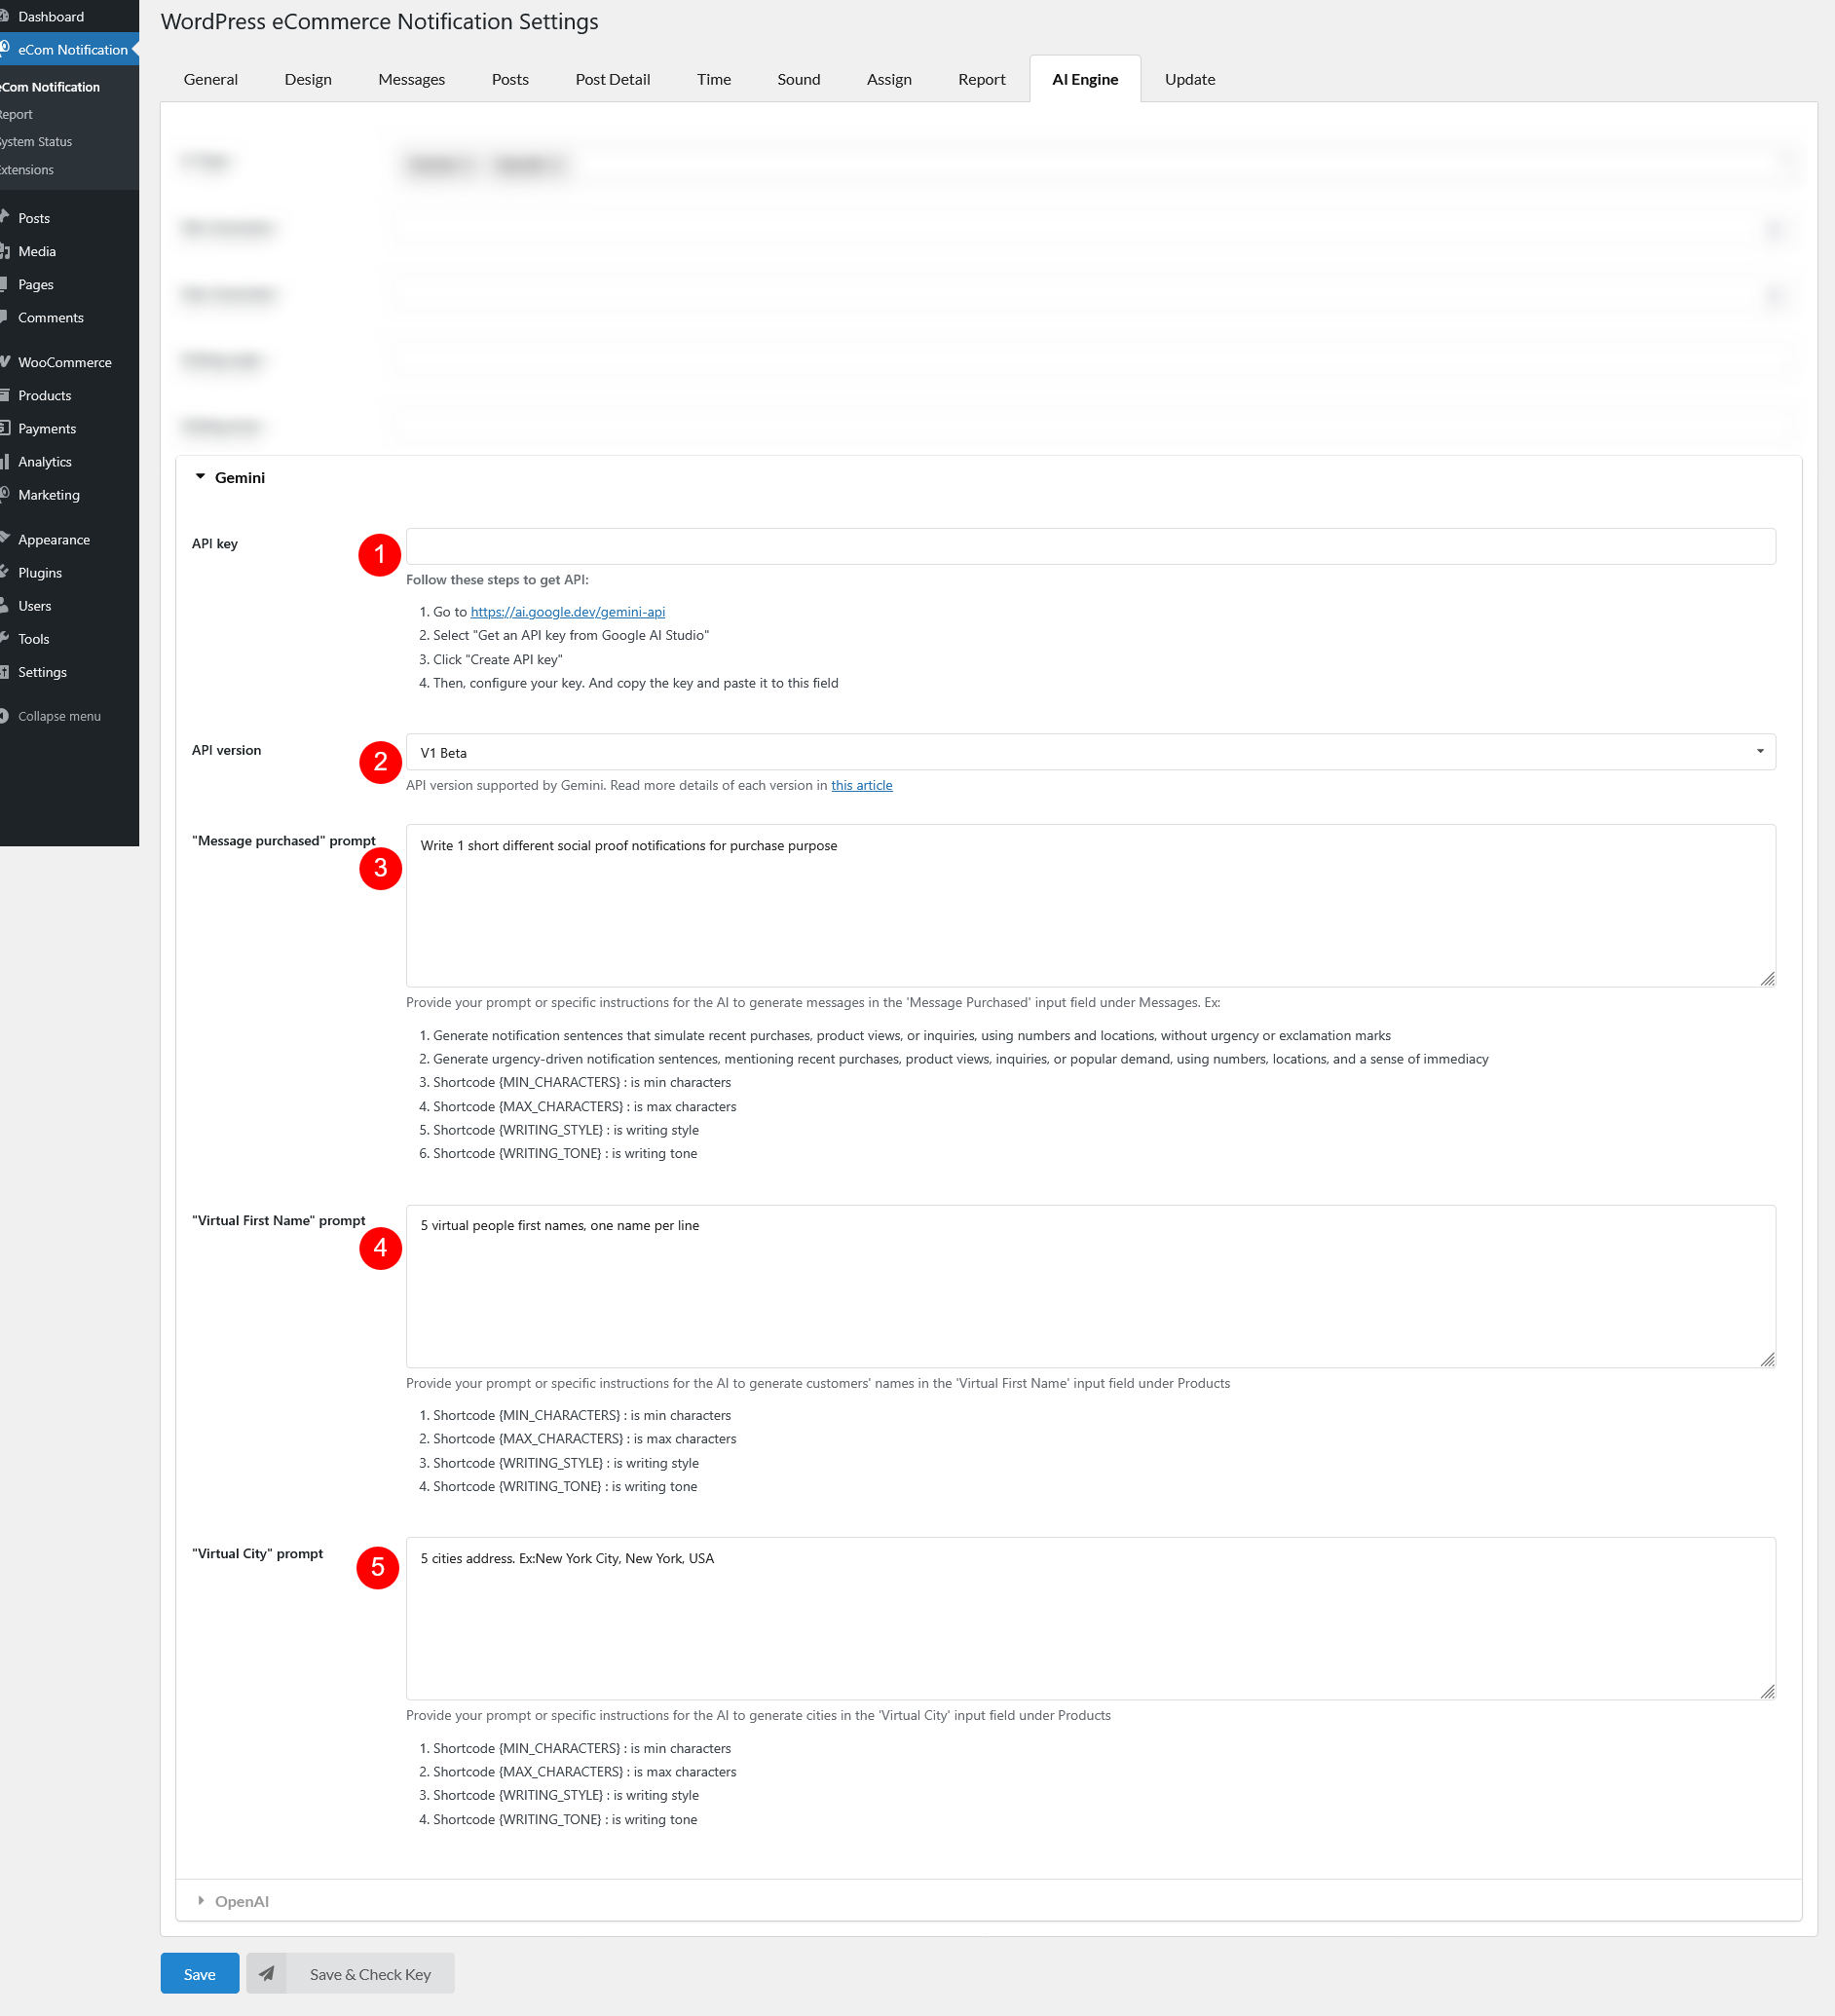
Write 1 short different social proof notifications for purchase purpose. Must be between {MIN_CHARACTERS} and {MAX_CHARACTERS} characters. Style: {WRITING_STYLE}. Tone: {WRITING_TONE}.
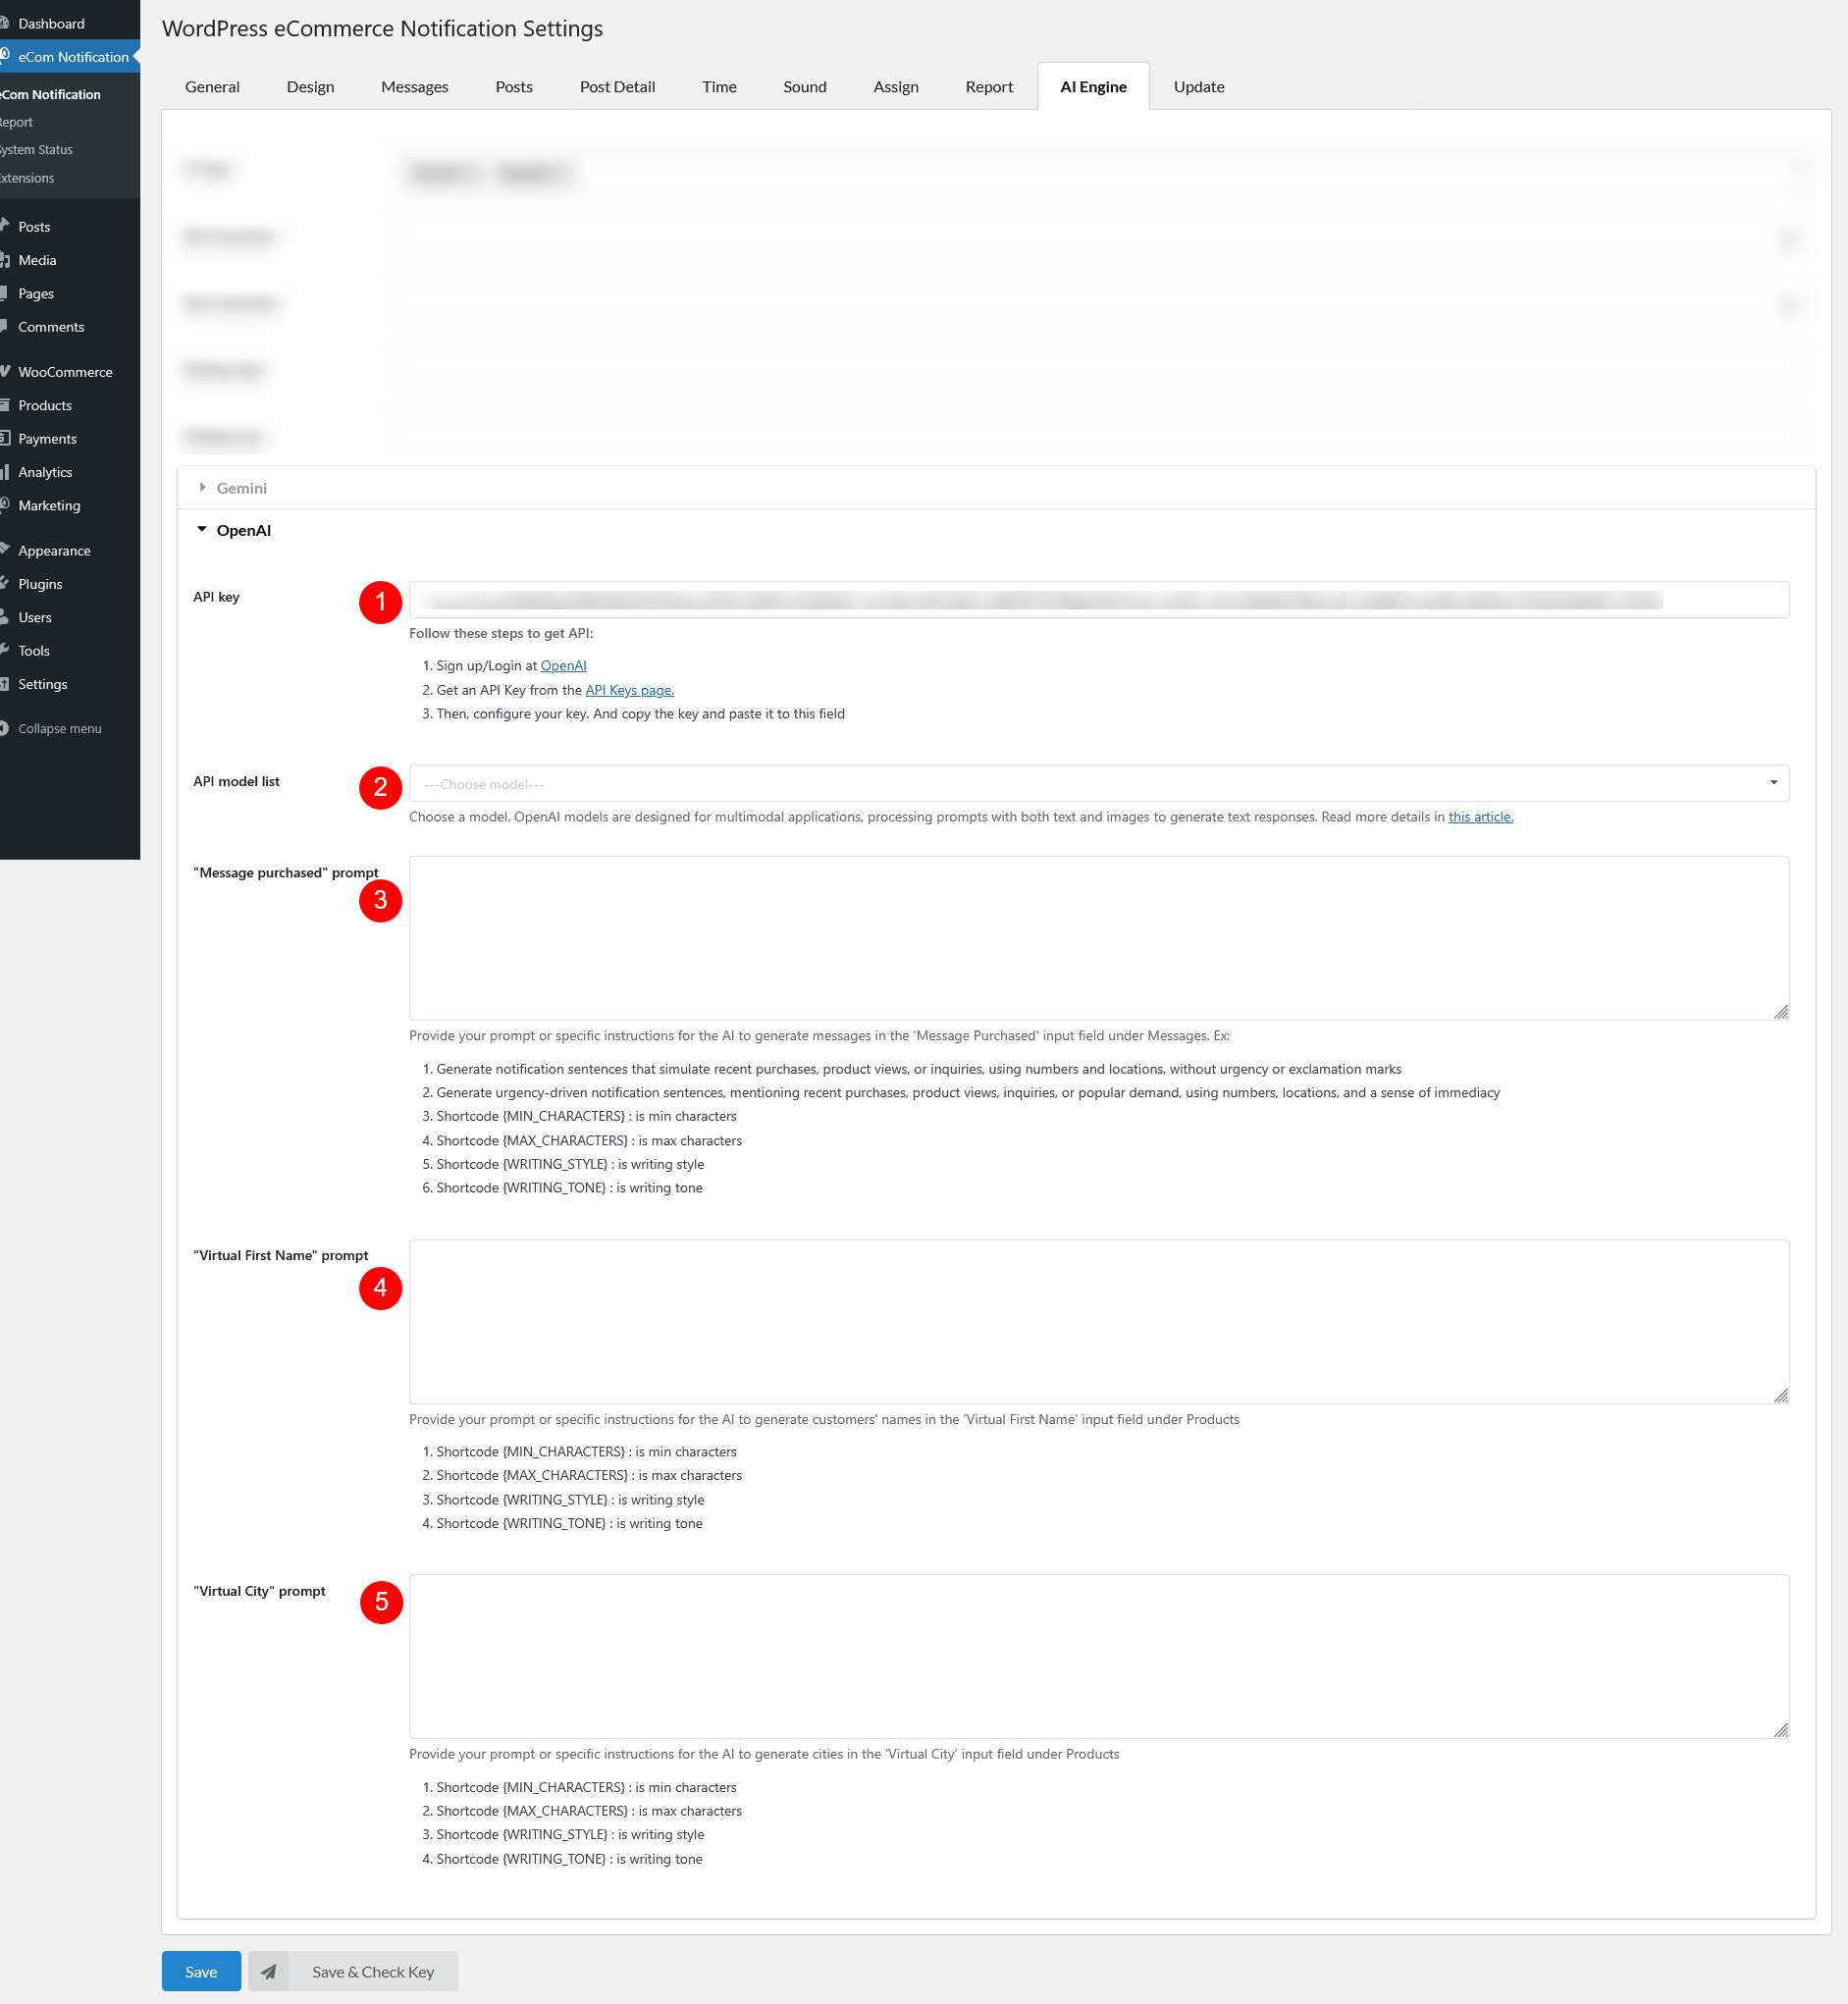
Write 1 short different social proof notifications for purchase purpose. Must be between {MIN_CHARACTERS} and {MAX_CHARACTERS} characters. Style: {WRITING_STYLE}. Tone: {WRITING_TONE}.

Enter your Envato purchase code to use the auto-update feature.