Copyright Villatheme 2015-2026
Created: 01/2025
Latest updated: 02/2026 – Updated version: 1.0.4
By: VillaTheme
Thank you for purchasing our plugin. If you have any questions that are beyond the scope of this documentation, please feel free to request support at our Support Forum. Thanks so much!
This section provides an overview of all stores added to the system, allowing for easy management and updates. For details of each individual store, go to Store page back end to view and edit
The store list includes the following details:
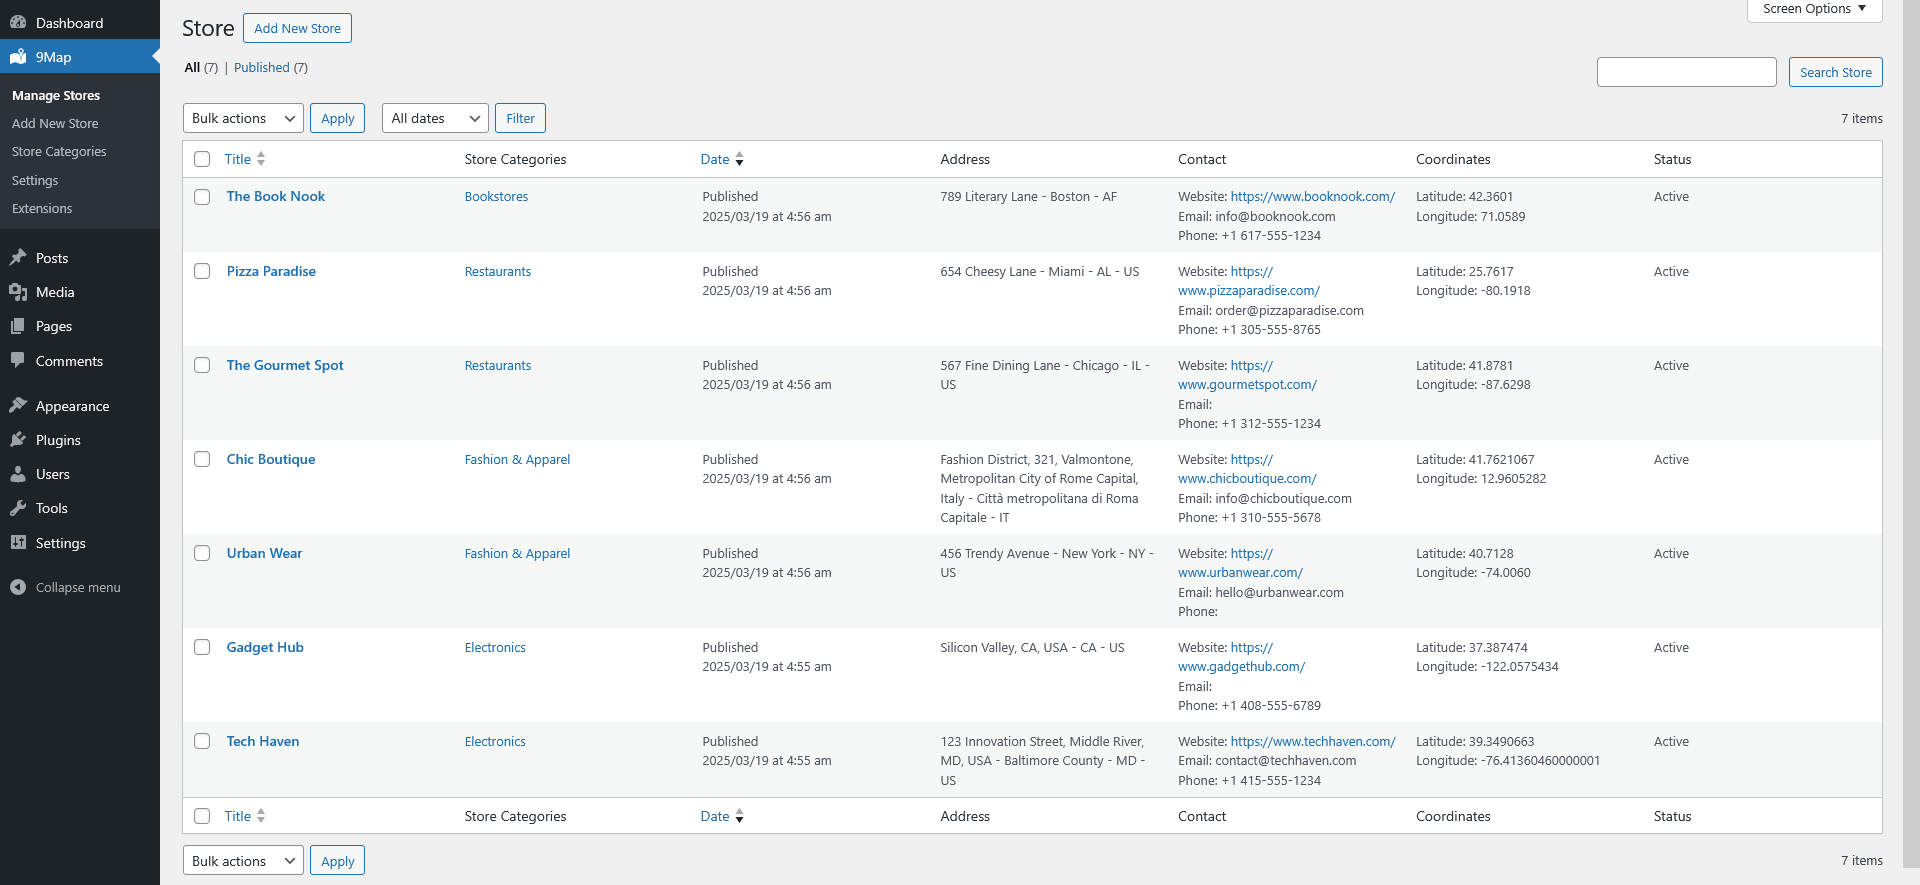
This section allows administrators to add and manage store locations by providing essential details such as address, contact information, business hours, and store descriptions. Each store entry is customizable and ensures users can access accurate and organized information.
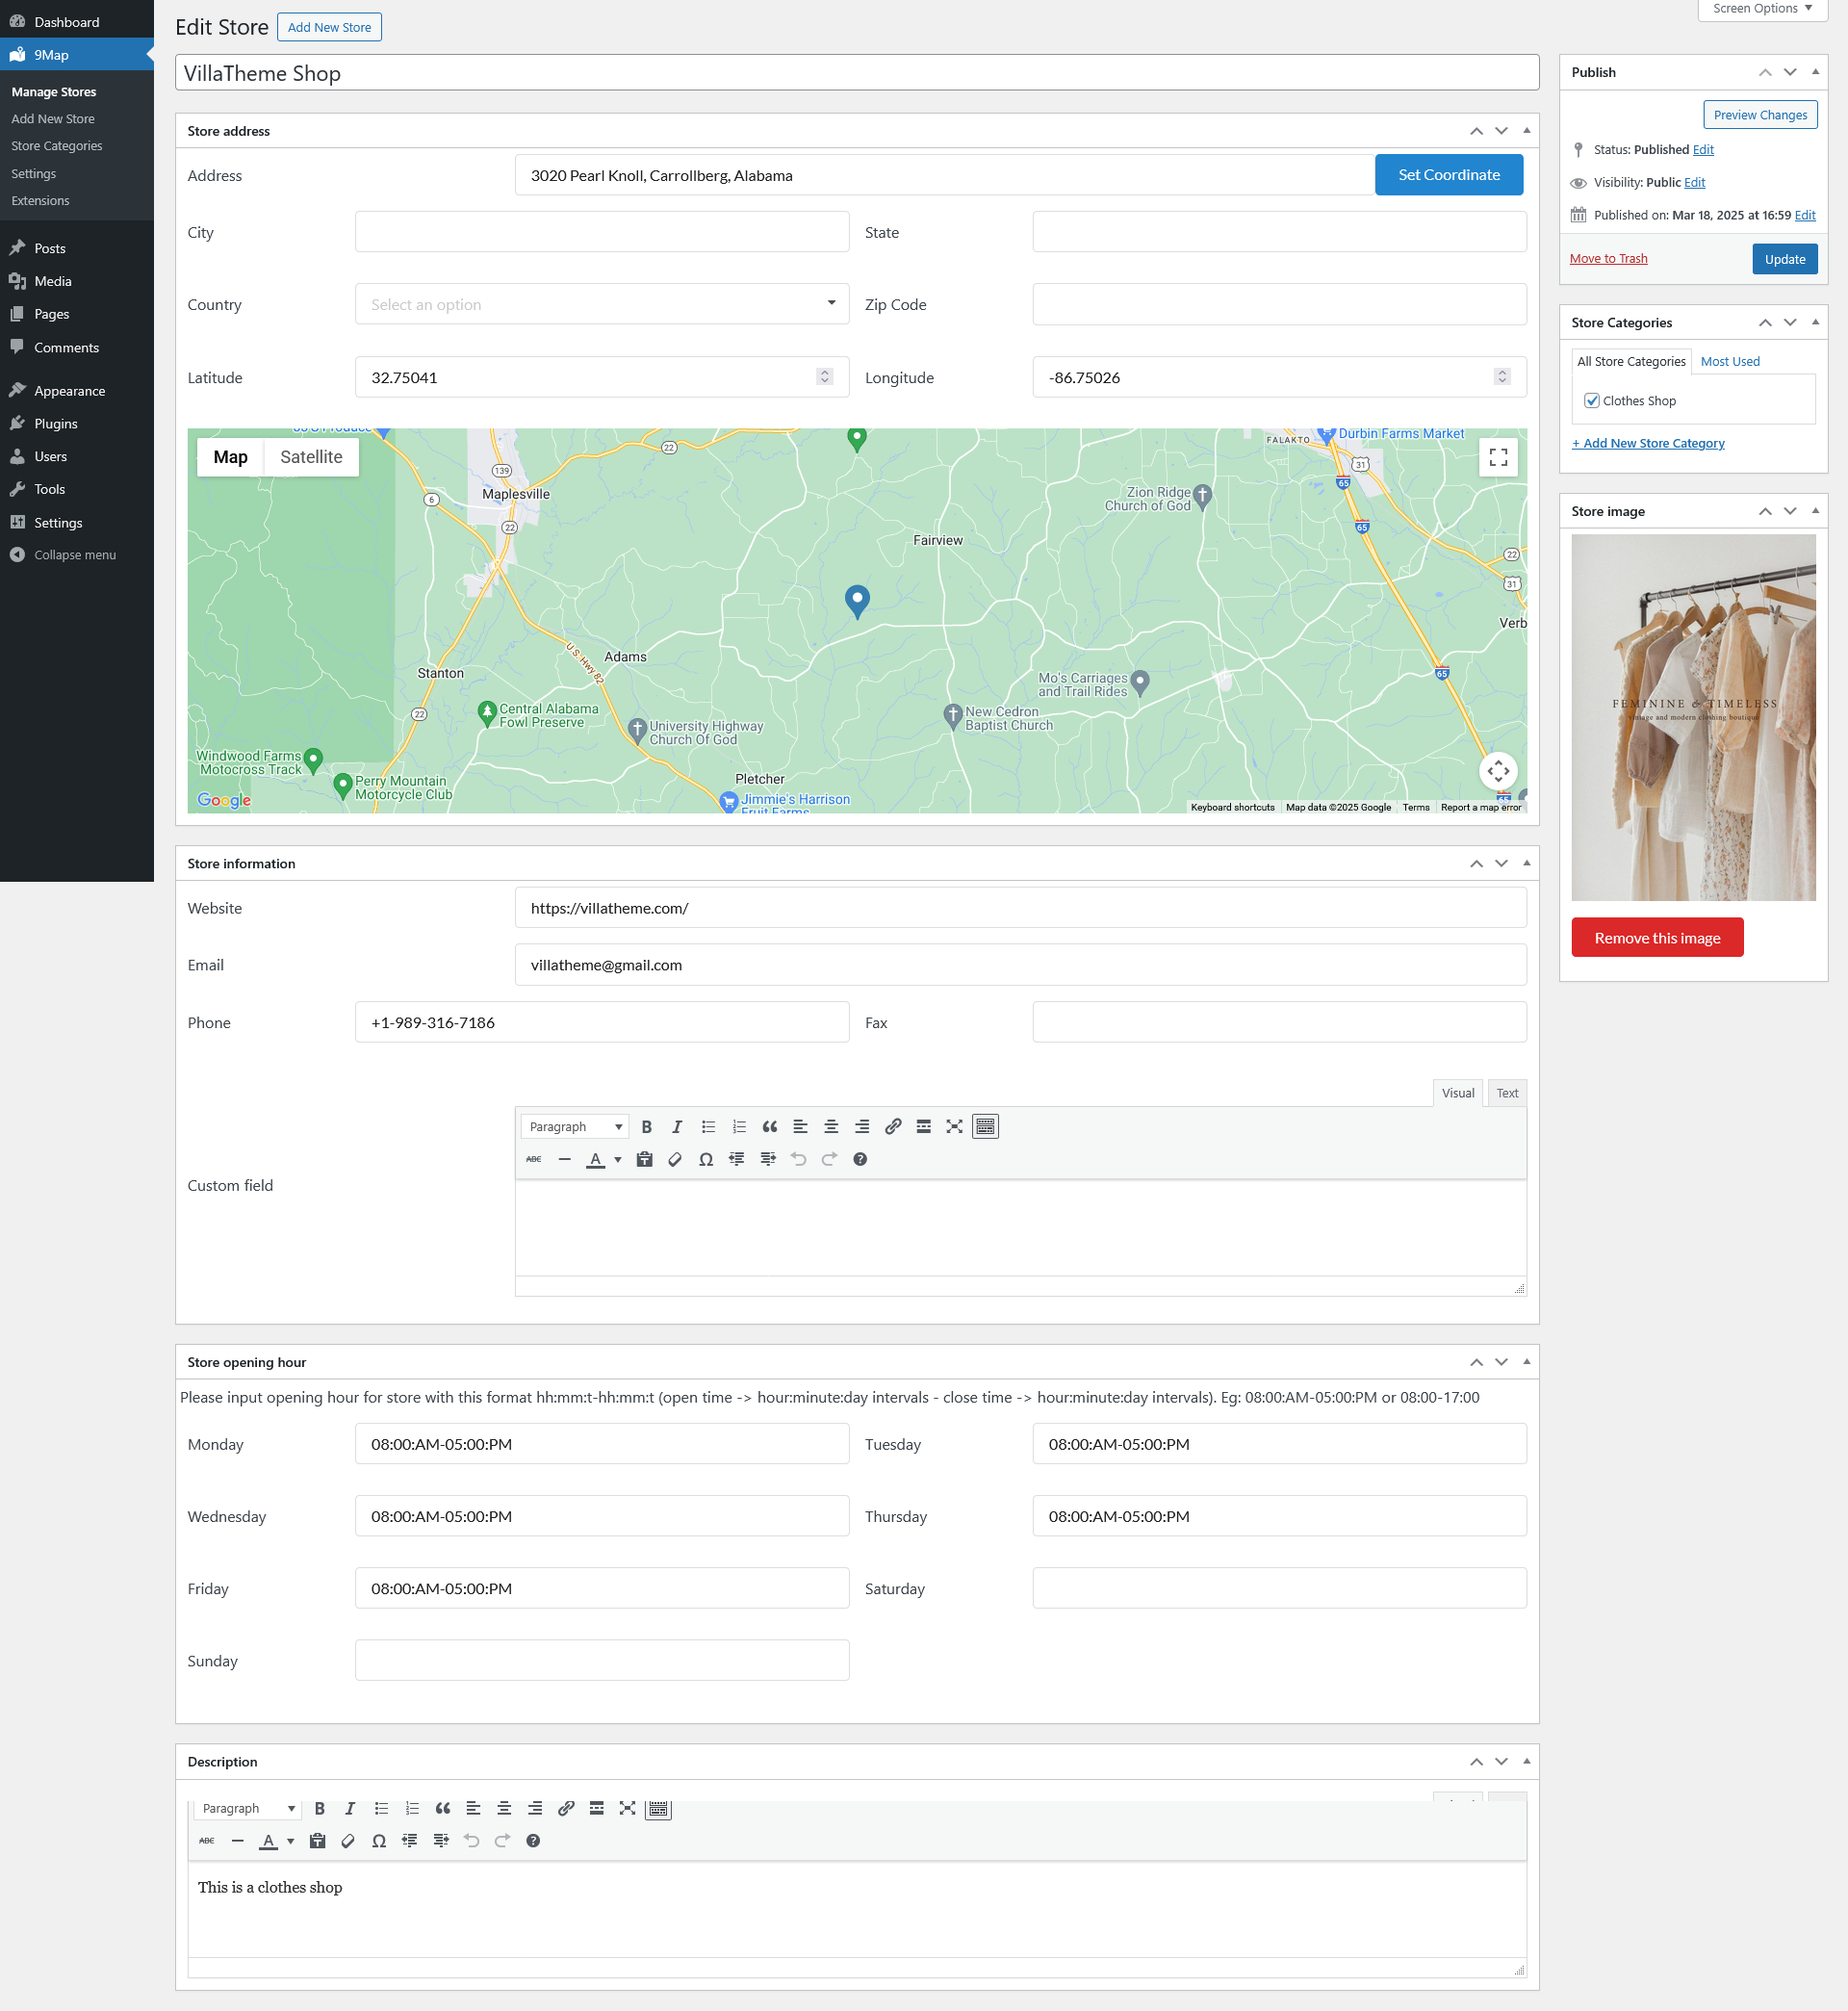
This section contains essential location details that help display the store correctly on the map. Accept for the first Address field, all other fields can be filled in manually or will update dynamically when you adjust the store’s location via the address field or directly on the map.
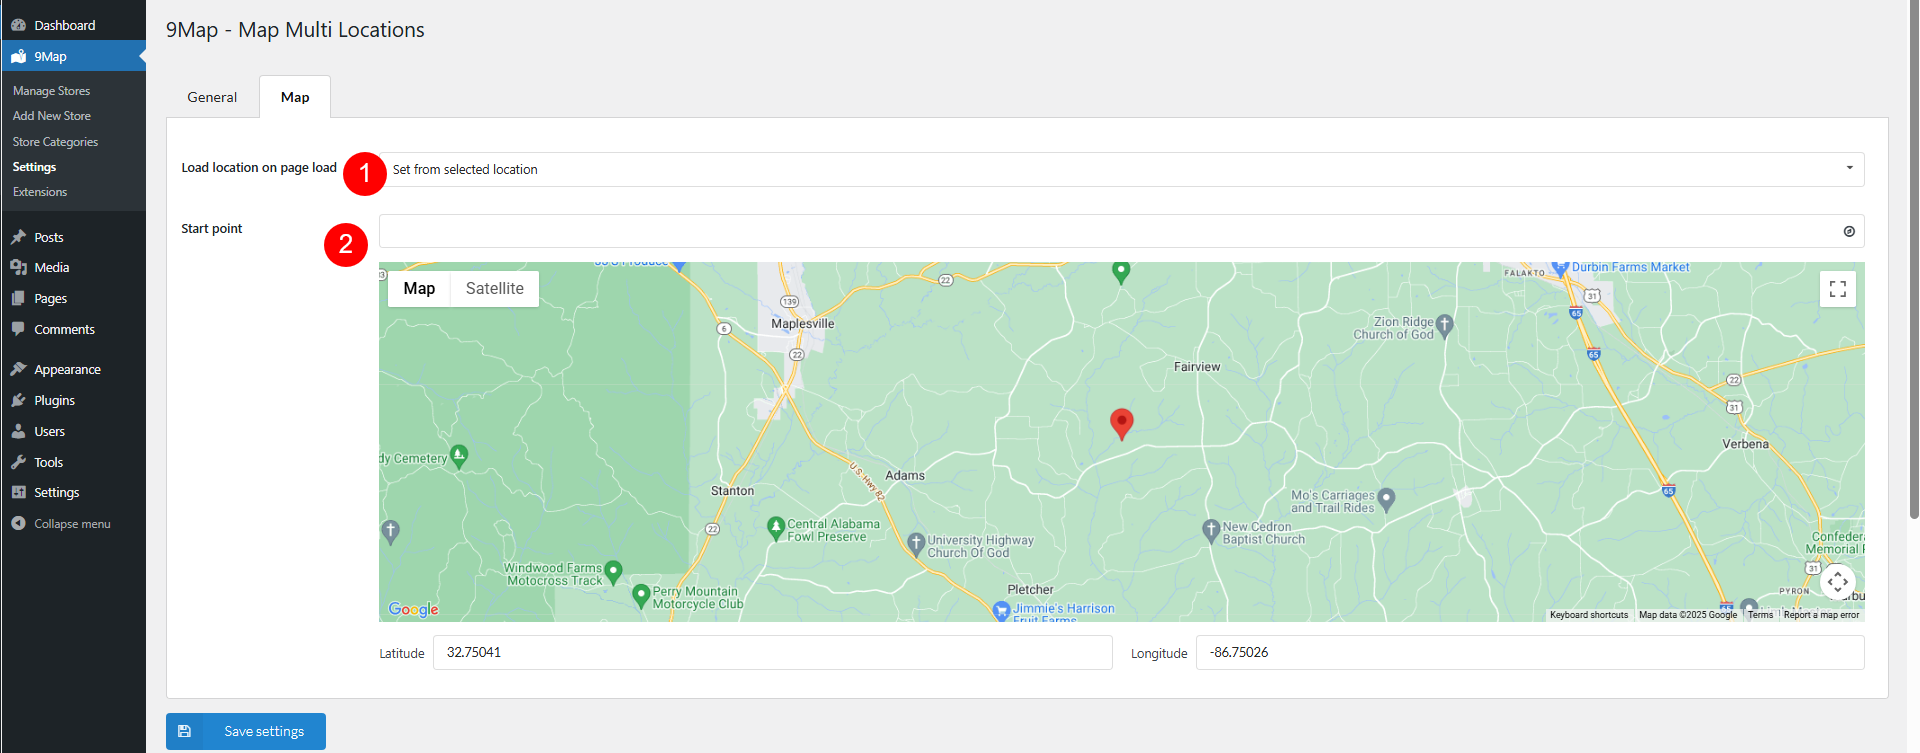
Tip: Use the “Keyboard shortcuts” button in the top right corner of the map for quick navigation and controls.
This section includes additional details about the store, making it easier for customers to contact or visit.
Define the business hours for each store to inform customers when they can visit.
This section allows adding a brief store description that appears on the store’s details page. Some details to include might be a short introduction to the store, its available products/services or special promotion, etc.
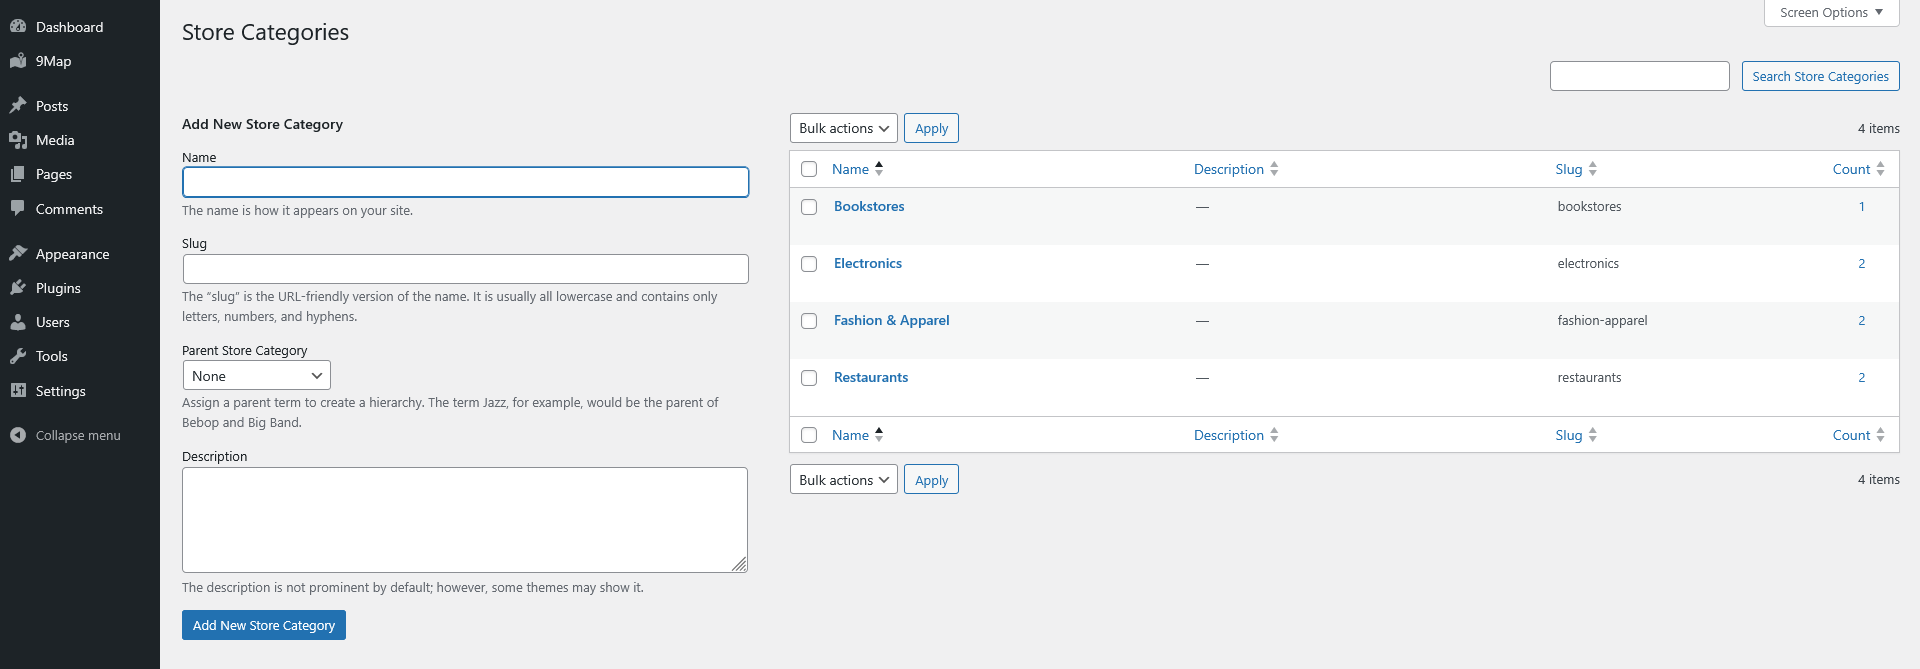
Organize stores into categories for better management and easier navigation. Categorizing stores helps users filter and find specific types of stores quickly.
The General settings allow you to configure essential options for the store locator, including API integration, map display, and page assignments.

Configure how the map loads and displays on Store locator page.
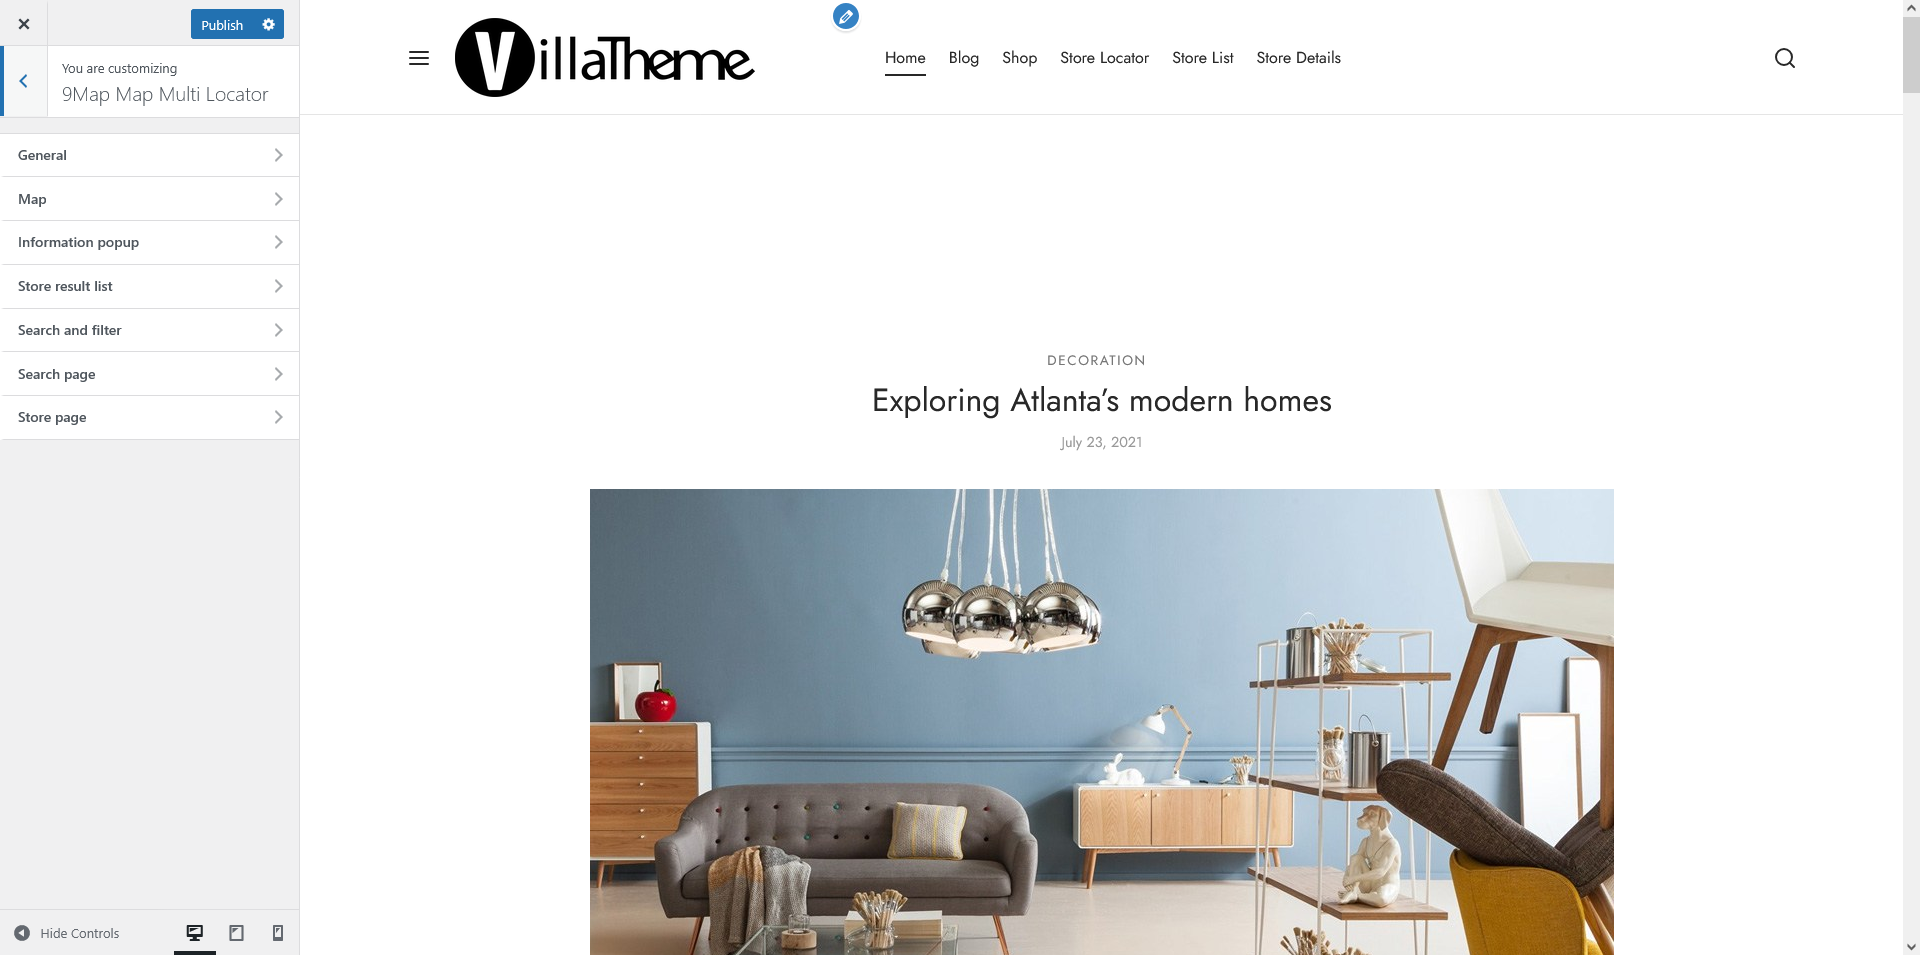
Customize the appearance of the store locator, store pages, and map to match your website’s style. This section allows you to adjust visual elements for a better user experience.
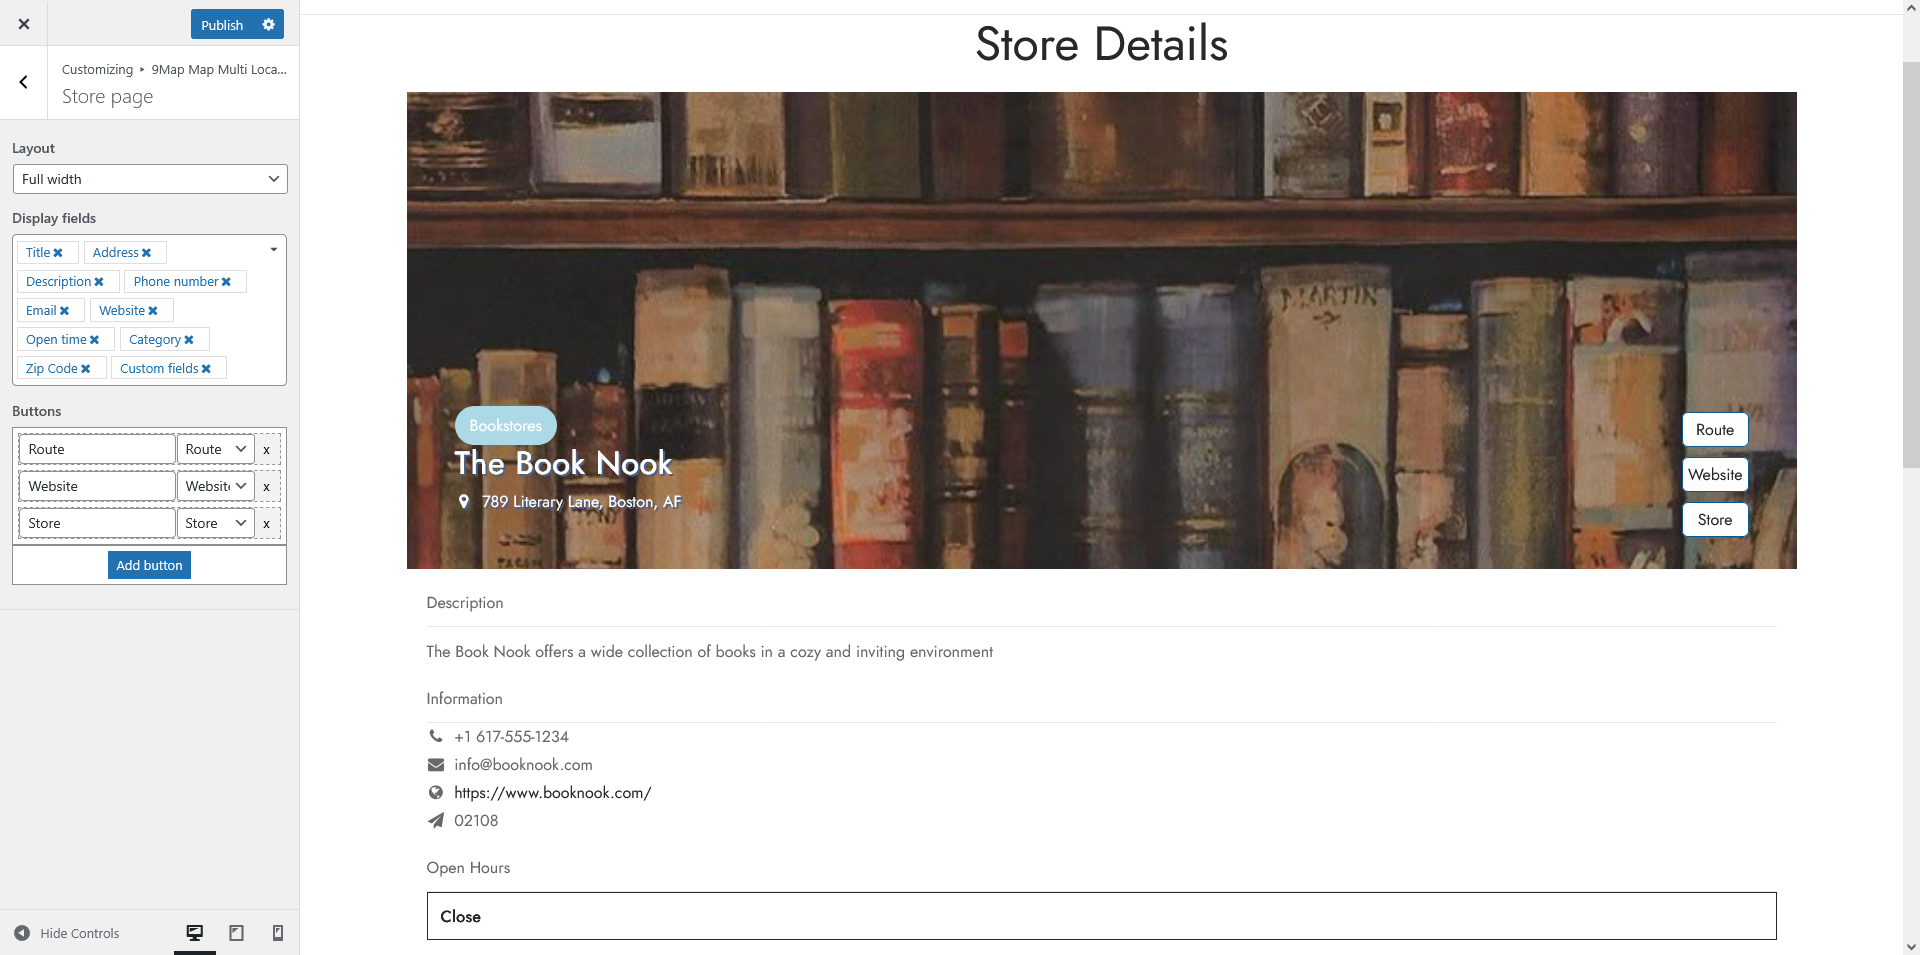
Hit the “Go to design” button under General setting tab (option 6 in this documentation) or go to Dashboard >> Appearance >> Customize >> 9Map Map Multi Locator
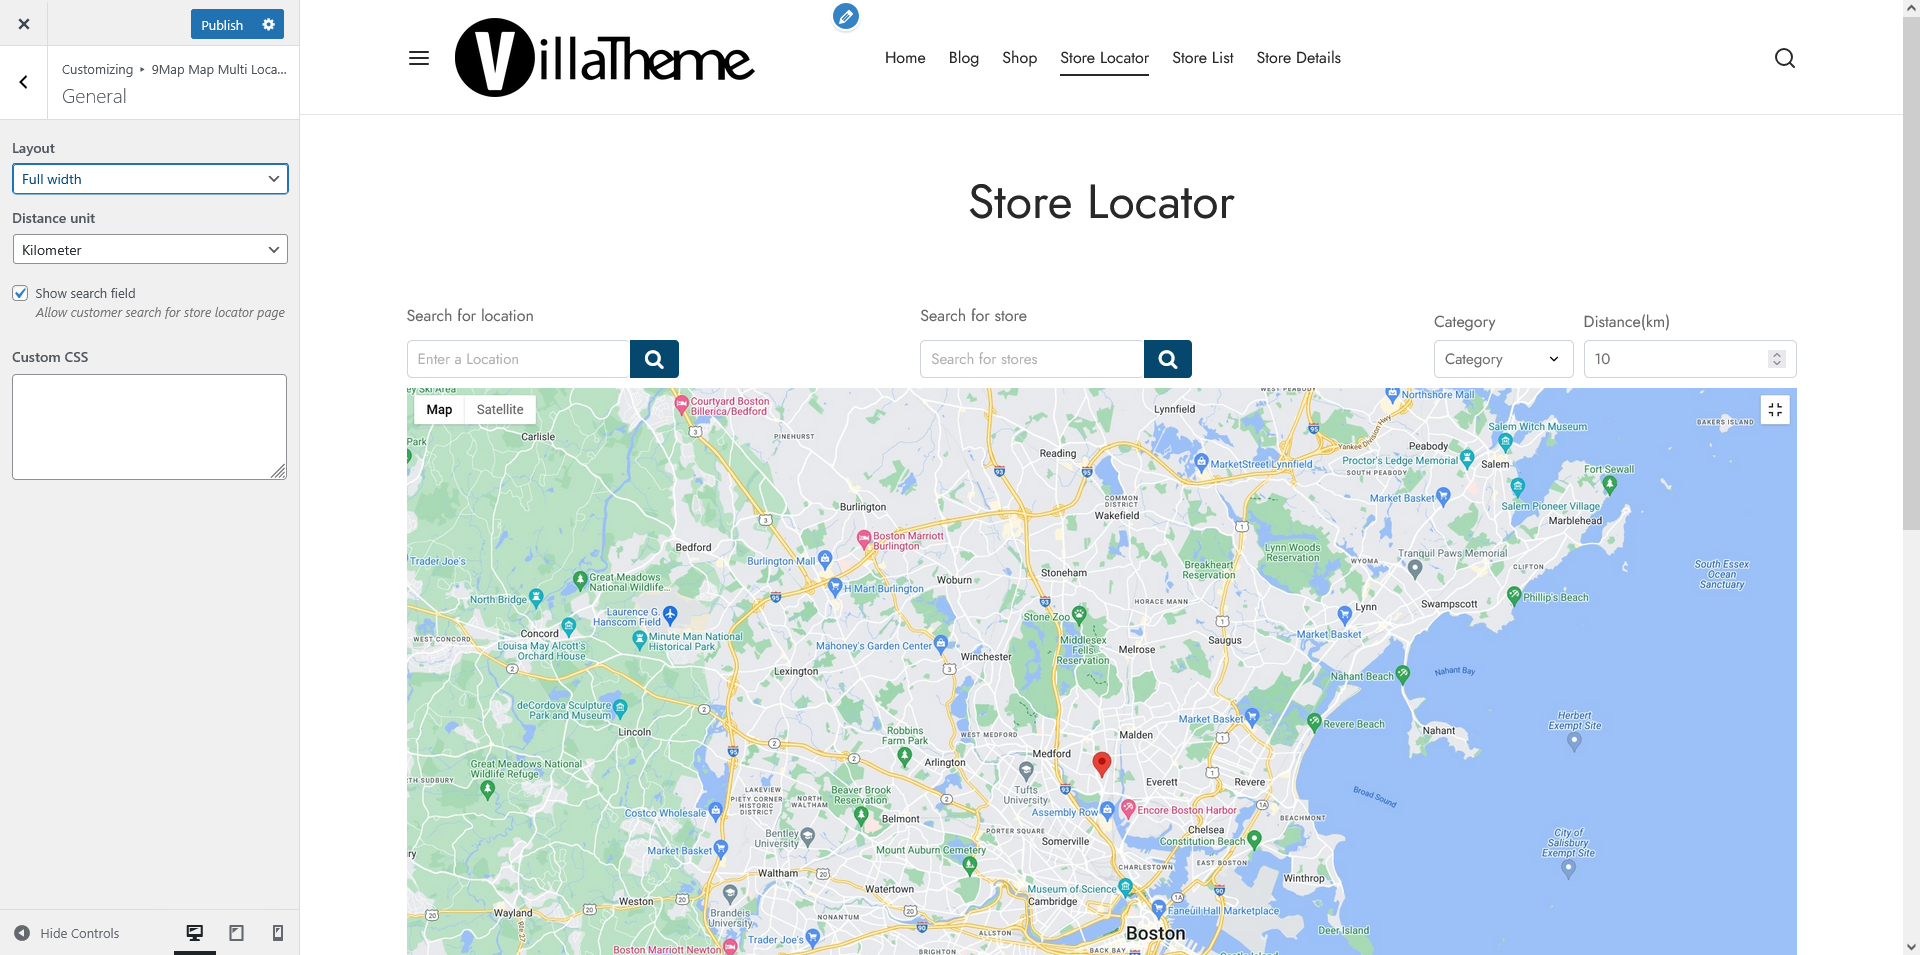
These settings control the overall layout and appearance of the map. On this page:
FULL WIDTH
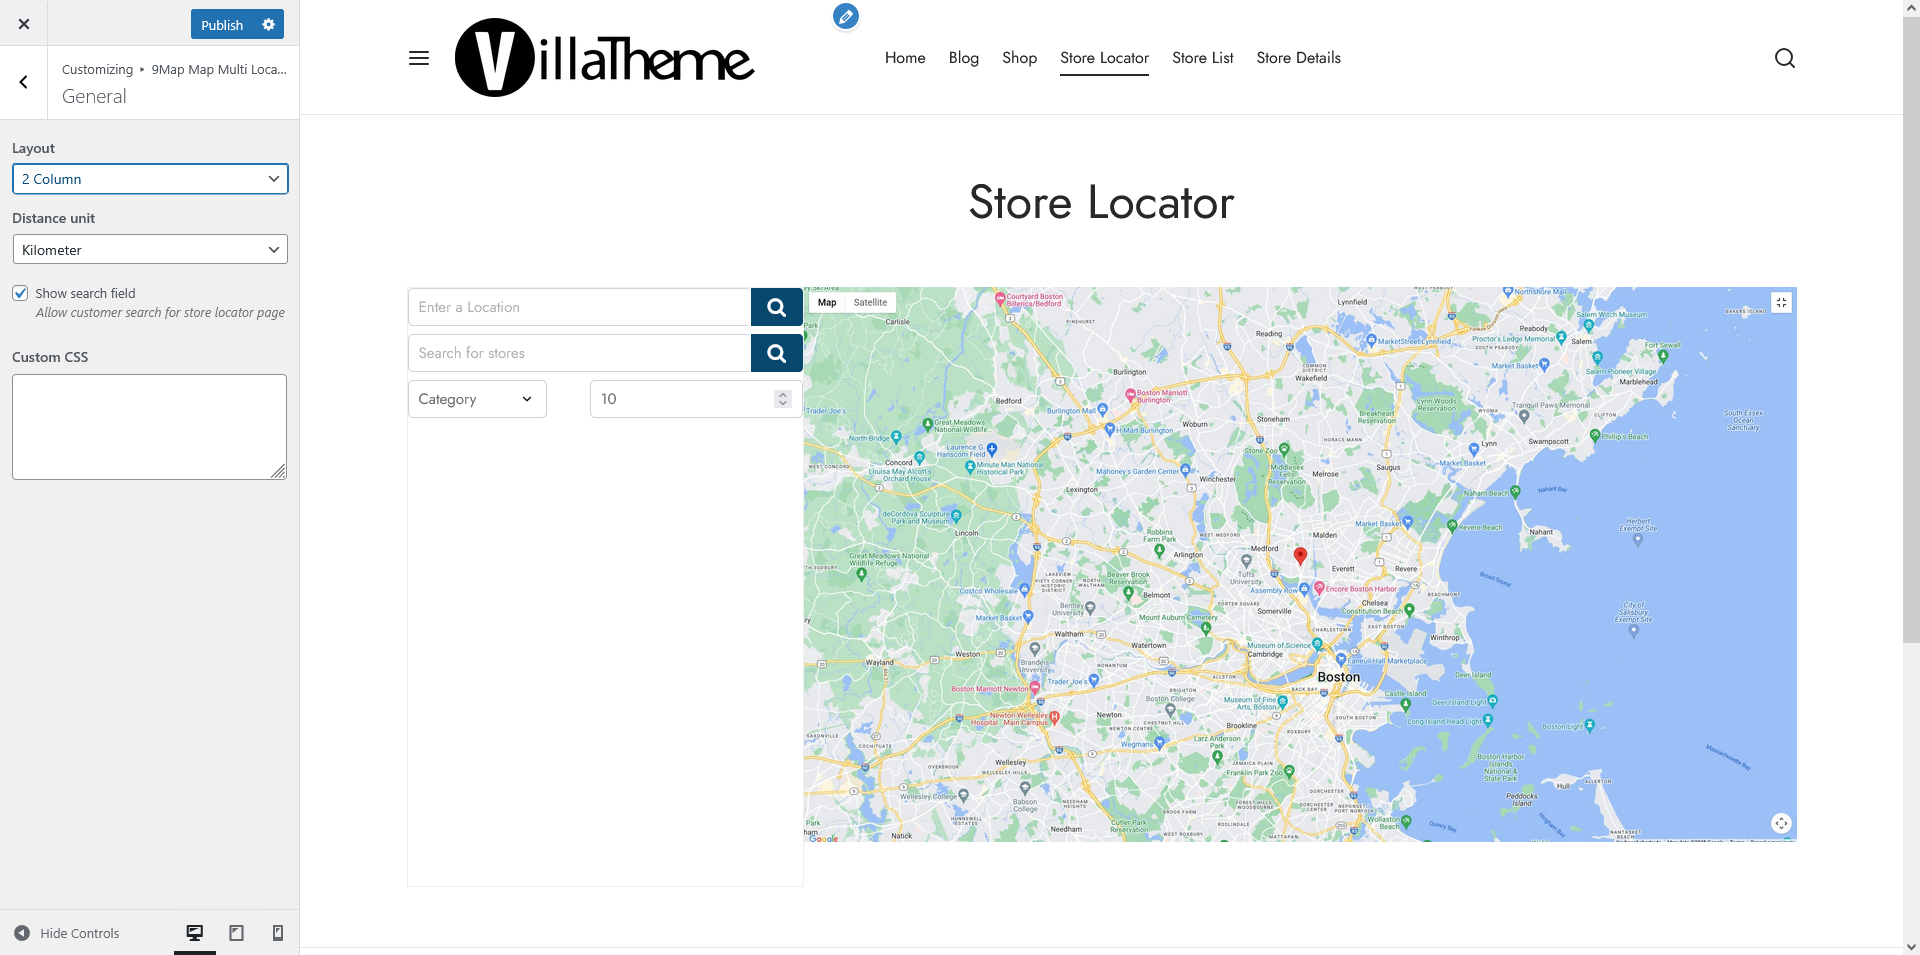
2 COLUMNS
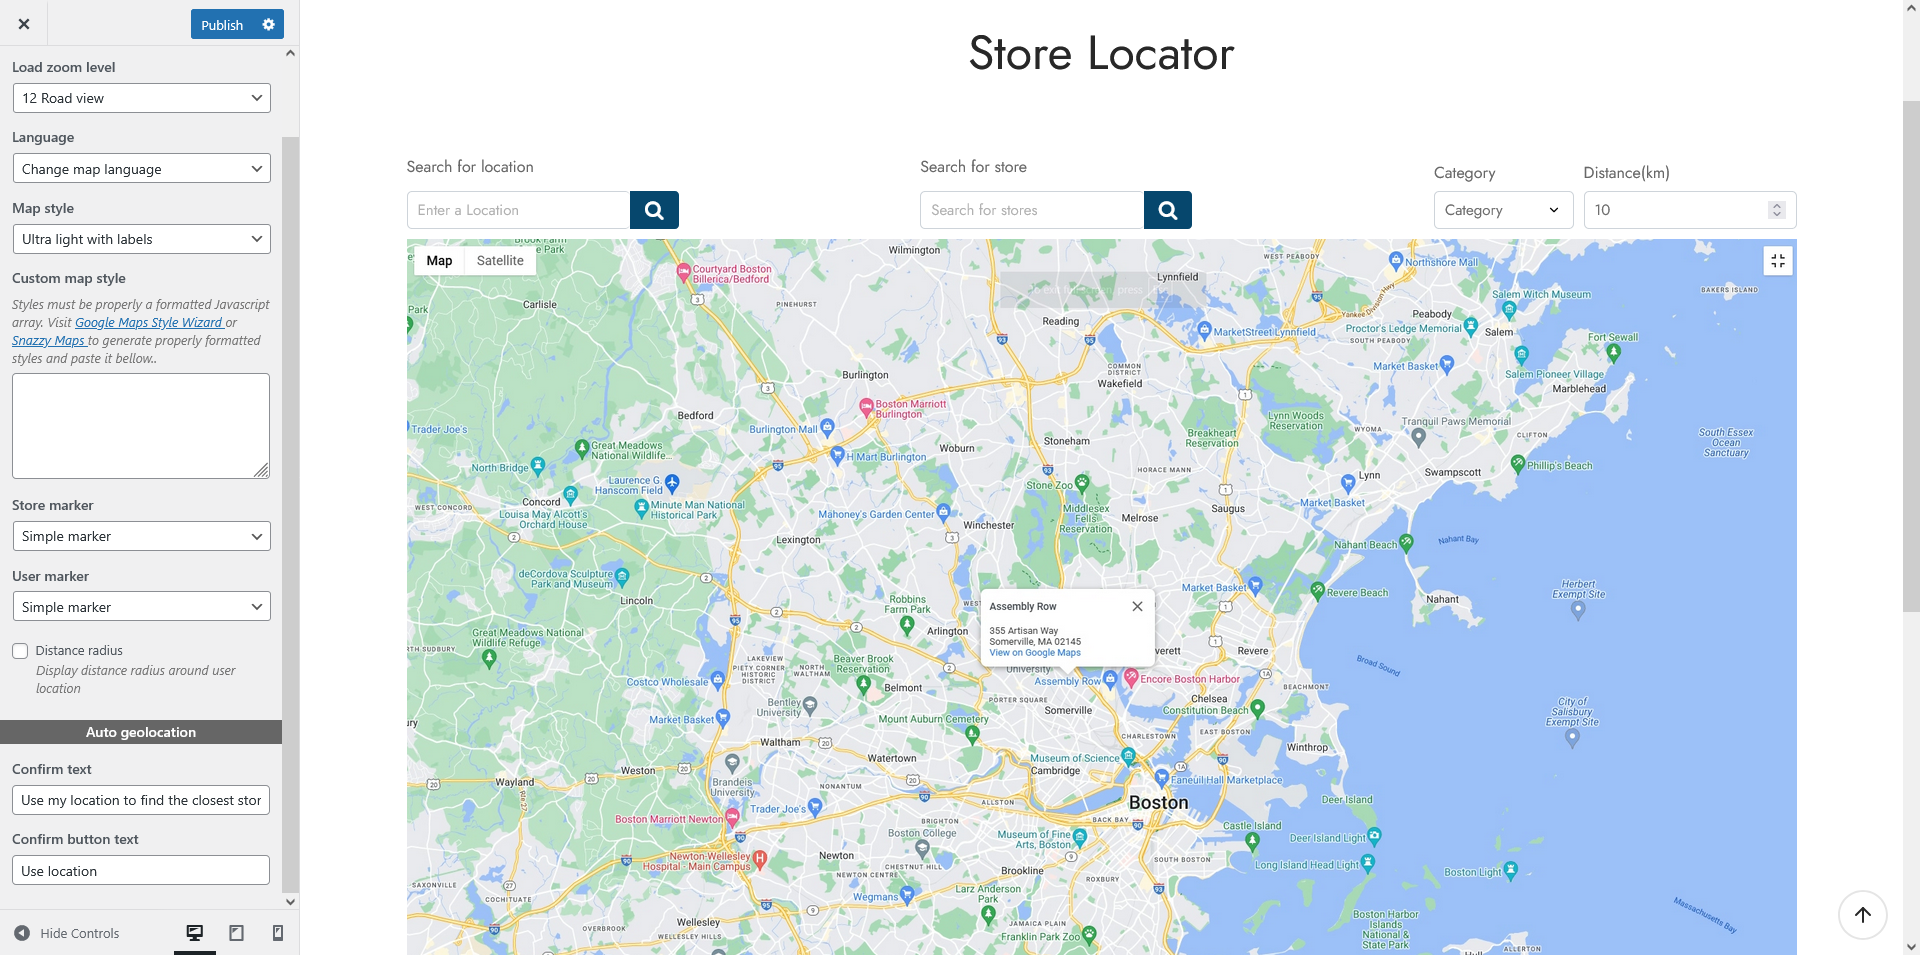
Auto geolocation
When enabled, the map will attempt to detect the user’s location automatically.
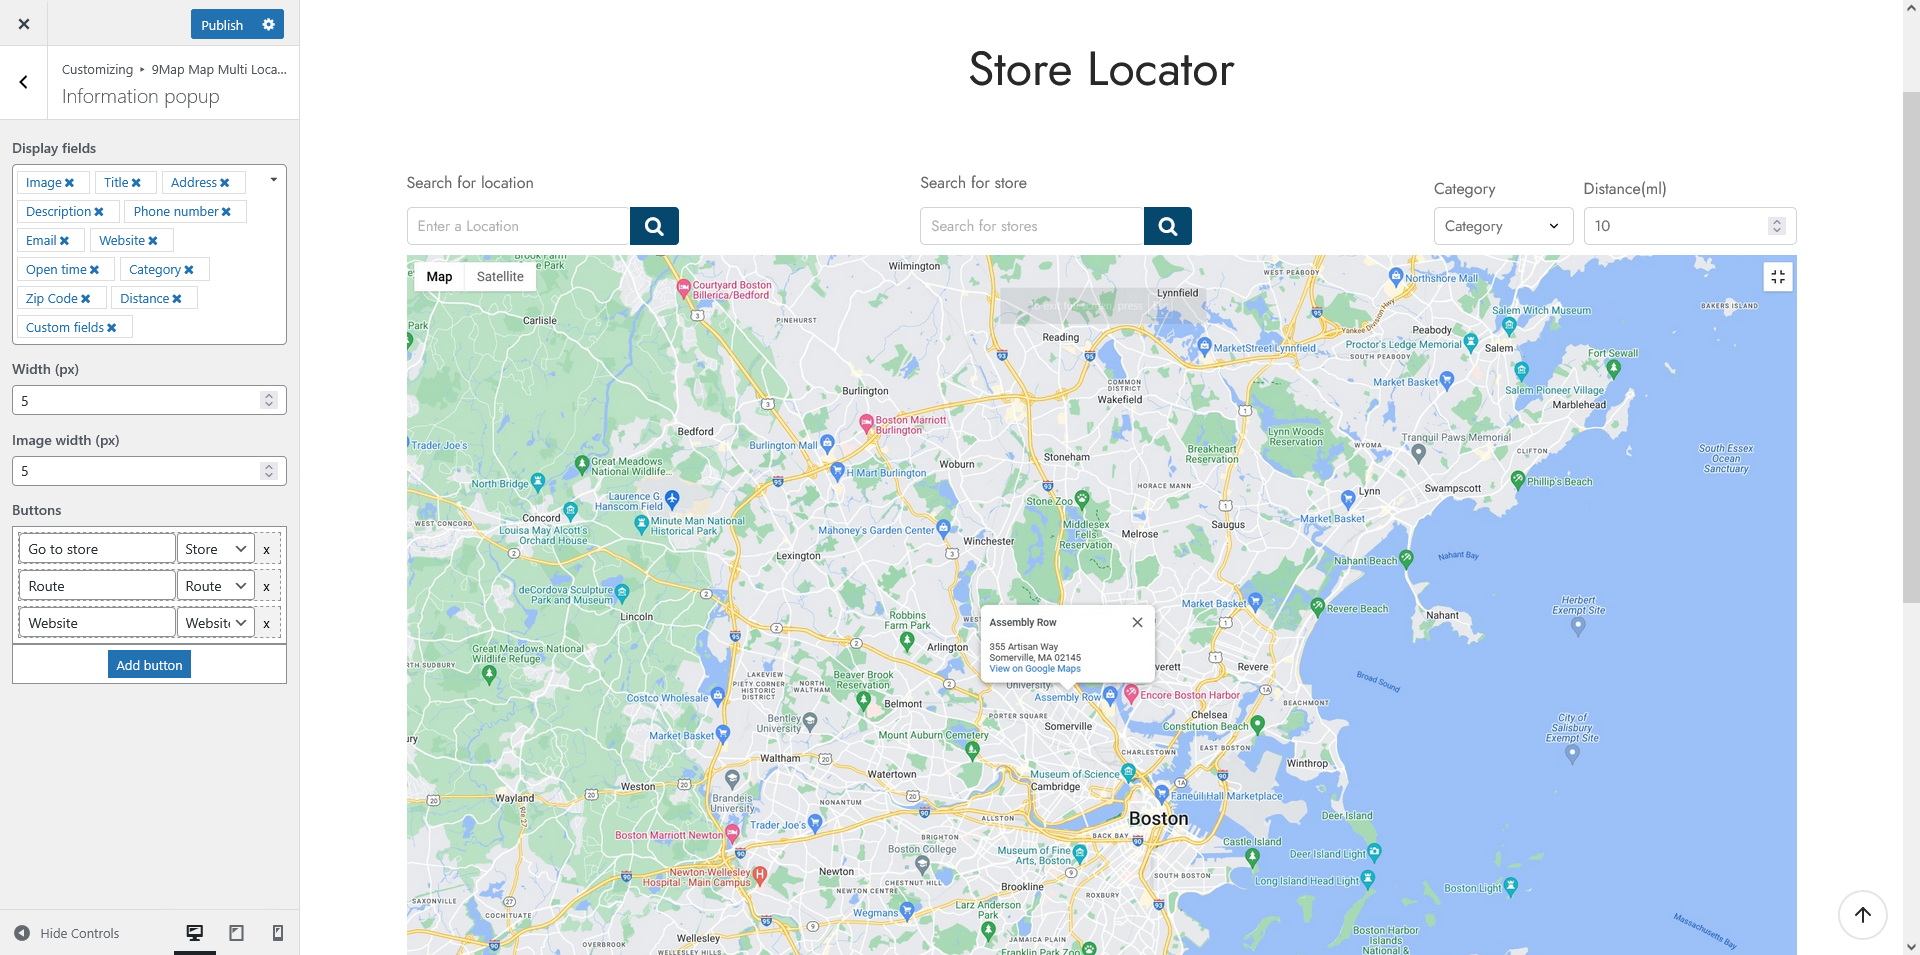
When users click on a store marker on the map, a popup appears displaying key store details. These settings allow you to customize the popup’s content and appearance.
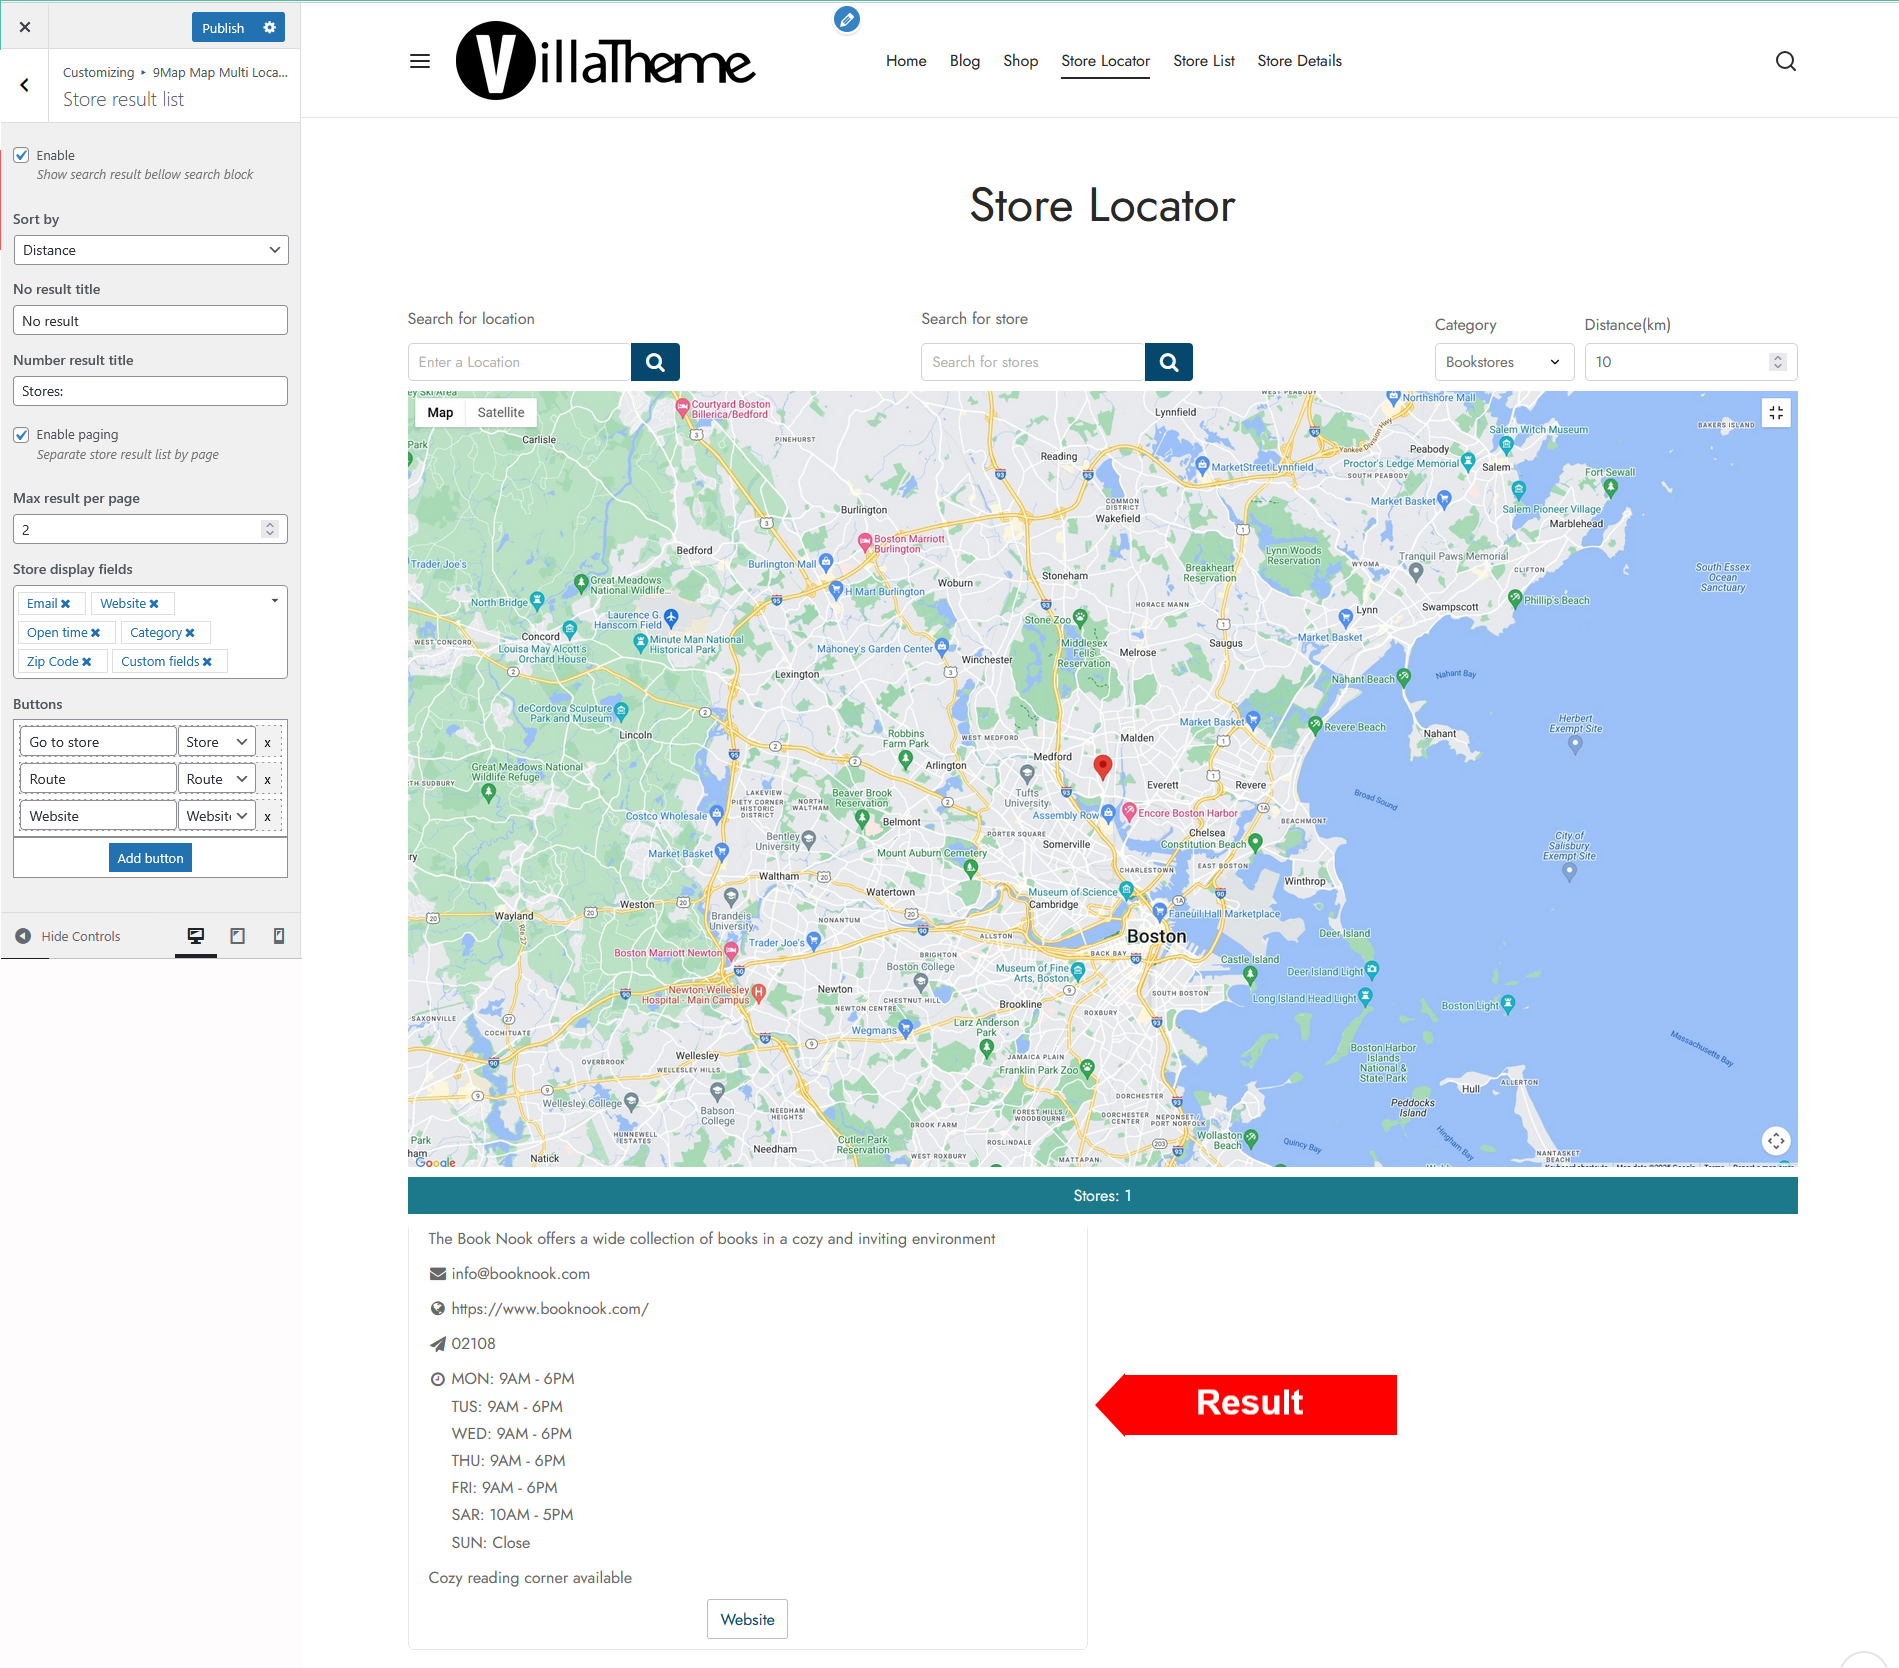
Configure how the filtered store results appear on the Store Locator page after a user searches for a location or store.
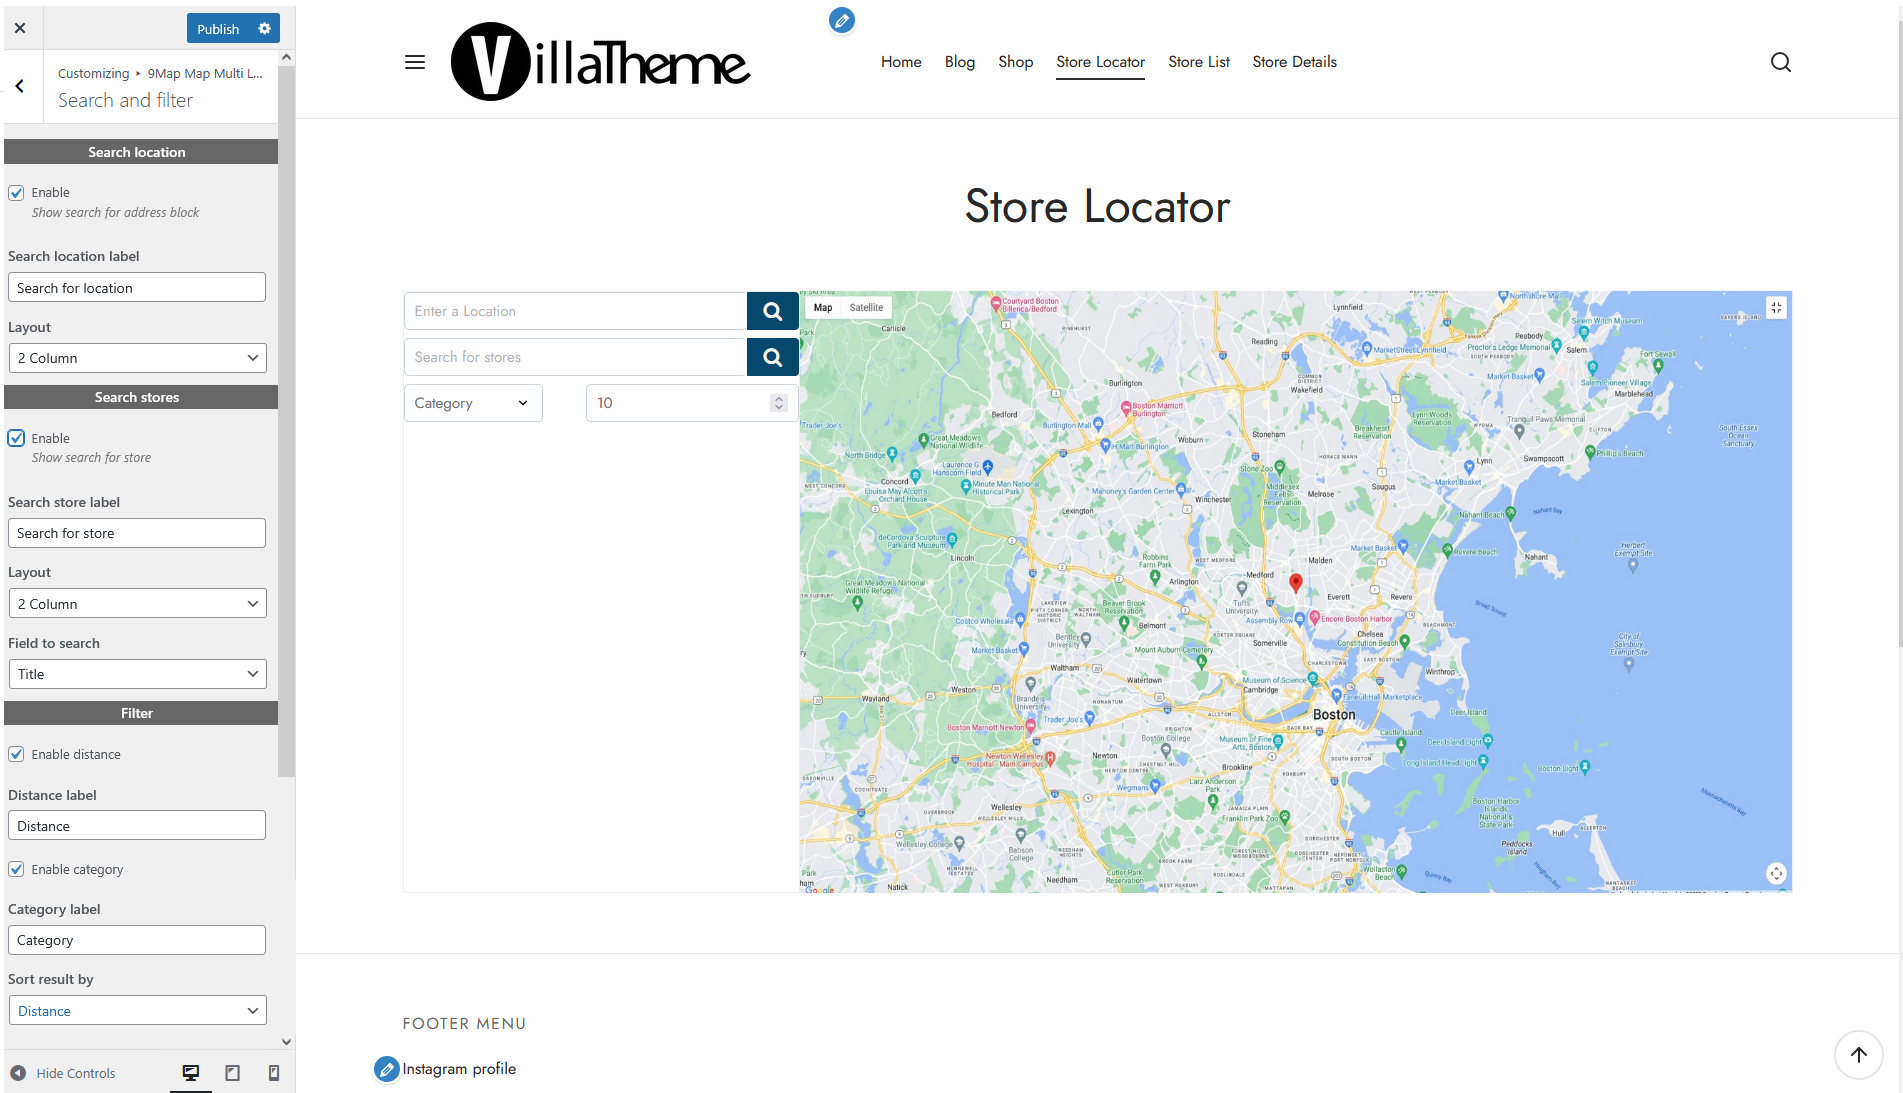
Configure search and filtering options to help users easily find stores on the Store Locator page.
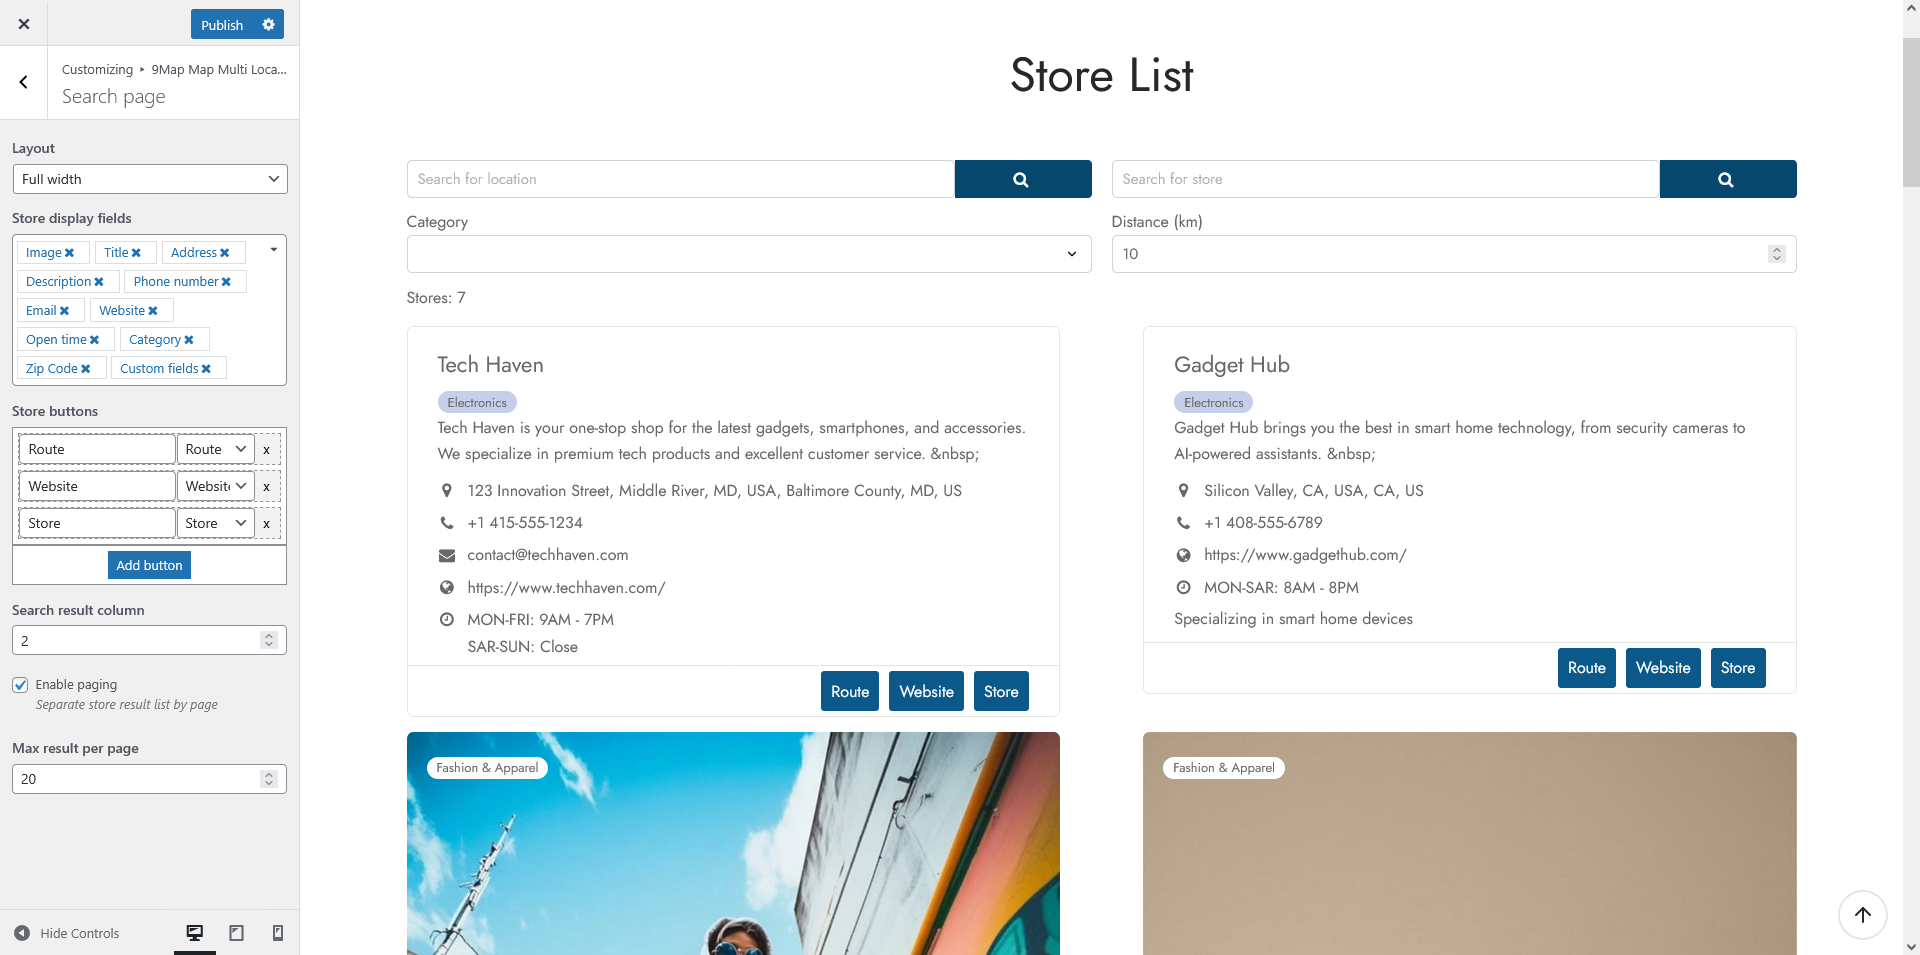
Customize the layout and display of the Store list page, which presents all available stores and a search function for users to find locations easily.
By default, a store page has “Map view” section that shows the map based on the defined location. Customize the layout and other information displayed on the Store Details Page, where users can view complete store information.