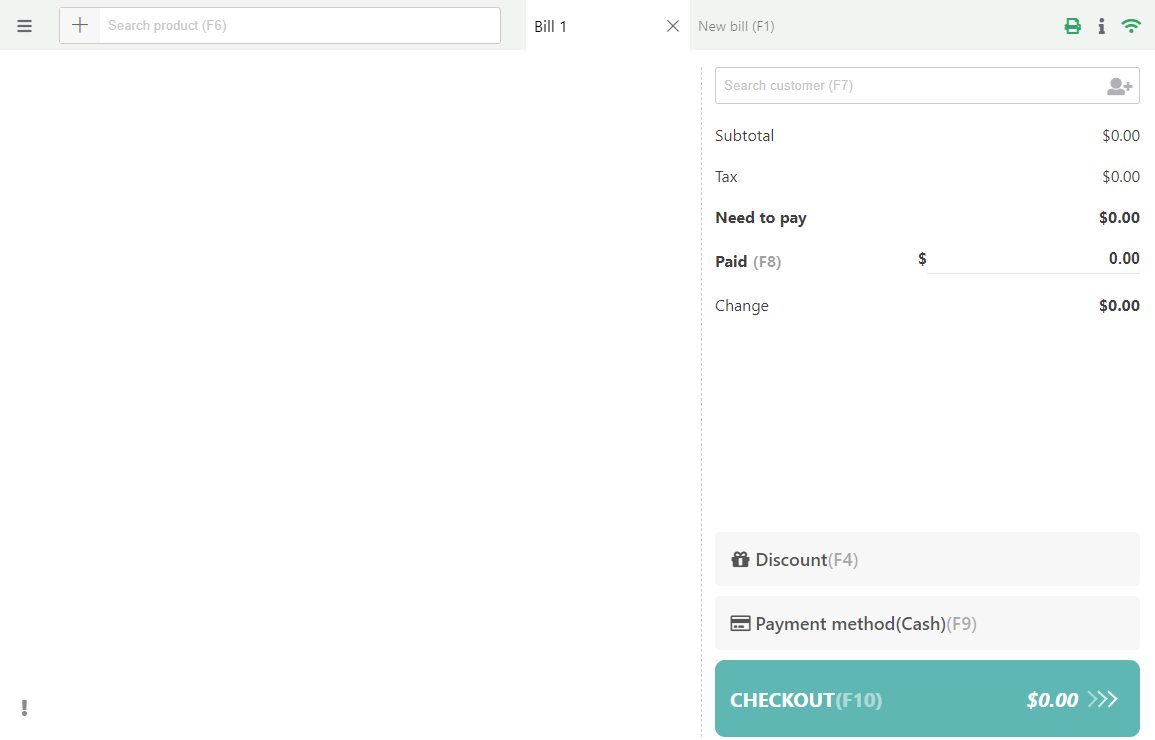
After downloading and installing the plugin. You will follow these below steps to opera the web pos system.
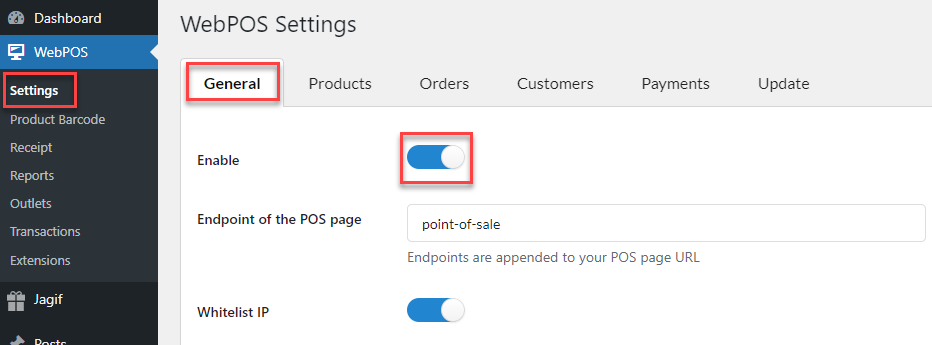
Step 1: Go to WebPOS > Settings >General, enable to activate the plugin.
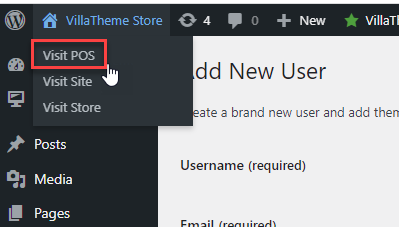
Step 2: Go to the POS page on the front end.
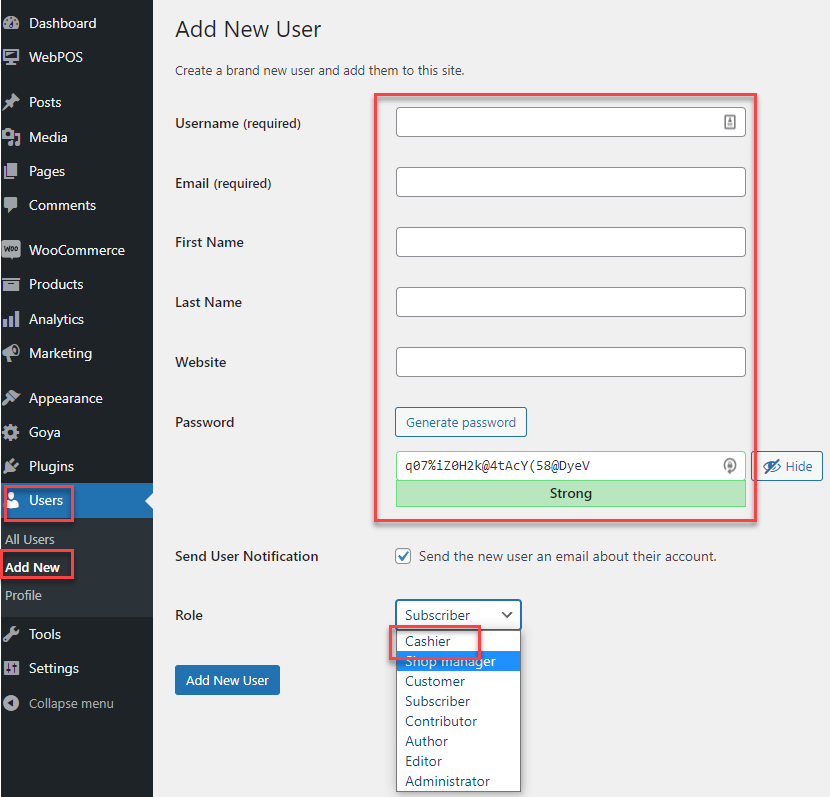
Step 3: Add Cashier accounts to allow the cashiers to make POS transactions.
Go to Dashboard > Users > Add New. Enter the cashier’s information and select the role “cashier”. Finally, Add New user.
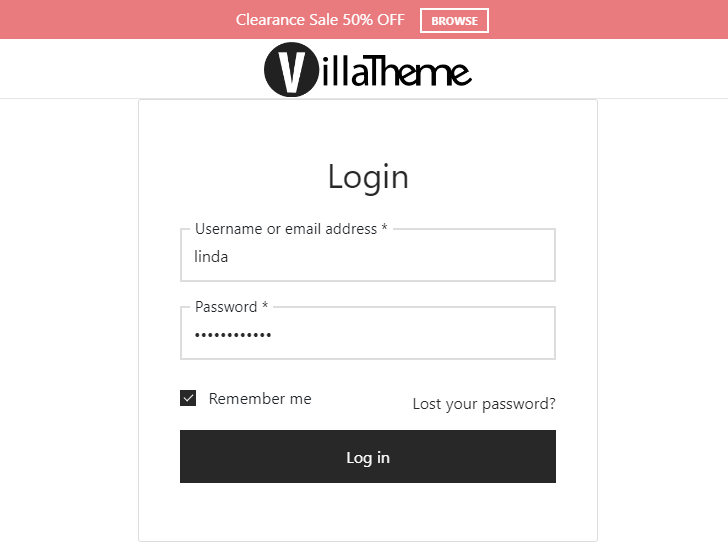
Step 4: Login using the newly created cashier account.
On My account page, the cashier can go to the POS page if she is already logged in. Go to My account > Visit POS.
Step 5: After logging in with the cashier account, now the cashier is ready to make POS transactions on the POS system.
