Before importing the demo, make sure the necessary plugins are installed and activated.
- WooCommerce
- Elementor
You can import the demo in two ways:
Option 1: Import Predefined Demo
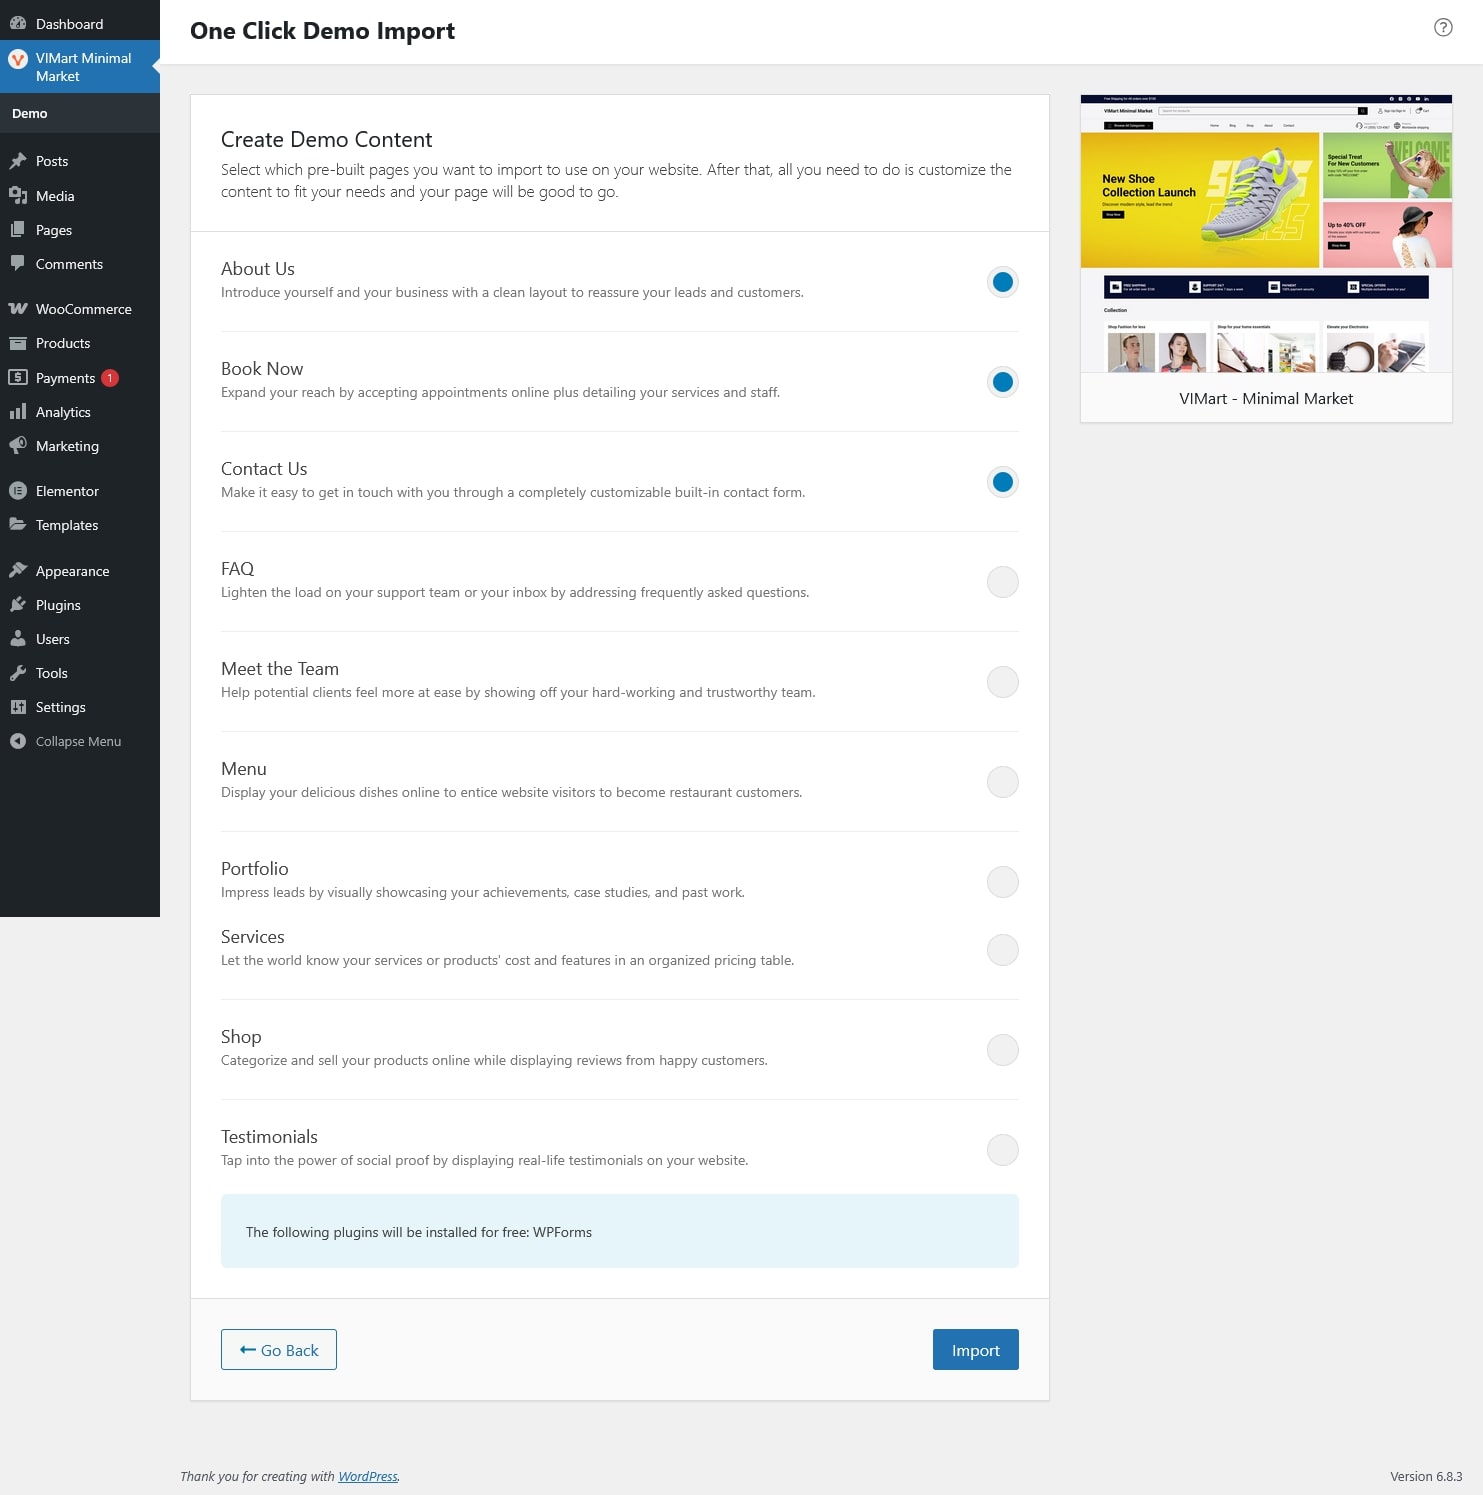
Use the One Click Demo Import plugin for a quick setup.
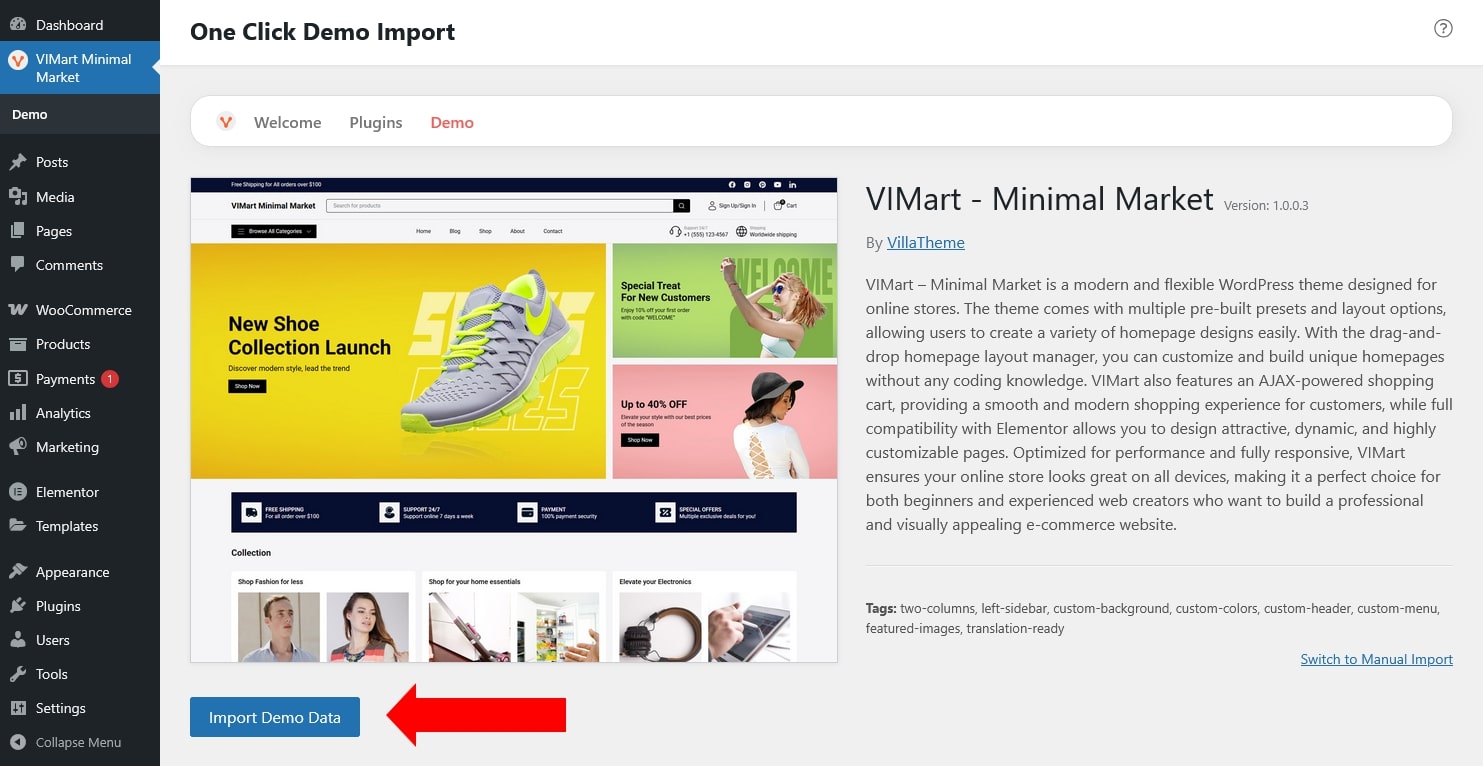
Go to Dashboard → VIMart Minimal Market → Demo.
Choose the predefined demo and click Import Demo Data.
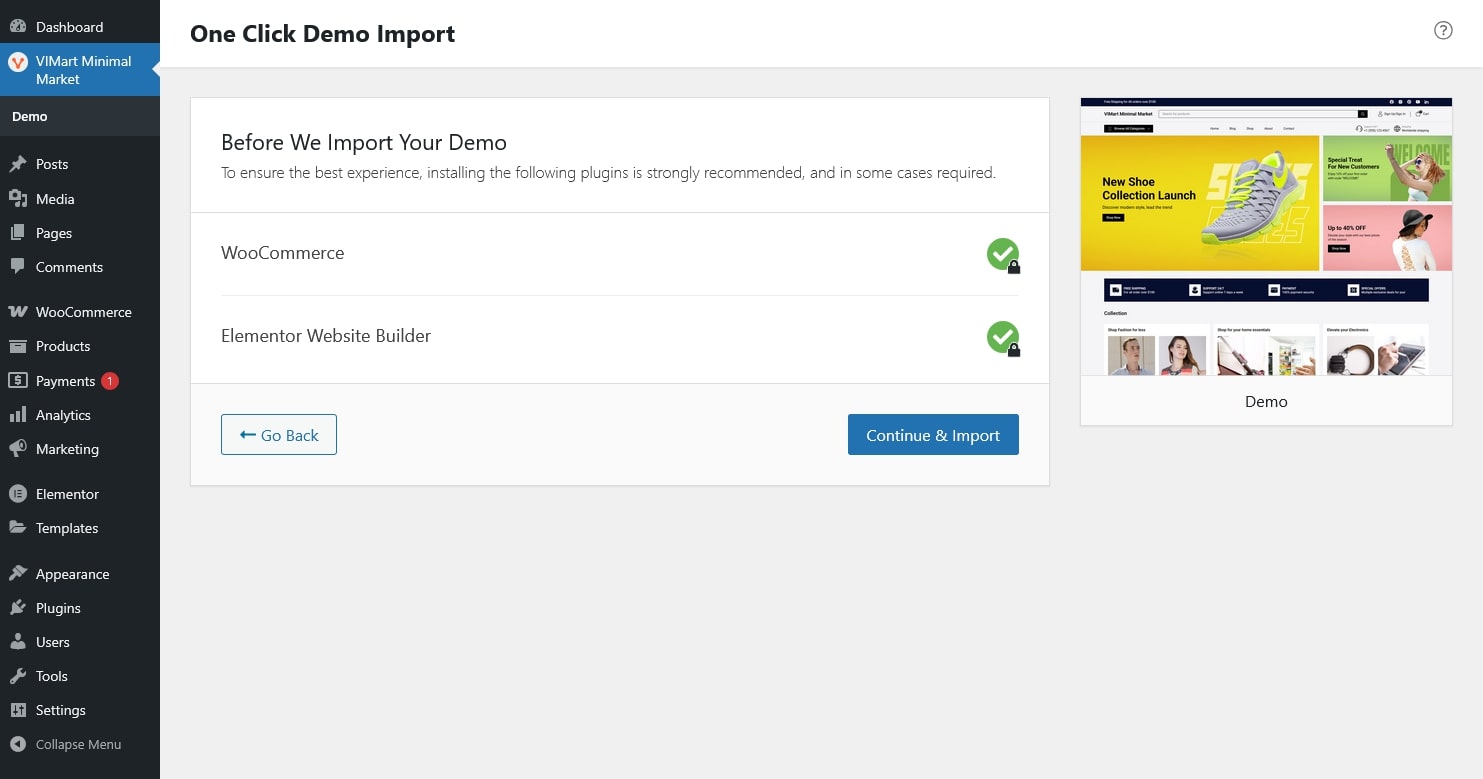
Ensure required plugins are installed. If all done, click “Continue & Import”
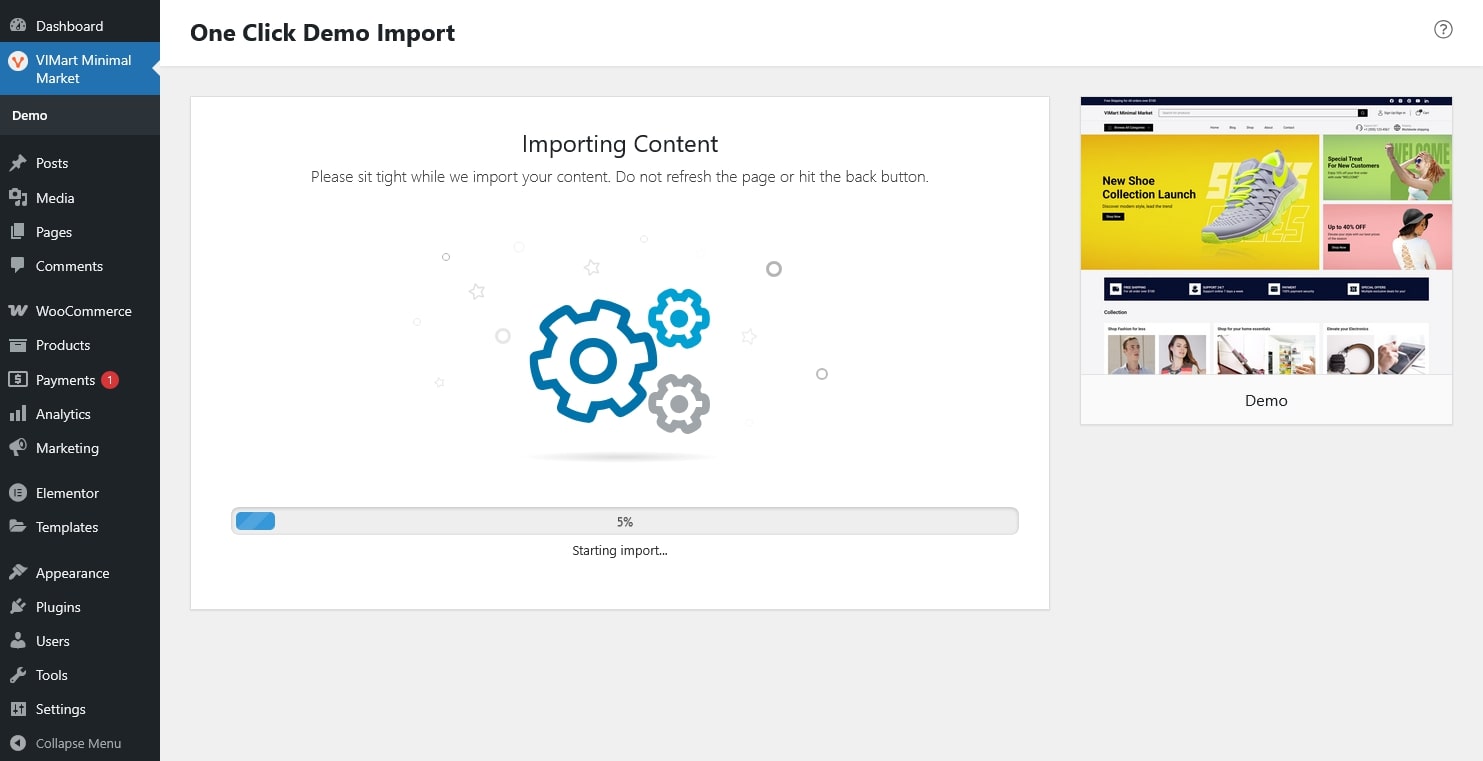
Wait for the process to complete, your site will look just like the demo.
Option 2: Import Manually
If you prefer to import the demo manually instead of using the one-click import, you can do it here. Each section below helps you bring in specific parts of the demo.

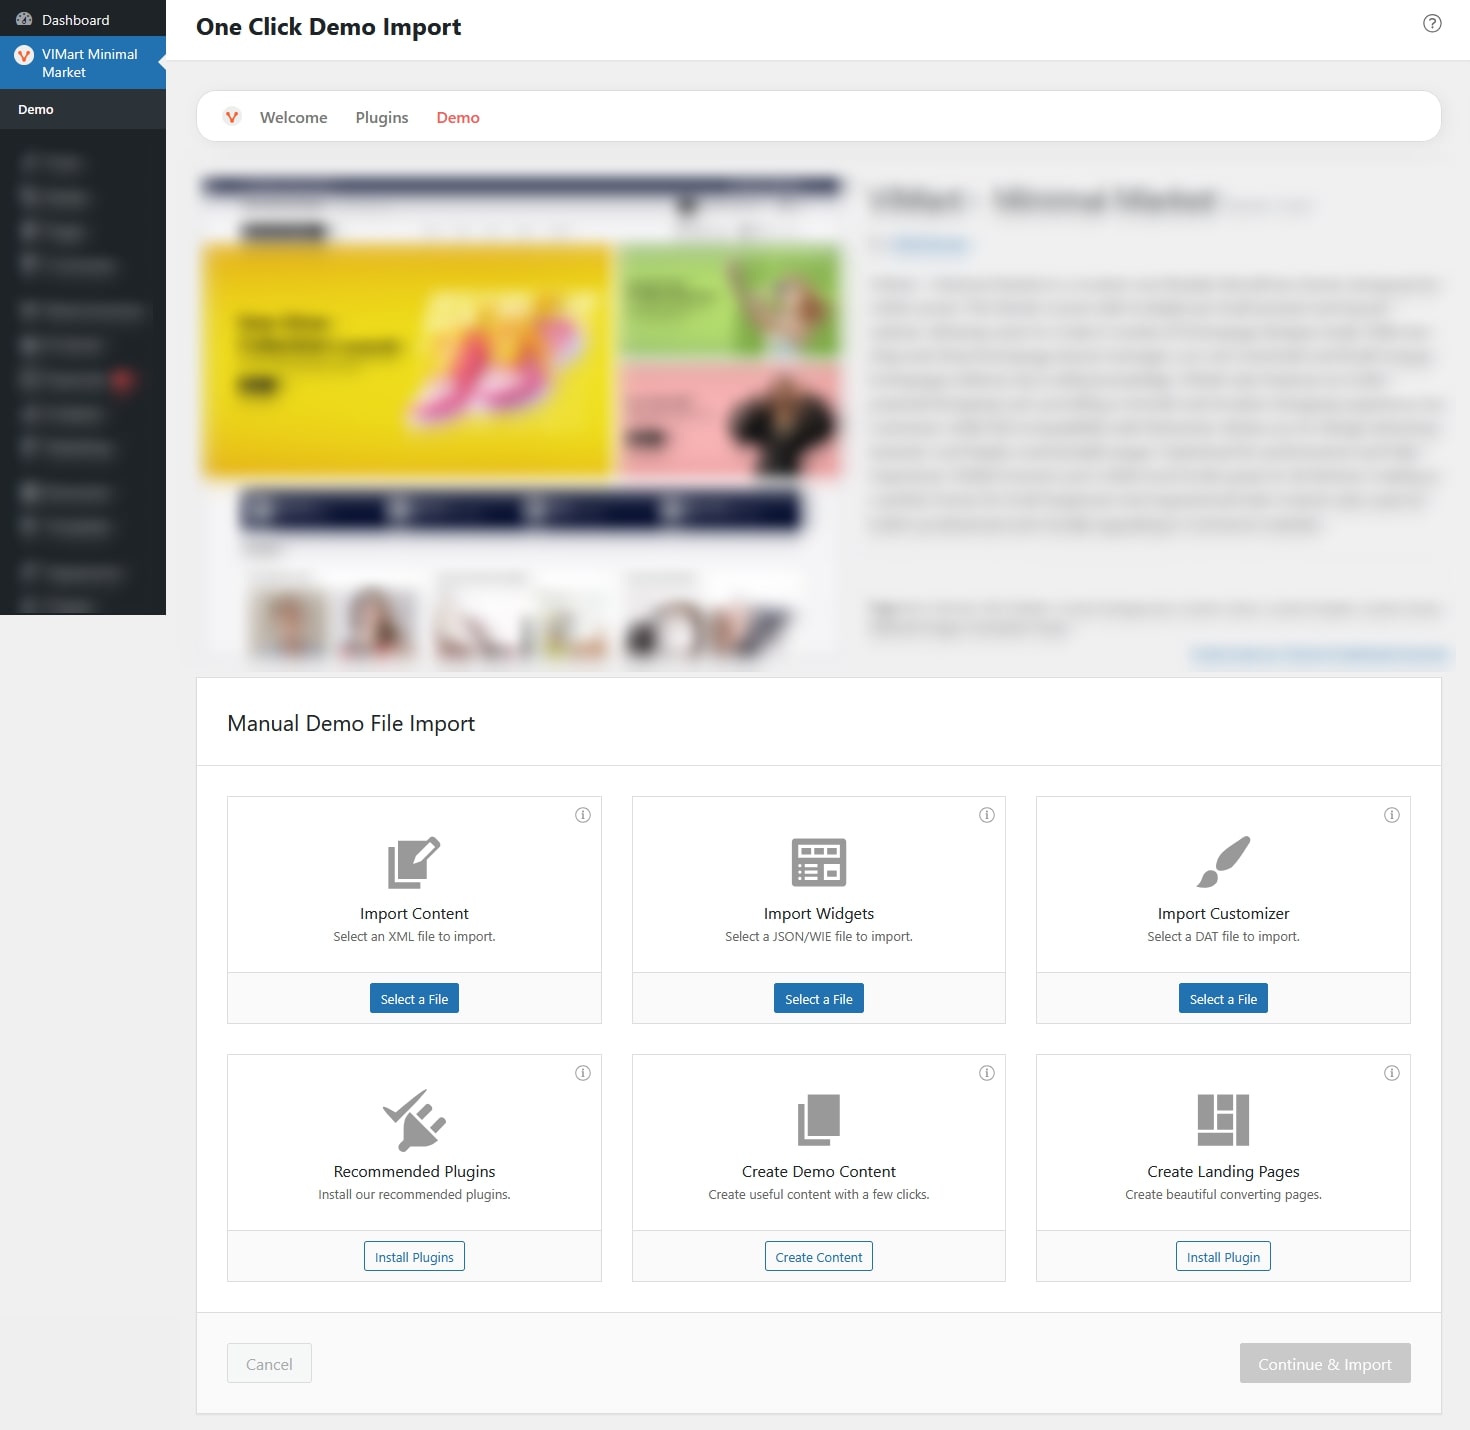
- Import Content
- Upload the XML file that contains your demo content, pages, posts, products, and other basic data.
- Click Select a File, choose the XML file from your theme package, and upload it.
- Import Widgets
- Upload a JSON or WIE file to import demo widgets. These widgets include elements for your sidebar, footer, or other widget areas.
- Click Select a File, choose the widget file, and upload.
- Import Customizer
- Import your Customizer settings using a DAT file, includes theme colors, typography, logo, layout options, and more.
- Click Select a File, upload the DAT file
- Recommended Plugins
- Make sure all recommended plugins are installed and activated.
- Click Install Plugins and the required ones (Elementor, WooCommerce, or One Click Demo Import) will be installed.
- Create Demo Content: Generate useful content. E.g.
- Create Landing Pages: By clicking the Install Plugin button in this last box, VIMart will install the SeedProd plugin and you’ll be able to create high converting landing pages.