Go to Dashboard >> Happy >> Setup Wizard
The Setup Wizard in HAPPY guides you through the initial configuration of your helpdesk system to ensure it meets your specific needs. Here’s a step-by-step overview of the setup process:
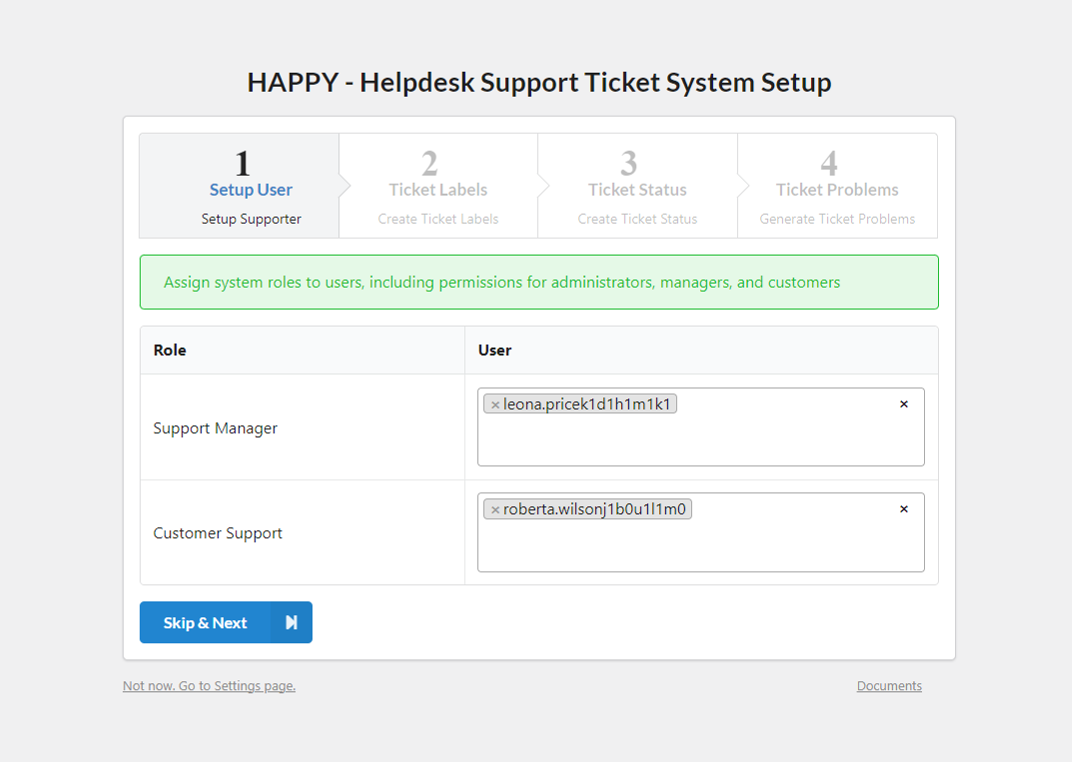
Step 1: Setup User
Configure user roles and permissions within the system:
- Support Manager: Assign this role to users who oversee support operations and manage the support team. A Support Manager has full access to all HAPPY settings. Administrators automatically have the Support Manager role
- Customer Support: Assign this role to users who will handle customer inquiries and manage tickets. Ensure each role has the appropriate permissions to perform their duties effectively.
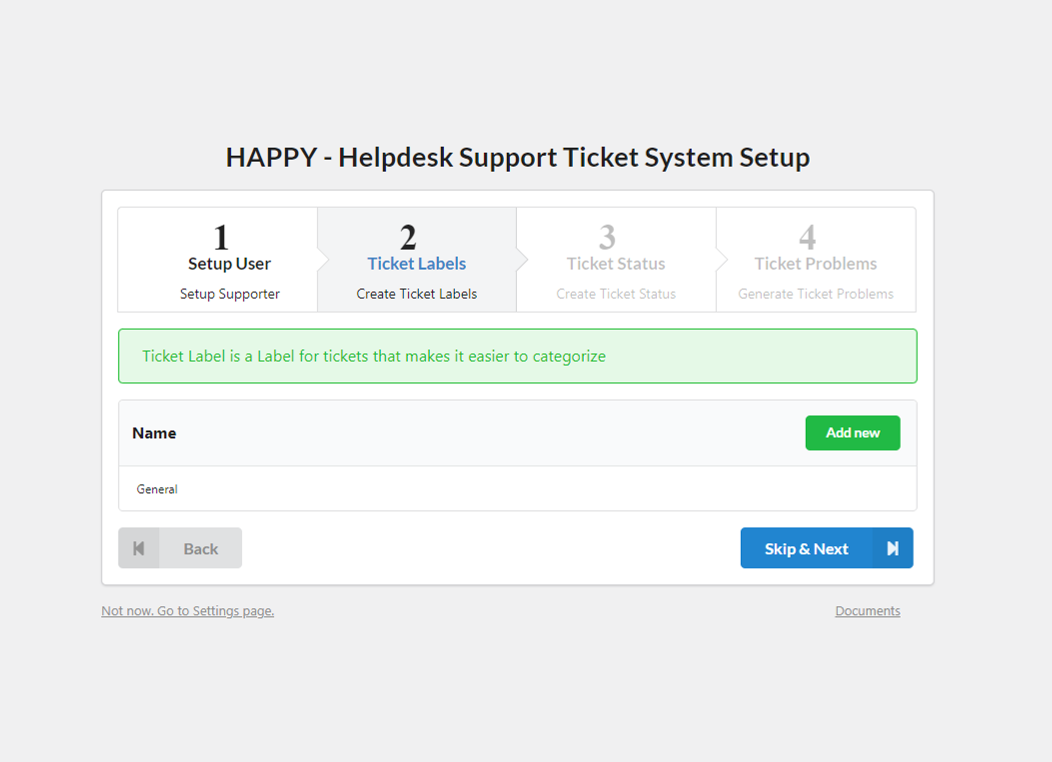
Step 2: Ticket Labels
Create and manage Ticket Labels to categorize and organize incoming tickets:
- Define labels to help classify tickets based on their nature or issue type.
- Assign supporters if needed – The assignees will receive email notification whenever there’s a ticket with this label assigned is created.
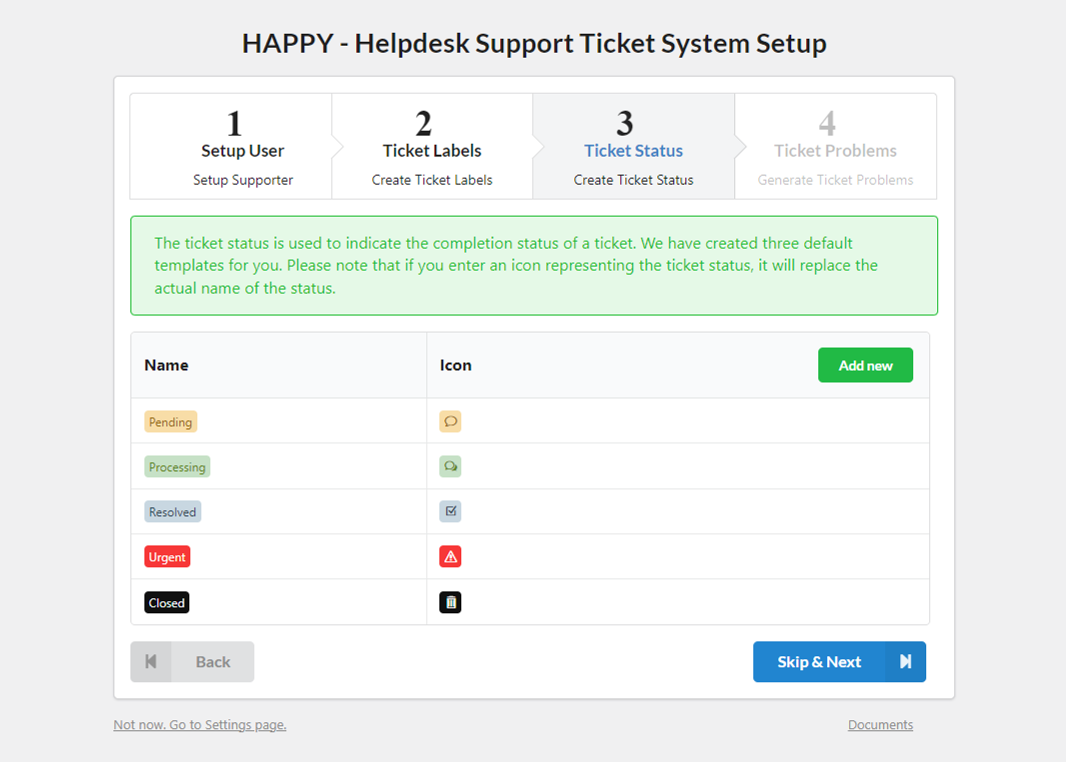
Step 3: Ticket Status
Set up Ticket Statuses to track the progress of tickets:
- Create various statuses such as “Open,” “In Progress,” “Resolved,” and “Closed” to reflect different stages in the ticket resolution process.
- Customize statuses to fit your workflow and ensure clear communication of ticket progress.
Step 4: Generate Ticket Forms
Create Ticket Forms to collect detailed information from users when they submit a ticket. Quick generate forms using 3 built-in templates.
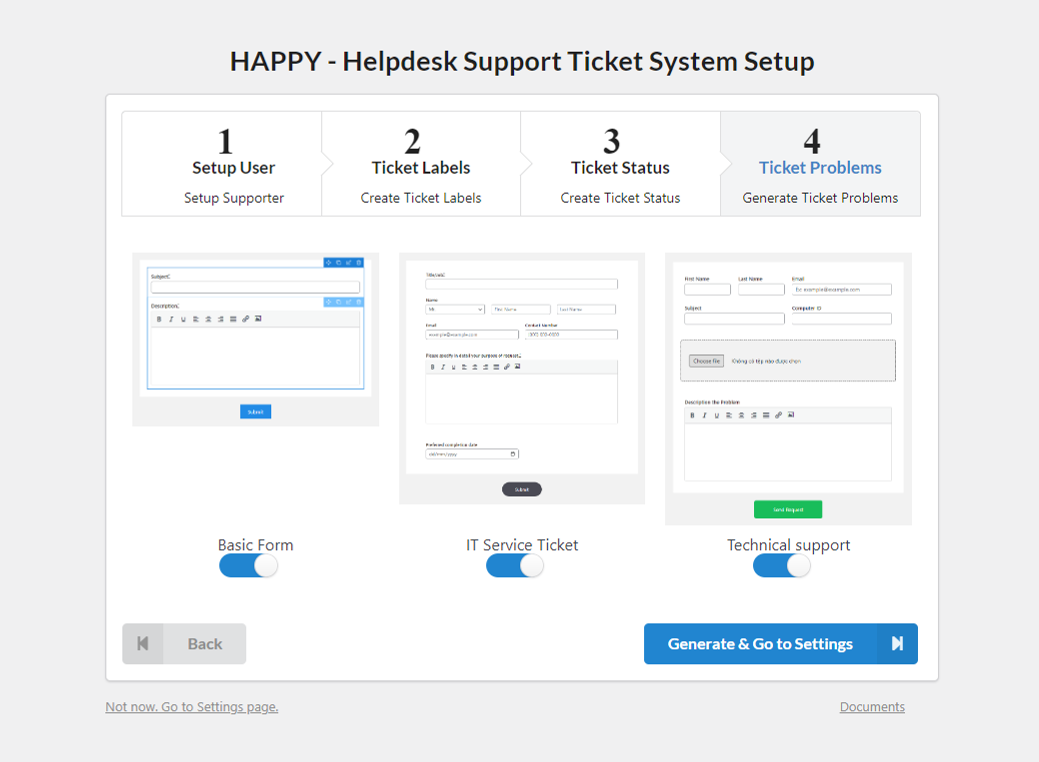
The setup wizard guides you through basic configuring HAPPY in clear, easy stages.