First, let’s take a look at the elements that play important parts in making a complete email
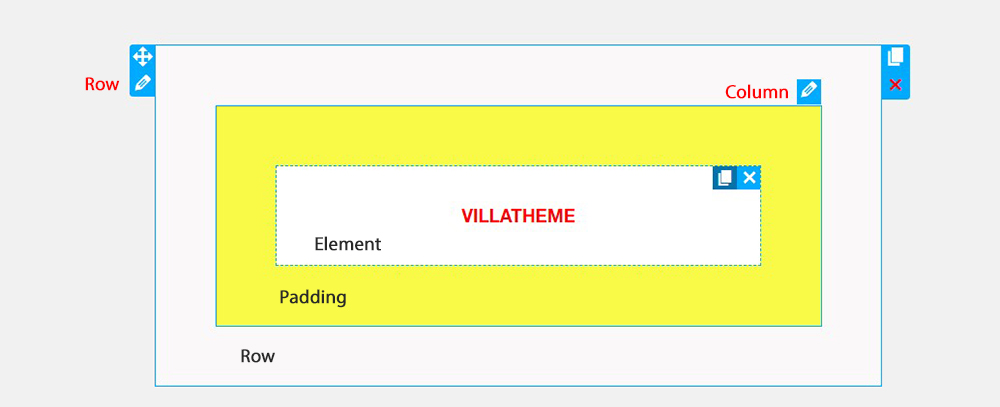
9MAIL – WordPress Email Templates Designer uses 3 main building blocks: Row, Column and elements. Row are the largest building blocks, and inside them are groups of Columns. Columns are to cover outside elements. Elements are placed inside of columns.
You control, edit duplicate, remove row, Columns with their handles.
![]() To edit row, column padding.
To edit row, column padding.
![]() To duplicate row, column.
To duplicate row, column.
![]() To remove row, column and element.
To remove row, column and element.
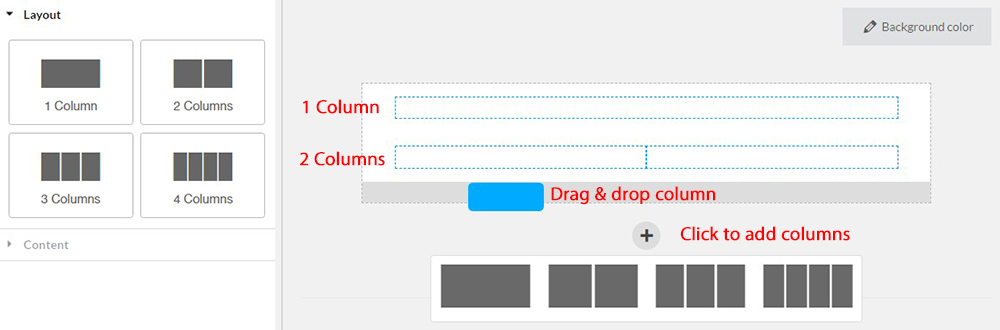
Now, for the Layout, you need to select the layout according to necessity. These layouts are from 1 to 4 column in one rows, based on your requirements, select one to add elements into.
Simply drag the Layout from the Widget panel, or click the “Plus” button to add the layout you need.
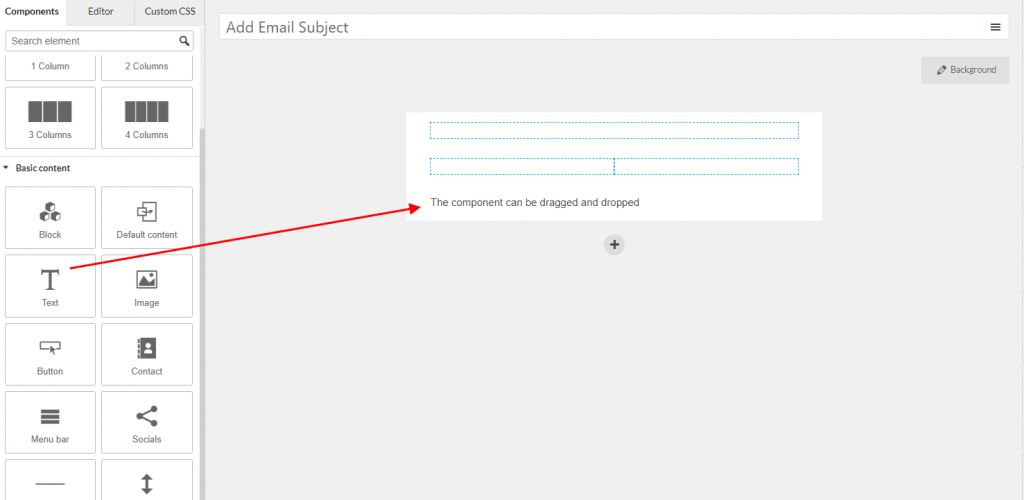
Then start adding the element and edit the content, as well as its appearance: size, outline, style…
To add the element, drag them from the Widget panel to the place you want, like the image below:
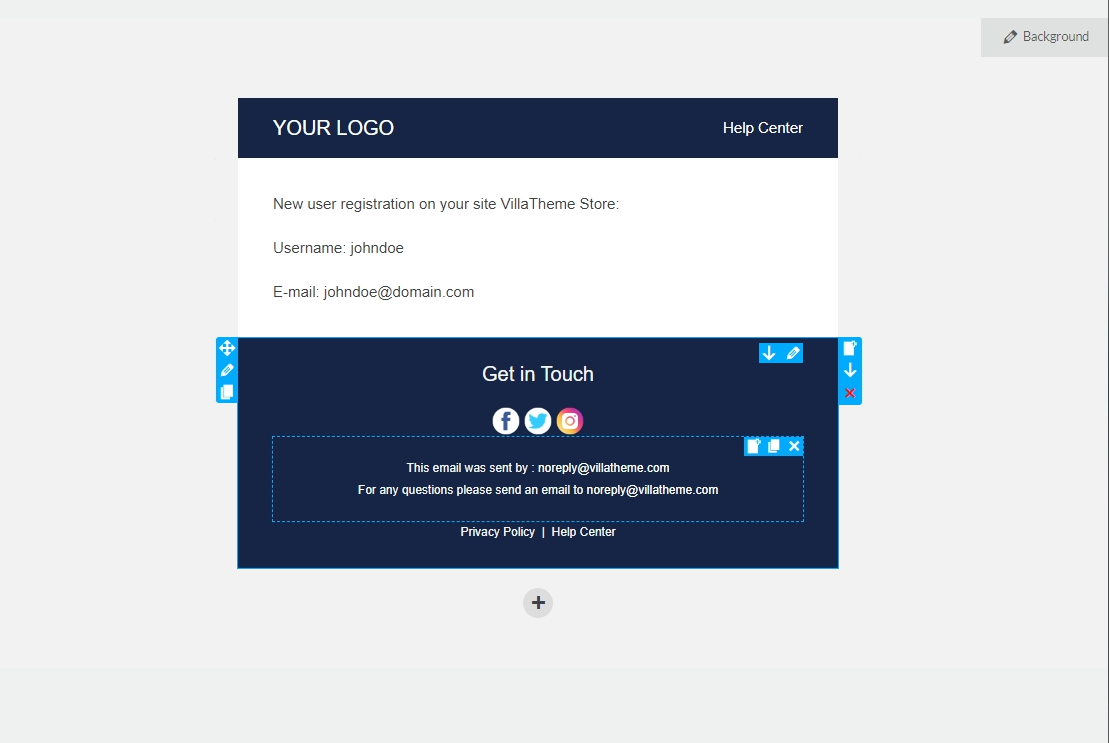
These are the general steps for how to build a new template. To customize one, it’s almost the same, it’s just you have an available template with lots of components, all you need is to modify them to meet your expectation.
![]() Drag and drop: Left click and hold this button, and drag the layout to your ideal place, and drop it there
Drag and drop: Left click and hold this button, and drag the layout to your ideal place, and drop it there
![]() Edit: Clicking this button will lead you to the Editor area of that layout/component
Edit: Clicking this button will lead you to the Editor area of that layout/component
![]() Duplicate: Clicking this button will double the current layout/component
Duplicate: Clicking this button will double the current layout/component
![]() Copy: Click this button to copy the layout/component
Copy: Click this button to copy the layout/component
![]() Paste: Place the layout/component you just copied
Paste: Place the layout/component you just copied
![]() Remove: Delete the current layout/component
Remove: Delete the current layout/component
For specific information of all elements – their usage, their customization options, … – when you want to edit, visit this documentation.