In this step, let’s enable the plugin’s functions, design the free shipping bar and configure messages on the front end.
A. Enable the plugin’s functions
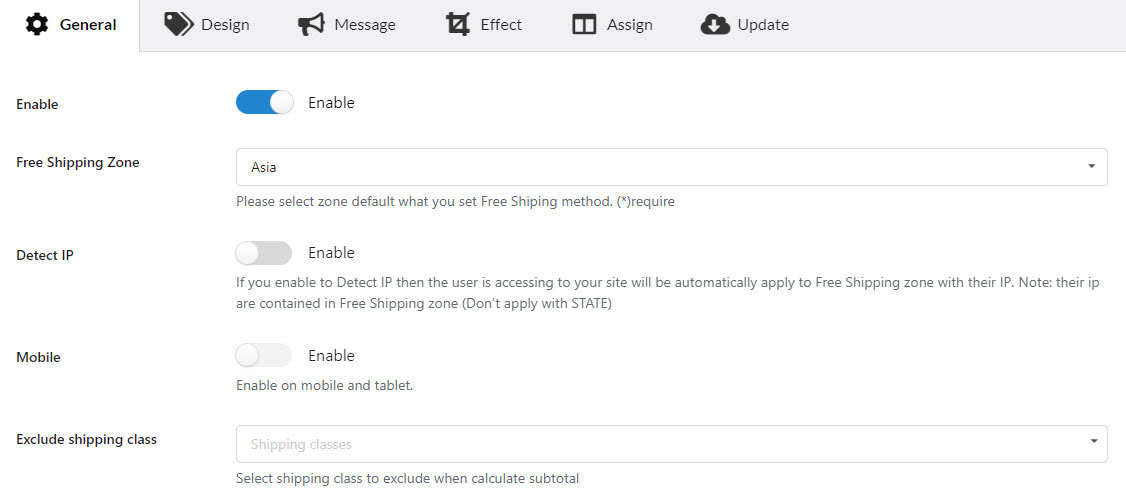
1. Enable: Turn on Woo Free Shipping Bar plugin on desktop.
2. Free Shipping Zone: Select Free Shipping Zone default (require)
3. Detect IP: The plugin will detect customers’ countries based on their IP Addresses and display a free shipping bar respectively with that shipping zone at the country level.
* Note:
+ If set, the “Free Shipping Zone” option above will not be used. If no IP is detected, the shipping bar will show the general zone that’s set in WooCommerce shipping settings > Locations not covered by your other zones.
+ This option can be applied to detect at the country level, not working for states or provinces and regions within a country.
4. Mobile: Woo Free Shipping Bar will show on mobile and responsive.
5. Exclude shipping class: This feature helps you to exclude calculating free shipping for the product shipping classes you set in WooCommerce.
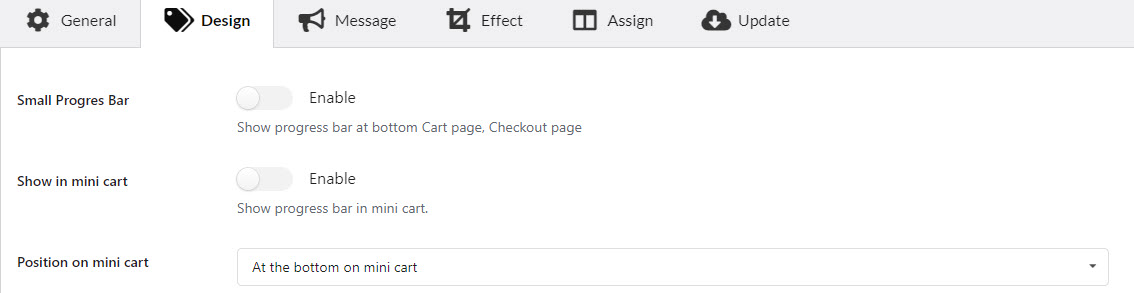
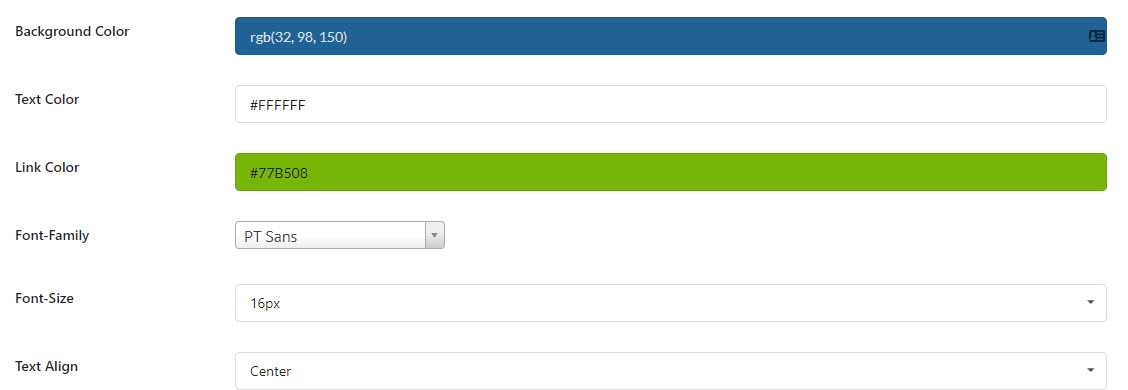
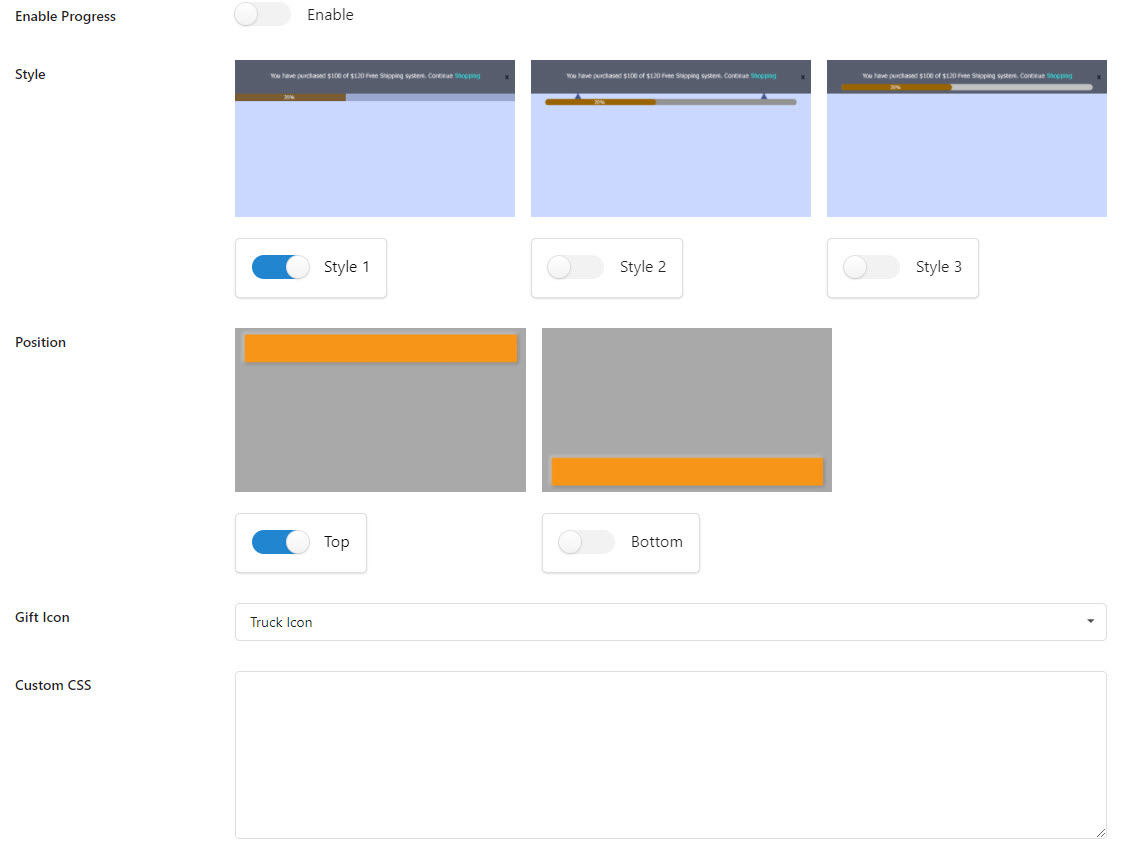
B. Design the Free shipping bar on the front end.
The images below are the interface of the Design tab, in this tab, you will configure how the free shipping displays on the front end. Go to the Design section to learn more about the settings.
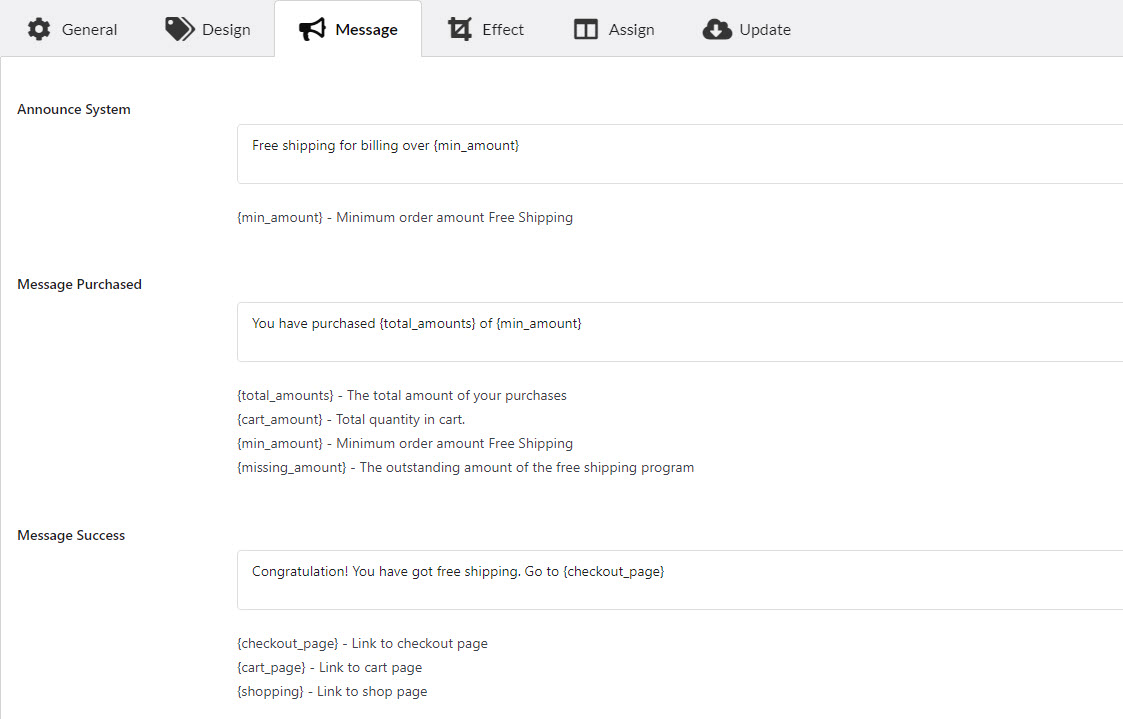
C. Messages
This tab provides flexible custom messages on the shipping bar to offer WooCommerce free shipping over the amount. Go to the Messages section to learn more about the options.