9MAIL – WordPress Email Templates Designer


Created: 04/2022

Last updated: 10/2023 – Updated version: 1.0.3

By: VillaTheme

Thank you for using our plugin.

If you have any questions that are beyond the scope of this documentation, please feel free to request support at our Support Forum. Thanks so much!

9MAIL – WordPress Email Templates Designer is a powerful plugin for creating and customizing WordPress emails. WordPress emails are all in plain text and they can’t be edited much. Therefore, you would need tool to help you do that, customize the WordPress emails the way you want, add your ideal content, highlight your unique brand, wrap your heart and soul in a beautiful template, make it different and outstanding.

That’s what 9MAIL can do.


Features of WordPress Email Templates Designer

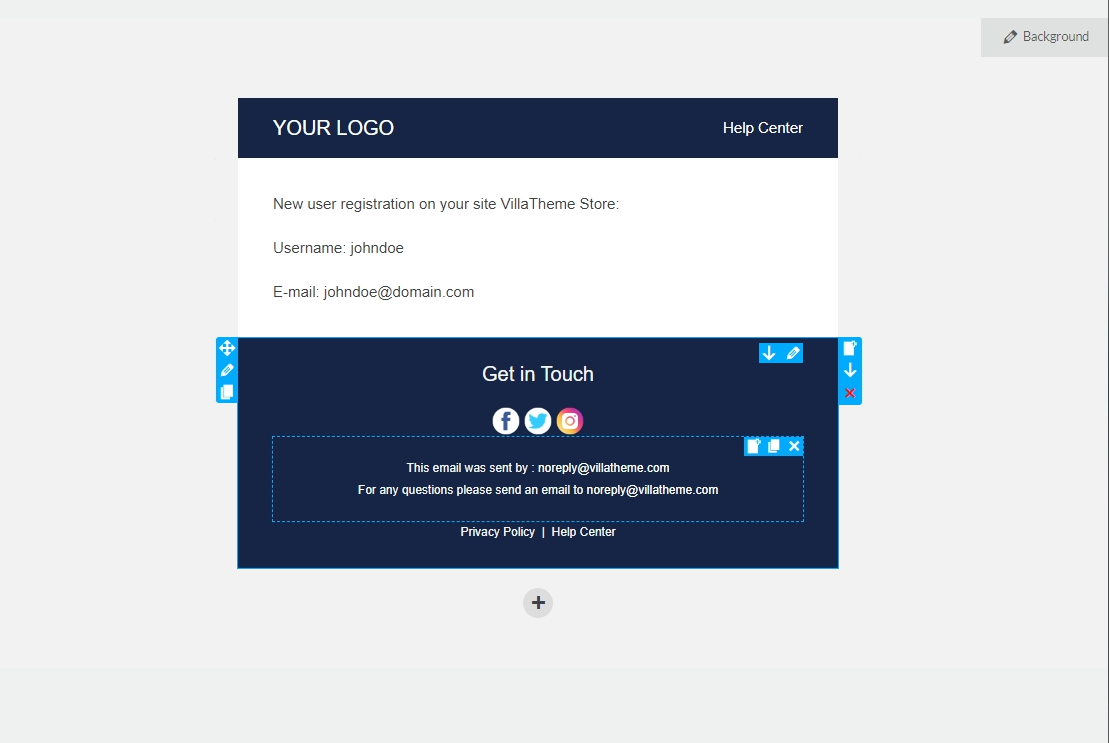
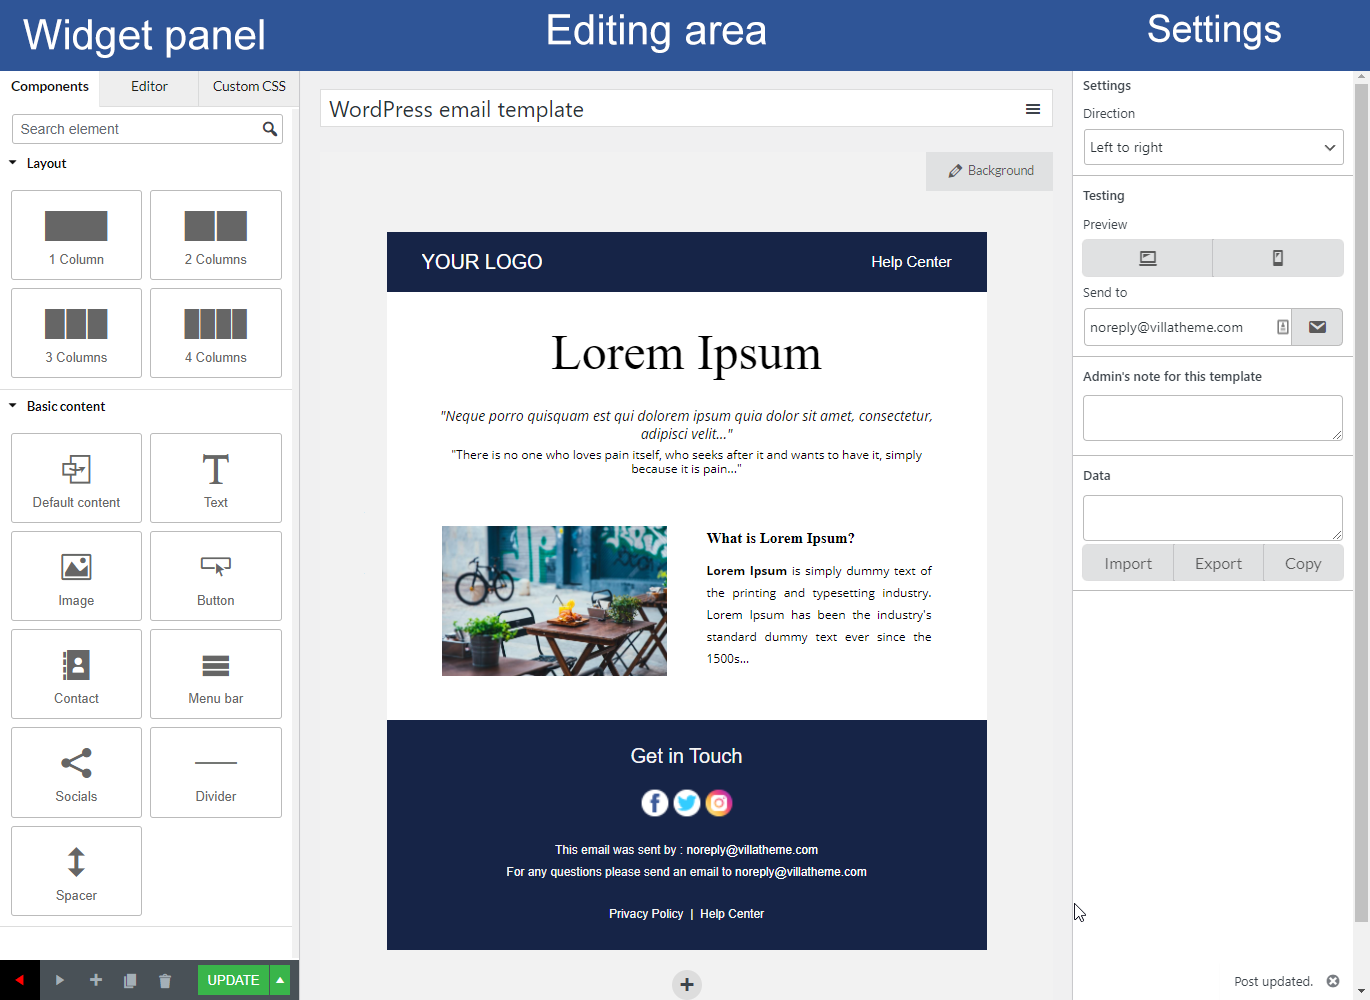
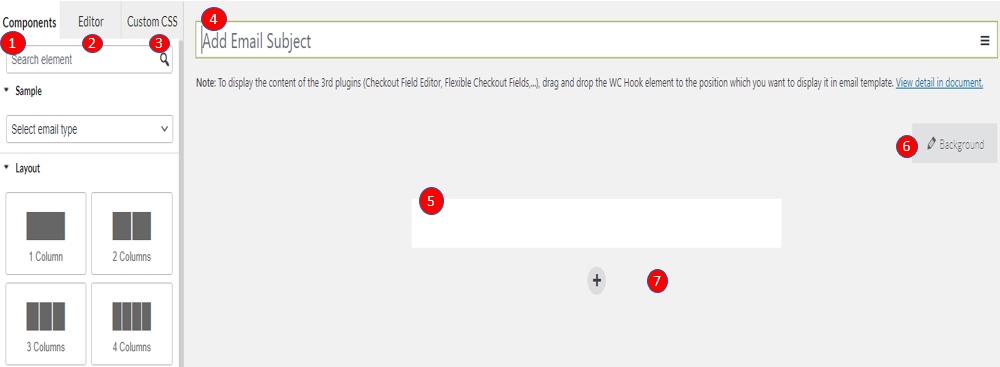
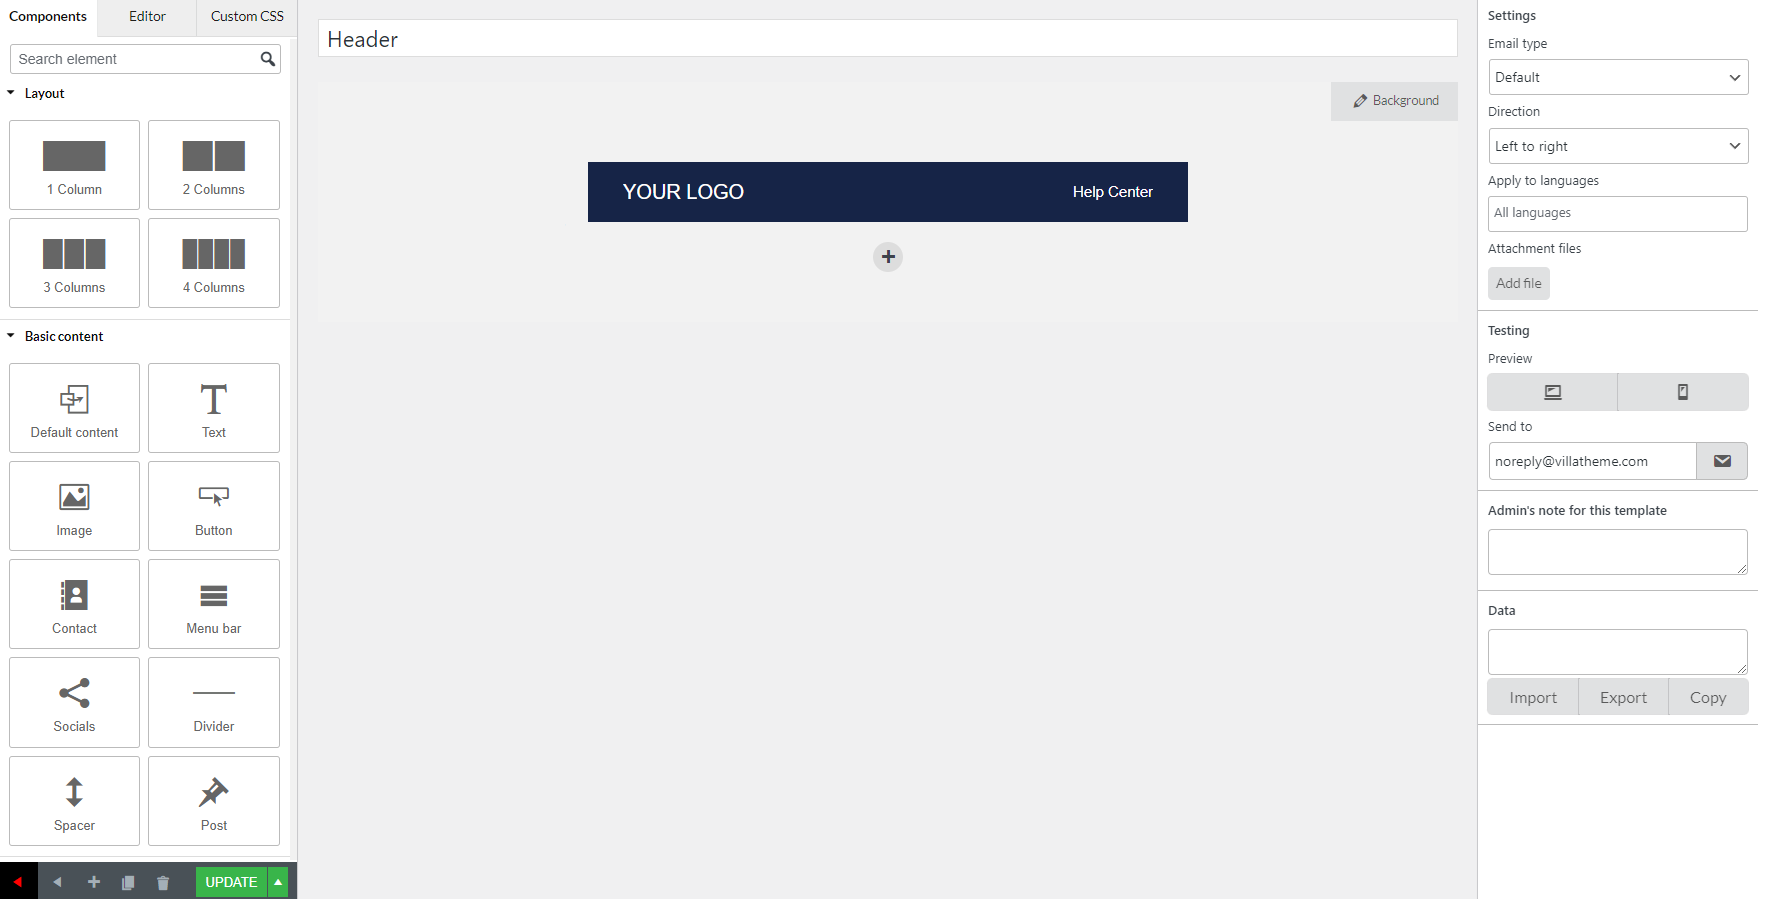
  • Drag-and-drop builder:  The easy-to-use email template builder allows you to create professional and eye-catching WordPress email templates.
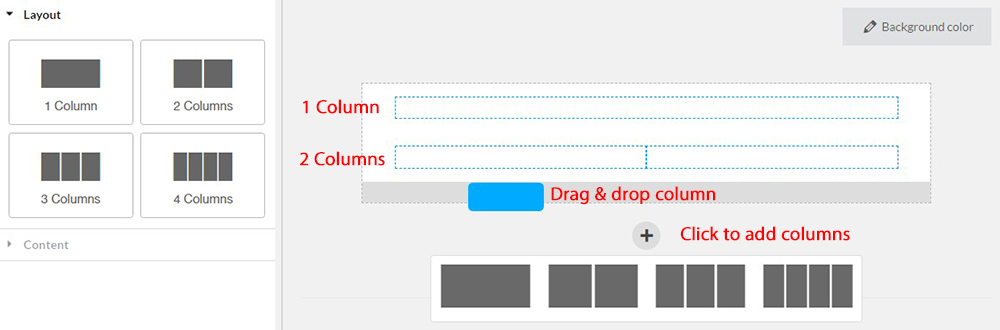
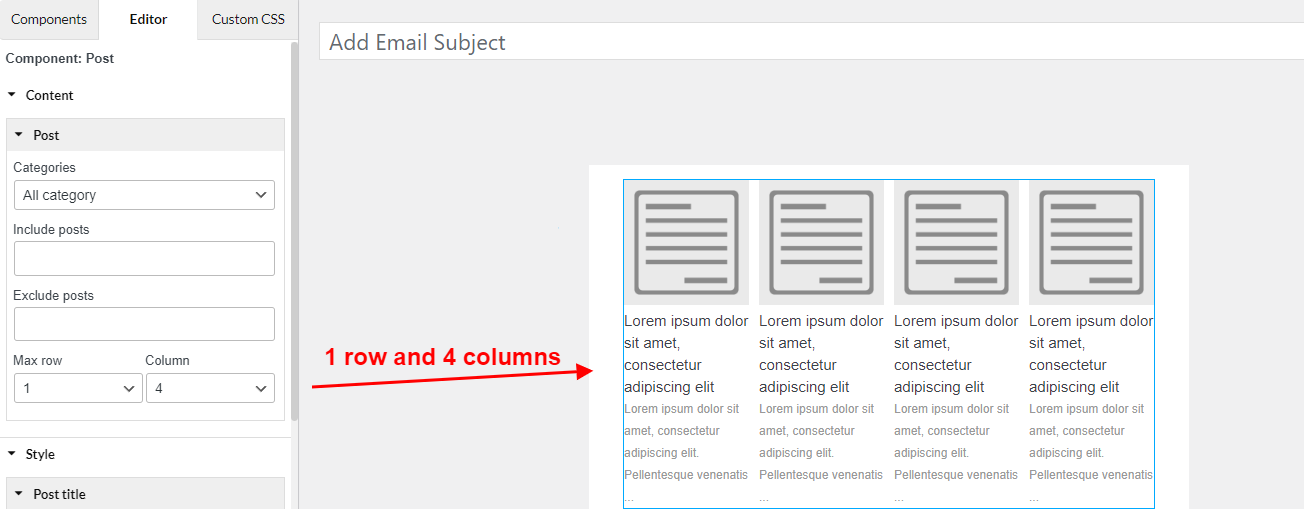
  • Layouts: Layouts can be added quickly by dragging and dropping appropriate layouts, available from 1 -4 columns.
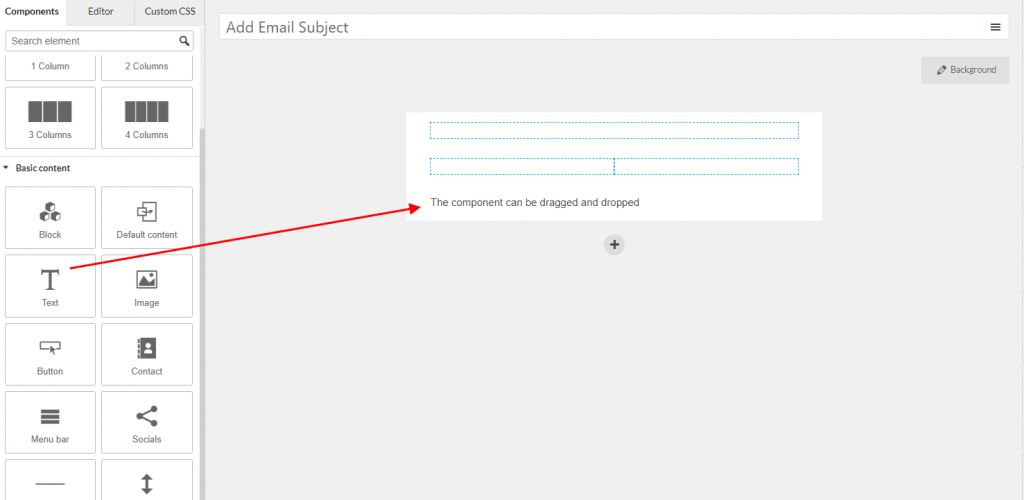
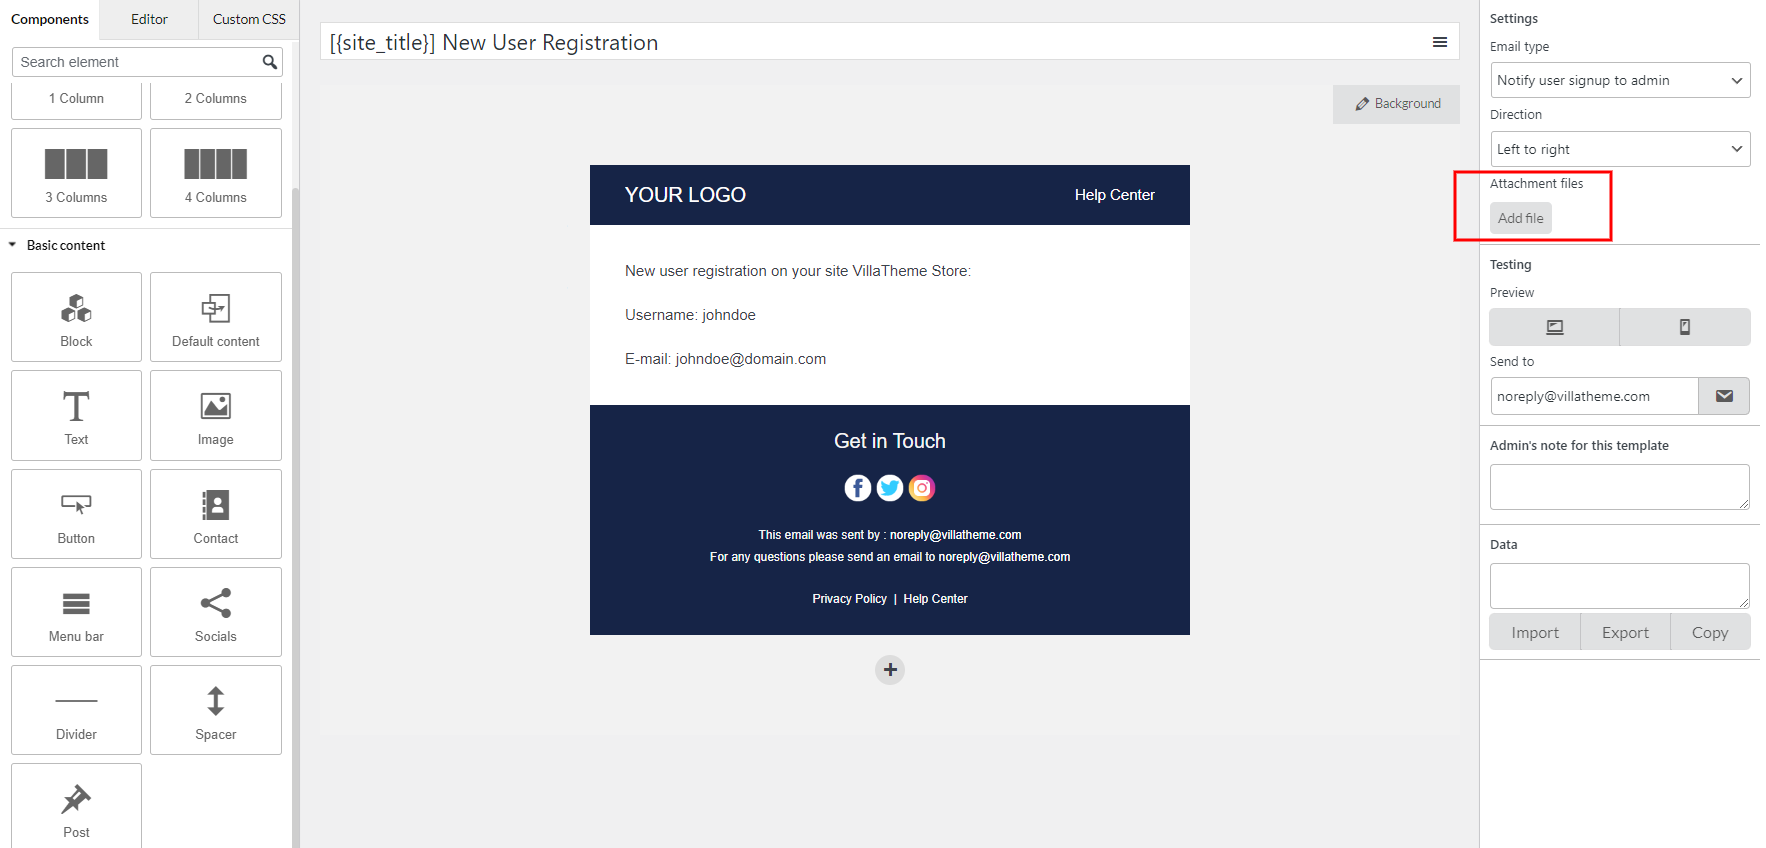
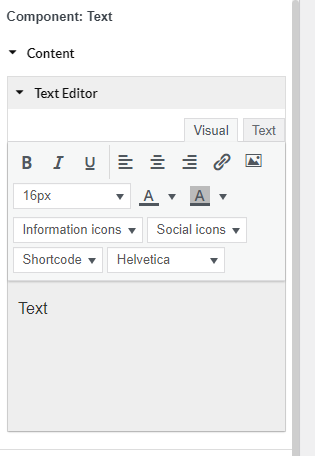
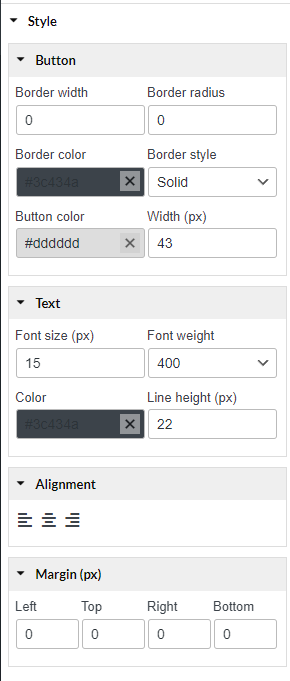
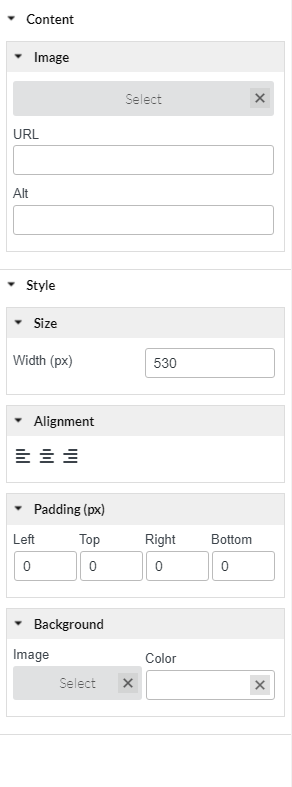
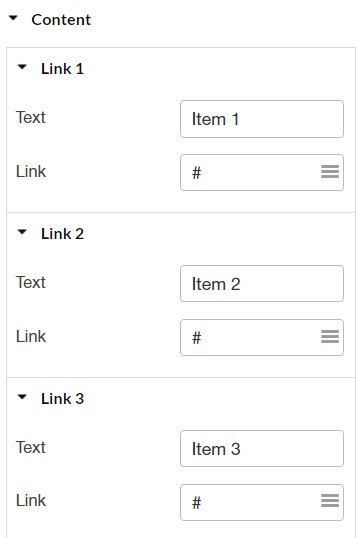
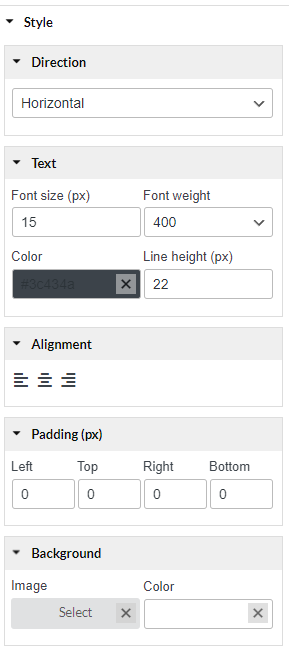
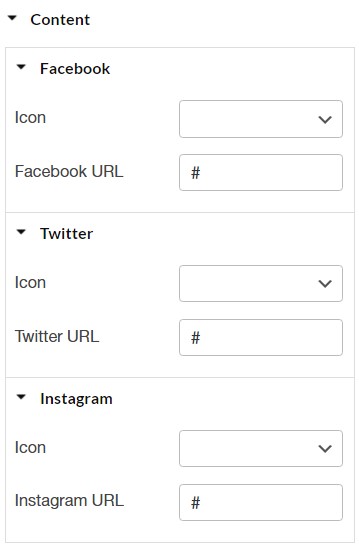
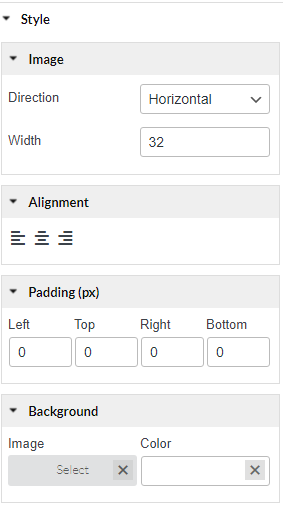
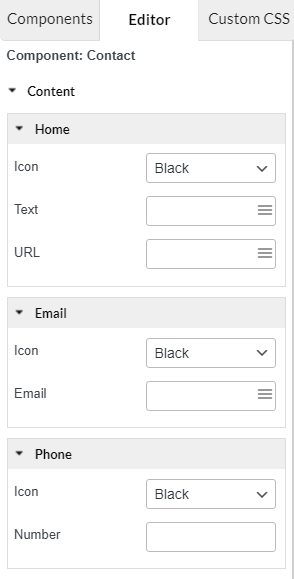
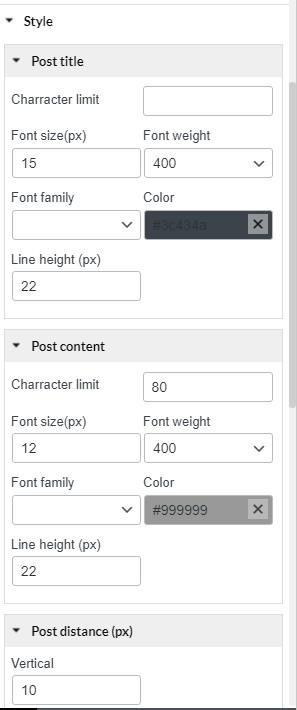
  • Elements: All elements you need to build a complete WordPress emails are provided, full customization options for their appearance.
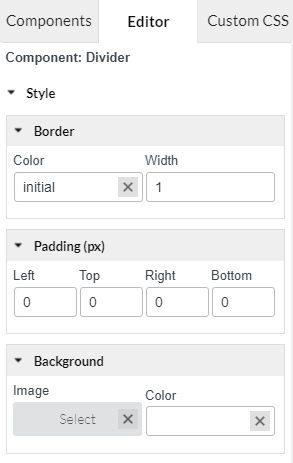
  • Custom CSS: Add your own custom CSS to the email template if the general options are not enough for you. Moreover, you can add custom CSS directly to the text element.
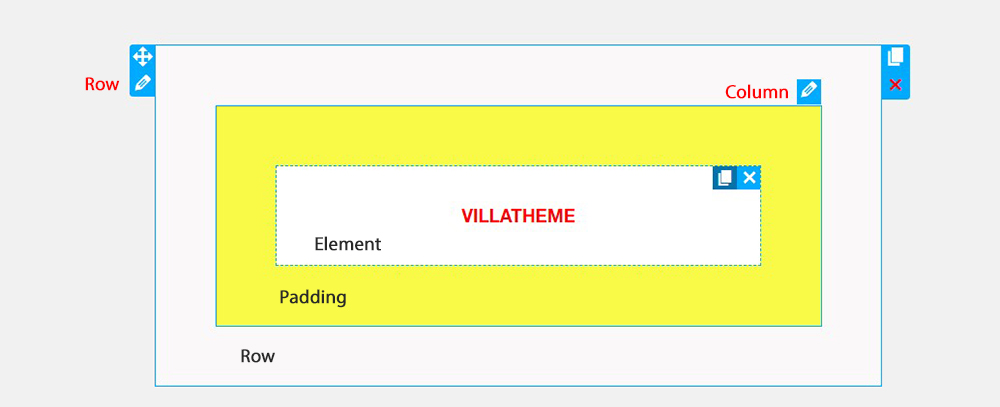
  • Unlimited Number of Rows: Unlimited rows can be added to the email template and include everything you need in the emails.
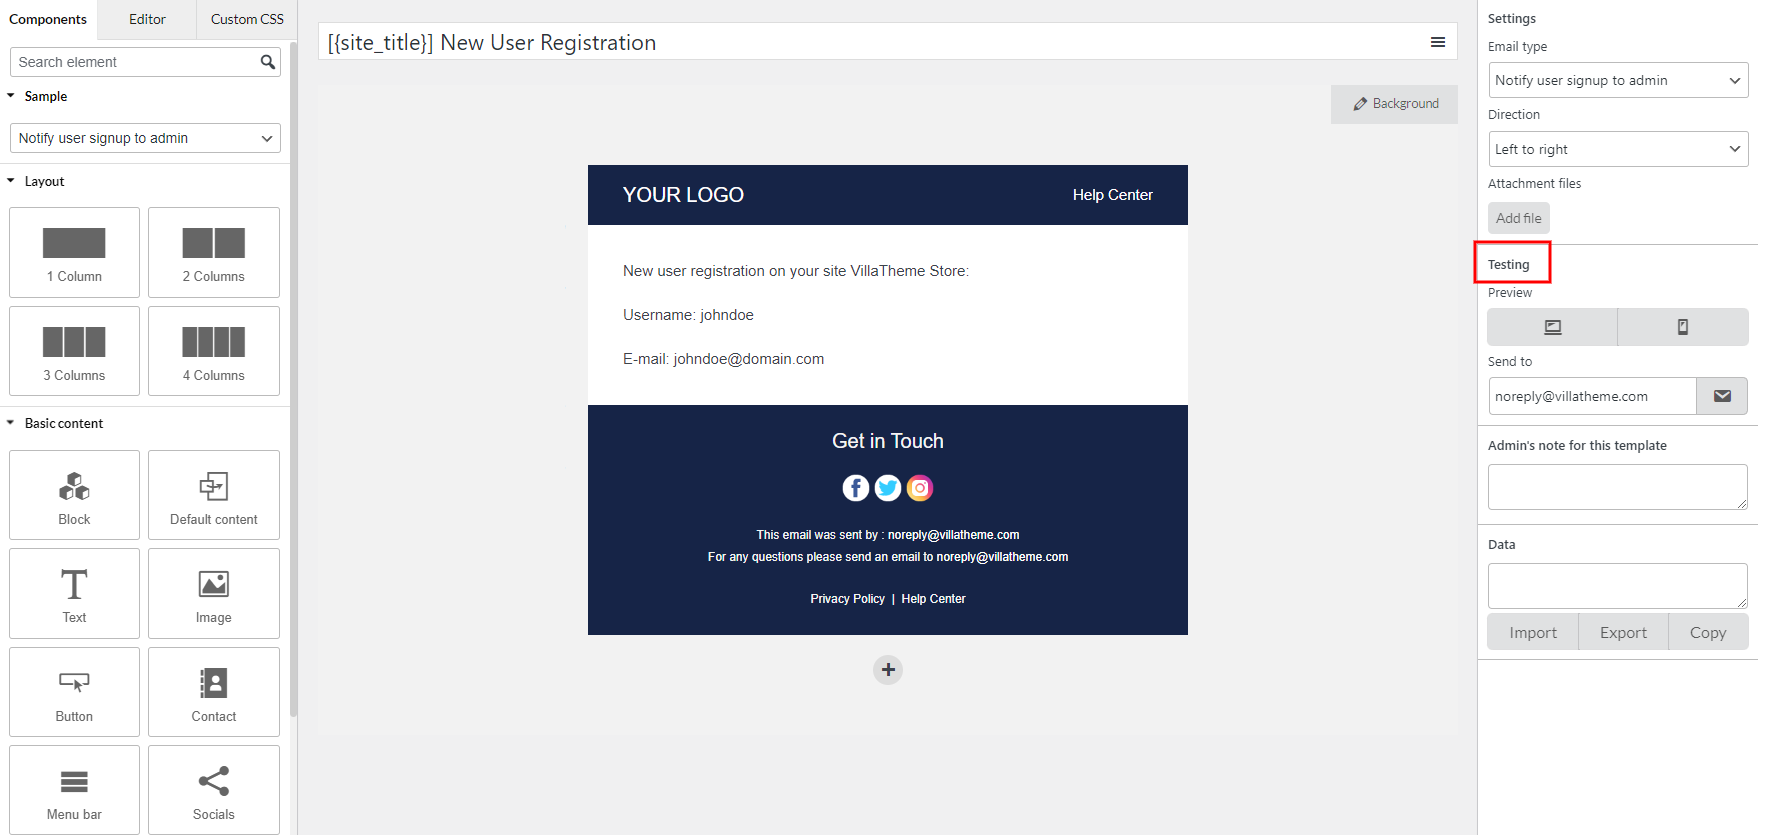
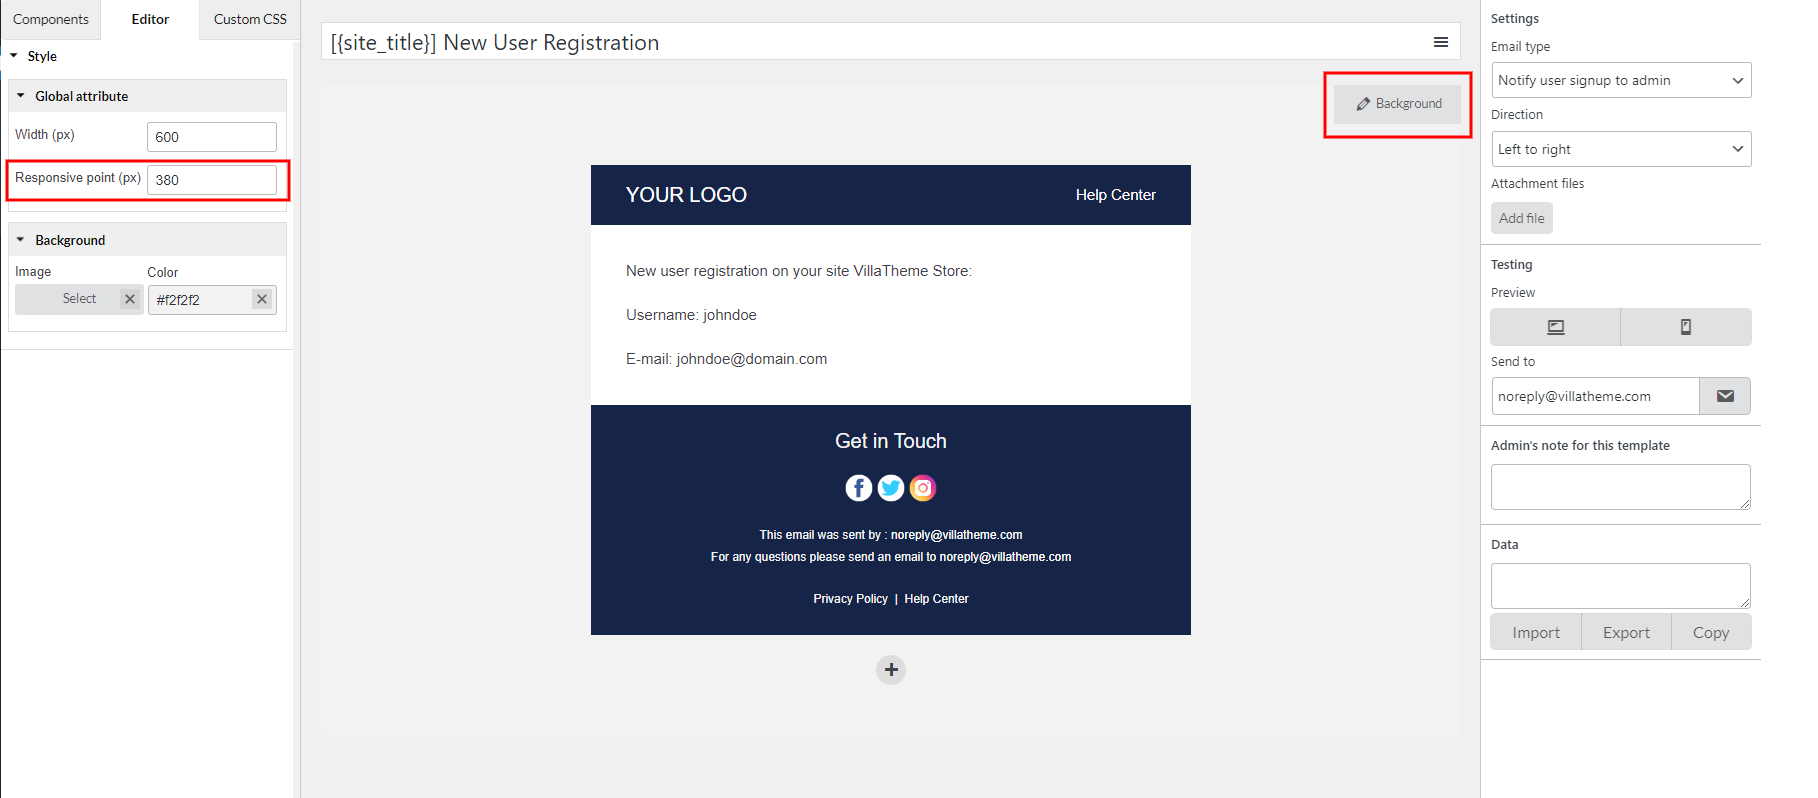
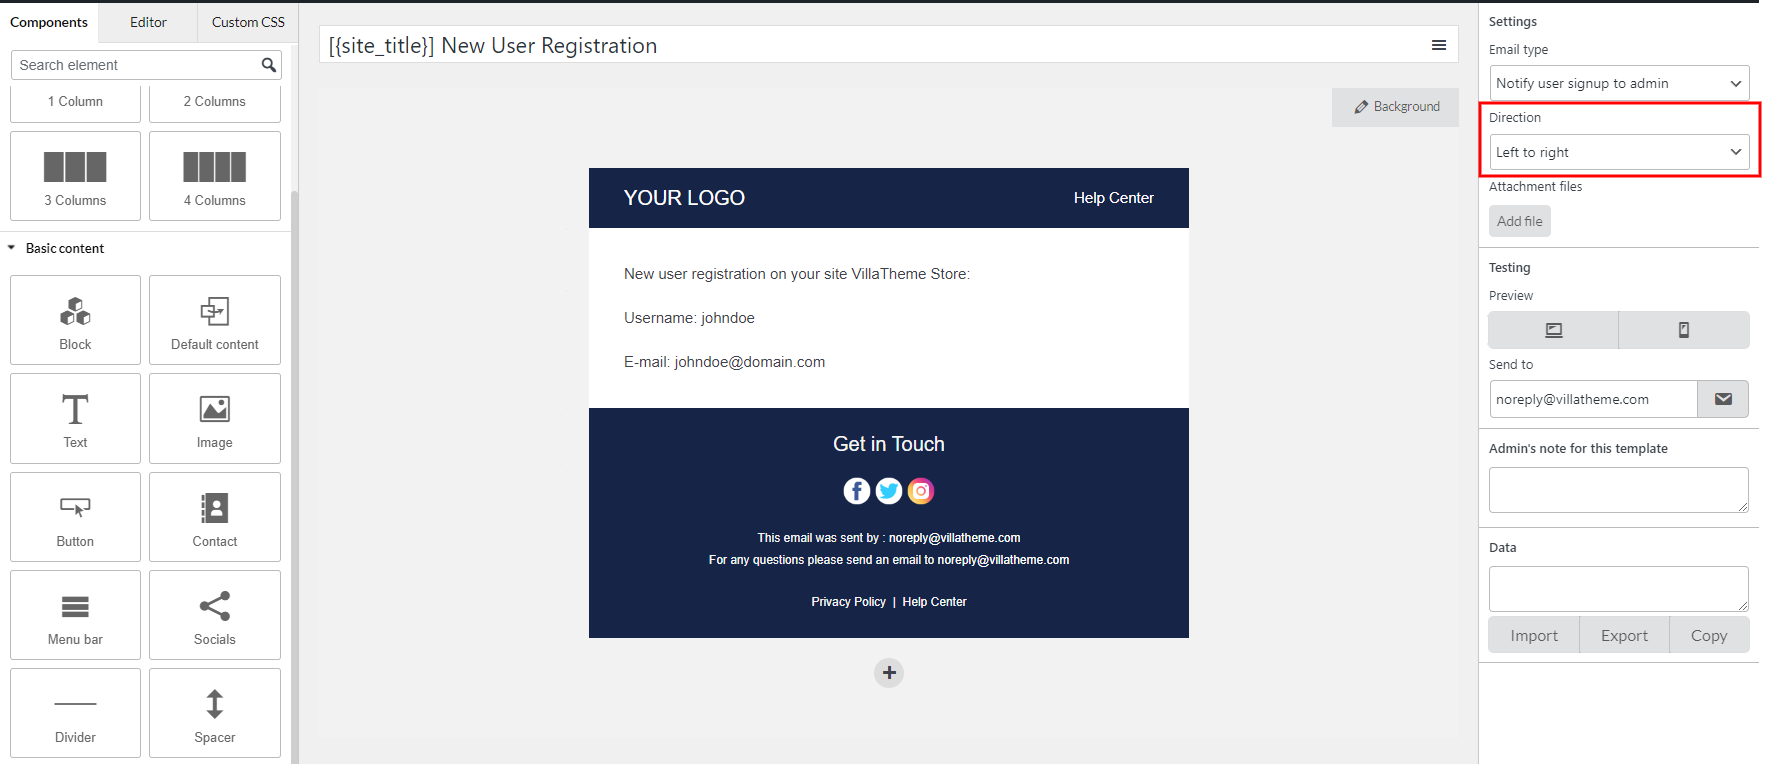
  • Direction: Based on your current language, make the email display from right to left, or left to right accordingly.
  • Live Preview of Changes: Visually observe emails by the preview, update any changes in the preview mode, integrate to see on the desktop, mobile.
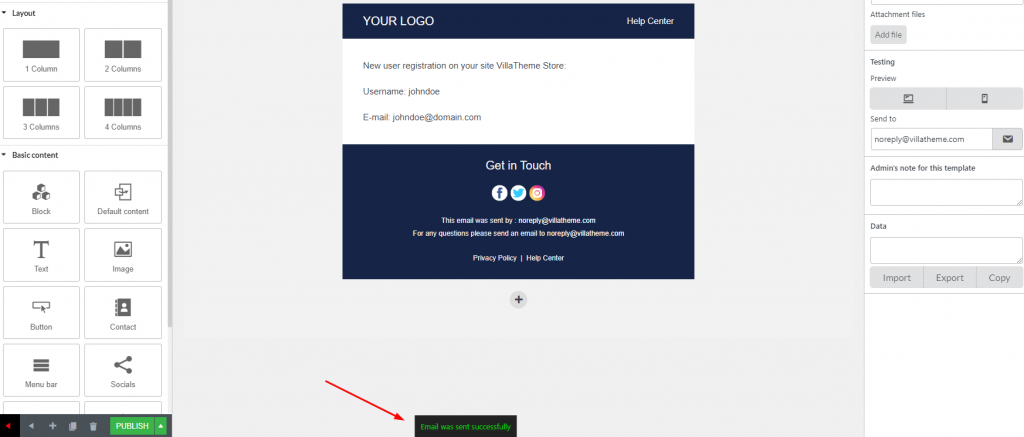
  • Send Test Emails: Check the email design before the real sending.
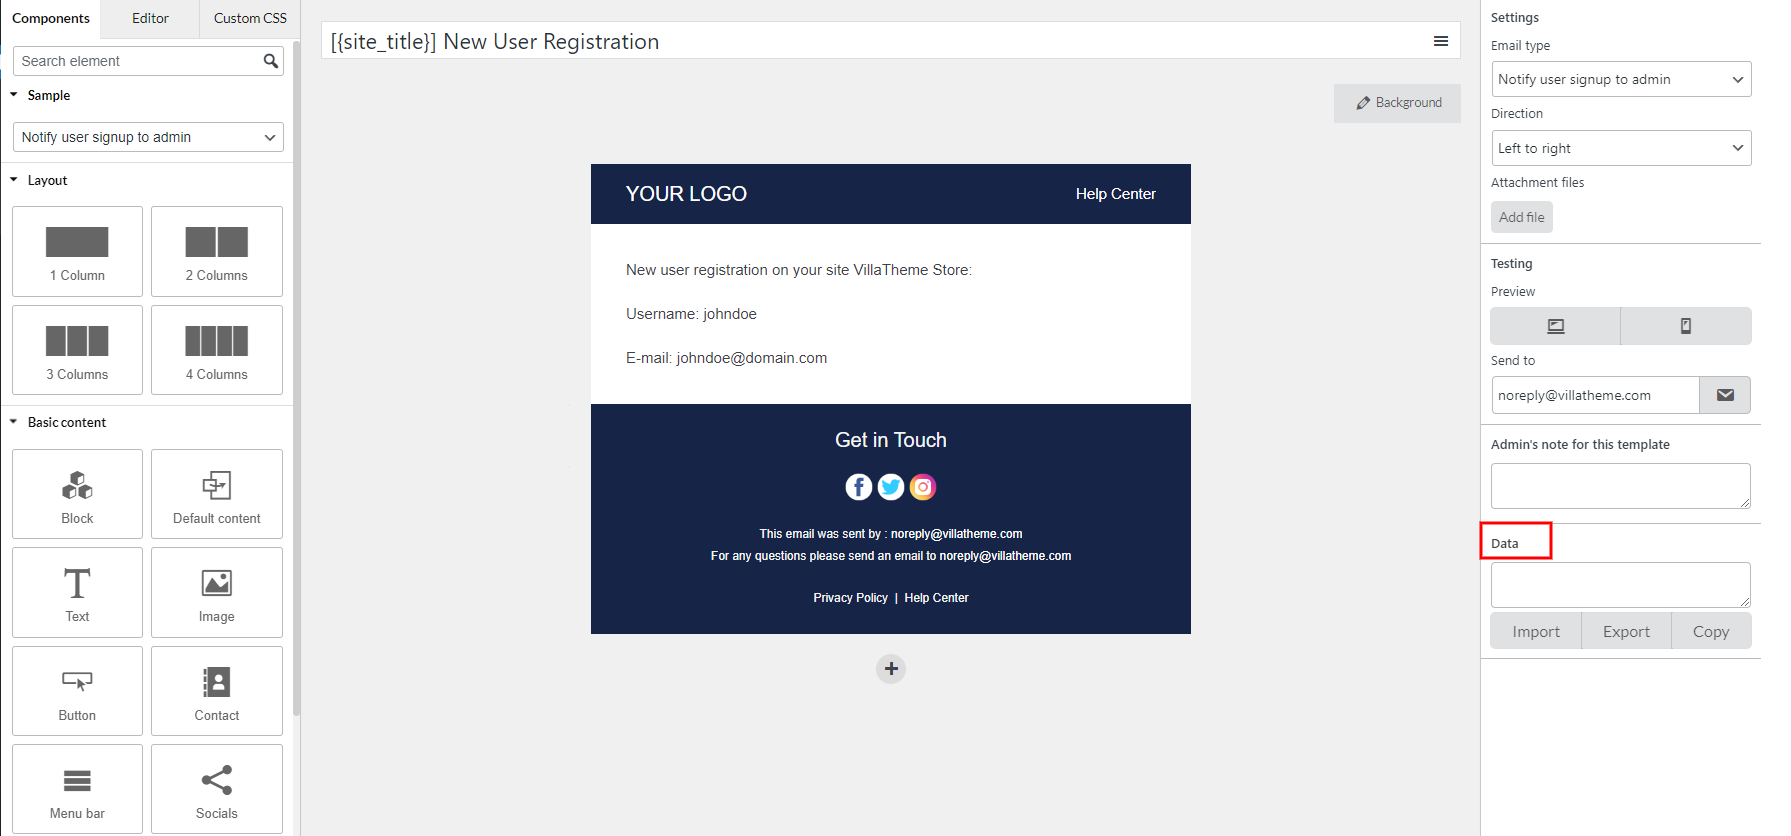
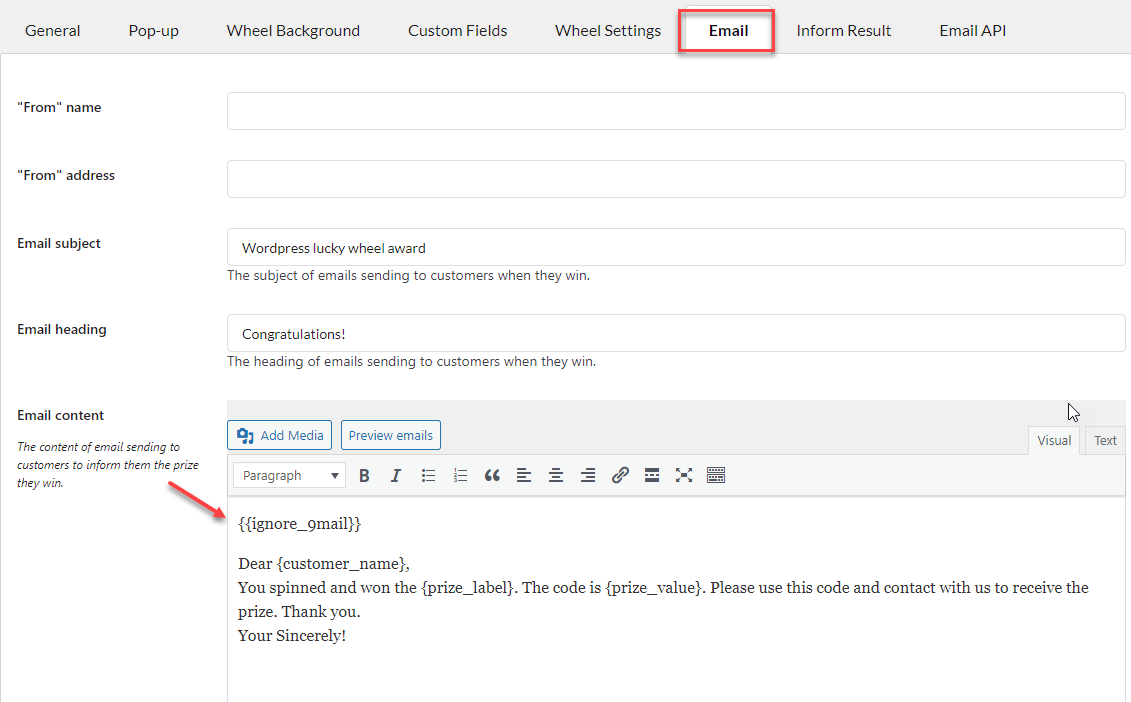
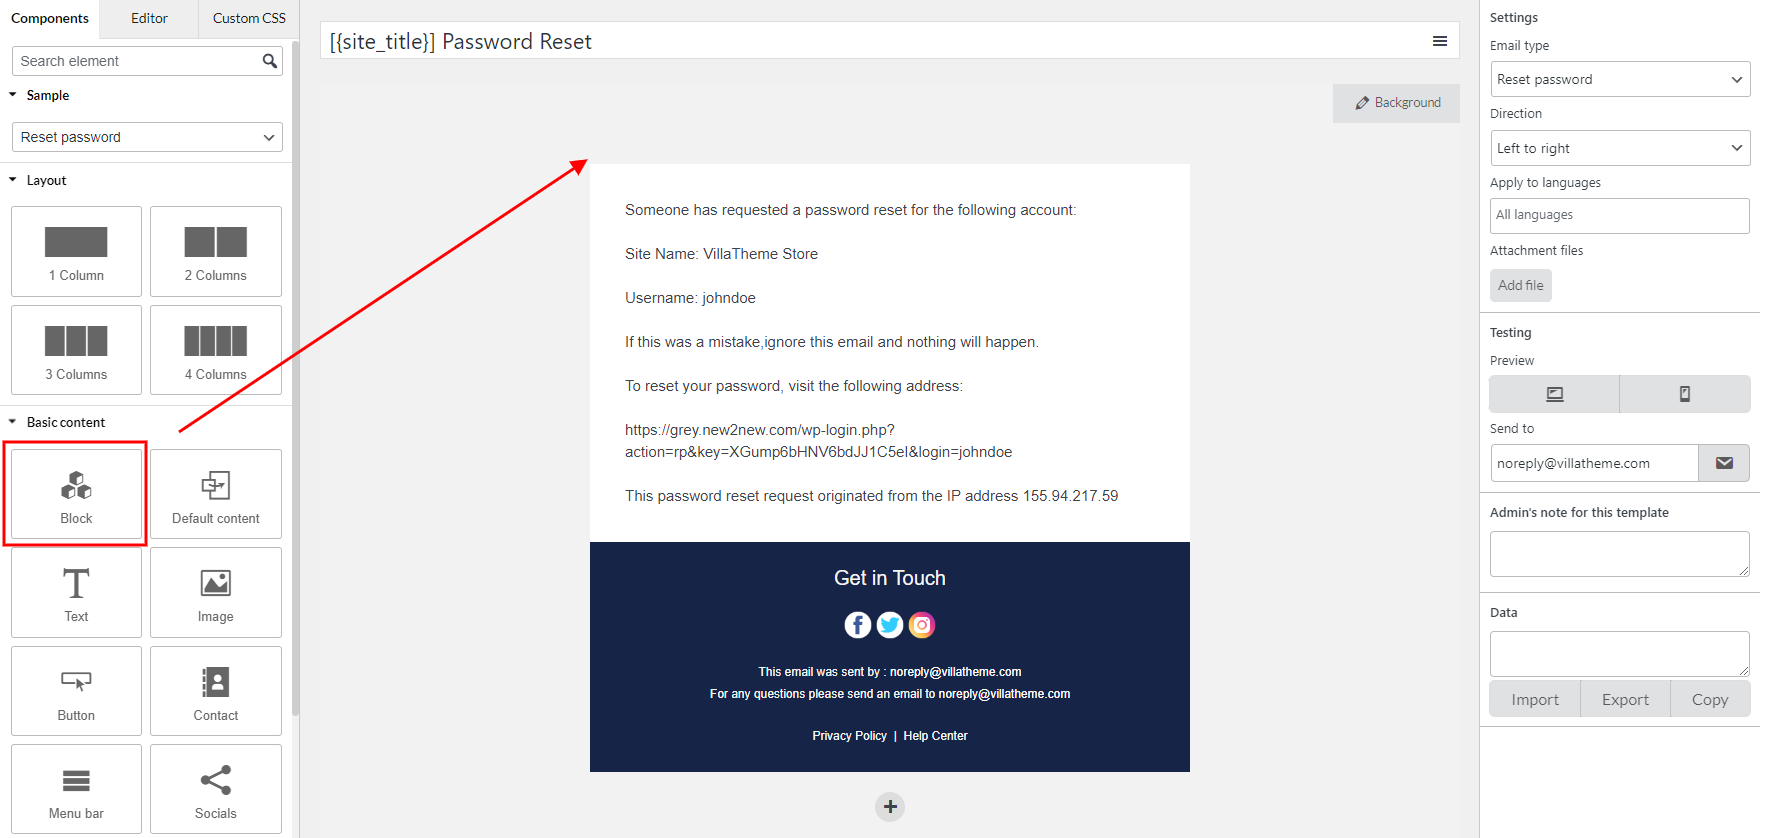
  • Display Dynamic Data with Placeholders: Displaying placeholders makes it easy to design templates. Placeholders such as customer name, site name, User name, Password, My account URL which will be replaced by real user/order data while sending the WordPress emails.
  • Support multilingual plugins: WPML, Polylang. 
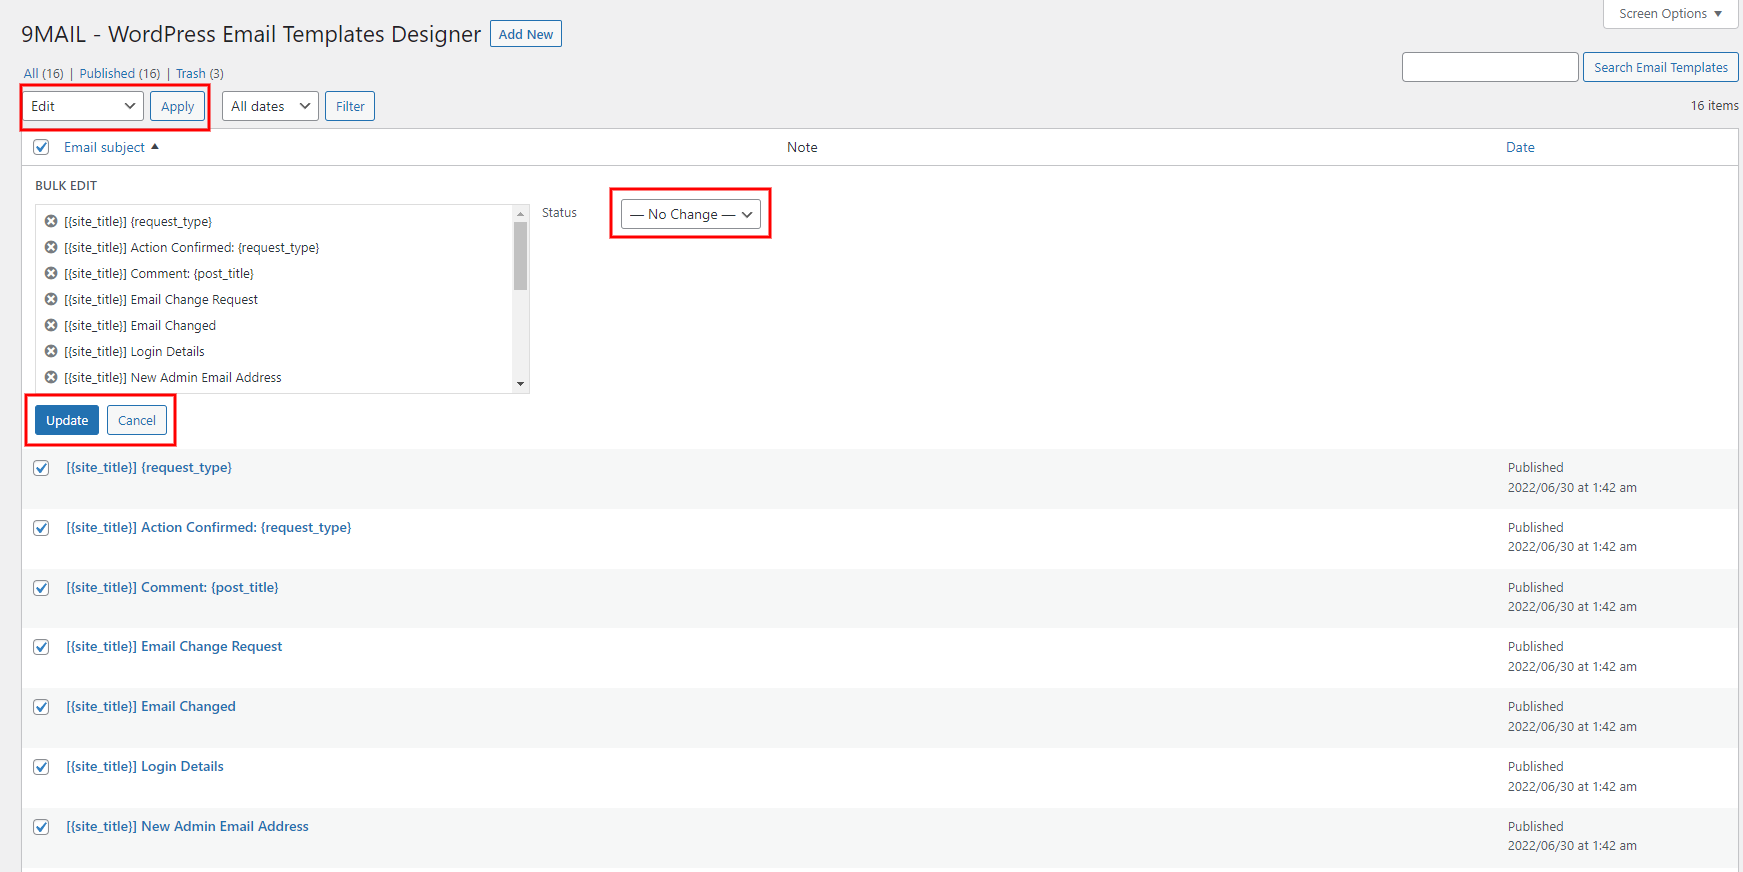
  • Import/Export email templates in a few taps that will reduce your work. 
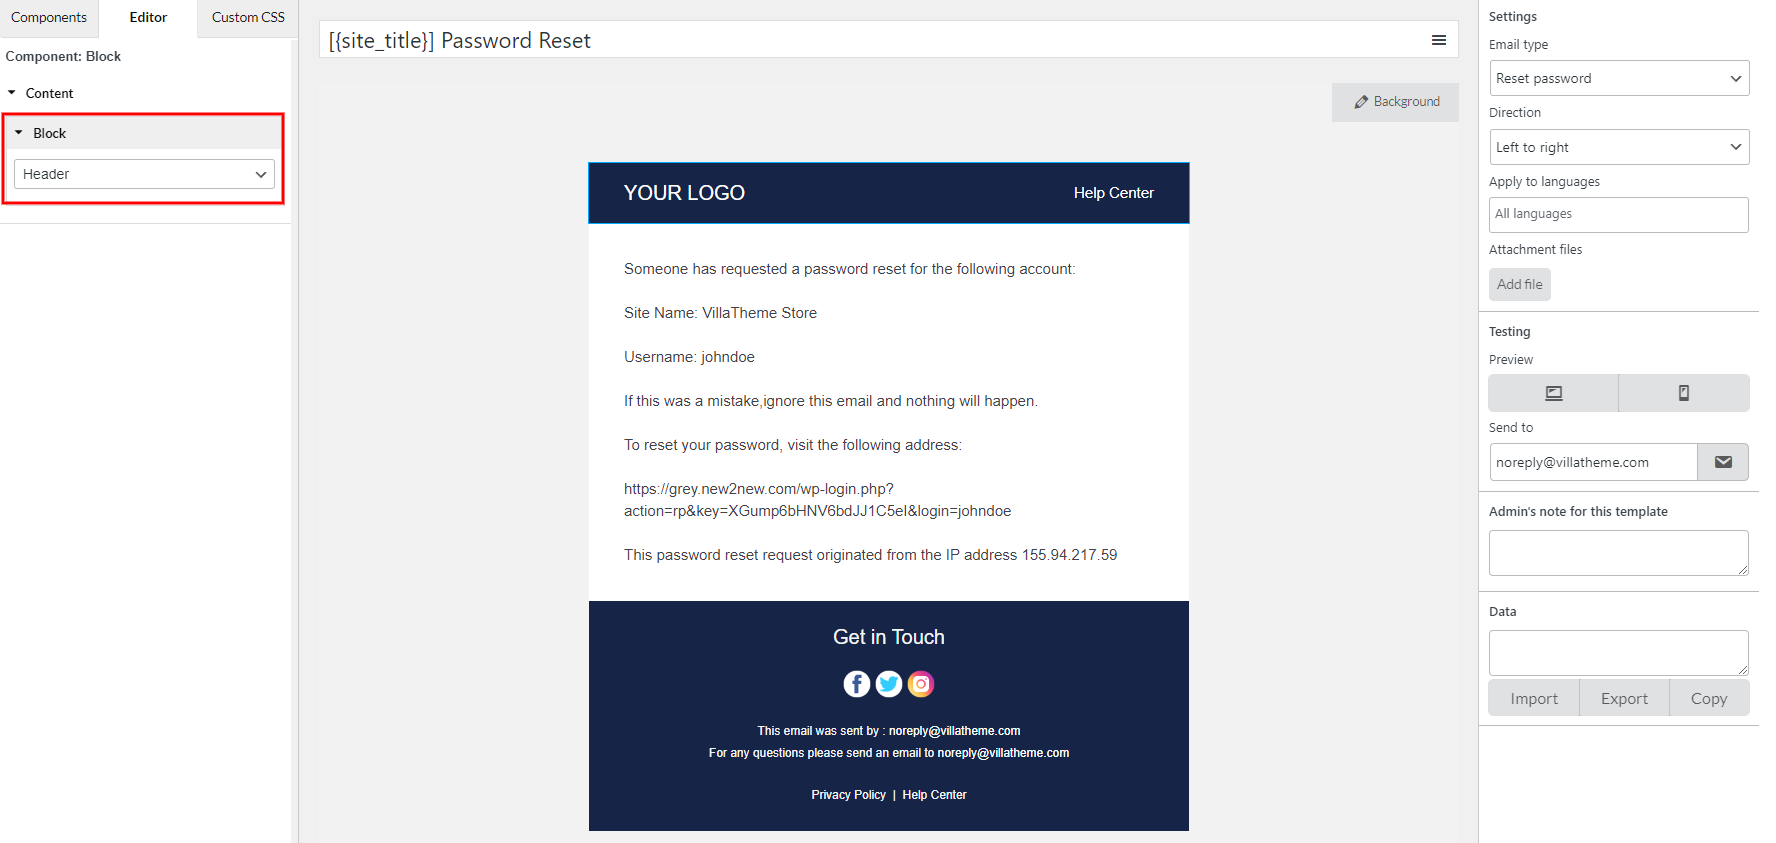
  • Build your template in no time with mutual blocks, and shortcodes. 
  • Responsive and works perfectly on any devices.


Elements in WordPress Email Templates Designer

  • Text: Add text content to the template and customize the font color, font size, alignment, border width, insert/edit link, insert/edit image, shortcodes, info icons, social icons, border style, border color, background color, text padding, and text margin.
  • Divider: Add a single line divider to the template and choose a style for the divider. Customize the style, width, height, color, alignment, margin and padding of the divider.
  • Socials: Add social icons to the email template, enter your ULRs in the placeholder including Facebook, Twitter, Instagram.
  • Image: Add an image to the email template and adjust its size and alignment, border style, border color, background color, text padding, and text margin.
  • Button: Add and customize the button: Name, the link of a button, style the border, alignment, background and padding.
  • Menu bar: Add and customize the menu bar or named the navigation bar that includes links to the most important sections of the site: Home, Shop, Contact…
  • Contact: Display contact information with icons on the email template.
  • Spacer: Add a space between other elements and customize its height, borders with style and color, and the background color.
  • Default content: If you are using a 3rd plugin, and the email contents of this 3rd plugin is not attached in WordPress default emails, but they create their own email templates.  In this case, you can use the default template type.
  • Post: Add your suggested block posts of any categories you select to the email template.
  • Block: Build the mutual blocks that can be used among the template can reduce your workload significantly.


Additional features in WordPress Email Templates Designer

  • Actively support: VillaTheme is always ready to support you!
  • Add admin’s note to particular templates: A simple reminder of things you need to pay attention to those templates.
  • User-friendly: 9MAIL is simpler to use and always have the user in mind and add appropriate updates to improve the user experience.
  • Integration compatibility: Compatible with 3rd parties.


Take a look at this short video to learn what 9MAIL can do.


System Requires:

  • WordPress Version: 5.0 or higher
  • PHP 7.0 or higher

Download & Install:

If you’re using the free plugin, you can either add the plugin in the WordPress Dashboard or manually upload the plugin file. If you’re using the premium version, you must install the plugin manually, the instructions for both are as follows:


Update The Plugin:

To update the purchased plugin, within 6 months from purchase, you can receive updates automatically on one domain by authenticating the plugin on that domain. Follow this instruction for specific steps.

Or you can update the plugin manually (no expiry date, you can do it for a lifetime). Simply re-download your purchased plugin file in your Envato account – Download list. More info in this instruction.

For free version of the plugin, you can always update the plugin in the WordPress Plugins list. You can see this instruction for a better view.


Right after you finish installing and activating 9MAIL, you’re provided with a list of all WordPress email templates that we build for you, of course, you can always re-design them all you want. Simply go to the plugin settings and let’s see what you can do to them.


Now, click to any template to modify them, or click the “Add new” button to build a whole new template.


Learn how to use 9MAIL – WordPress Email Template Customizer in 5 minutes through this short video:


Build a new email template/Customize an available template

First, let’s take a look at the elements that play important parts in making a complete email


9MAIL – WordPress Email Templates Designer uses 3 main building blocks: Row, Column and elements.  Row are the largest building blocks, and inside them are groups of Columns. Columns are to cover outside elements. Elements are placed inside of columns.

You control, edit duplicate, remove row, Columns with their handles.

To edit row, column padding.

 To duplicate row, column.

To remove row, column and element.


Now, for the Layout, you need to select the layout according to necessity. These layouts are from 1 to 4 column in one rows, based on your requirements, select one to add elements into.

Simply drag the Layout from the Widget panel, or click the “Plus” button to add the layout you need.


Then start adding the element and edit the content, as well as its appearance: size, outline, style…

To add the element, drag them from the Widget panel to the place you want, like the image below:


These are the general steps for how to build a new template. To customize one, it’s almost the same, it’s just you have an available template with lots of components, all you need is to modify them to meet your expectation.

Drag and drop: Left click and hold this button, and drag the layout to your ideal place, and drop it there

Edit: Clicking this button will lead you to the Editor area of that layout/component

Duplicate: Clicking this button will double the current layout/component

Copy: Click this button to copy the layout/component

Paste: Place the layout/component you just copied

Remove: Delete the current layout/component

For specific information of all elements – their usage, their customization options, … – when you want to edit, visit this documentation.


Attach a file to the template

You can attach files to the email template. When the email is sent, the files attached will be sent along with it.
Note: These files must be a fixed instead of dynamical, which mean the file data does not change according to each user/admin’s data.

Select the template you want to send with files >> Click “Add file” in the Attachment files


Then “Save”, now the file is attached and will be sent along with that email template.


Preview & Send test emails

Before getting ready to use the template, you can always preview them and even test with sending test emails to ensure they work properly. It’s done in the Testing section.


In the “Preview” part, you can see how the email would look like on both desktop and mobile views.

And in the “Send to” part:

  1. Add your email address.
  2. Click the “Send test email” button.

You’ll receive a notification letting you know if the test email is sent successfully or not. It may look like this:


Import & Export email template

There’s some situations when you would need to export a particular template, maybe to save your time re-making a new one on a different website. This function will help you with that.

In the “Data” section:

Step 1: Click “Export”

Step 2: Now the email data is exported to the blank field above, click “Copy”

Step 3: You can import the copied data to a new blank template. In case you import these data to an available template, this data will overwrite the whole template and replace the old one.


Email Background settings

These settings include global attribute and background customization of the email template.


RESPONSIVE POINT

If you view the email template via Preview mode, but you’re still not happy with how it looks on different screen. You may want to make the email on the desktop and mobile look the same, or perhaps you want elements on mobile look bigger than how they look on desktop.

Responsive point will help you with that. It allows your email content to flow freely across all screen resolutions and sizes, and renders it to look great on all devices.

Step 1: Click the “Background” button >> Global attributes

Step 2: In the “Responsive point” field, change the value.

  • If you want to make the email components look smaller on mobile, set a lower value.
  • Otherwise, set a higher value to make them look bigger

You can’t view the change with the preview mode, but you can send a test email to check this, it shows immediately without having to hit the “Update” button.


WIDTH

This option will manage the width of that email template. Add the email width you want to this field.


BACKGROUND COLOR / IMAGE

Lastly, add the email image background/color you want.


Assign email type; Languages; Add admin’s note; and Bulk edit templates

These functions would be helpful while building your email templates, it could save your time and reduce the workload if you use them right.


Assign email type

If you select an available template in the Sample, you may not need this function. But it’ll help if you create a new email template.

After finish building your ideal email, you can assign the email type for it here. So when this type is triggered, this template can be sent.


Languages – Support RTL languages

If you’re building an email using RTL languages, for example: Arabic,…

Select this “Direction” option to match your language direction.


Languages – Support Multilingual plugins

If you’re using a multilingual plugin, like WPML, or Polylang,… There’ll be a rule for you to manage the language applied to each particular email template.

  • Build different templates and assign them to one email. For example; you build 2 templates for the “Notify user signup to admin” email – one email has the content in English and the other has the content in French.
  • In each template, select the language to apply. When the action to trigger the email is done in that language, the template will be sent.


Add admin’s note to template

In some cases, you may want to leave a note to a particular template, to remind you (or other admins) of something that need to pay attention to.  Add your personal note to this field


The note will be visible here


Bulk change the template status

If you need to change the status of some templates, it can be done in the “All emails” list.

Step 1: Select the templates to change their status.

Step 2: In “Bulk action”, select “Edit”  >> Click “Reply”

Step 3: Choose the status to change to

Step 4: Lastly, click “Update” to finish, or “Cancel” to stop the changing.


How to unify admin menu of the WooCommerce Email Template Customizer and 9MAIL

If you have both WooCommerce Email Template Customizer and 9MAIL, you can have admin menu of these 2 plugins shown in the same list, and with the same admin menu item. Simply add this code below regarding this instruction:


add_action( 'admin_menu', function () {
global $submenu;

$list_submenu = $submenu['edit.php?post_type=viwec_template'];
$ninemail = [];
$ref = [ 'edit.php?post_type=emtmpl', 'edit.php?post_type=emtmpl_block', 'emtmpl_settings', 'woocommerce-email-template-customizer-extensions' ];

foreach ( $list_submenu as $k => $data ) {
if ( isset( $data[2] ) && in_array( $data[2], $ref ) ) {
$ninemail[] = $data;
unset( $list_submenu[ $k ] );
}
}

$list_submenu = array_merge( $list_submenu, $ninemail );

$submenu['edit.php?post_type=viwec_template'] = $list_submenu;

}, PHP_INT_MAX );

add_filter( 'emtmpl_register_post_type', function ( $args ) {
$args['show_in_menu'] = 'edit.php?post_type=viwec_template';
$args['labels']['all_items'] = esc_html__( '9Mail - All Emails', '9mail-wordpress-email-templates-designer' );

return $args;
} );

add_filter( 'emtmpl_block_register_post_type', function ( $args ) {
$args['show_in_menu'] = 'edit.php?post_type=viwec_template';
$args['labels']['all_items'] = esc_html__( '9Mail - Blocks', '9mail-wordpress-email-templates-designer' );

return $args;
} );

add_filter( 'emtmpl_setting_page_parent_slug', function ( $slug ) {
return 'edit.php?post_type=viwec_template';
} );

EMAIL PANELS OVERVIEW

In the email template editor page, there are 3 blocks:

  • Widget panel: Contains components, layouts; editor zone for each component and layout; and custom CSS field.
  • Editing area: Build your email here.
  • Settings: Contains additional options/rules.


1. Widget panel area & Editing area


1. Components: The panel of components helps you work with options, in order to drag and drop layout and contents to the editing space.

2. Editor: The editor panel will appear when you are working with an element and allow you to customize such us the borders, background color, padding, margin…

3. Custom CSS You can add your own CSS code to design on the front-end as you want.

4. Email Subject: Add email subject, customize easily with variety of shortcodes.

5. Edit space: The area displays the email content you are editing.

6. Background color: insert background for email. You can add images and customize the color.

7. Select layout button: Click to add a new layout quickly.


2. Actions with current email template.

At the left bottom of the email editing page, you can choose to interact with the email:

1. Exit to Dashboard 4. Copy to draft
2. Toggle admin menu 5. Move to trash
3. Add new email template 6. Publish the email


BASIC CONTENTS

9MAIL provides 11 basic contents that can be used in a WordPress email.

Text

The Text element gives you more styling options that let you change settings like font weight, line height, letter spacing, alignment and more.

A. Text Editor

  1. Typography: Set the typography options for the text – Bold; Italic; or Underline
  2. Alignment: Align the text to the left, right, center, or justified
  3. Link: Mark particular text, and insert/edit link.
  4. Image: Insert/Edit image.
  5. Font size: Set font size for the text.
  6. Text Color: Choose the color of the text.
  7. Background Color: Choose the background color for the text.
  8. Information icons: List of information icons you can use, select the icon you want in this list.
  9. Social icons: List of social icons you can use, select the icon you want in this list.
  10. Shortcode: List of shortcodes you can use, select the shortcode you want in this list.
  11. Font-family: Choose the font you want the text to be displayed


You can edit the “Text” element with HTML tags by selecting the “Text” tab that’s next to the “Visual” tab


B. Style

You can style the text includes: Line height (px); Background; Padding; Border (Width, Radius)

  • Alignment: Tick it if you want to show the text at the center on the mobile screen
  • Line height (px): Type value for the height of text line.
  • Background: Set Image and color for text background.
  • Padding: Type space between the border of  and the content inside it.
  • Border: Control the border width of each border line, border radius of each corner, and the color for the border.


Button

The Button element helps you easily design and customize buttons without the need for any other plugins or shortcodes.

A. Content

  1. Enter the button’s text and you can add ()shortcode if you need
  2. Set the URL for the button’s link.

B. Style 


You can style the button includes:

  • Border: Border width; Border radius; Border color; Border style; Button color; and Button width.
  • Text: Font size (px); Font weight; Color;
  • Alignment: Align the text to the left, right, or center.
  • Margin (px): Left; Top; Right; Bottom.


Image

The Image element helps you display images in the email template.

A. Content

Image – Upload an image like featured image, Site Logo, and Author Profile Picture.

  • URL: Add and URL links to the picture in this field.
  • Alt: An alternative name for the picture or a description, it will also link to the picture when click it.

B Style

  • Image Size: Choose the size of the image (Width px)
  • Alignment: Set the image Alignment: left, right, center.
  • Padding: Type space between the border of  and the content inside it.
  • Background: Set Image and color for image background if you need.


Menu Bar

The Menu bar element allows you to create menu bar in the template, containing a list of maximum 4 items, with text and URL link. In a real email, when user clicks to the text of an item, they’ll be redirected to the link assigned to that item.

A. Content

  • Text: Give the anchor a name.
  • Link: Add an URL link to the item in this field.

B. Style

  • Direction: Show the item list of the bar horizontally or vertically.
  • Text: Font size (px); Font weight; Color; 
  • Alignment: Align the text to the left, right, center.
  • Padding: Type space between the border of  and the content inside it.
  • Background: Set Image and color for menu background if it is necessary.


Socials

The Socials component lets you add your social media icons and the link redirected to them. Currently, you can add social icons of: Facebook, Twitter, Instagram, Youtube, Linkedin, Whatsapp.

A. Content

* Add a Social network icon, use the Icon Library to choose the Social Network icon of your choice, and enter a link URL to the social network.

B Style

  • Direction: Show your media social icons horizontally or vertically.
  • Width: Control the width of icons by changing the value in this field.
  • Alignment: Align the text to the left, right, center.
  • Padding: Type space between the border of  and the content inside it.
  • Background: Set Image or color for social background if it is necessary.


Contact

Help your customers reach out for you easier with the Contact component.

A. Content

Home

  • Icon: Add the home icon format: Black; White; White/border; Black/border; Black/White; White/Black.
  • Text: Enter text you want to your homepage to be displayed, it can be an URL link or your homepage name.
  • URL: Enter a link URL of your homepage.

Email

  • Icon: Add the Email icon format: Black; White; White/border; Black/border; Black/White; White/Black.
  • Email: An email type. Includes validation for email.

Phone

  • Icon: Add the Phone icon format: Black; White; White/border; Black/border; Black/White; White/Black.
  • Number: A telephone number type.


B. Style

  • Text: Font size (px); Font weight; Color; 
  • Alignment: Align the text to the left, right, center.
  • Padding: Type space between the border of  and the content inside it.
  • Background: Set Image or  color for contact background if it is necessary.


Divider

The Divider component allows you to add styled horizontal lines to divide your content.

  • Border: Color – Choose the color of the divider; Width – Control the width of the divider.
  • Padding: Left; Top; Right; Bottom.
  • Background: Set Image or color for divider background if it is necessary.


Spacer

The Spacer component creates a block of space anywhere on your email.

Height: Set the amount of vertical space.


Default Content

All contents of WordPress emails will be displayed in the default content of the email template. You can modify the attributes of the email content in the paragraph section.

Go to the link section to modify some attributes of the link in email if needed.


Note: If you don’t want to use this default template for an email, let’s add this shortcode {{ignore_9mail}} to that email content.

For example, if you don’t want to use the template of the WordPress Email Templates Designer plugin for the email winning of WordPress Lucky Wheel plugin, in the Email setting of the lucky wheel plugin, insert this shortcode into the email content:


Post

Use the Post component to display the blog posts on your website in the email and link to those posts.

A. Content

Categories: Your posts are assigned to different categories, select all/one particular category you want to show the posts of it.

Include/Exclude posts: In the categories you select above, show posts in the “Include posts” field, and ignore the post in the “Exclude posts” field.

Max row: Show the posts in how many rows.

Column: Number of columns in one row, each column contains one post.


* For example:


B. Style 


Post title:

  • Limit the number of characters on the post title.
  • Text: Font size (px); Font weight; Color; 

Post content:

  • Limit the number of characters in the content
  • Text: Font size (px); Font weight; Color;

Post distance (px): The vertical distance among post images.


Alignment: Align the posts to left, right, or center.

Background: Set Image or color for post background.

– Border: Manage the border width of each border line, border radius of each corner, and the border color.

Margin (px): Left; Top; Right; Bottom.


Block

The Block component lets you create your mutual parts that can be added to different templates, which helps you build your email in no time.

To use the Block component, first, you need to create your blocks.

Go to 9MAIL >> Blocks

The plugin provides you 2 samples: Header block and Footer block, which are quite common in a typical email.  Now, click “Add new” to create a new block, or click the block title to edit it.


EDIT BLOCKS

Just like building an email, to build a block, you can drag and drop layouts and components, then edit them.

Of course, you can assign the language direction, and apply language rule to it if you’re using a multilingual plugin.

But in the block editor, there’s no available samples for you to choose from. And you can’t manage the responsive point, or add the image/select color for its background, either. These values will inherit from the template that the block is added to.


ADD BLOCK TO THE EMAIL

After you’re happy with the blocks, go to the template you want to insert them.

In the template, simply drag the “Block” component


And select a particular block in your list of created blocks


Below is the list of plugins that are compatible with 9MAIL – WordPress Email Templates Designer.


Plugin Author
WPML OnTheGoSystems
Polylang WP SYNTEX
EPOI – WordPress Points and Rewards VillaTheme
Contact Form WPForms


Extra Information


Thank you for your attention!

If you have any question, please create a topic at our FORUM, we will support within 24 hours.