- Start
- FILE INCLUDES
- INSTALLATION
- Theme Options
- Setup Demo Pages
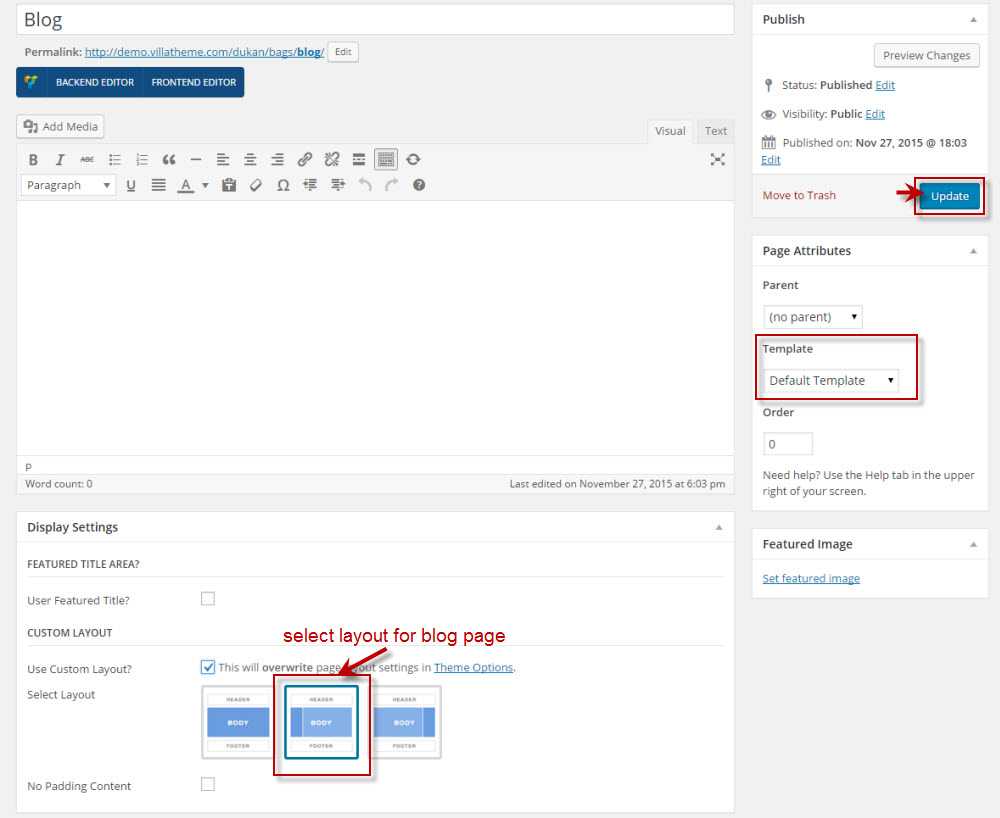
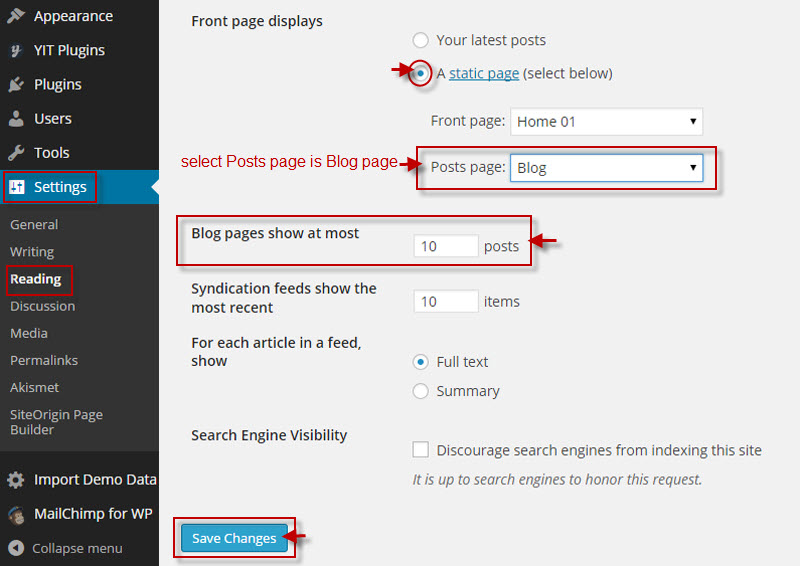
- SET UP BLOG PAGE
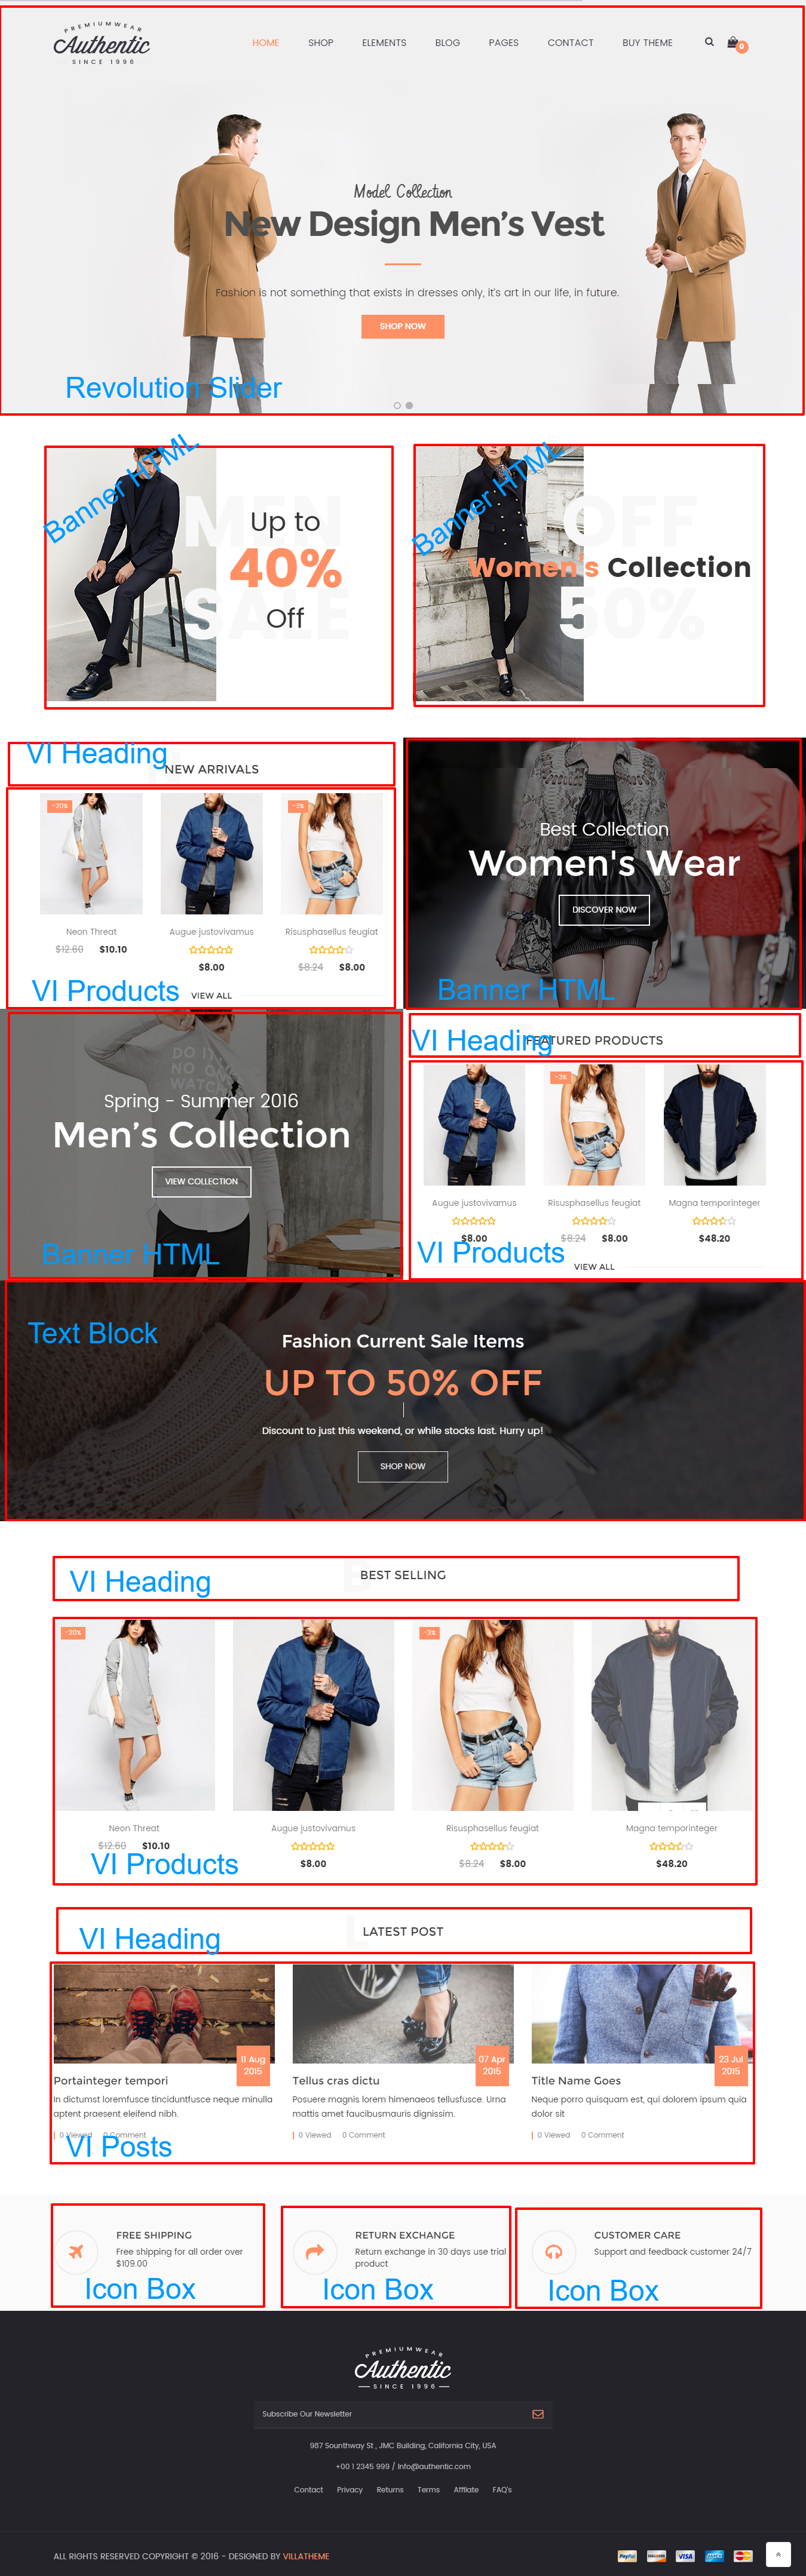
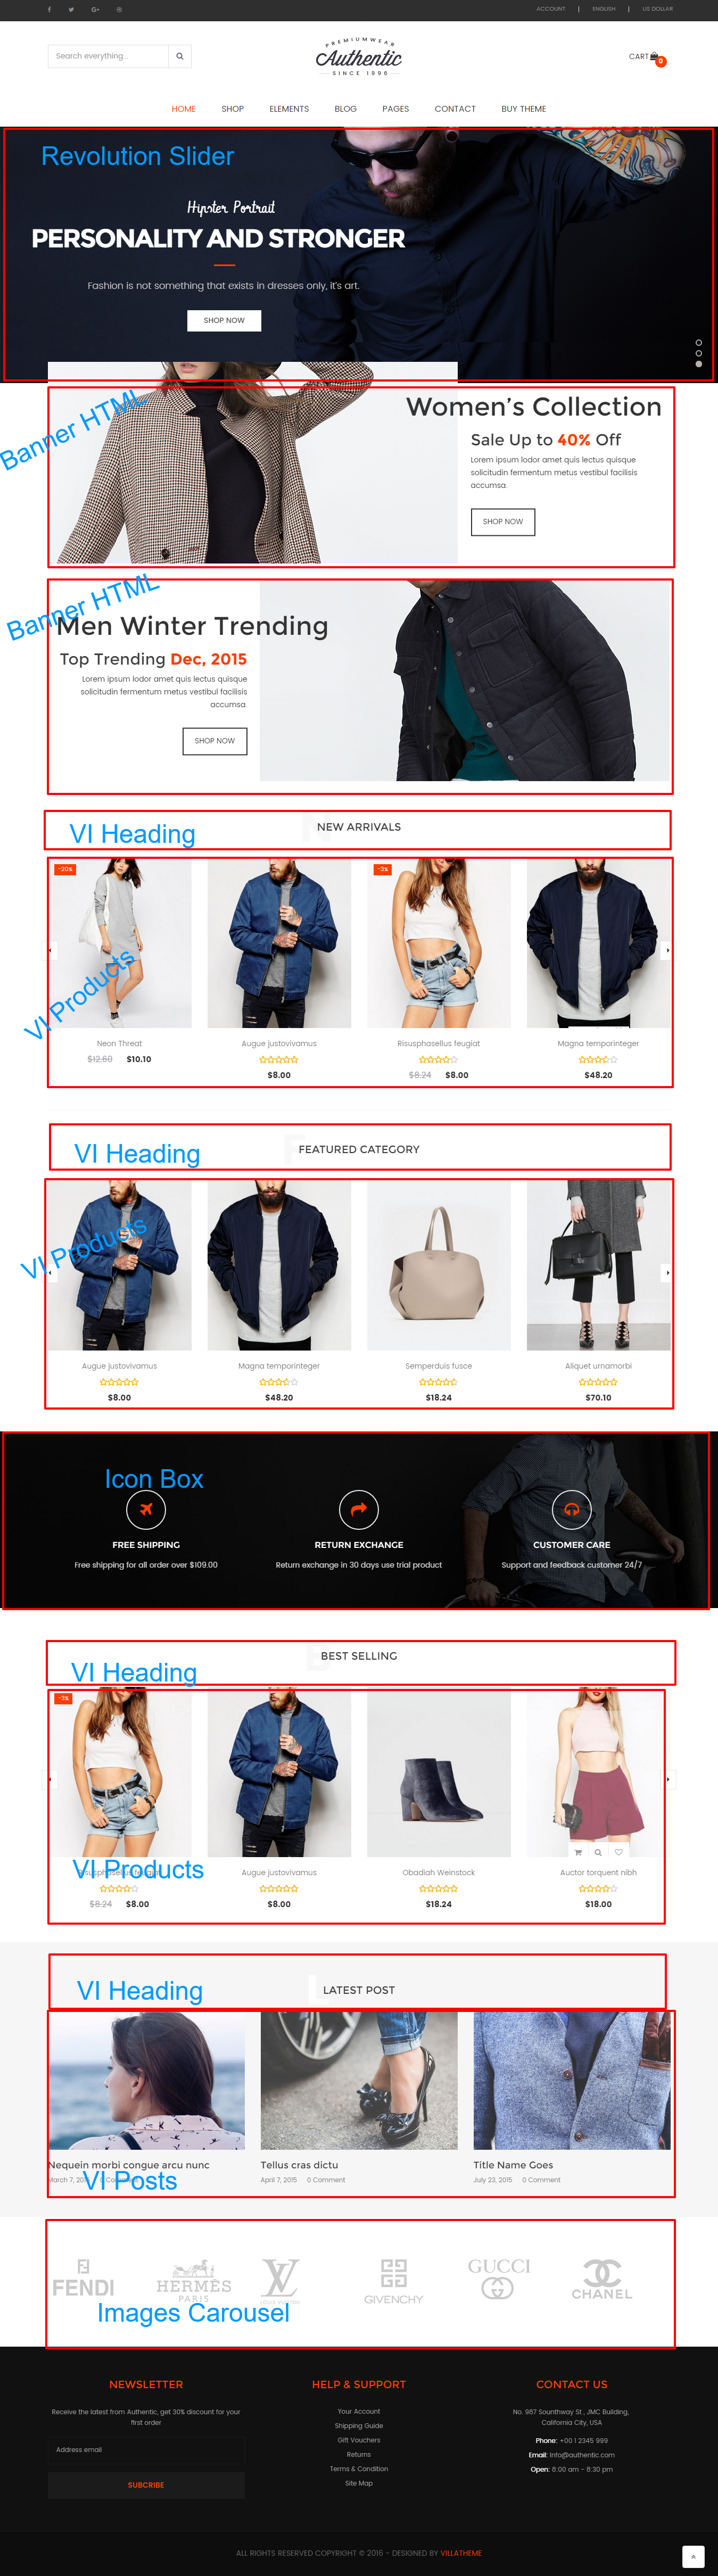
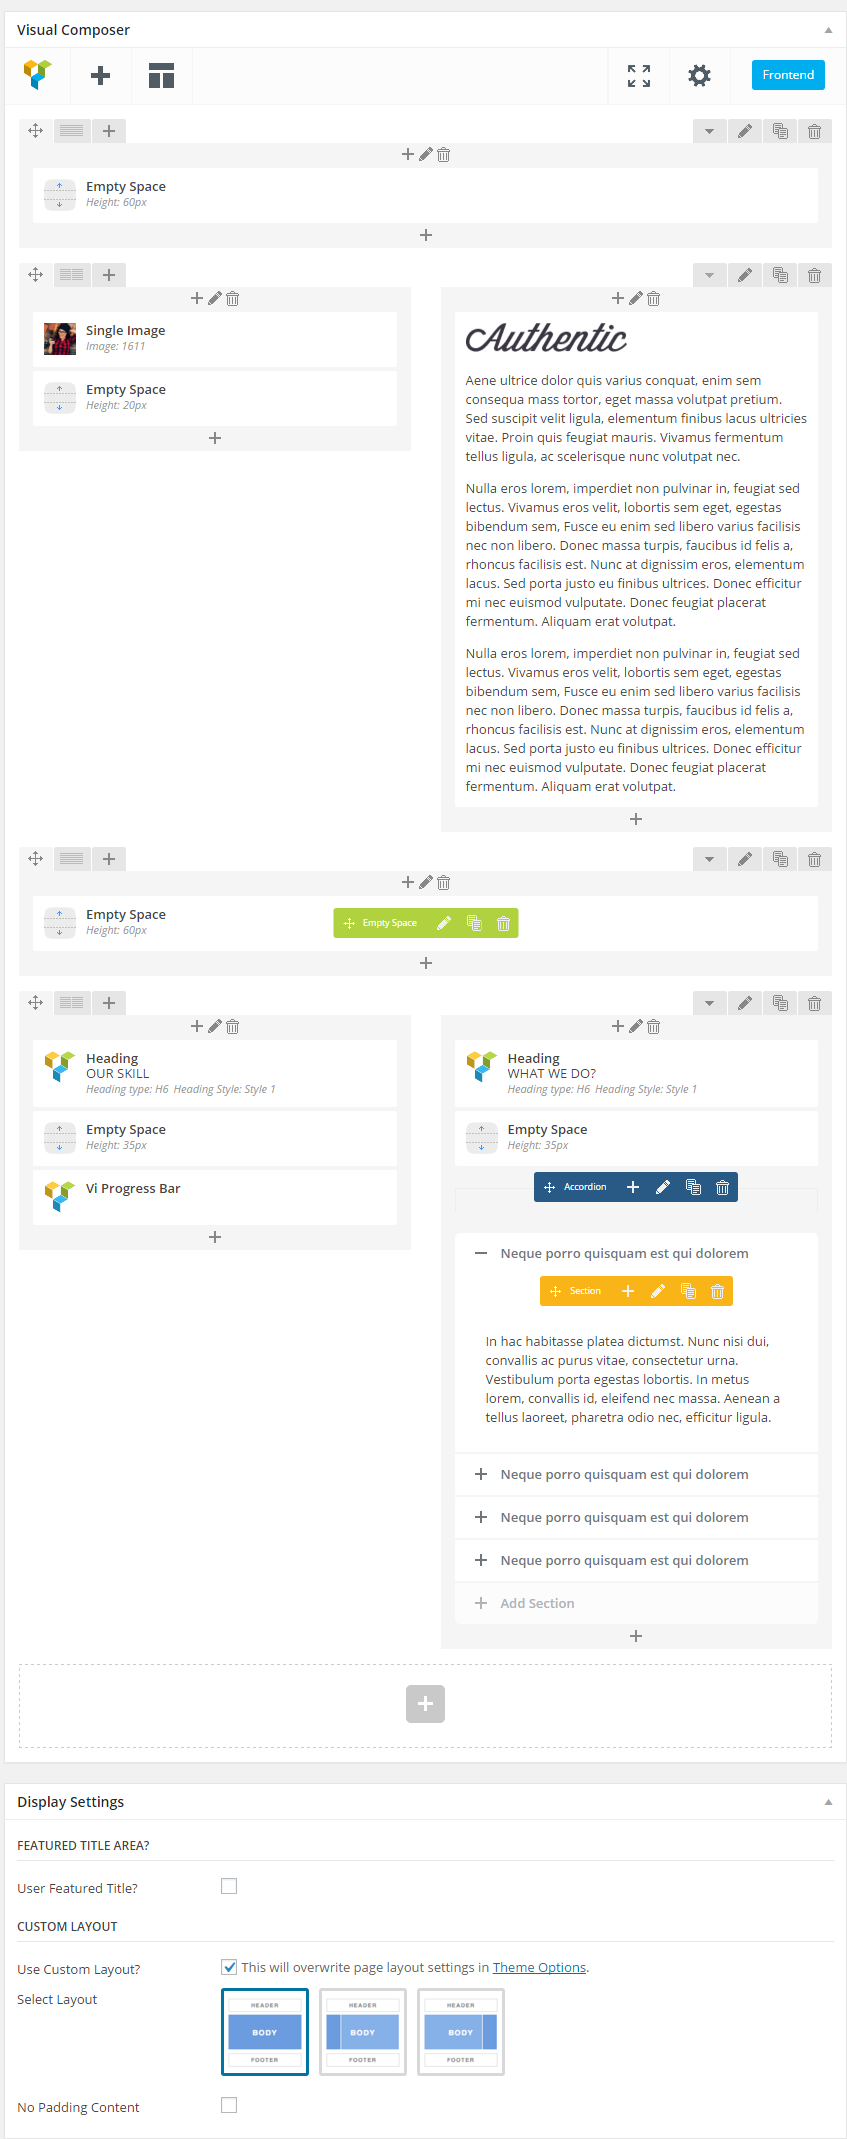
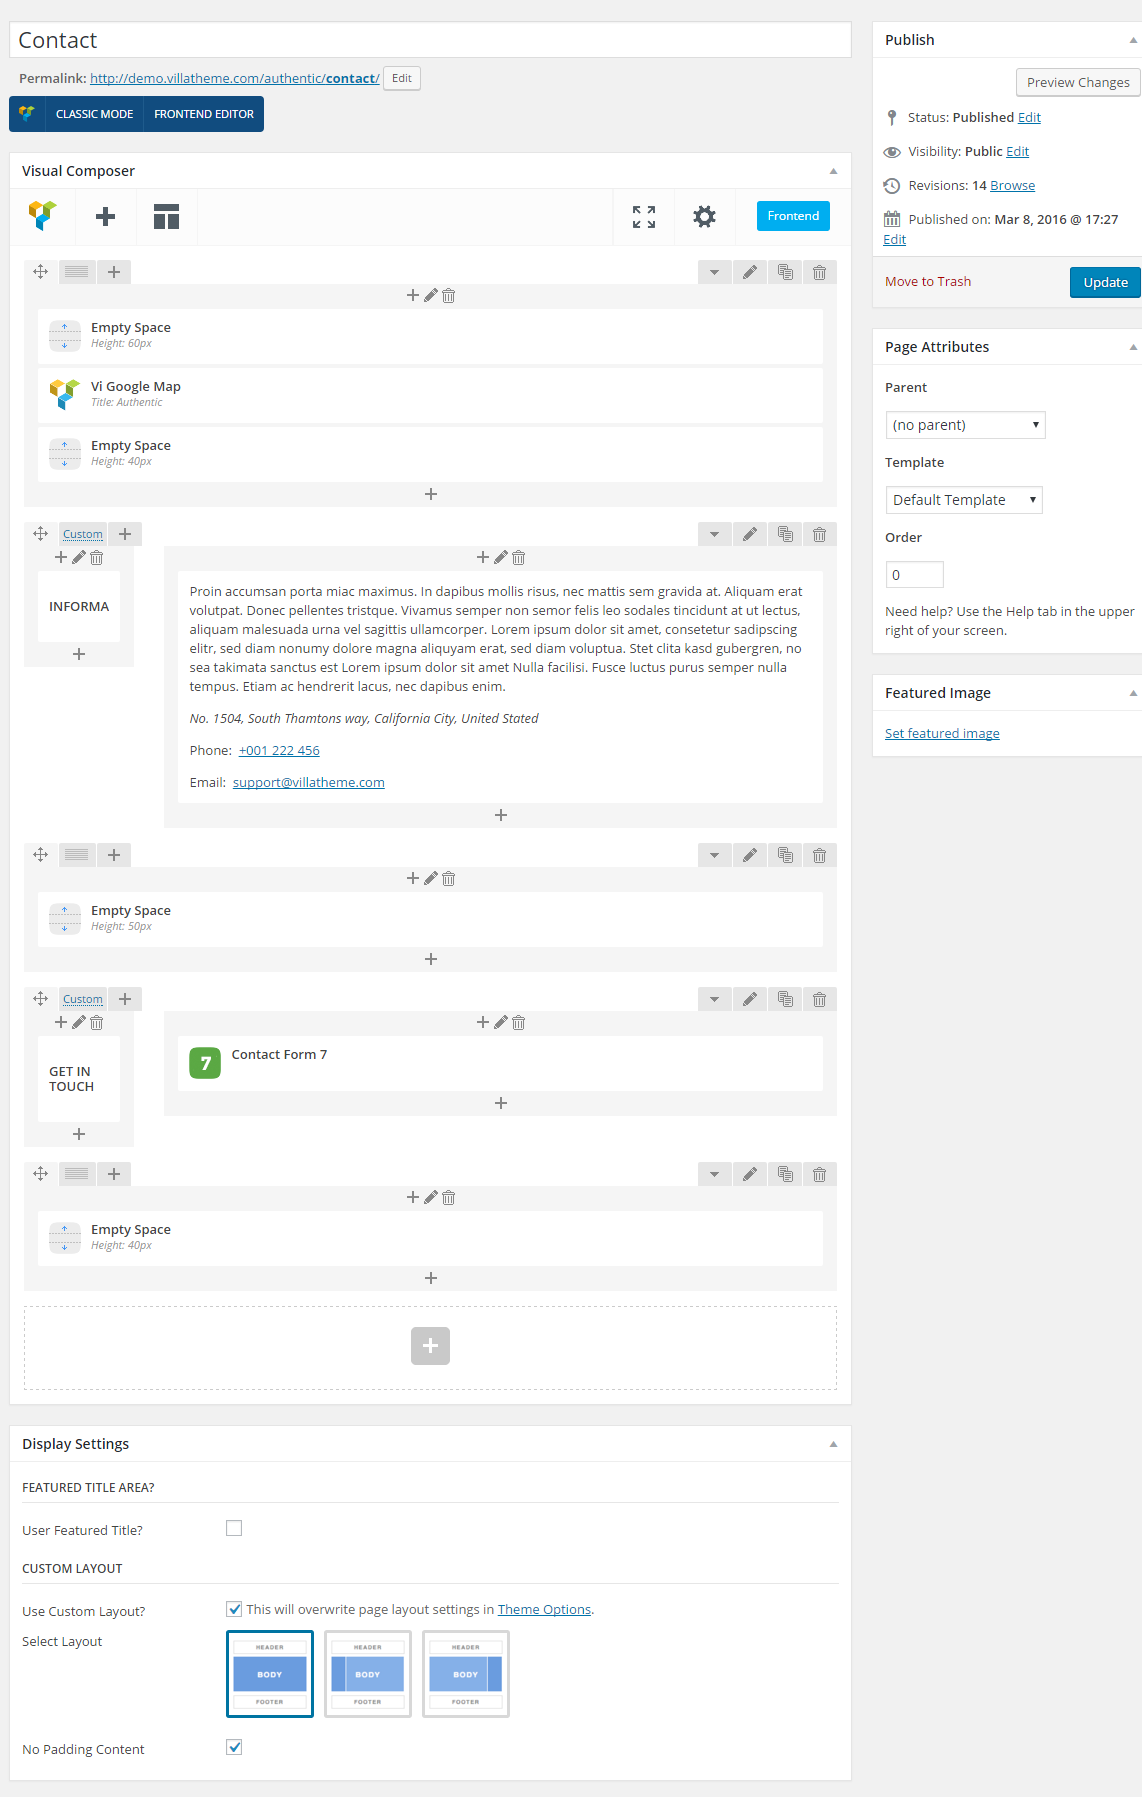
- Page of Authentic
- Set up Footer
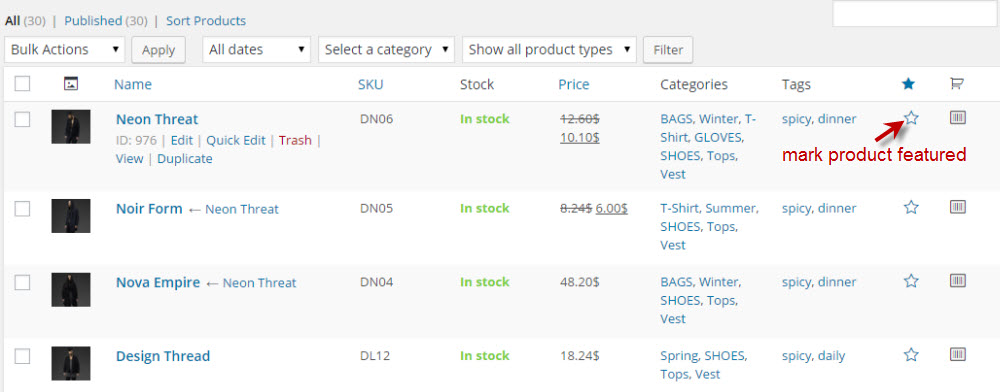
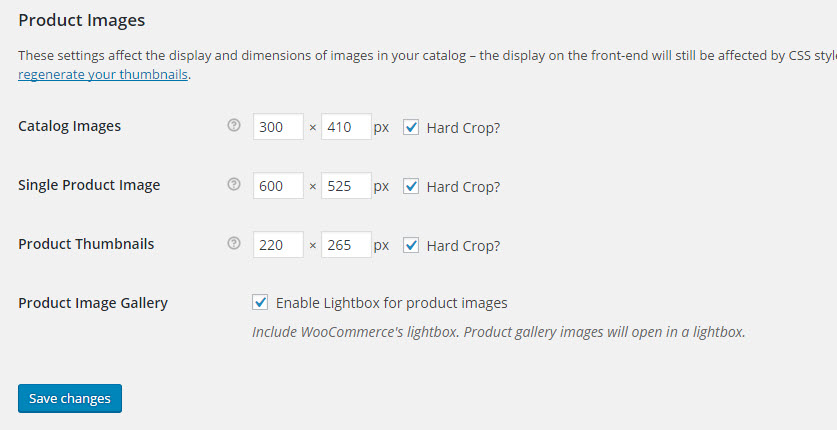
- WOOCOMMERCE PRODUCT
- UPDATE THEME
Copyright Villatheme 2015-2024
Created: 03/27/2016
Latest update: 03/27/2016
By: Villatheme
Thank you for purchasing our theme. If you have any questions that are beyond the scope of this documentation, please feel free to request support at our Support Forum. Thanks so much!
Get the Theme installation package from your account download page and save it to your desktop.
Since required & recommended plugins are already packed in the download file, you won’t need to go download them individually.
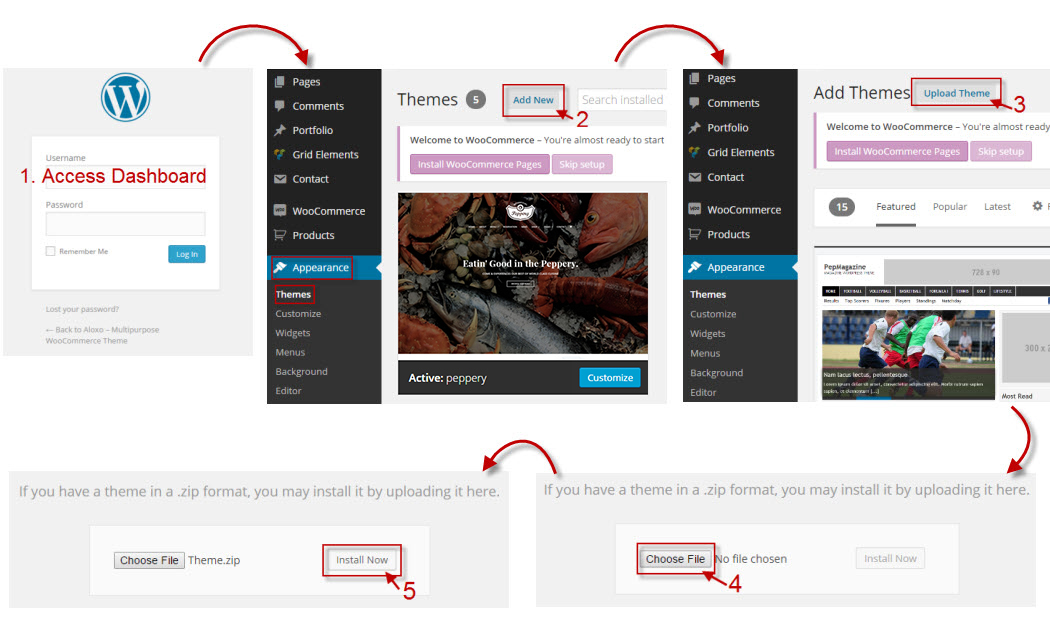
You can upload the Theme file in two methods:
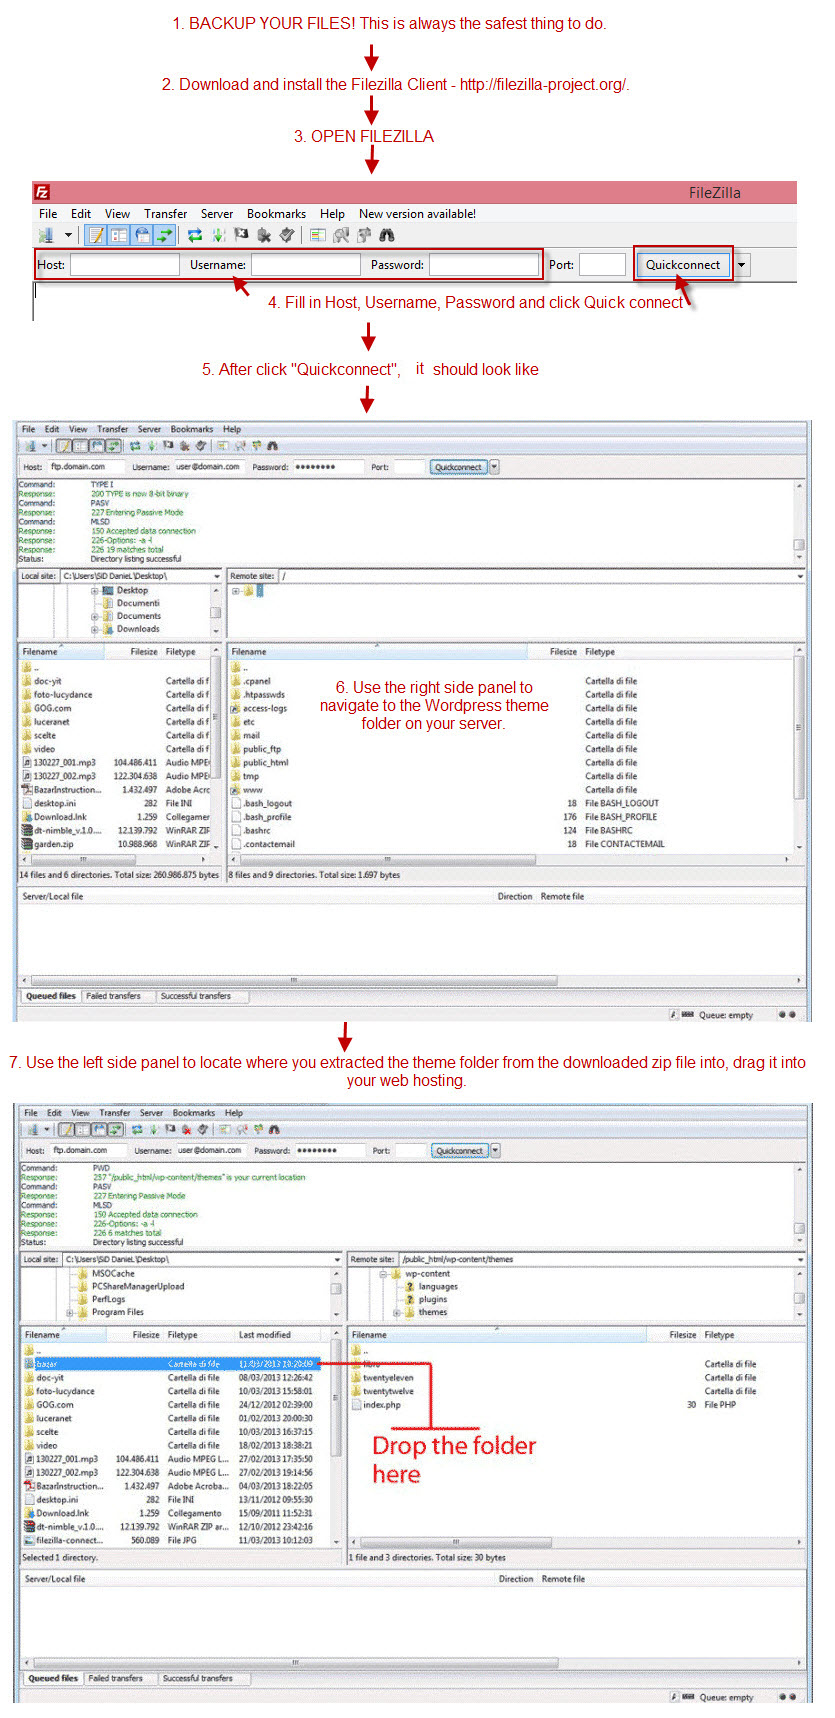
(SKIP THIS STEP if you have already successfully uploaded theme via WordPress) – Now you will learn how to upload your files using the Filezilla client.
It is recommended using those limits to a minimum as follows in order for free-trouble while installing demo or saving customize.
max_execution_time 3000
memory_limit 256M
post_max_size 64M
upload_max_filesize 64M
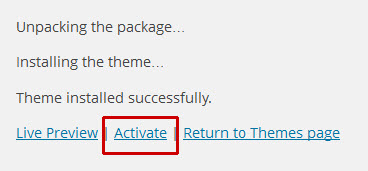
Wait for the notice below to appear and then click the link “Activate”.
1. Open the WordPress Dashboard.
2. Go to Appearance > Themes.
3. Click activate Theme.
A notice will appear asking you to install some required plugins after Active Theme.
Click on “Begin installing plugins” link.

Click on the box beside “Plugin” label to select all plugins in the list, choose “Install” from the drop-down list at the top and then click “Apply”.
When the notice “All installations have been completed” appears, click on Return to Required Plugins Installer link under it to turn back to the plugin list.
Click on the box beside “Plugin” label to select all plugins in the list, choose “Activate” from the drop-down list at the top and then click “Apply”.
The installing process status will be shown in your browser. It may takes a few minutes, so please be patient.
After completing the activation and no bug occurred, you will see status of all plugins is activated.
NOTES: IMPORT DEMO DATA BY ONE-CLICK WAY WILL NOT INCLUDE IMAGES FROM OUR DEMO SITE. ALL IMAGES WILL BE REPLACED BY SAMPLE IMAGES.
IN THIS WAY, IF YOU WANNA IMPORT DEMO DATA INCLUDE DEMO IMAGE, PLEASE CHECK ON “DOWNLOAD AND IMPORT FILE ATTACHMENT” but it will take a longer time for importation process. As you can see guideline in video:
By clicking on the “Theme Options” menu under “Appearance”, you’ll be able to change all specific template settings.
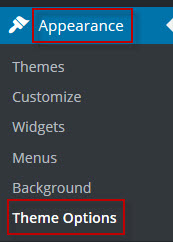
There will appear:
Please note that, after configuring something in Theme Options, you need to click blue button <<Save All Changes>> to apply changes.
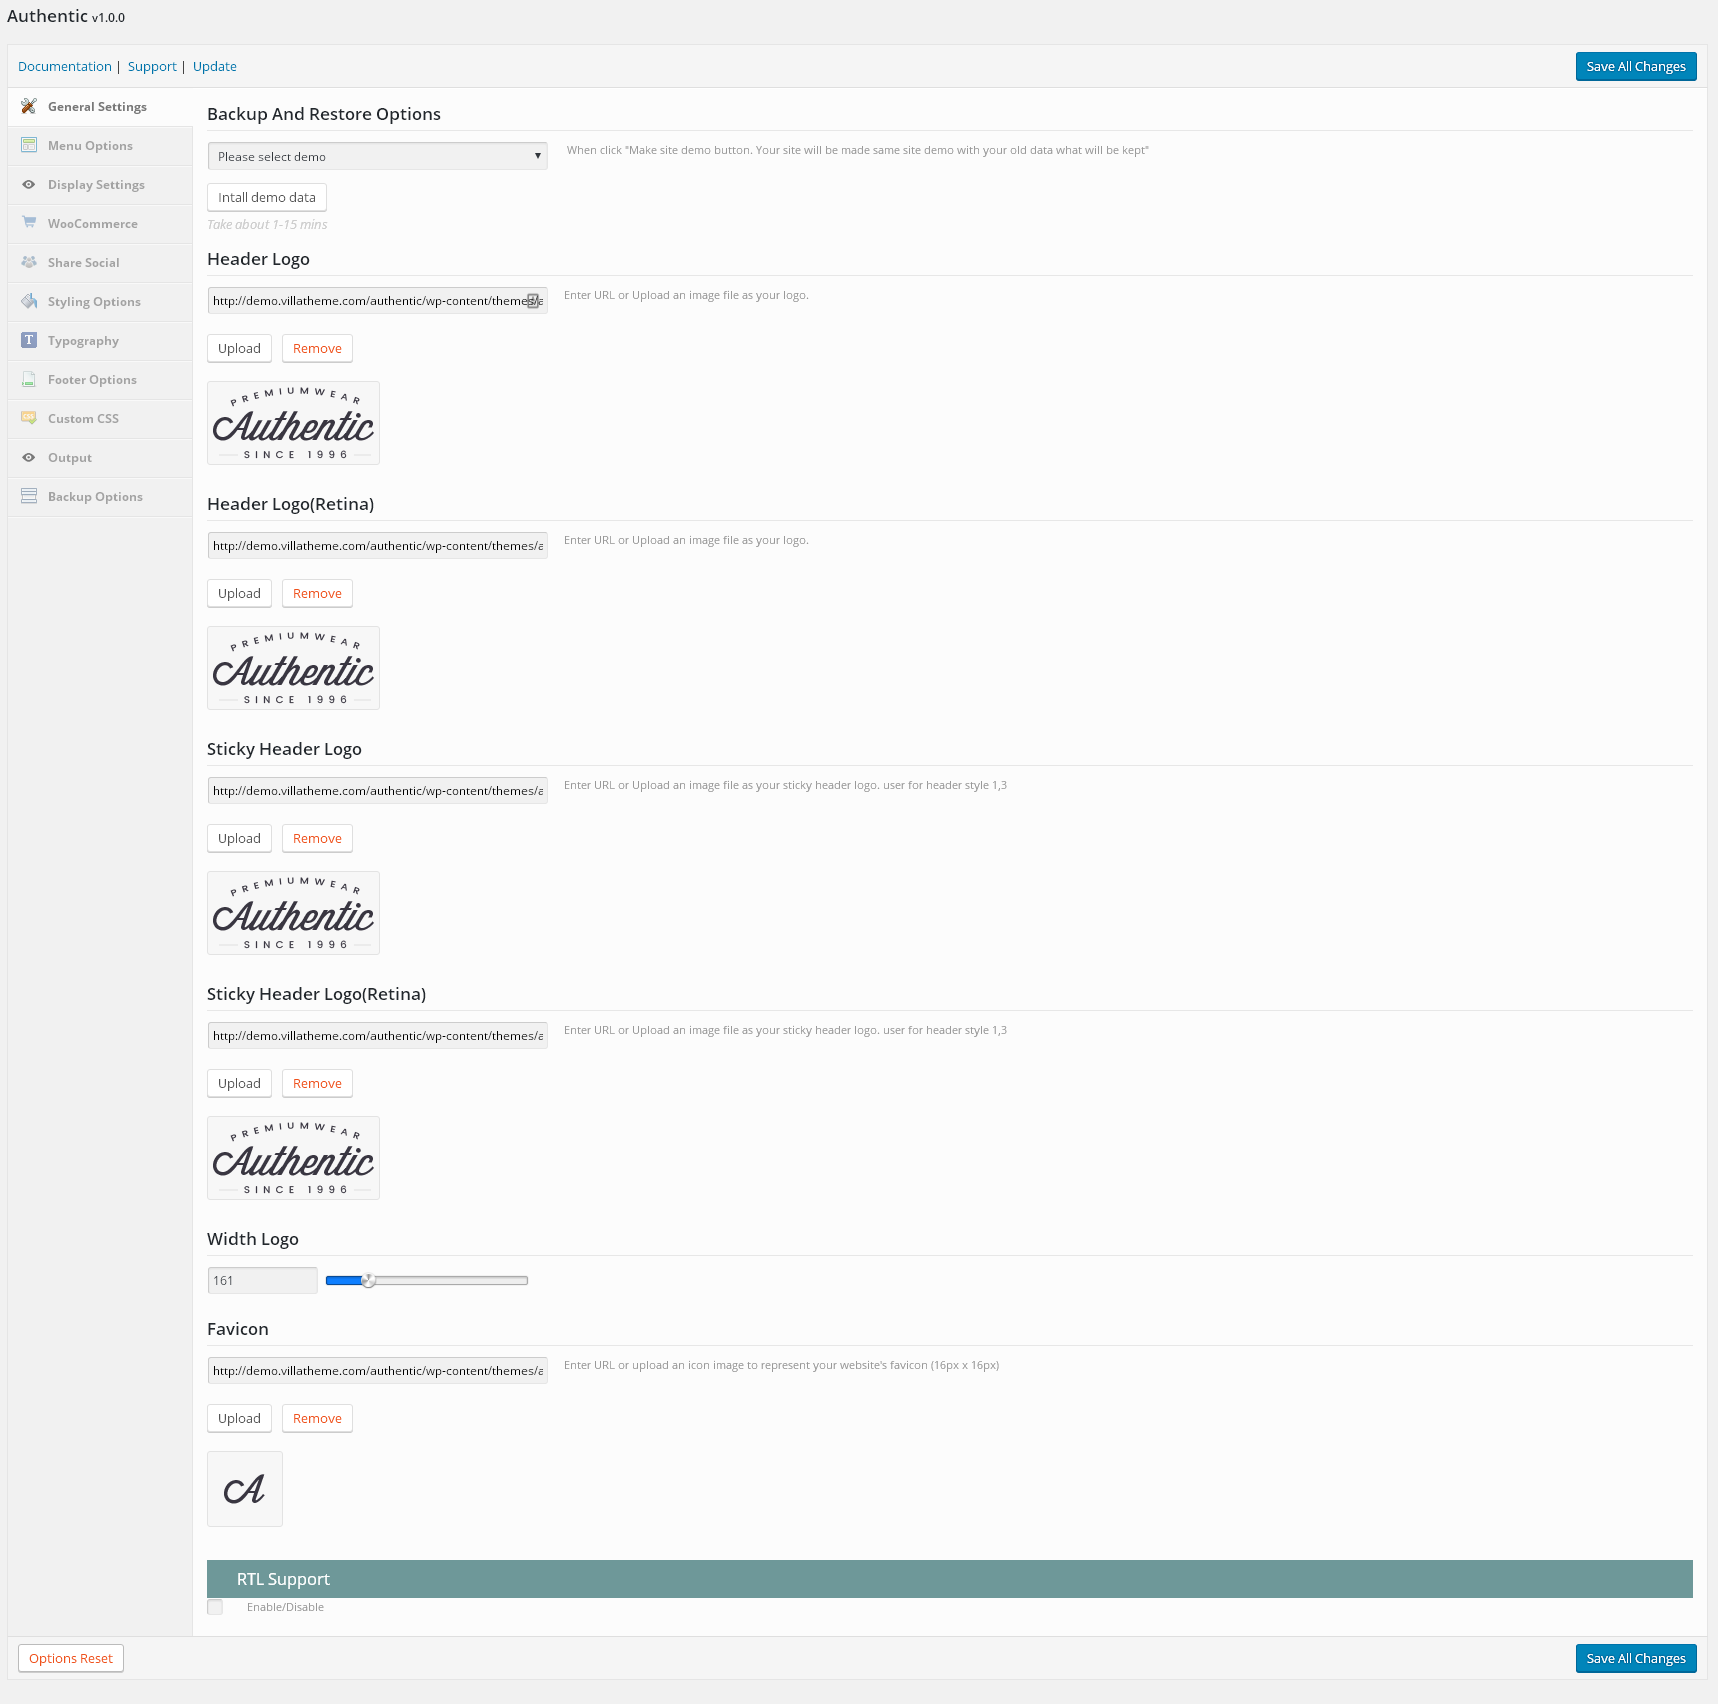
First, let’s check out the “General Settings” section, which provides several options for configuring the general layout of your site.
You will be able to work with:
When you choose “Install demo data with an example image”, importing demo data will not include images from our demo site, all images will be replaced by sample images. Therefore, you need to insert image to your site so that it can be shown as should be. If you choose “Install demo data get images from demo site”, importing demo data will include demo images from demo site.
This option is for you to customize your “Header Logo”.
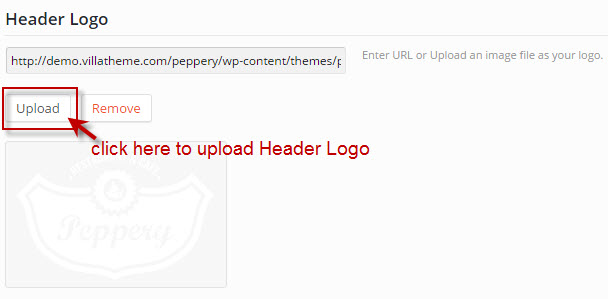
You can upload a new image or use one that already exists in “Media Library”.
You can also paste an image URL from external source here to use as your “Logo”.
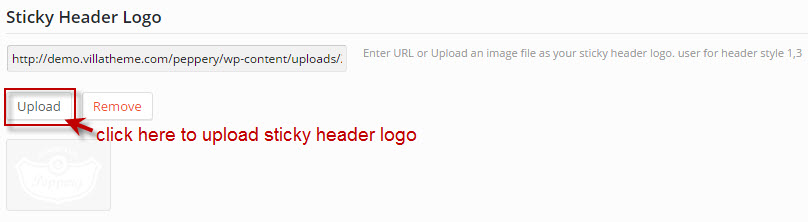
Sticky Header Logo will be displayed on your Sticky Menu as your website identifier.
This is place to adjust Width Logo for your site.
The favicon, also known as shortcut icon, Web site icon, tab icon or bookmark icon, is a file containing one or more small icons, most commonly 16×16 pixels, associated with a particular Web site or Web page. Browsers that provide favicon support typically display a page’s favicon in the browser’s address bar, sometimes in the history as well, and next to the page’s name in a list of bookmarks.
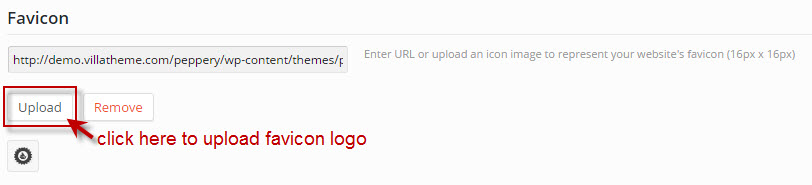
Similar to the Header Logo, you can upload a new image or use one that already exists in “Media Library”.
You can also paste an image URL from external source here to use as your “Logo”.
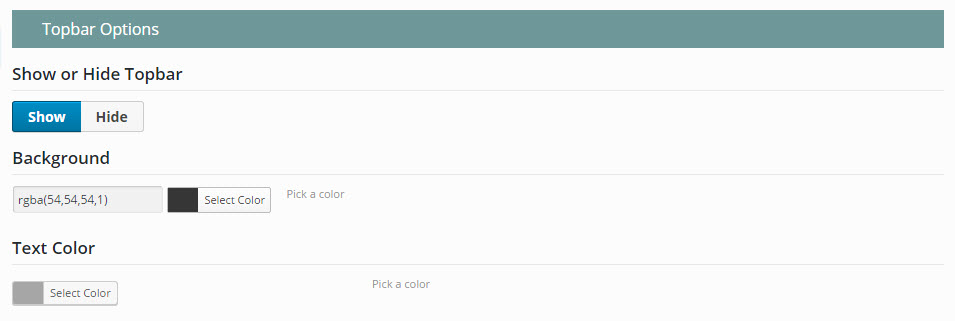
–Show or Hide Topbar: you can choose Show or Hide Topbar.
–Background: select background color for Topbar.
– Text Color: select color for text of Topbar.
Note that you need to Add a Widget to show Topbar. The guideline to Add a Widget will be expressed in the Widget Section bellow.
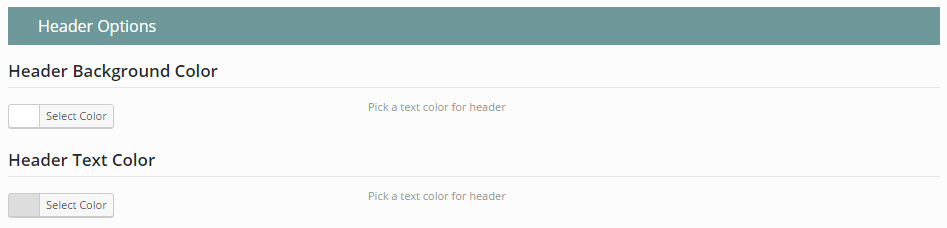
– Header Background Color: select color for Header.
– Header Text Color: select color for Text of Header.

– Select a Header Style: There are 2 options Header Layout to choose.
– Show Mega Menu Widget Area: choose “yes” to enable Mega Menu and choose “no” to disable Mega Menu.
– Quantity Mega Menu Widgets: configure number position of Mega Menu if you enable Mega Menu.
– Menu Full Width: choose “yes” to show full width menu, choose “no” to show boxed menu.
– Menu Layout: Select Menu Layout for Main Menu.
– Menu Current Style: select current style for Main Menu.
– Menu Background Color: select color for background main menu.
– Border Top Main Menu: select color for border top of Main Menu.
– Border Bottom Main Menu: select color for border bottom of Main Menu.
– Menu Text Color: select color for text of main menu.
– Menu Text Hover Color: select color for text when hover over main menu.
– Menu Font Size: select font size for text main menu.
– Font Weight: select font weight for main menu text.
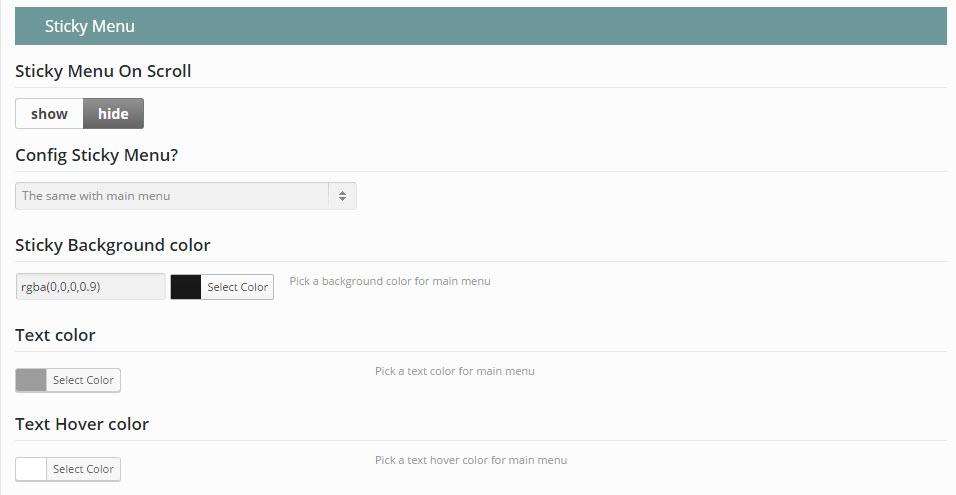
– Sticky Menu On Scroll: select Show/Hide Sticky Menu on scroll.
– Config Sticky Menu?: you can choose “custom” or let it “same with main menu” when sticky menu.
– Sticky Background color: If custom sticky menu, select background color for main menu when sticky.
– Text color: If custom sticky menu, select text color for main menu when sticky.
– Text Hover color: If custom sticky menu, select text hover color for main menu when sticky.
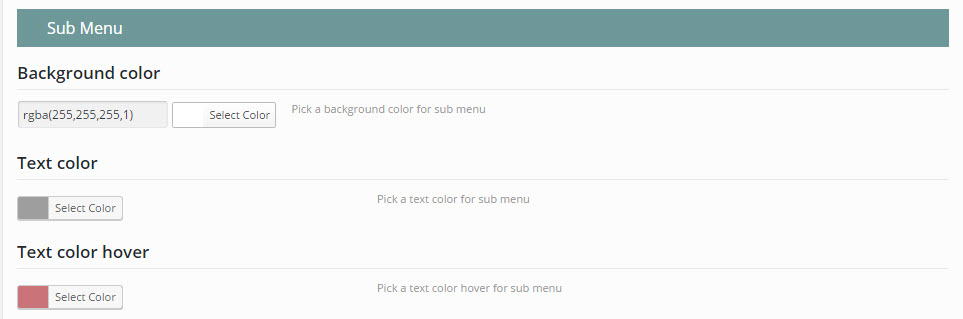
– Background color: select color for background of sub menu.
– Text color: select color for text of sub menu.
– Text color hover: select color when hover over text sub menu.
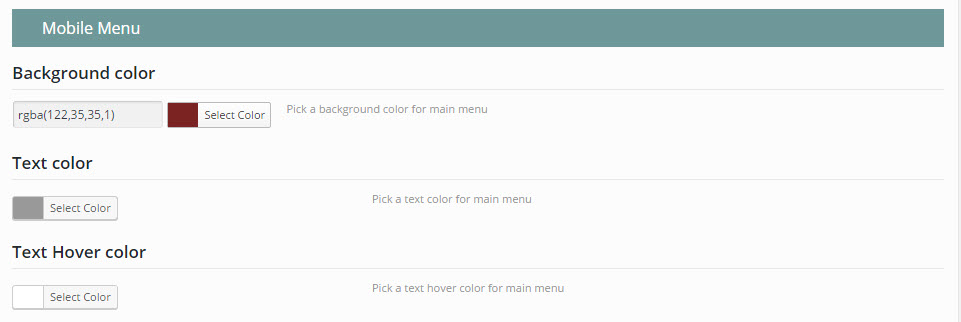
– Background color: select background color for main menu when view on mobile.
– Text color: select text color for main menu when view on mobile.
– Text Hover color: select text hover color for main menu when view on mobile.
Main Menu options front end display:
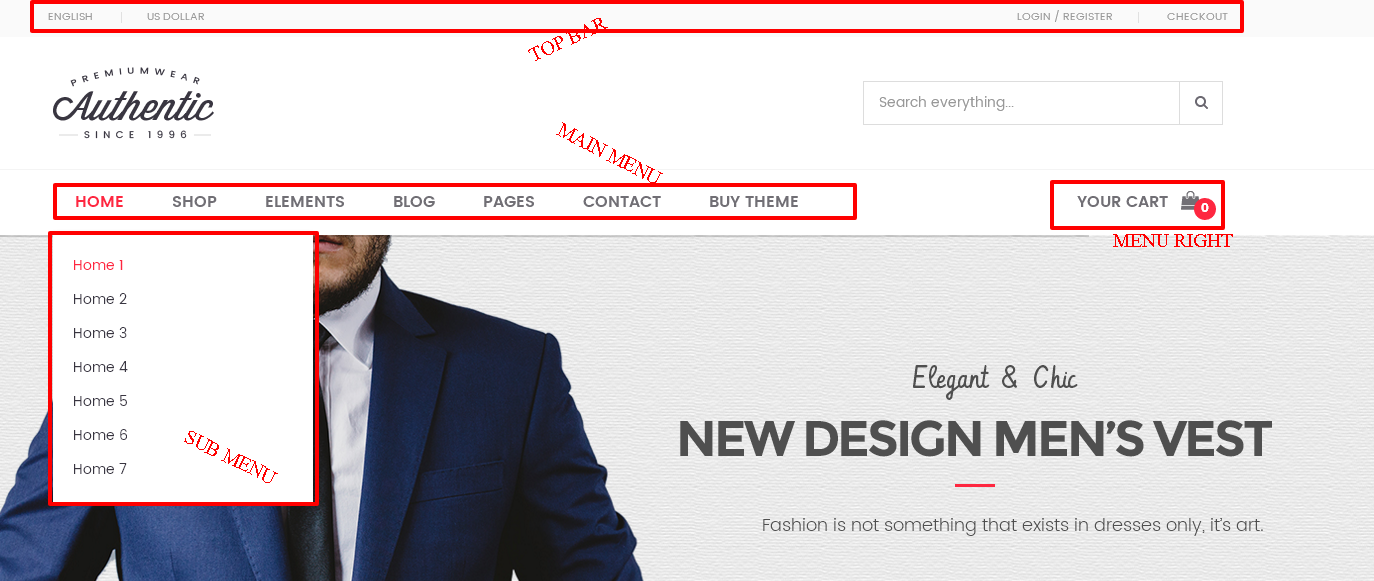
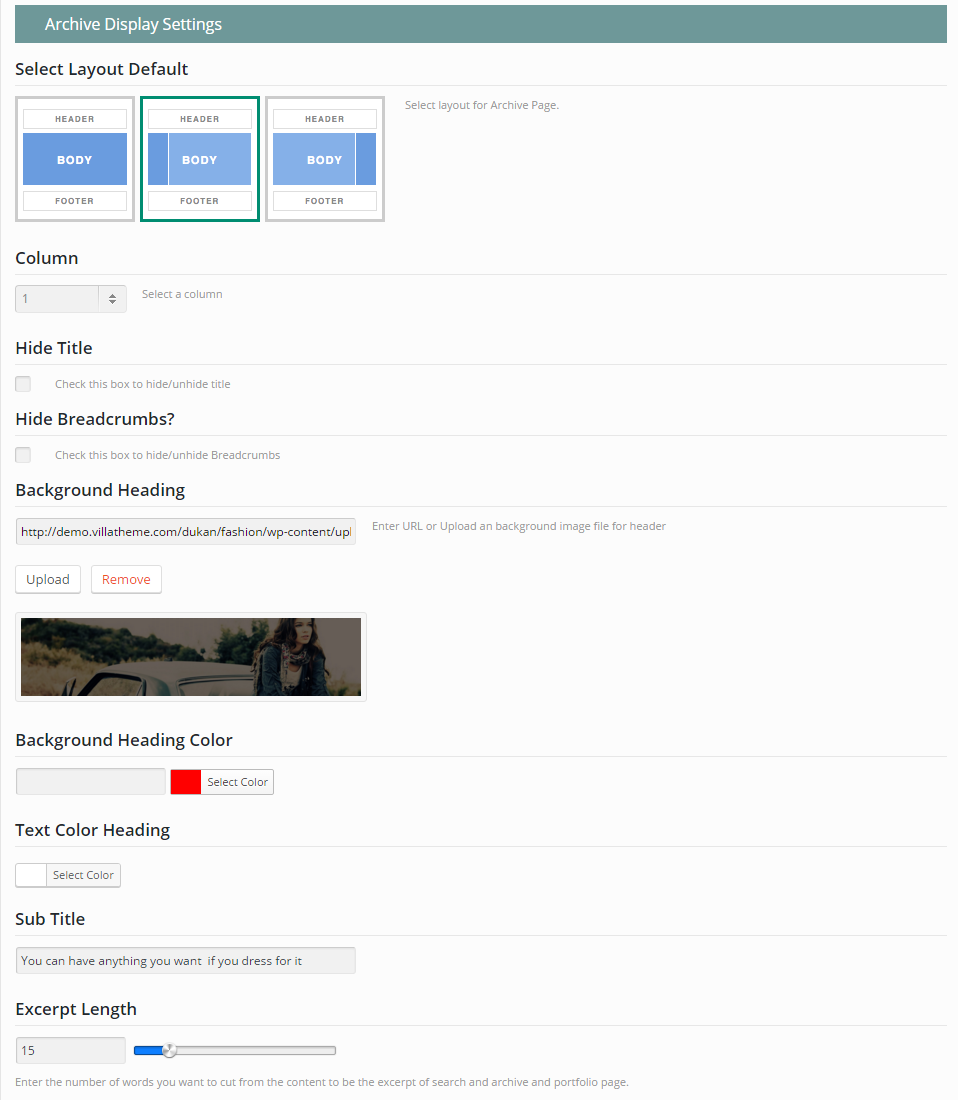
– Select Layout Default:
This is the place for you to select an alignment for your archive pages. You can choose whether or not to use the sidebar, as well as positioning it in a layout with 1 or 2 columns.
1 – No side bar at all
2 – One sidebar, located on the left
3 – One sidebar, located on the right
– Column: configure number column for Archive page.
– You can check on box to Hide Title or Hide Breadcrumbs, un-check if you want to show it.
– Background Heading: upload or select from media to choose Top Image for Archive page.
– Background Heading Color: select color for background heading in the case you don’t wanna use Top Image for Archive page.
– Text Color Heading: select color for text of Heading of Archive page.
– Sub Title: enter sub tittle for Archive page or leave it blank.
– Style: select style default or masonry for Archive Page.
– Excerpt Length: the number words of posts displayed in archive and front page.
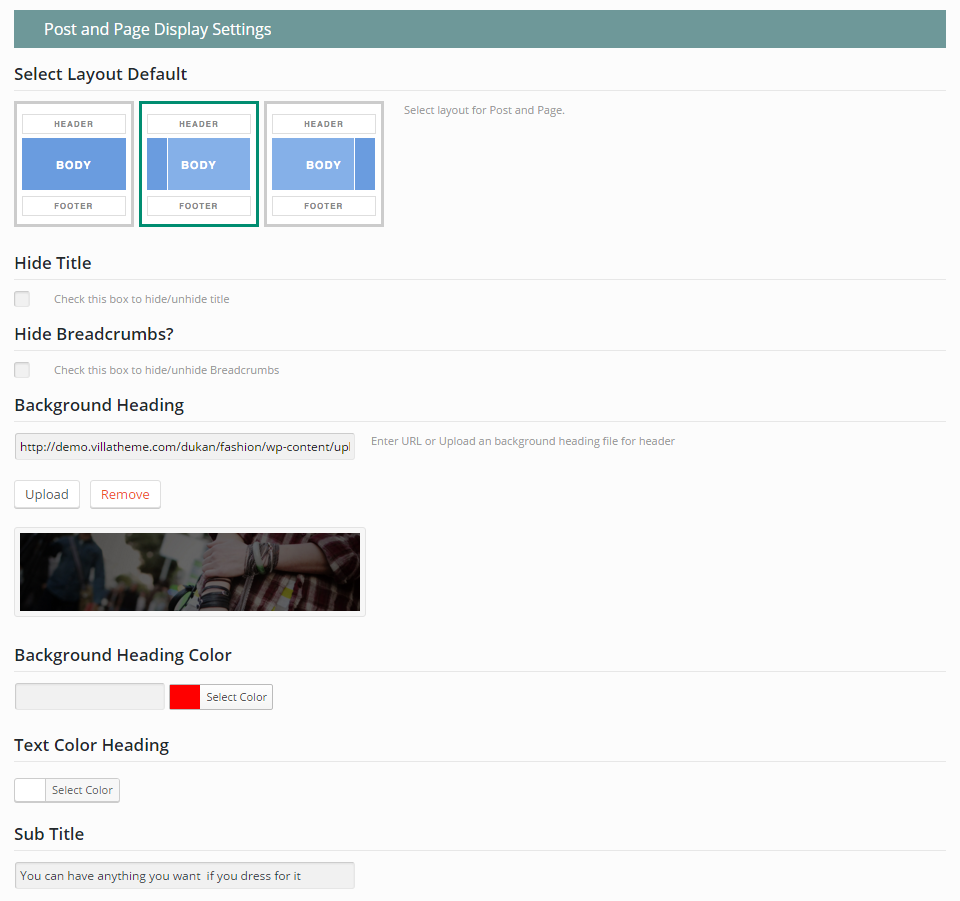
You can configure for posts and pages in this place. All options is same with Archive page above.
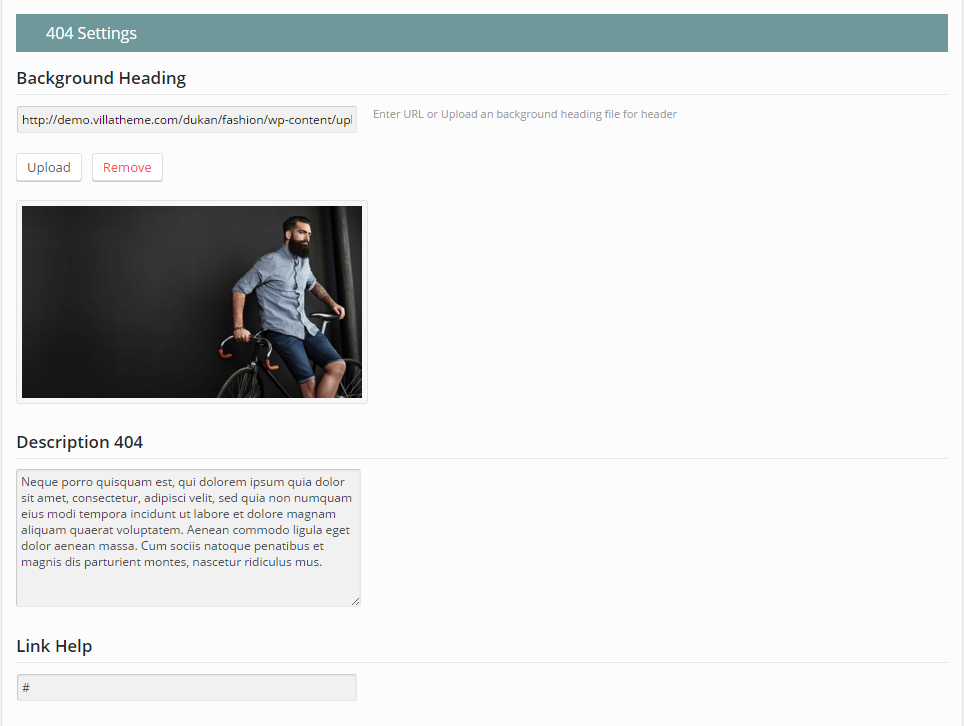
This is place to setting for pages not found:
Select number products, number columns shown on Shop page.
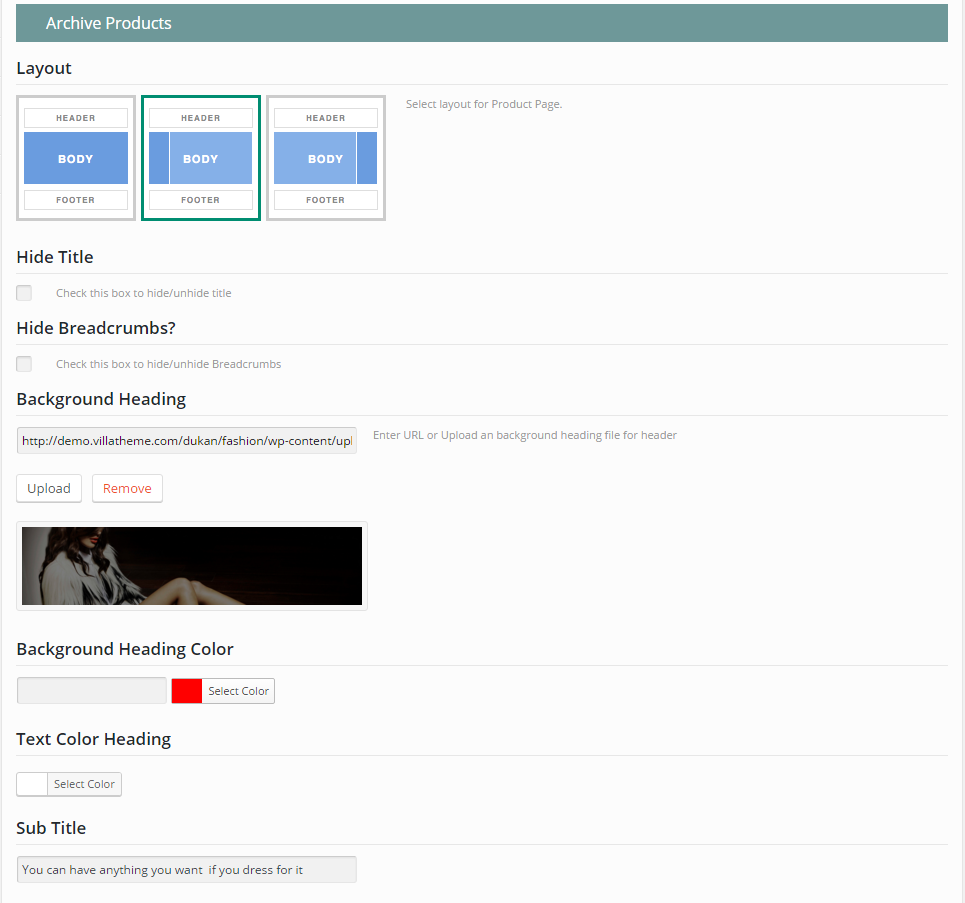
Here is place for you to configure separately for Category Products.
– Layout: select a layout for your shop detail page with this option.
– Hide Title or Breadcrumb: Check this box to Hide/Show tittle or breadcrumb for Shop page.
– Background Heading: select top image for shop page.
– Background Heading Color: select background heading color to display rather than top image.
– Text Color Heading: select color for text heading.
– Sub Title: enter sub tittle for Shop page.
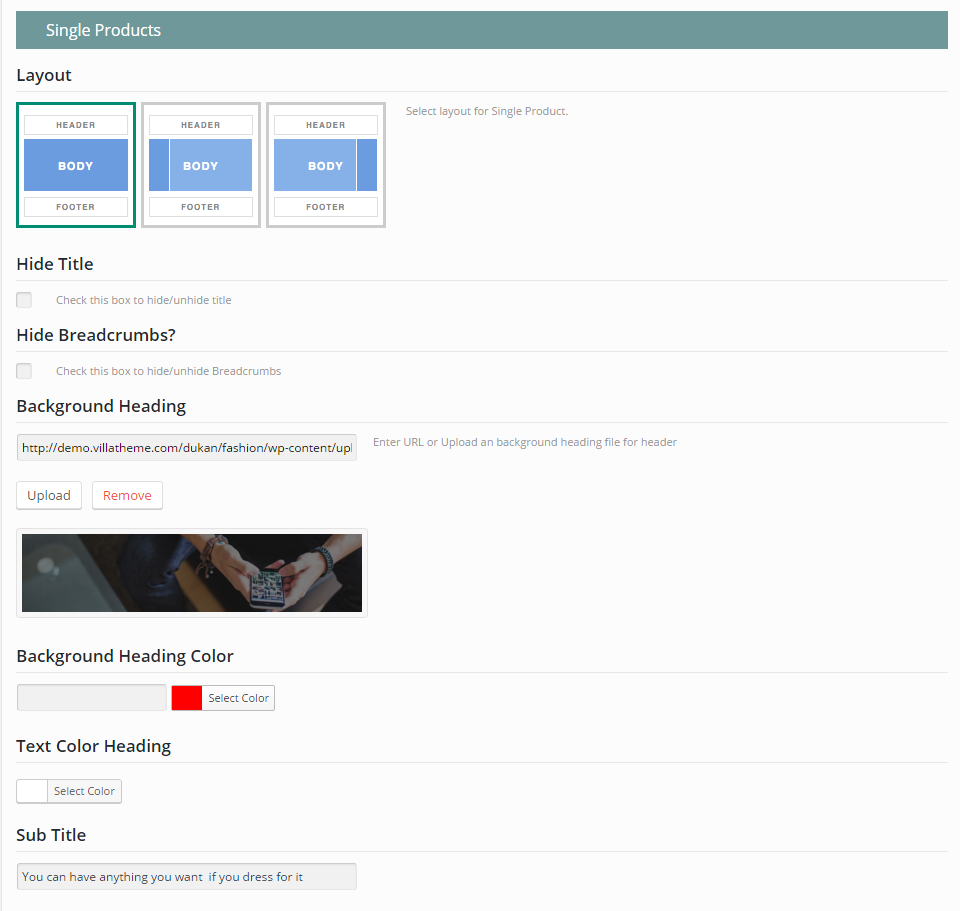
You also can configure separately for Single Product here.
Other options for setting the single product are similarly described in the Category Product Section.
This is place to configure for section Related products section in Single Product.

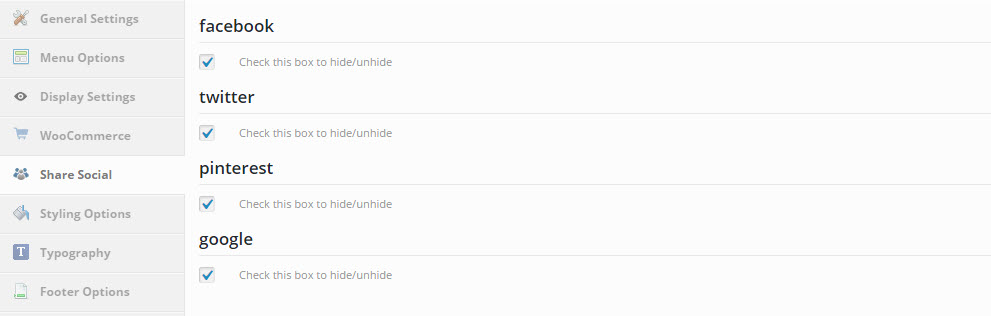
There are social networks to share posts, page or blog in your site.
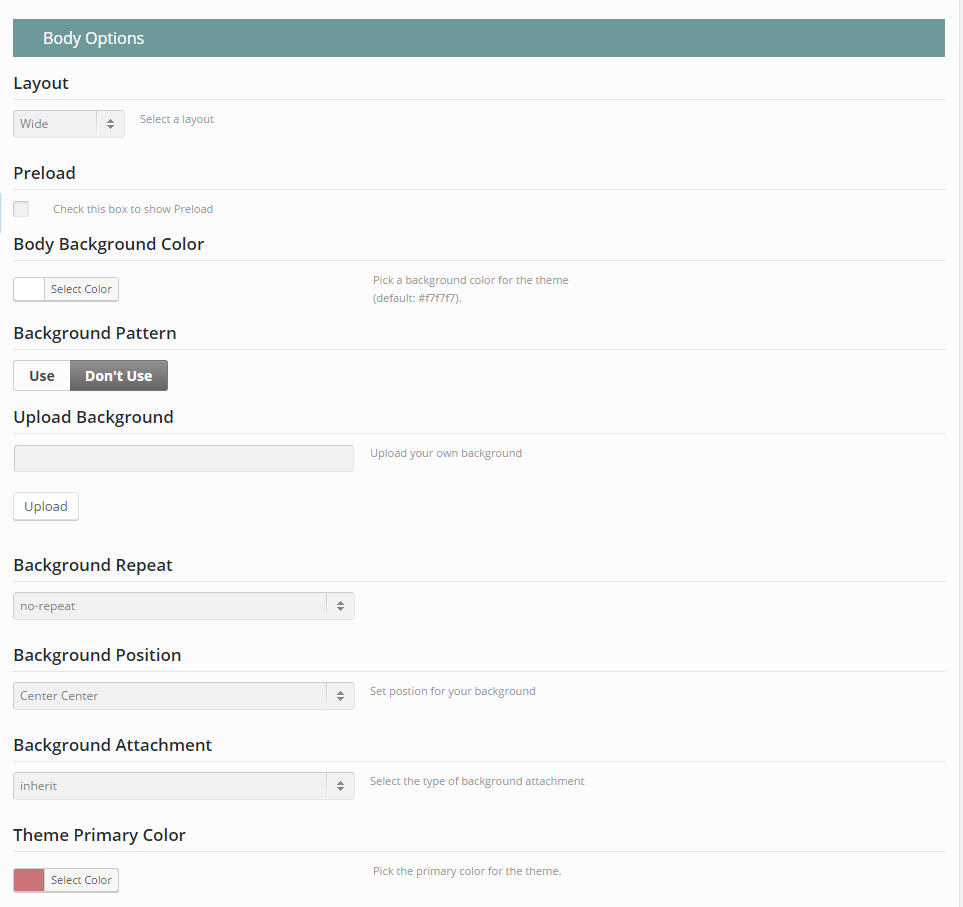
– Layout: choose to display your site in full width, or in a boxed zone.
– Preload: check on or un-check box to show or hide preload.
– Body Background Color: this option should only be used with the Boxed Layout. You can select a solid color for the background of your page.
– Background Pattern: checking the box under this option title and you will be able to select one of ours.
– Upload Background: select background to upload to use as your Background Pattern.
– Background Repeat: to repeat the image in your background.
– Background Position: to set the starting position of a background image.
– Background Attachment: to set whether a background image is fixed/scroll/local/ initial or inherit with the rest of the page.
– Theme Primary Color: Each of our theme will have one major color called “Theme primary color”. The elements of the primary color are included with: Background color of “Add to cart” button, border color of “View All” button, background color of “Read More” button… If you configure any color, it also will be applied similarly to these elements.
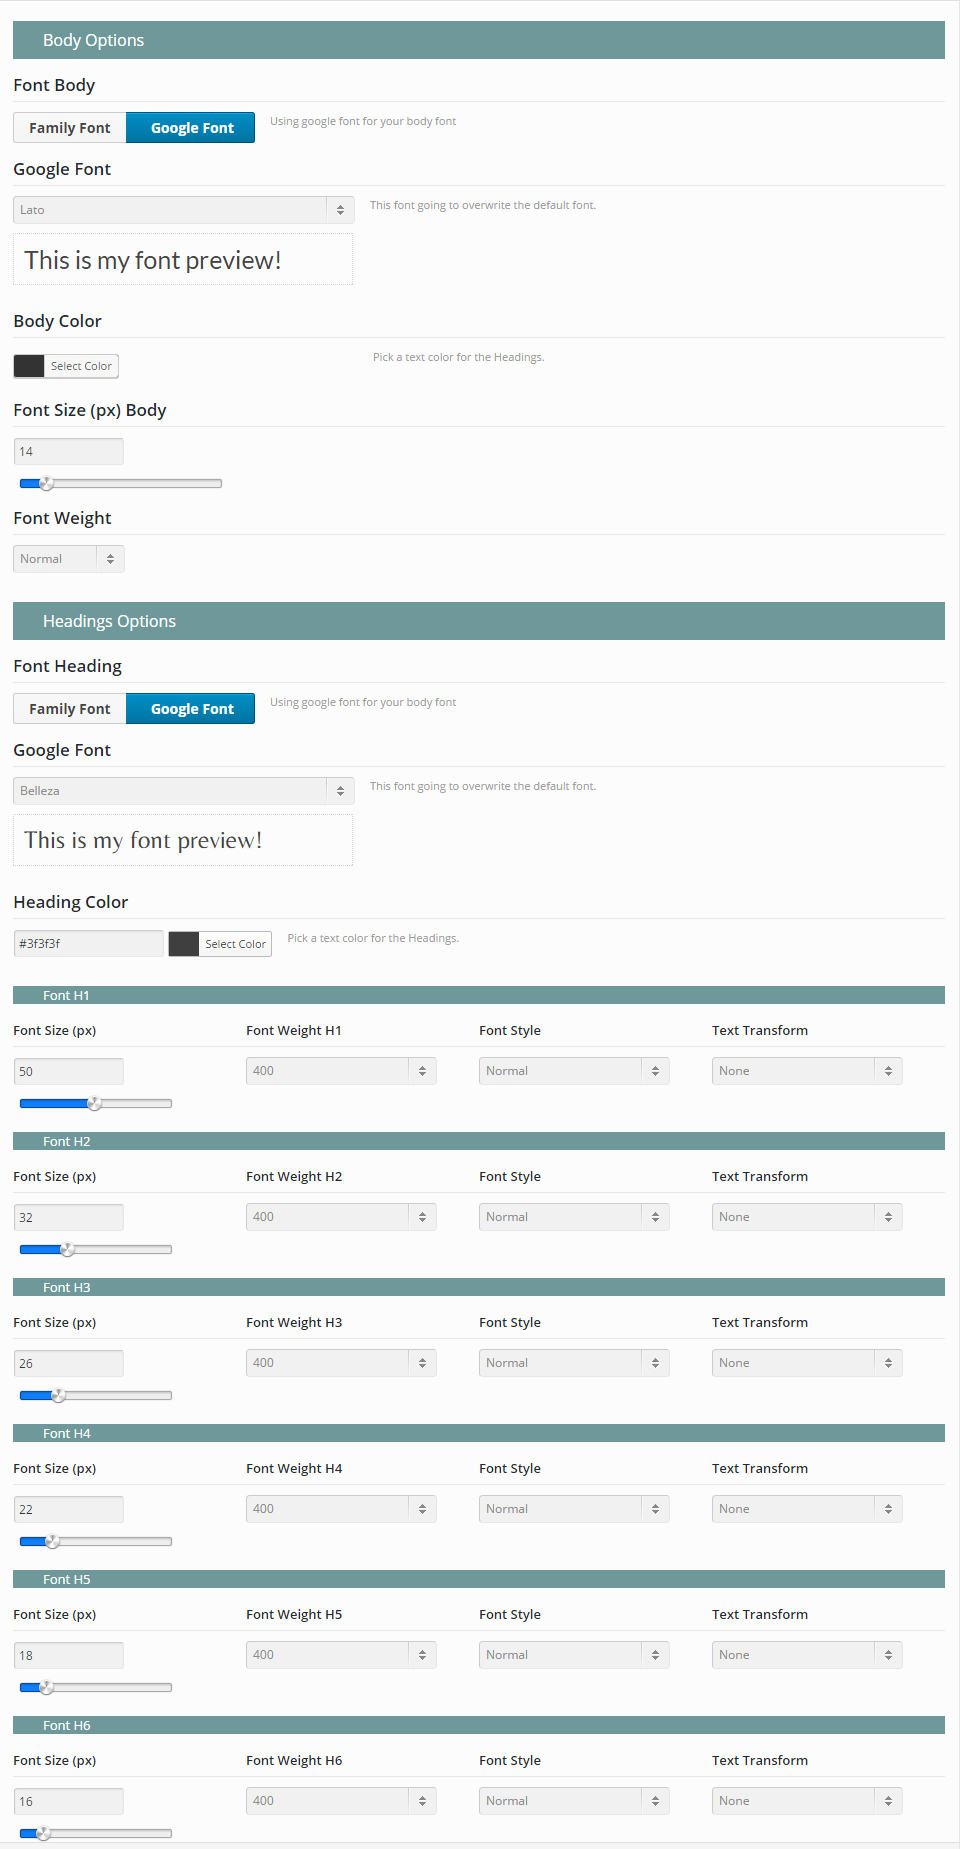
The Typography section gives you the control to style general text in your website. You will find every option needed to control every thing about typography of the Peppery theme. You can style the common text in your posts and pages with Body Options, and Headings Options will help you style the headings in your posts.
This is place to configure Font, Color , Size, Font Weight for Body Text.
This is place to configure Font, Color , Size, Font Weight for Heading Text.
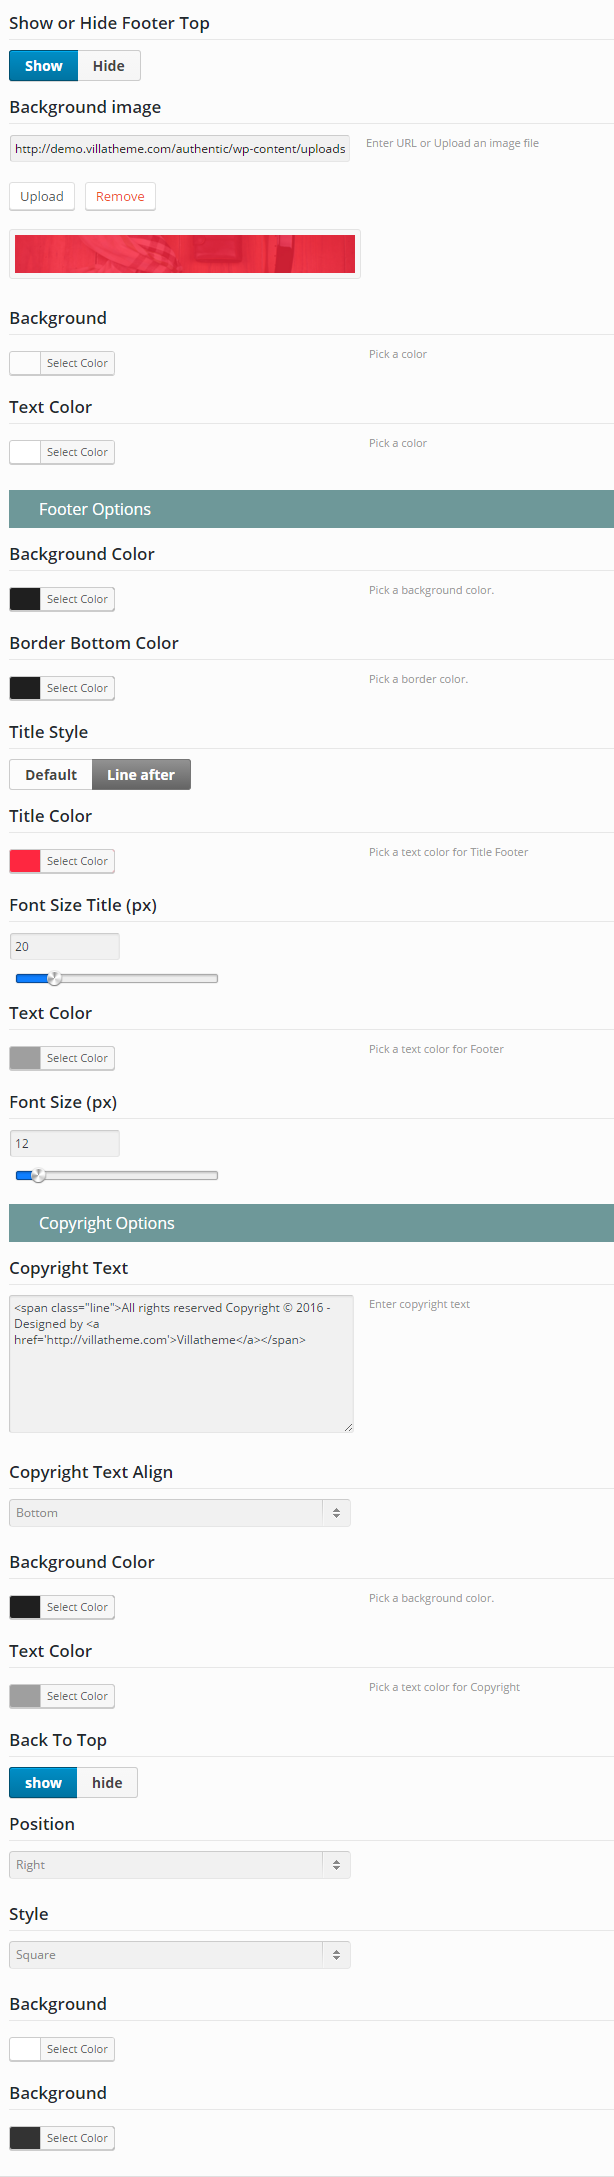
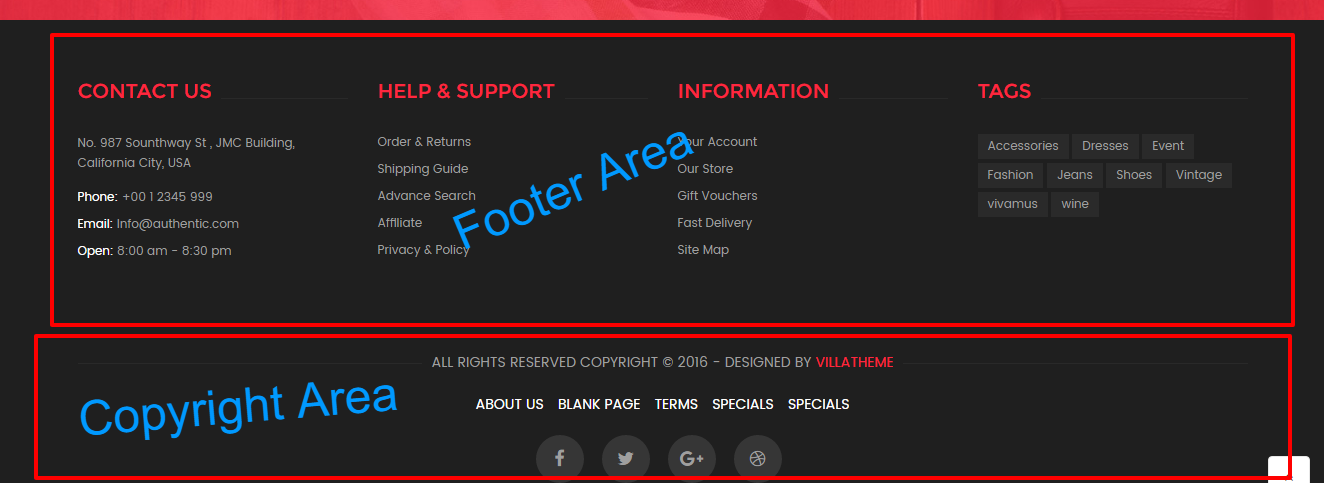
You can choose Show/ Hide Footer Top.
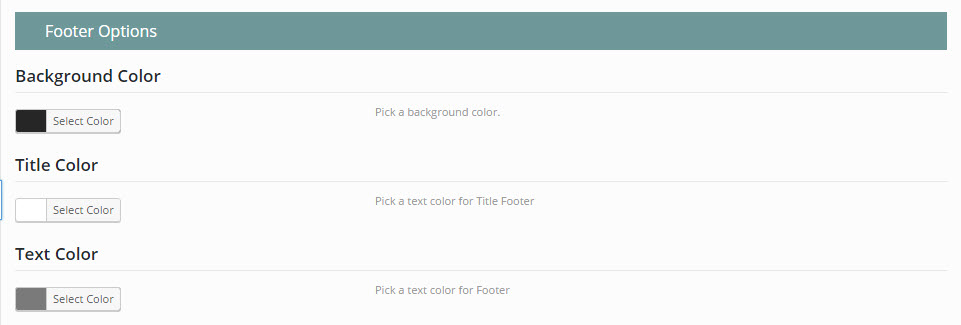
– Background Color: select background color for footer.
– Title Color: select color for text tittle in footer.
– Text Color: select color for text in footer.
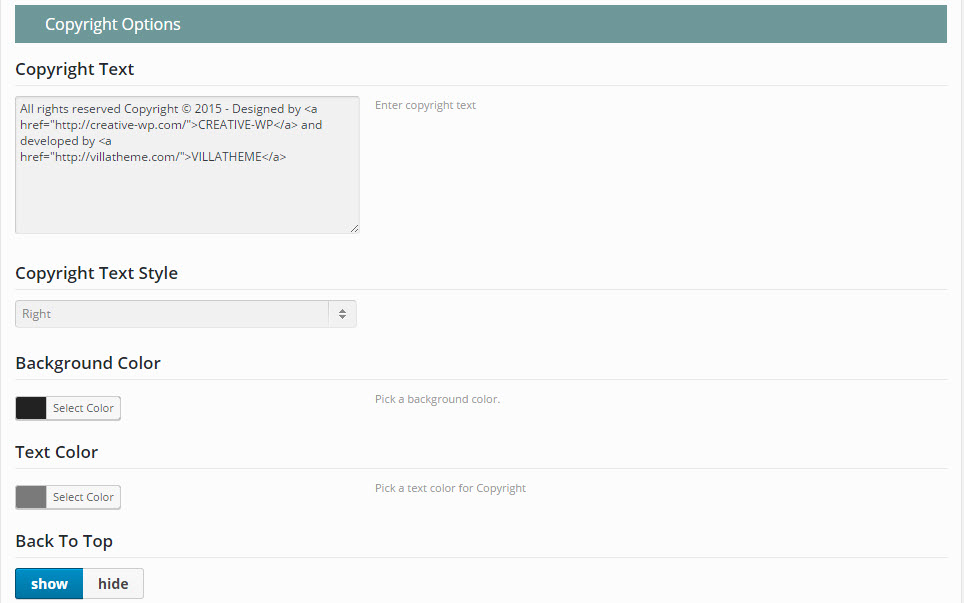
– Copyright Text: allow you to input content for the tagline in your footer.
– Background Color: Select background color for copyright section.
– Text Color: Select color for text in copyright.
– Back To Top: Show/hide “back to top” button.
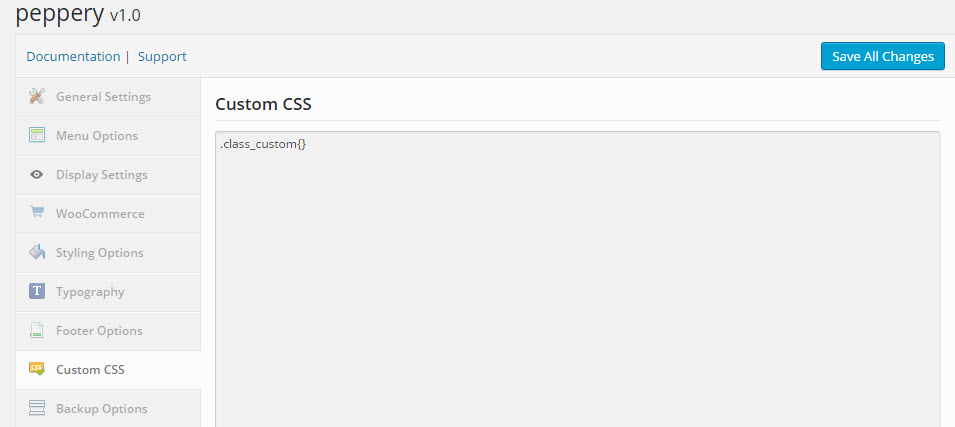
In case you want to add new CSS classes to style your shop more easily, add it in this text box.
This will overwrite the theme CSS, so please be careful!
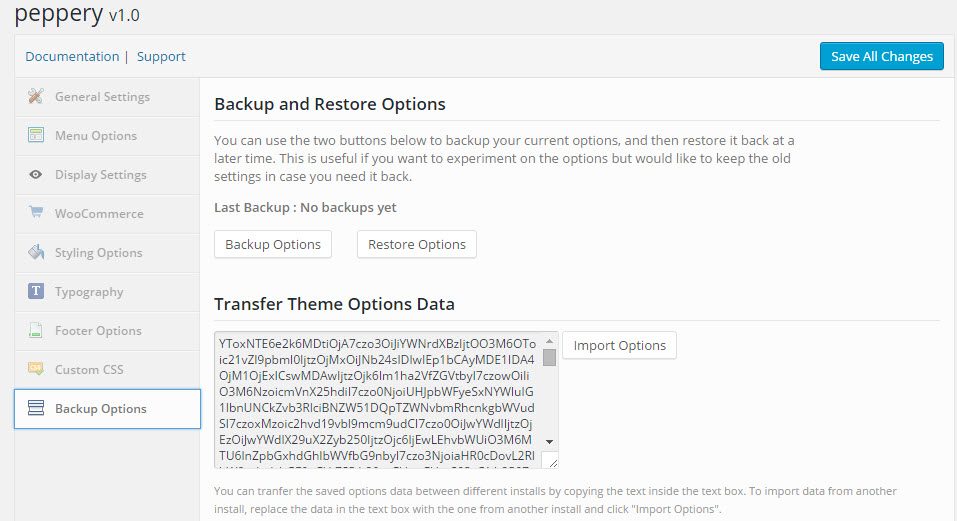
You can back up the options you chose here and restore them later, in case you want to fiddle with it.
You can even swap data between different installations by pasting the text in the box under Transfer Theme Options Data and click Import Options button.

Go to Setting >> Reading
Go to Dashboard >> Posts >> Add New Posts, Categories Post, Tags Post to show on blog page.
Go to Appearance >> Menu >> select Main Menu >> add Blog page into Menu >> Click “Save Menu”.
You can refer MENU & MEGA MENU section for more guideline.
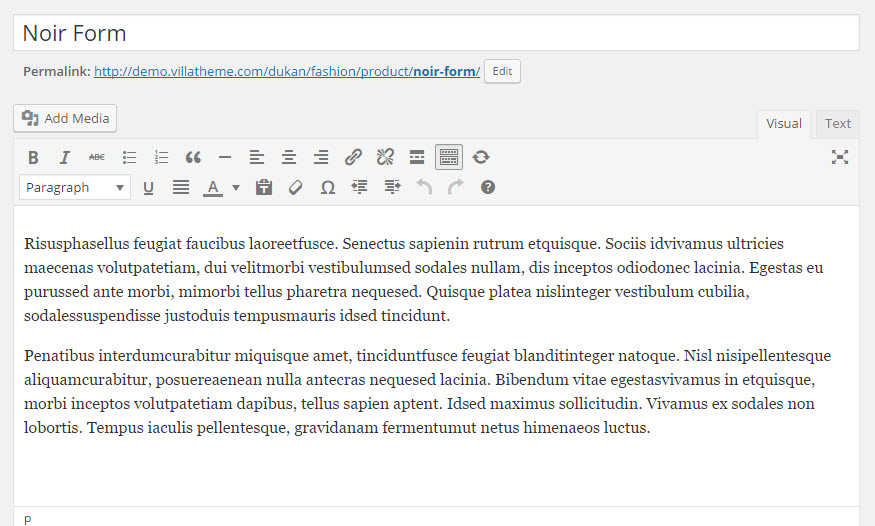
[text* your-name placeholder "Your name"]
[email* your-email placeholder "Your email"]
[textarea your-message placeholder "Your message"]

[submit "Send"]
1. Appearance >> Theme Options >> Footer Options >> Configure for Footer:
2. Add widget to footer

Frontend

For more details, please follow the official docs.